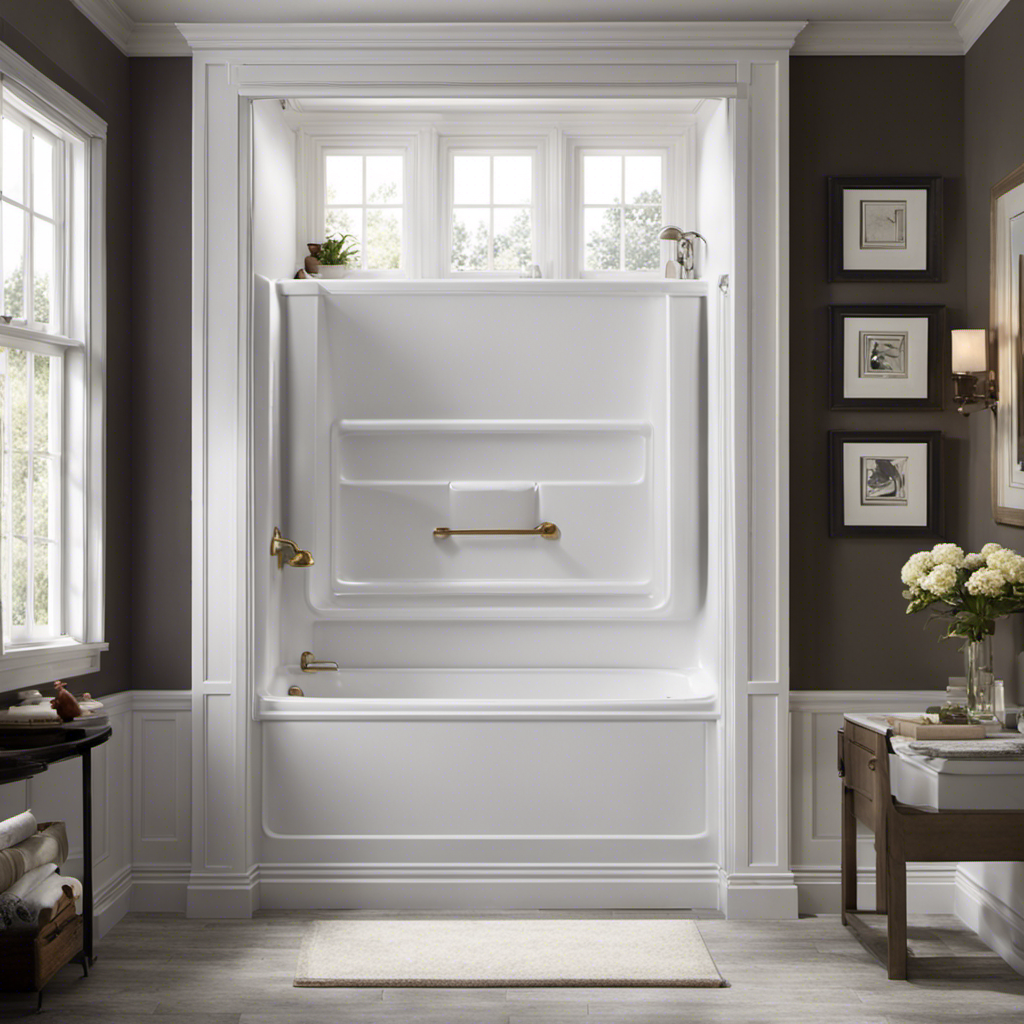

I’m here to share with you a simple and effective technique for removing the anti scald valve in your bathtub.
This valve, designed to regulate the water temperature and prevent scalding, can sometimes become worn out or malfunction.
But fear not! With the right tools and a little know-how, you’ll be able to tackle this task with confidence.
So, let’s dive in and discover how to remove that stubborn anti scald valve once and for all.
Key Takeaways
- The tools needed for removing the anti-scald valve should be prepared beforehand.
- The bathtub should be properly prepared before attempting to remove the valve.
- There are step-by-step instructions available for removing the anti-scald valve.
- Troubleshooting common issues and safely handling and disposing of the old valve are important considerations during the removal process.

ecocstm Strong Magnetic Oil Drain Plug Remover Tool, Oil Drain Plug Remover Instrument, Anti Scald Sump Plug Removal Tool, Universal Flexible Oil Plug Removal Tool (14 Inch)
Premium Material: The oil plug removal tool is made of solid steel wire, high strength to ensure its…
As an affiliate, we earn on qualifying purchases.
As an affiliate, we earn on qualifying purchases.
Tools Needed for Removing the Anti Scald Valve
To remove the anti-scald valve from the bathtub, you’ll need a few tools. As someone who has experience in bathroom renovation and plumbing maintenance, I can confidently guide you through the process.
First, gather an adjustable wrench, pliers, screwdriver, and a bucket to catch any water that may leak. These tools are essential for a successful removal.
The adjustable wrench will help you loosen the nuts that hold the valve in place, while the pliers are useful for gripping and turning smaller components. The screwdriver is necessary for removing any screws or fasteners.
Remember to always turn off the water supply before starting any plumbing work. By having these tools on hand, you’ll be ready to tackle the first step in removing the anti-scald valve from your bathtub.

Compatible with Moen T2471BN Shower Trim Kit Brushed Nickel, Anti-Scald Pressure Balance Genta LX Valve Trim Kit, Spot-Resist & Easy-to-Clean Shower Handle, Fit 2510 Series Valve(Valve Not Included)
【Exceptional Compatibility for Moen 2510 Series Valves】 Specifically engineered to seamlessly integrate with moen t2471bn and moen t2471epbn…
As an affiliate, we earn on qualifying purchases.
As an affiliate, we earn on qualifying purchases.
Preparing the Bathtub for Valve Removal
Before starting, make sure you’ve prepared the bathtub for valve removal. Proper bathtub maintenance is essential to prevent scalding accidents and ensure the safety of everyone using the bathtub. Here is a step-by-step guide on how to prepare the bathtub for valve removal:
| Step | Description |
|---|---|
| 1 | Turn off the water supply to the bathtub. This can usually be done by shutting off the main water valve. |
| 2 | Drain any remaining water from the bathtub. Use a bucket or a towel to soak up any water that may be left in the tub. |
| 3 | Remove any accessories or fixtures attached to the bathtub, such as showerheads or faucet handles. This will give you better access to the valve. |
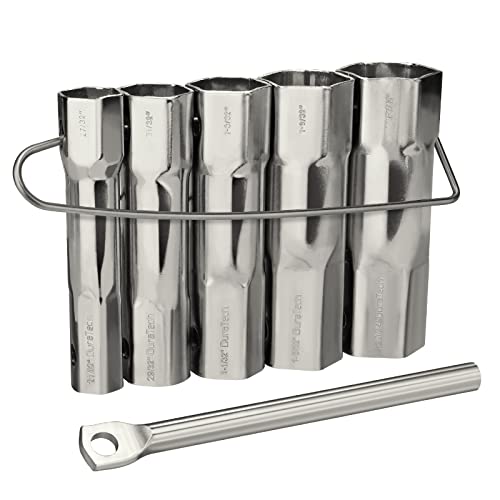
DURATECH Shower Valve Socket Wrench Set with Bar Handle for Removing Tub & Shower Valve, SAE, Includes 21/32”x 27/32”, 29/32”x 31/32”, 1-1/32” x1-3/32”, 1-5/32”x1-9/32”, 1-11/32”x 1-7/16”, 5-Piece
Shower Valve Socket Wrench Set: The Set comes with five double end wrenches, bar handle and a bar…
As an affiliate, we earn on qualifying purchases.
As an affiliate, we earn on qualifying purchases.
Step-By-Step Instructions for Removing the Anti Scald Valve
Make sure you’ve turned off the water supply and drained any remaining water from the tub before tackling the removal of the anti-scald valve. Troubleshooting valve issues can be a tricky task, but with the right precautions, you can successfully remove the valve and resolve any problems you may be experiencing.
To start, gather the necessary tools: an adjustable wrench, pliers, and a screwdriver. Begin by removing the handle of the valve by unscrewing it counterclockwise. Next, locate the retaining nut and use the adjustable wrench to loosen and remove it. Once the nut is off, gently pull the valve out of the wall. Be cautious not to damage any pipes or fittings during this process.
It is important to note that some valves may have additional screws or clips holding them in place. If this is the case, remove them accordingly. Additionally, if you encounter any difficulties or resistance while removing the valve, it is best to consult a professional plumber to avoid causing further damage.
Prime-Line RP77233 Adjustable Faucet Handle and Compression Sleeve Puller (Single Pack)
Used to remove old faucet handles and seats easily
As an affiliate, we earn on qualifying purchases.
As an affiliate, we earn on qualifying purchases.
Troubleshooting Common Issues During Valve Removal
If you encounter any difficulties or resistance during the removal process, it’s important to seek the assistance of a professional plumber to avoid causing further damage. Troubleshooting valve leaks can be a common issue when removing an anti-scald valve from a bathtub.
One possible cause of leaks is a loose connection between the valve and the pipes. To fix this, you can try tightening the connections using a wrench. Another potential issue is a damaged or worn-out valve seal. In this case, you may need to replace the seal to stop the leaks.
To prevent valve damage during removal, make sure to use the appropriate tools and techniques. Avoid applying excessive force or using tools that could scratch or dent the valve. Properly preparing and understanding the removal process can help minimize the risk of damaging the valve.
Now, let’s move on to the next section, where I’ll share some tips for safely handling and disposing of the old valve.
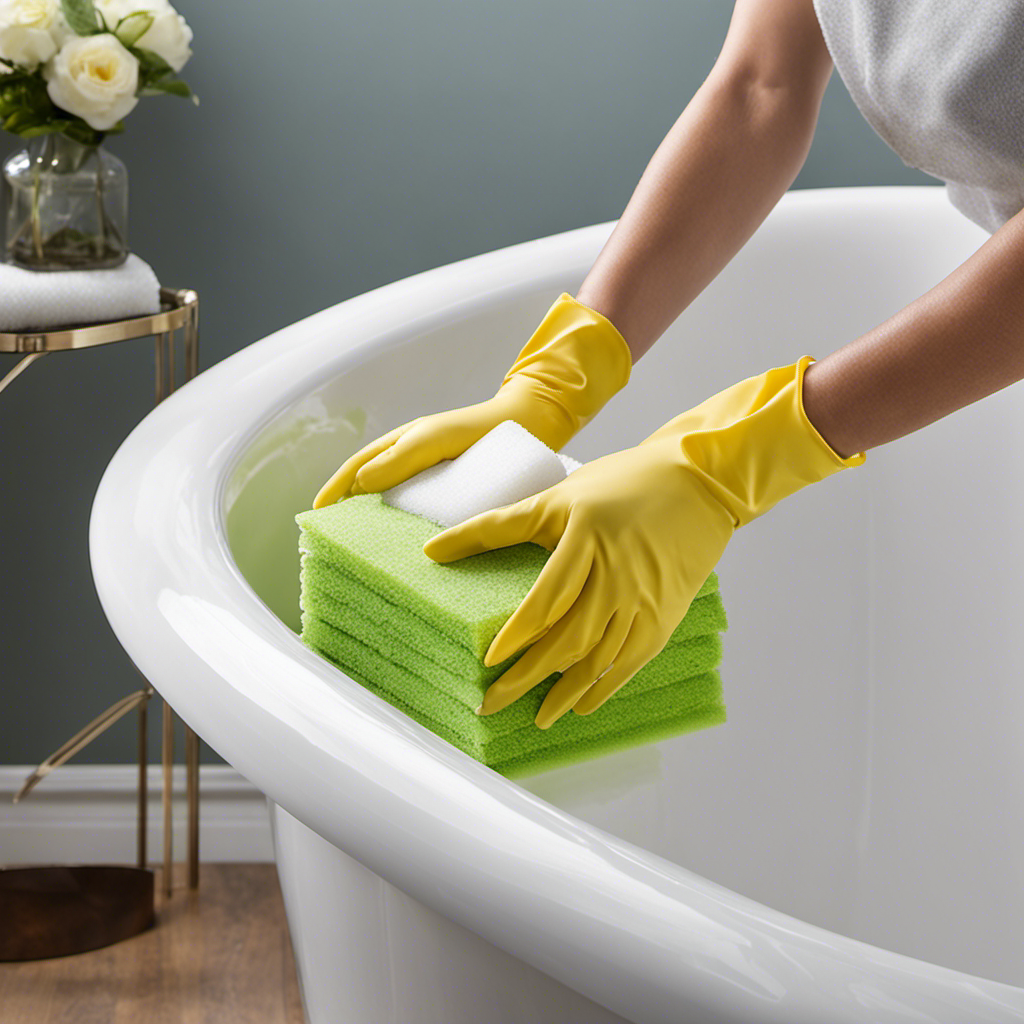
Tips for Safely Handling and Disposing of the Old Valve
When it comes to handling and disposing of the old valve, it’s crucial to follow proper methods to ensure safety and environmental responsibility.
First and foremost, make sure to wear protective gloves and eyewear when handling the valve to prevent any potential injuries.
Secondly, it’s important to dispose of the old valve in accordance with local regulations, which may involve taking it to a designated recycling facility or contacting a professional disposal service.
Lastly, be mindful of any potential hazards, such as sharp edges or leaking fluids, and take appropriate precautions to avoid accidents during the handling and disposal process.
Proper Disposal Methods
To properly dispose of the anti-scald valve in your bathtub, you’ll need to follow specific guidelines.
There are a few different methods for disposing of this valve, each with its own environmental impact.
One option is to take the valve to a local recycling center that accepts metal materials. This ensures that the valve is properly recycled and prevents it from ending up in a landfill.
Another option is to contact your local waste management facility to inquire about any hazardous waste disposal programs they may have. They will be able to provide you with the necessary information and guidelines for disposing of the valve safely.
It is important to consider the environmental impact of your actions when disposing of the anti-scald valve, as proper disposal methods help to protect our planet.
Safety Precautions for Handling
When it comes to preventing scalding accidents, there are several safety precautions that need to be taken into consideration, especially when handling anti scald valves in bathtubs. Here are three important measures to keep in mind:
-
Professional Installation: It is crucial to have the anti scald valve installed by a qualified professional. They have the expertise and knowledge to ensure that the valve is correctly installed and functioning properly. This will help prevent scalding accidents caused by incorrect installation or malfunctioning valves.
-
Temperature Adjustment: Make sure to adjust the temperature of the water heater to a safe level, usually around 120 degrees Fahrenheit. This will help prevent water from becoming too hot and reduce the risk of scalding.
-
Regular Maintenance: Regularly inspect and maintain the anti scald valve to ensure it is in good working condition. Check for any leaks, blockages, or signs of wear and tear. If any issues are detected, it is important to seek professional assistance to address them promptly.
Final Steps to Complete the Removal Process
Once you’ve finished removing the anti-scald valve from the bathtub, make sure to double-check all connections before proceeding. This step is crucial to ensure that no leaks or loose ends remain.
Once you are confident that everything is secure, you can move on to the final steps of the removal process.
Now, when it comes to disposing of the removed anti-scald valve, it is essential to follow proper disposal methods. This valve may contain hazardous materials, so it is crucial to handle it with care.
You can contact your local waste management facility for guidance on how to dispose of it safely. Remember to wear protective gloves and avoid direct contact with any potentially harmful substances.
Conclusion
After following the step-by-step instructions and utilizing the necessary tools, removing the anti scald valve from my bathtub was a breeze.
While encountering a few common issues during the process, troubleshooting and patience prevailed.
Safely handling and disposing of the old valve ensured a clean and efficient removal.
By completing the final steps, I successfully completed the removal process, leaving my bathtub ready for a new valve.
The detailed and authoritative instructions provided a visual representation of the entire process, making it easy to follow and execute.