So, you’re ready to say goodbye to your old bathtub and hello to a shiny new shower. Well, you’ve come to the right place.
In this article, I’m going to walk you through the process of removing that old tub and installing a brand new shower. We’ll start by assessing the condition of your bathtub and gathering all the necessary tools and materials.
Then, we’ll dive into the nitty-gritty of removing the old tub and preparing the space for the shower installation.
Finally, we’ll tackle the exciting part – installing the new shower. So, let’s get started and transform your bathroom into a beautiful oasis.
Key Takeaways
- Inspect the condition of the bathtub for cracks, chips, or stains and assess if a replacement or refinishing is needed.
- Gather the necessary tools and materials such as wrenches, screwdrivers, and waterproofing supplies.
- Disconnect plumbing fixtures and carefully remove the old bathtub, taking precautions to avoid damaging surrounding walls or floors.
- Prepare the space for shower installation by ensuring plumbing lines can accommodate the new shower, addressing any necessary repairs or modifications, and researching the best waterproofing approach.

WOODBRIDGE 59" Freestanding White Acylic Soaking Bathtub with Brushed Gold Drain and Overflow, BTA1514-BG
✅ [DIMENSIONS AND SPECIFICATIONS]: Exterior dimensions: 59" Length x 29-1/2" Width x 22-4/5" Height; Internal dimensions: 43-1/4"Length x...
As an affiliate, we earn on qualifying purchases.
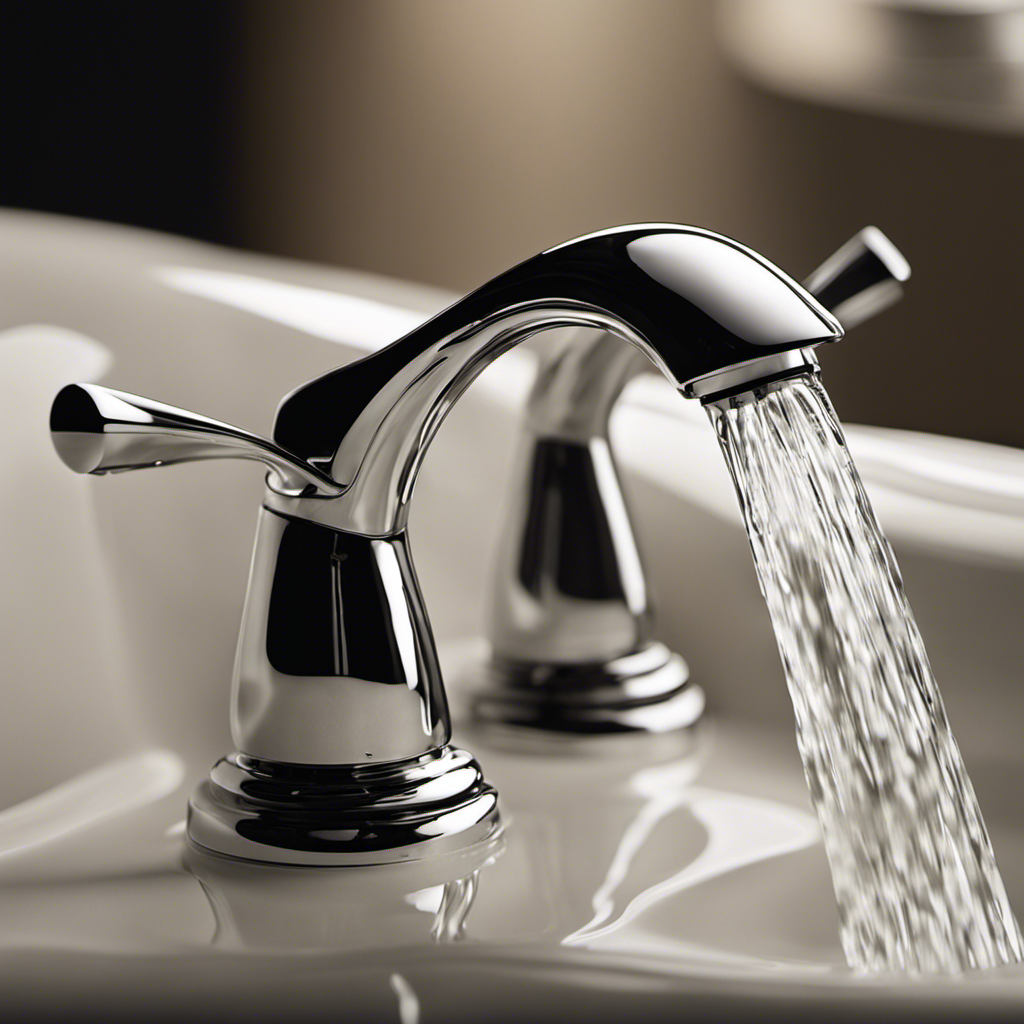
Assessing the Condition of Your Bathtub
Before you start the process, it’s important to assess the condition of your bathtub. This step is crucial in determining whether you need a bathtub replacement or if a bathtub refinishing would suffice.
Start by inspecting the surface of the bathtub for any cracks, chips, or stains. These could be signs of wear and tear that may require replacement.
Next, check the functionality of the bathtub. Are there any leaks, clogs, or problems with the plumbing? If so, a replacement might be necessary.
Additionally, consider the overall aesthetic appeal of the bathtub. If it looks outdated or doesn’t match your desired style, a replacement could be a better option.
However, if the bathtub is in good condition and only needs a refresh, refinishing might be a more cost-effective choice.

WOODBRIDGE 59"Freestanding White Acylic Soaking Bathtub with Brushed Nickel Drain and Overflow,BTA1518 -B/N-Drain &O
✅ [DIMENSIONS AND SPECIFICATIONS]: Exterior Dimension: 59" Long x 31 1/2" Wide x 22 7/8" Deep – Effective...
As an affiliate, we earn on qualifying purchases.
Gathering the Necessary Tools and Materials
You’ll need to gather all the tools and materials necessary for the project. Here’s a table that lists everything you’ll need:
| Tools | Materials |
|---|---|
| Adjustable wrench | Shower fixtures |
| Screwdriver set | Waterproofing membrane |
| Pipe cutter | Cement backer board |
| Pliers | Tile adhesive |
| Level | Grout |
| Caulking gun | Silicone sealant |
When choosing the right shower fixtures, consider the style and functionality that best suits your needs. Look for fixtures that are durable and easy to clean. Properly waterproofing the shower area is crucial to prevent water damage. Apply a waterproofing membrane to the walls and floor of the shower area. Install cement backer board as a base for the tiles. Use tile adhesive to secure the tiles and grout to fill in the gaps. Finish off by applying silicone sealant around the edges to ensure a watertight seal.

WOODBRIDGE 59" Acrylic Freestanding Bathtub Contemporary Soaking White Tub with Brushed Gold Overflow and Drain,BTA1516-BG-Drain-&O
✅ [DIMENSIONS AND SPECIFICATIONS]: Exterior Dimension: 59" Long x 28 3/4" Wide x 27 1/2" Deep – Effective...
As an affiliate, we earn on qualifying purchases.
Removing the Old Bathtub
To start the process, first make sure to disconnect the plumbing fixtures attached to the old bathtub. This is an important step to ensure a smooth removal without causing any damage. Once the plumbing fixtures are disconnected, you can proceed with the removal of the bathtub.
Here’s how to do it:
- Gather the necessary tools such as a pry bar, hammer, utility knife, and safety glasses.
- Put on your safety glasses to protect your eyes from any debris.
- Start by removing the bathtub surround, if applicable, by prying it away from the wall using the pry bar.
- Next, locate the screws and nails holding the bathtub in place and remove them using the appropriate tools.
- Once the fasteners are removed, you can start lifting the bathtub out of its place, being careful not to damage the surrounding walls or floor.
For a visual demonstration, you can watch a helpful demo video that shows the step-by-step process. Remember to always follow safety precautions to prevent any accidents or injuries.

WOODBRIDGE 59" Acrylic Freestanding Bathtub Contemporary Soaking White Tub with Chrome Overflow and Drain
DIMENSIONS – Exterior size: 59" L x 28 3/4" W x 27 1/2" D with a 58-gallon effective...
As an affiliate, we earn on qualifying purchases.
Preparing the Space for the Shower Installation
Now that the old bathtub has been successfully removed, it’s time to prepare the space for the shower installation.
Before diving into the installation process, there are a few plumbing considerations that need to be addressed. Firstly, ensure that the existing plumbing lines are in good condition and can accommodate the new shower. If any repairs or modifications are needed, it’s best to hire a professional plumber to handle it.
Next, it’s crucial to choose the right waterproofing method to prevent any potential water damage. The most common options include applying a waterproof membrane, using waterproof backer boards, or installing a shower pan liner. Each method has its own benefits and requirements, so it’s important to research and consult with experts to determine the best approach for your specific situation.
With the plumbing considerations and waterproofing methods in place, you’re now ready to move on to installing the new shower.
Installing the New Shower
Once the space is properly prepared, it’s important to ensure the new shower fits securely in its designated area.
To create a visual image, imagine the shower as the centerpiece of your bathroom, with its sleek and modern design.
The waterproofing techniques used during installation guarantee a watertight seal, protecting your walls and floors from water damage.
When choosing the right shower fixtures, think about functionality and style. Consider options like rain showerheads for a luxurious spa-like experience or handheld showerheads for added convenience.
Don’t forget to select durable materials that are resistant to rust and corrosion.
With the perfect combination of waterproofing techniques and the right shower fixtures, your new shower will not only be a practical addition but also a stunning focal point in your bathroom.
Conclusion
In conclusion, removing a bathtub and installing a shower can be a challenging yet rewarding home improvement project.
By assessing the condition of your bathtub and gathering the necessary tools and materials, you can begin the process of transforming your bathroom.
Removing the old bathtub requires careful planning and execution, while preparing the space for the shower installation ensures a smooth transition.
Finally, installing the new shower brings a fresh and functional element to your bathroom.
With patience and attention to detail, you can successfully complete this project and enjoy the benefits of a new shower.