I’ve been dealing with a stubborn bathtub drain for weeks now, and let me tell you, it’s been a real headache. But I finally figured out the best way to remove it, and I’m here to share my knowledge with you.
In this article, I’ll walk you through the step-by-step process of removing a bathtub drain, from preparing the tub to disconnecting the drain assembly. So grab your tools and get ready to tackle this task head-on!
Key Takeaways
- Prepare the necessary tools and materials, and turn off the water supply before starting the removal process.
- Remove the drain cover by clearing the area, removing the screws, and lifting the cover off the drain assembly.
- Disconnect the drain assembly by using appropriate tools, turning off the water supply, and loosening the assembly carefully.
- Remove the drain flange by loosening it with a wrench or pliers, removing any screws or clips, and carefully pulling it out.
Tools Needed for Removing Bathtub Drain
You’ll need a few tools to remove the bathtub drain. Before we begin, it’s important to note that removing the drain can be tricky, so having the right tools is essential.
First, you’ll need a pair of pliers or a drain key. These tools will help you grip and twist the drain, allowing you to loosen it from the pipe.
Additionally, a screwdriver will come in handy for removing any screws or plates that may be holding the drain in place.
If you’re planning on installing a new drain, it’s a good idea to have a plumber’s putty or silicone sealant to create a watertight seal.
Lastly, having a bucket or towel nearby will help catch any water or debris that may come out during the process.
With these tools, you’ll be well-prepared for both bathtub drain installation and repair.
Preparing the Bathtub for Drain Removal
Before starting the process, it’s important to ensure the bathtub is ready for the drain removal. Here are some safety precautions to keep in mind and common mistakes to avoid during the process:
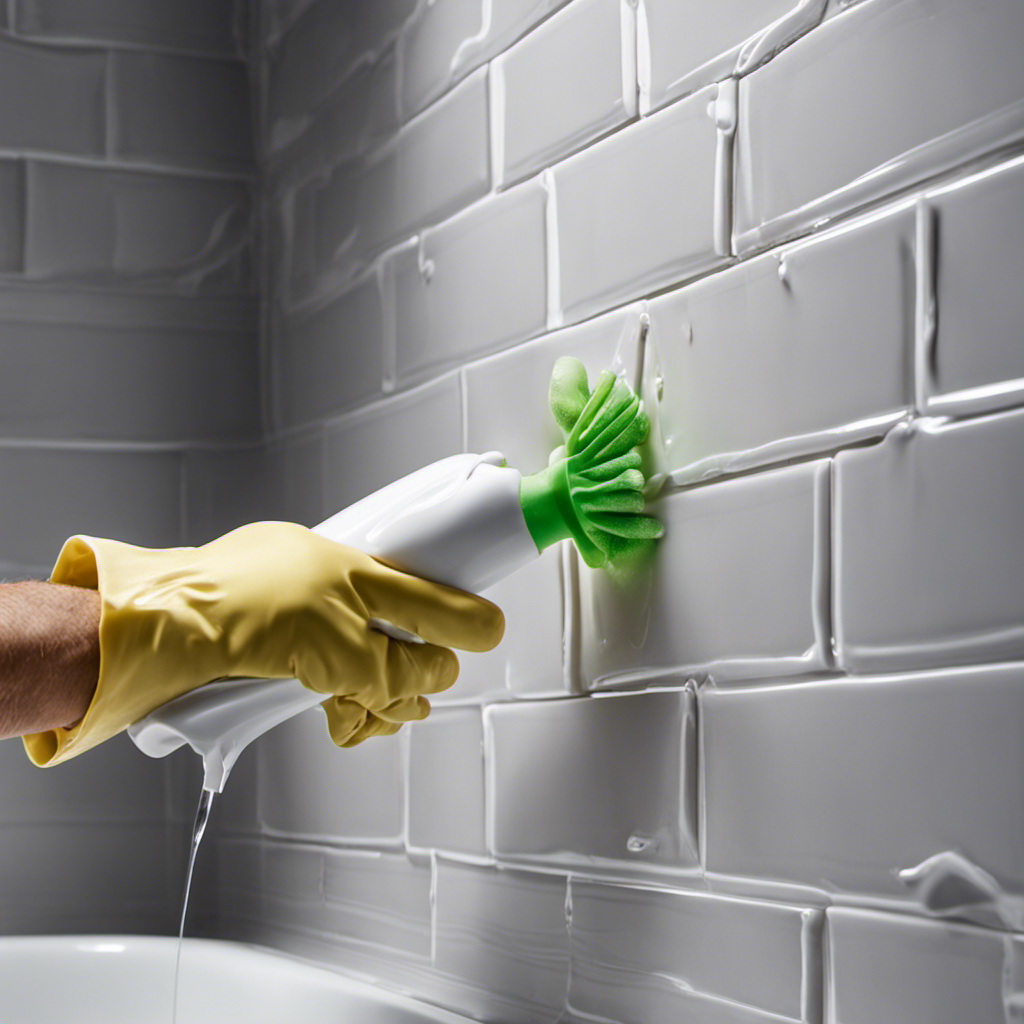
- Wear protective gear: To protect yourself from any potential harm, wear gloves and safety goggles.
- Turn off the water supply: Before removing the drain, make sure to turn off the water supply to prevent any leaks or flooding.
- Clear the area: Remove any items or debris from around the bathtub to create a clear working space.
- Inspect the drain: Check the condition of the drain and surrounding area for any signs of damage or corrosion.
- Follow instructions: Read the manufacturer’s instructions carefully to understand the correct procedure for removing the drain.
Removing the Drain Cover
To begin, make sure the area around the drain cover is clear of any objects or debris. This step is crucial for proper bathtub drain maintenance and preventing drain clogs.
Using a screwdriver, carefully remove the screws that hold the drain cover in place. Once the screws are removed, gently lift the drain cover off the drain assembly. Take a close look at the drain cover and clean any hair or residue that may have accumulated on it. This will help improve water flow and prevent future clogs.
With the drain cover removed, you can now move on to disconnecting the drain assembly, which we will discuss in the next section.
Disconnecting the Drain Assembly
Once you’ve finished cleaning the drain cover, it’s time to disconnect the drain assembly. This step is crucial in order to remove the bathtub drain. Here are some important points to keep in mind:
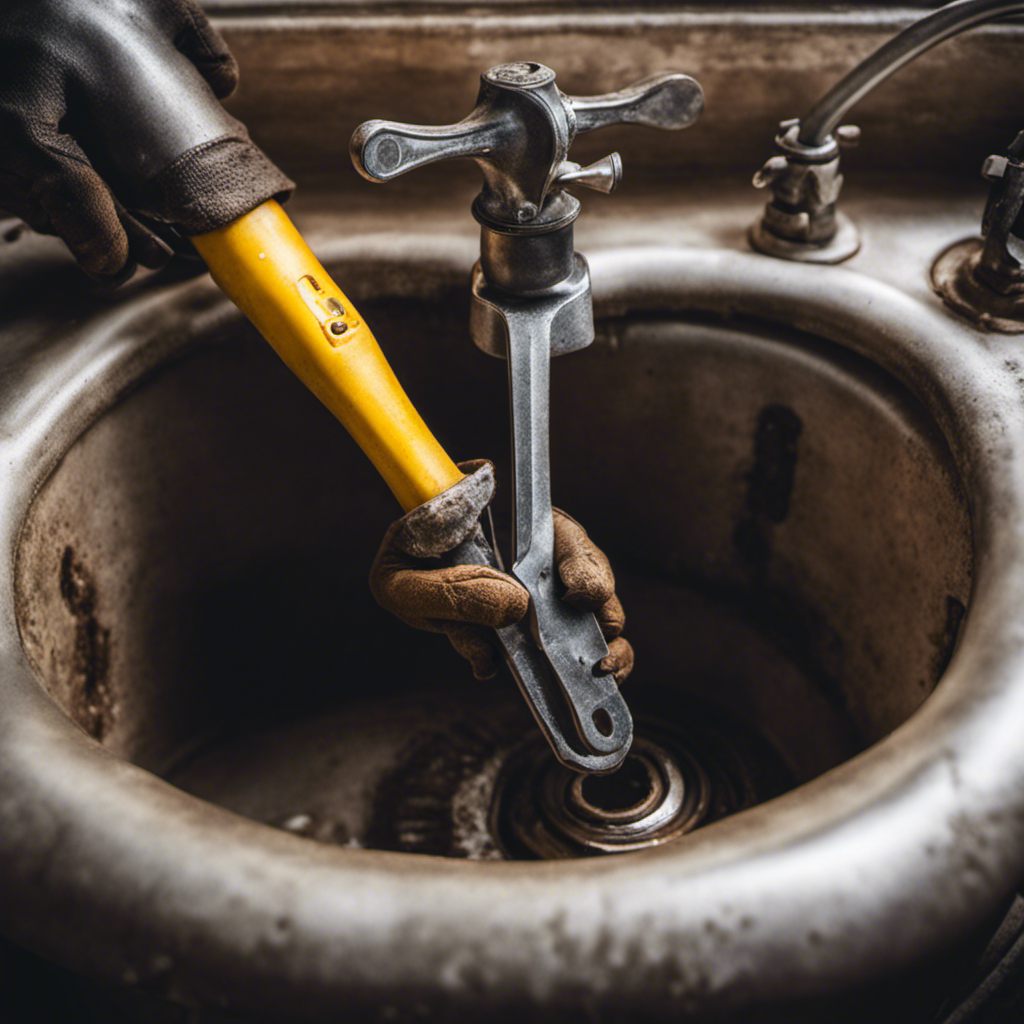
- Use the appropriate tools for removing the drain assembly, such as a drain wrench or pliers.
- Ensure that you have turned off the water supply to the bathtub to avoid any accidents.
- Loosen the drain assembly by turning it counterclockwise with the wrench or pliers.
- Be cautious not to apply excessive force, as this can damage the pipes or the drain assembly itself.
- Take your time and work slowly to avoid stripping or breaking any parts.
Removing the Drain Flange
When it comes to removing the drain flange in a bathtub, there are a few key points to keep in mind.
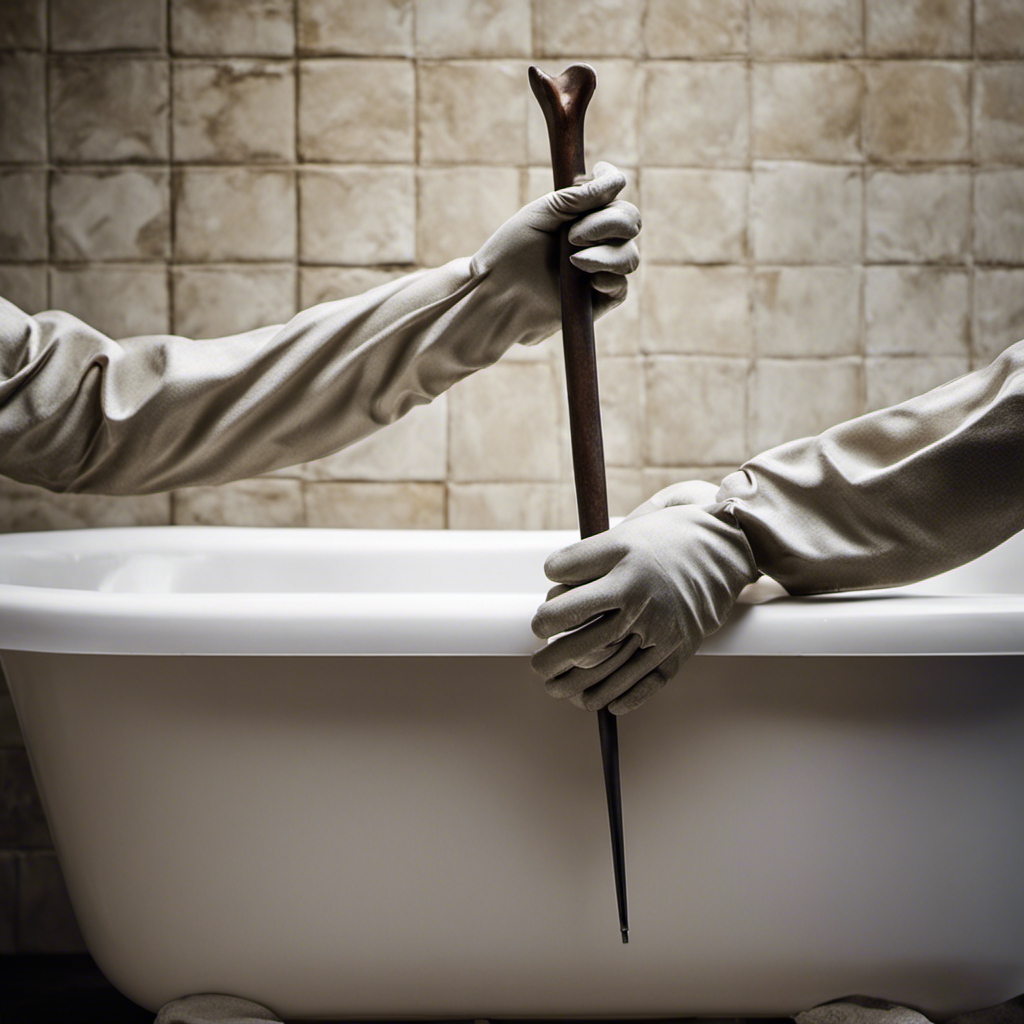
First, you’ll need a few tools for the removal process, including a drain wrench or pliers and a screwdriver.
The step-by-step removal process involves loosening the flange with the wrench or pliers, removing any screws or clips, and then carefully pulling out the flange.
Additionally, it’s important to be aware of common issues that may arise during the removal process, such as rusted or stuck flanges, which may require additional steps or tools for successful removal.
Tools Needed for Removal
First, you’ll want to gather the necessary tools for removing the bathtub drain. Here are the tools you will need:
- Screwdriver (flathead or Phillips, depending on the type of screws)
- Plunger
- Drain key or drain removal tool
- Adjustable wrench
- Bucket or container for catching water
Having the right tools is essential for a successful bathtub drain installation or repair. The screwdriver will help you remove any screws holding the drain cover in place. The plunger can be used to loosen the drain flange if it’s stuck. The drain key or removal tool is necessary for unscrewing the drain flange itself. An adjustable wrench will come in handy for loosening or tightening any connections. Lastly, having a bucket or container nearby will prevent any water from splashing onto the floor.
Now that you have gathered your tools, let’s move on to the step-by-step removal process.
Step-By-Step Removal Process
Now that we know the tools needed for removing a bathtub drain, let’s move on to the step-by-step removal process. Before starting, it’s important to take some drain removal precautions to ensure a smooth and safe process.
Firstly, make sure to turn off the water supply to the bathtub to avoid any accidental flooding. Additionally, wear protective gloves and goggles to protect yourself from any potential harm.
To remove the drain, follow these steps:
- Start by removing the drain cover using a screwdriver or pliers.
- Use a drain key or pliers to loosen the drain body by turning it counterclockwise.
- Once loose, pull out the drain body gently using pliers or a drain removal tool.
- Clean the drain area thoroughly and inspect for any damage or blockages before installing a new drain.
However, if you encounter any difficulties during the removal process, there are alternative drain removal methods you can try. These include using a drain extractor tool or hiring a professional plumber for assistance.
Troubleshooting Common Issues
If you encounter any difficulties during the removal process, there are alternative methods you can try to troubleshoot common issues. Here are some troubleshooting tips to help you with your bathtub drain clog and bathtub drain repair:
- Use a plunger to try and dislodge the clog.
- Use a drain snake to remove any debris or hair that may be causing the clog.
- Mix baking soda and vinegar, let it sit for a while, and then flush it with hot water to dissolve the clog.
- If none of these methods work, you can try using a chemical drain cleaner, but be cautious and follow the instructions carefully.
- If all else fails, it might be time to call a professional plumber for assistance.
Once you have successfully removed the bathtub drain, it’s important to clean the drain area thoroughly to prevent future clogs and maintain proper drainage.
Cleaning the Drain Area
To clean the drain area, you’ll want to start by removing any visible debris from the surface. This step is crucial in maintaining a healthy drain system.
I recommend using cleaning products specifically designed for drain maintenance. These products are effective in breaking down and removing any build-up or clogs that may be present. Simply apply the cleaning product to the drain area, following the instructions on the packaging.
Allow the product to sit for the recommended amount of time to ensure maximum effectiveness. Afterward, use a brush or a cloth to scrub the drain area, ensuring that all debris and residue are removed.
Installing a New Bathtub Drain
When it comes to replacing a bathtub drain, there are a few options to consider. You can choose between a traditional drain or a push and lock drain, depending on your preference and budget.
In terms of tools and materials, you will need a drain removal tool, plumbers putty, and a new drain kit, which includes the drain body and stopper.
Drain Replacement Options
There’s a variety of drain replacement options available for your bathtub. Whether you’re looking to replace a worn-out drain or upgrade to a more modern style, there are choices to fit every budget and skill level.
Here are some options to consider:
-
Standard replacement drain: This is a simple and affordable option that will fit most bathtubs. It’s a great choice if you’re on a tight budget.
-
Push-and-lock drain: These drains are easy to install and don’t require any tools. They have a sleek design and are a popular choice for DIYers.
-
Pop-up drain: This type of drain allows you to easily control the water flow with a simple push or pull mechanism. It’s a stylish and functional option for your bathtub.
-
Toe-touch drain: This drain is operated by simply touching it with your toe. It’s a convenient choice if you have limited mobility or just want a hands-free option.
-
Drain with built-in stopper: This type of drain eliminates the need for a separate stopper. It’s a space-saving option and adds a modern touch to your bathtub.
When considering drain replacement, it’s important to factor in the cost and your DIY skills. If you’re comfortable with plumbing work, you can save money by doing it yourself. However, if you’re unsure or don’t have the necessary skills, it’s best to hire a professional to ensure the job is done correctly.
Necessary Tools and Materials
You’ll need a few common tools and materials to successfully replace your bathtub drain.
To remove the drain without damaging the tub, you’ll need a drain key or pliers, a screwdriver, and a putty knife.
The drain key or pliers will allow you to unscrew the drain from the tub, while the screwdriver and putty knife will help you remove any screws or adhesive holding the drain in place.
It’s important to be careful when removing the drain to avoid scratching or cracking the tub.
Once the drain is removed, you’ll need to find replacement drain parts.
This can be done by measuring the diameter and length of your old drain and purchasing a new one that matches these measurements.
Frequently Asked Questions
How Often Should I Clean the Bathtub Drain Area?
I clean the bathtub drain area every month to prevent clogs. Regular maintenance helps prevent buildup of hair, soap scum, and other debris. It’s a simple task that can save you from costly repairs in the future.
Can I Use a Regular Screwdriver to Remove the Drain Cover?
No, a regular screwdriver may not be the best tool to remove a bathtub drain cover. It is recommended to use a drain key or a drain wrench for a more effective and secure removal.
Is It Necessary to Shut off the Water Supply Before Disconnecting the Drain Assembly?
Yes, it is necessary to shut off the water supply before disconnecting the drain assembly. This precaution ensures that no water flows while removing the drain, preventing any potential mess or accidents.
Can I Reuse the Old Drain Flange or Should I Buy a New One?
I can reuse the old drain flange, but there are benefits to buying a new one. A new flange ensures a proper fit and prevents leaks. It also gives the opportunity to update the style or material.
What Type of Sealant Should I Use When Installing a New Bathtub Drain?
When installing a new bathtub drain, it is important to choose the right type of sealant. The best sealant for this task would be a waterproof silicone caulk, as it provides a durable and watertight seal.
Conclusion
Removing a bathtub drain may seem like a daunting task, but with the right tools and steps, it can be done easily. By following the proper procedure, you can successfully remove the drain cover, disconnect the drain assembly, and remove the drain flange.
Remember to clean the drain area thoroughly before installing a new bathtub drain. This will ensure that the new drain fits properly and functions correctly.
For example, imagine a homeowner named Sarah who successfully removed her old bathtub drain and installed a new one, giving her bathtub a fresh and updated look. Sarah followed the steps carefully and used the necessary tools, making the process smooth and efficient.