
I’ve been there before – standing in a flooded bathroom, desperately trying to fix a clogged bathtub drain. But fear not, because I’ve got you covered.
In this article, I will guide you through the process of removing a bathtub drain flange. With a few simple tools and some easy-to-follow steps, you’ll be able to tackle this task like a pro.
So grab your wrench and let’s get started on freeing your drain and restoring your peace of mind.
Key Takeaways
- Choose a replacement flange that matches the size and material of the existing one.
- Prioritize safety by wearing protective gloves and goggles when preparing the bathtub.
- Determine the type of drain stopper and use the appropriate method for removal.
- Use pliers, penetrating oil, a drain wrench, or heat to loosen and remove the drain flange.

HAUTMEC Tub Drain Remover Wrench Tool Heavy Duty Aluminum Shower Bathtub Drain Removal Tool PL0030
The dual ended tub drain wrench fits most inner diameter 1 3/8" and 1 1/2" tub drain shoe,ideal…
As an affiliate, we earn on qualifying purchases.
As an affiliate, we earn on qualifying purchases.
Tools Needed
To remove the bathtub drain flange, you’ll need a few tools. Troubleshooting common bathtub drain issues can be frustrating, but with the right tools, you can easily replace the flange and solve the problem.
Firstly, you’ll need a pair of pliers to remove the old flange. Make sure to choose pliers that have a good grip to ensure a secure hold on the flange.
Additionally, you’ll need a screwdriver to loosen any screws or bolts holding the flange in place.
When choosing the right bathtub drain flange replacement, consider the size and material of the existing flange. Measure the diameter of the old flange and choose a replacement that matches it.
As for the material, stainless steel or brass are popular choices for their durability and resistance to rust and corrosion.

Eastman Tip-Toe Bath Drain Assembly Kit with Flange and Drain Washer, 1-1/2 Inch x 11.5 Inch Coarse Thread, Chrome Plated, 35235
BATH DRAIN STOPPER KIT: Bathtub drain stop kit makes for an excellent addition to any home bathroom
As an affiliate, we earn on qualifying purchases.
As an affiliate, we earn on qualifying purchases.
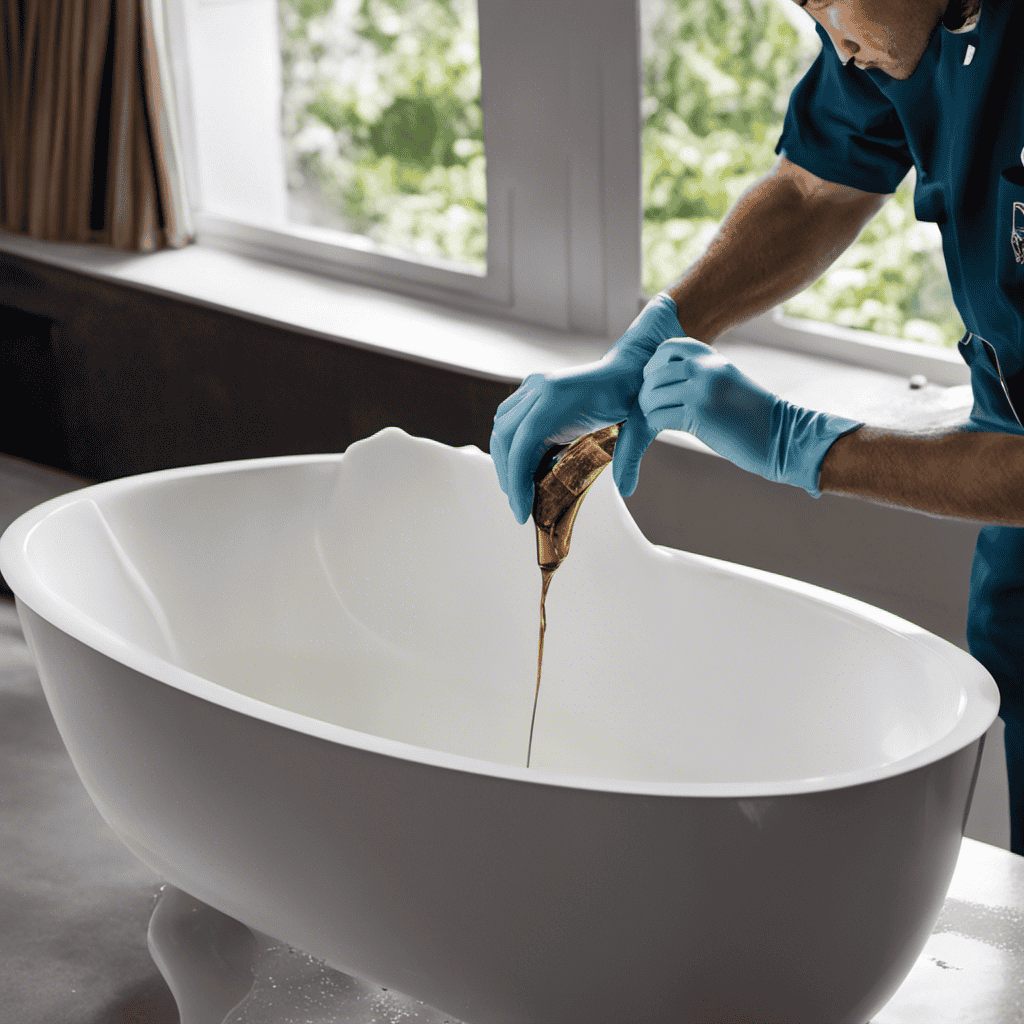
Preparing the Bathtub
Start by making sure the area around the drain is clear of any debris or objects. This step is crucial to ensure a smooth and efficient process for bathtub maintenance.
Here are some key points to consider:
- Safety: Prioritize your safety by wearing protective gloves and goggles.
- Tools: Prepare the necessary tools such as a screwdriver, pliers, and a drain wrench.
- Inspect: Thoroughly inspect the drain flange for any signs of damage or corrosion.
- Clean: Use a mild cleaning solution to clean the drain and remove any buildup or residue.
By following these steps, you can effectively prepare your bathtub for drain flange removal.
HAUTMEC Tub Drain Remover Wrench Tool Heavy Duty Aluminum Shower Bathtub Drain Removal Tool PL0030
The dual ended tub drain wrench fits most inner diameter 1 3/8" and 1 1/2" tub drain shoe,ideal…
As an affiliate, we earn on qualifying purchases.
As an affiliate, we earn on qualifying purchases.
Removing the Drain Stopper
Check if the drain stopper is screwed in or if it can be lifted up and removed easily. This step is crucial in determining the type of bathtub drain you have and how to proceed with removing the drain stopper.
There are several common problems that can occur with drain stoppers, such as clogs, hair buildup, or a broken linkage.
If the drain stopper is screwed in, you can use a screwdriver to loosen it counterclockwise until it comes off.
If it can be lifted up and removed easily, you can simply pull it out of the drain. It is important to be gentle and avoid using excessive force to prevent any damage to the drain or stopper.
HAUTMEC Tub Drain Remover Wrench Tool Heavy Duty Aluminum Shower Bathtub Drain Removal Tool PL0030
The dual ended tub drain wrench fits most inner diameter 1 3/8" and 1 1/2" tub drain shoe,ideal…
As an affiliate, we earn on qualifying purchases.
As an affiliate, we earn on qualifying purchases.
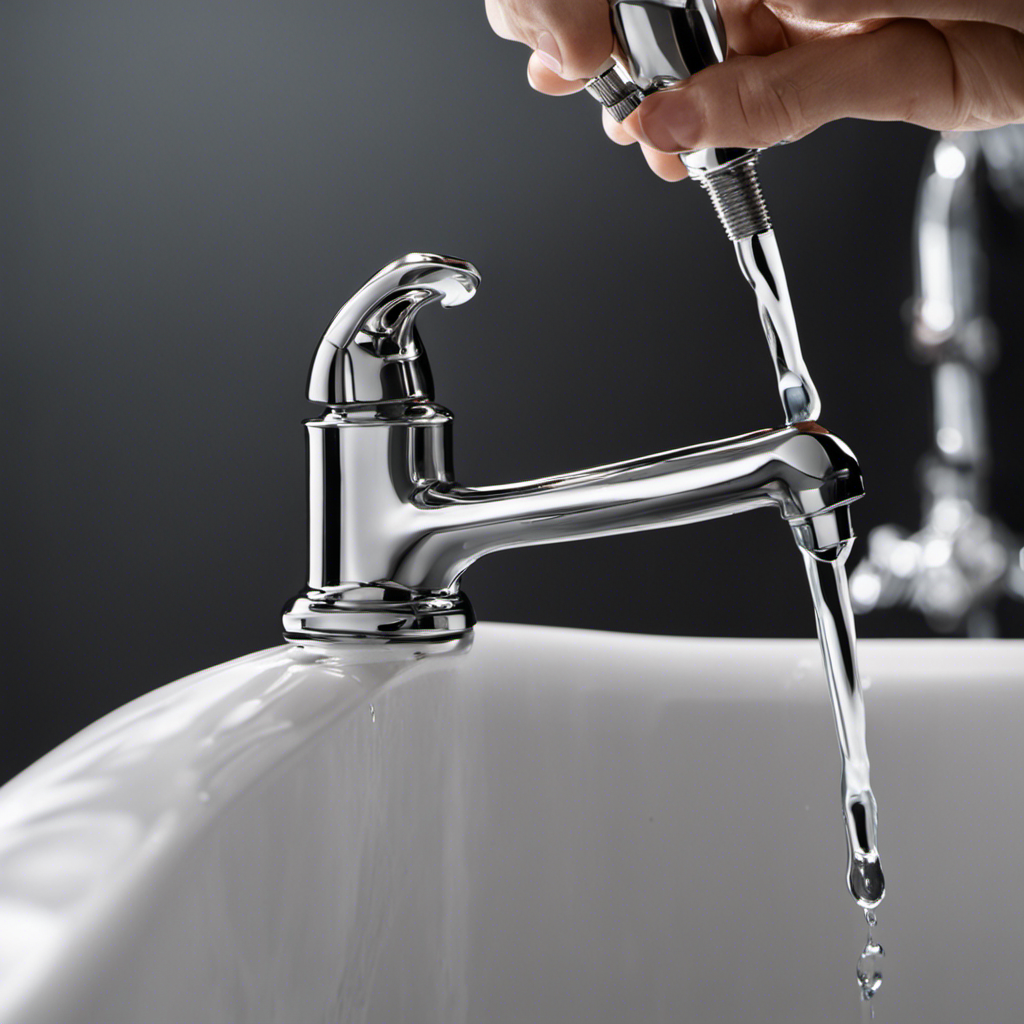
Loosening the Drain Flange
You’ll need a pair of pliers to loosen the drain flange.
When it comes to removing the bathtub drain flange, there are a few alternative methods you can try. However, it’s important to be aware of common mistakes that can lead to more damage or frustration.
Here are some tips to keep in mind:
- Apply penetrating oil: This can help loosen any rust or corrosion that may be holding the flange in place.
- Use a drain wrench: This specialized tool provides a better grip and leverage to remove the flange.
- Heat it up: Applying heat to the flange can expand the metal and make it easier to remove.
- Tap it gently: Lightly tapping the flange with a mallet or hammer can help break any seal or adhesive.
Removing the Drain Flange
To make the removal process easier, it’s best to first try applying heat or tapping the flange gently. If these methods don’t work, you may need to replace the drain flange altogether. Here are some common issues you may encounter when removing a drain flange and how to troubleshoot them:
| Common Issue | Troubleshooting |
|---|---|
| Rust | Apply penetrating oil to the threads and let it sit for a few minutes. Use a pipe wrench to loosen the flange by turning it counterclockwise. |
| Corrosion | Use a wire brush or sandpaper to remove the corrosion. Apply a lubricant to help loosen the flange. |
| Stuck flange | Tap the flange gently with a rubber mallet to loosen it. If it’s still stuck, use a drain flange removal tool for added leverage. |
| Broken flange | Use a hacksaw to cut the flange into smaller pieces for easier removal. Be careful not to damage the drain pipe. |
| Stripped threads | Use a drain flange removal tool to grip the flange and turn it counterclockwise. If that doesn’t work, you may need to replace the entire drain assembly. |
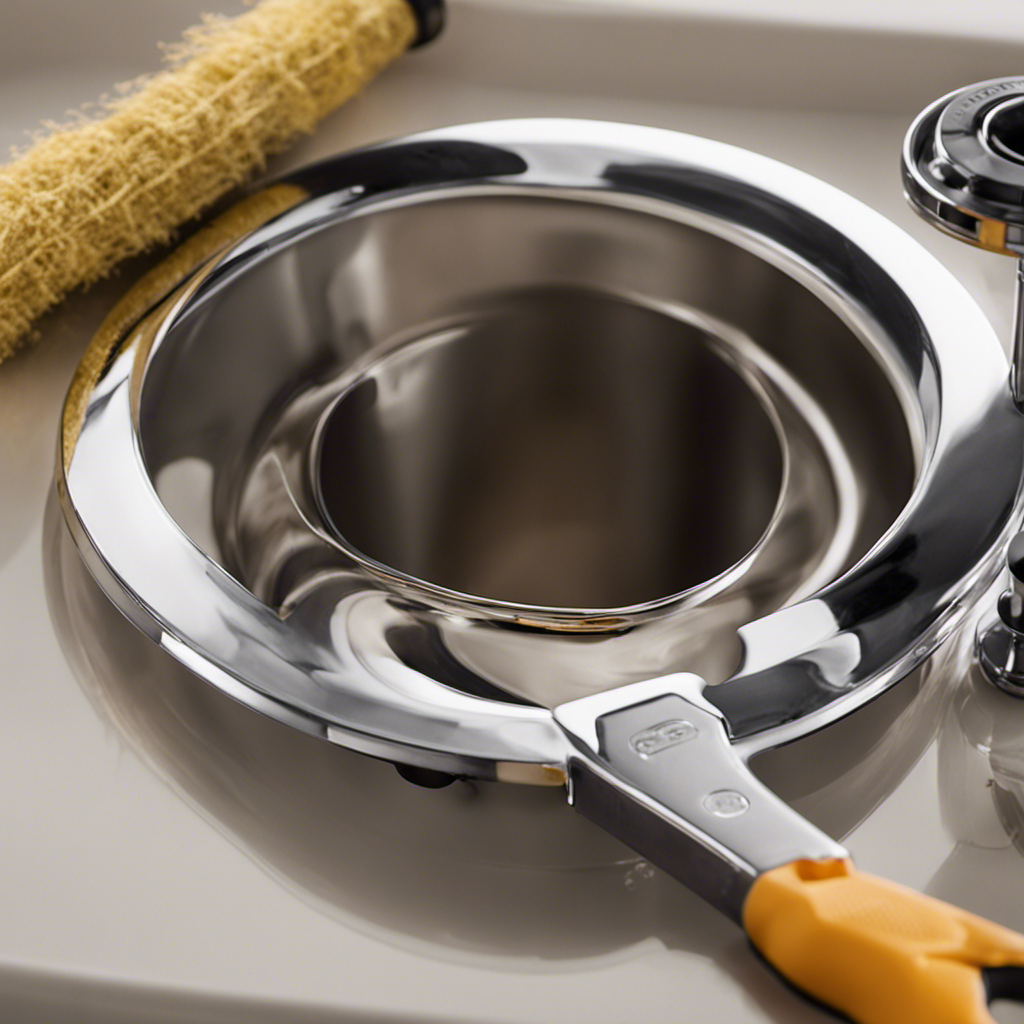
Cleaning and Reinstalling the Drain Flange
Once the drain flange has been cleaned, it’s important to carefully reinstall it to ensure a proper fit. To achieve this, follow these steps:
- Inspect the drain flange: Before reinstalling, check for any damage or corrosion that may affect its performance.
- Apply plumber’s putty: Roll the putty into a thin rope and place it around the underside of the drain flange.
- Insert the drain flange: Carefully align the flange with the drain hole and press it down firmly.
- Tighten the retaining nut: Use a drain wrench to secure the flange in place by tightening the retaining nut underneath.
By following these cleaning techniques and the proper reinstallation process, you can ensure that your drain flange functions effectively and prevents any leaks or water damage.
Remember to double-check the tightness of the retaining nut to avoid any future issues.
Conclusion
In conclusion, removing a bathtub drain flange may seem like a daunting task, but with the right tools and preparation, it can be done smoothly.
By following the steps outlined in this article, you’ll be able to remove the drain flange with ease and ensure a clean and efficient bathtub.
Remember to clean and reinstall the drain flange properly to avoid any future issues.
So go ahead and give your bathtub the makeover it deserves, you’ll be glad you did!