Like a skilled plumber, I’ll guide you through the process of removing bathtub faucet handles. With a few simple steps and the right tools, you’ll have those handles off in no time.
First, we’ll shut off the water supply to ensure a safe working environment. Then, I’ll show you how to remove the decorative cap, unscrew the handle, and disconnect the cartridge or valve stem.
We’ll finish by removing the handle adapter or escutcheon plate and cleaning the faucet components.
Let’s get started!
Key Takeaways
- The first step in removing bathtub faucet handles is to shut off the water supply to prevent flooding or water damage.
- Removing the decorative cap of the handle should be done gently to avoid damaging it.
- Unscrew the handle by locating and removing the set screw, and use penetrating oil if it is stuck.
- The cartridge or valve stem can be disconnected by gripping and twisting it counterclockwise with pliers, or by using a cartridge removal tool.
Tools You Will Need
To remove the bathtub faucet handles, you’ll need a screwdriver and an adjustable wrench.
Start by turning off the water supply to the bathtub.
Look for the small hole or slot on the handle base, usually covered by a cap or button. Use the screwdriver to remove the cap and reveal the screw underneath.
Unscrew the screw using the screwdriver, and then carefully pull the handle off the stem.
Next, locate the retaining nut that holds the stem in place. Use the adjustable wrench to loosen and remove the nut.
Once the nut is removed, you can easily pull out the stem and replace it with a new one if necessary.
Remember to turn on the water supply and test the new handle before finishing the job.
Safety Precautions
Before you begin, make sure you’re taking the necessary safety precautions. Safe handling is crucial when it comes to removing bathtub faucet handles.
First, turn off the water supply to prevent any accidental leaks or water damage. This can usually be done by shutting off the main water valve.
Next, wear protective gloves to protect your hands from any sharp edges or potential injuries. It’s also important to use the right tools for the job, such as a screwdriver or an adjustable wrench, to avoid any accidents or damage to the faucet handles.
Additionally, be mindful of your surroundings and make sure you have enough space to work comfortably.
Step 1: Shut off the Water Supply
Make sure you’re shutting off the water supply before you proceed with the next steps. This is an important safety measure to prevent any accidental flooding or water damage. Here’s how you can shut off the water supply:
-
Locate the shut off valve: The shut off valve is usually located near the bathtub, either on the wall behind the faucet or under the sink. It may be a lever or a knob that you need to turn off.
-
Turn off the water supply: Once you’ve located the shut off valve, turn it clockwise to shut off the water supply. Make sure to turn it all the way until it stops to ensure that the water flow is completely shut off.
-
Check for water flow: After shutting off the valve, turn on the faucet to check if the water supply has been successfully shut off. If no water comes out, then you’re ready to proceed with removing the bathtub faucet handles.
Remember to always shut off the water supply before attempting any plumbing work to avoid any potential accidents or water damage.
Step 2: Remove the Decorative Cap
Now that we’ve successfully shut off the water supply, the next step in removing bathtub faucet handles is to tackle the decorative cap.
The decorative cap is the first layer that covers the screw holding the handle in place. To remove it, there are several techniques that can be used. One option is to pry it off with a flathead screwdriver. Another option is to use a special tool designed for cap removal.
Proper removal of the decorative cap is crucial. It allows access to the screw, ensuring a smooth and hassle-free handle removal process.
Decorative Cap Removal Techniques
To remove bathtub faucet handles, you can start by gently prying off the decorative cap using a flathead screwdriver. Here are three techniques to consider for removing the decorative cap:
-
Wiggle and pry: Apply gentle pressure to the cap and wiggle it back and forth to loosen it. Then, use the flathead screwdriver to carefully pry it off.
-
Heat and loosen: Use a hairdryer to apply heat to the cap. The heat will expand the material, making it easier to remove. Once heated, use the screwdriver to pry off the cap.
-
Twist and pull: Some decorative caps have a twist-lock mechanism. Hold the cap firmly and twist it counterclockwise to unlock it. Once unlocked, simply pull the cap off.
When removing the decorative cap, be cautious not to damage it, as it may be reused for decorative cap replacement or to explore alternative decorative cap designs.
Importance of Proper Removal
When removing the decorative cap, it’s important to be cautious and avoid damaging it, as it may be reused or replaced for decorative purposes.
However, despite the DIY approach being tempting, it’s crucial to understand the importance of professional help in removing bathtub faucet handles. Improper removal techniques can potentially cause significant damage to the bathtub, leading to costly repairs.
A professional plumber possesses the necessary skills and experience to perform the task correctly, minimizing the risk of any harm. They have the knowledge to identify the type of faucet and the right tools to use, ensuring a smooth and efficient removal process.
Don’t underestimate the complexity of the task; rely on a professional to avoid any potential damage to your beloved bathtub.
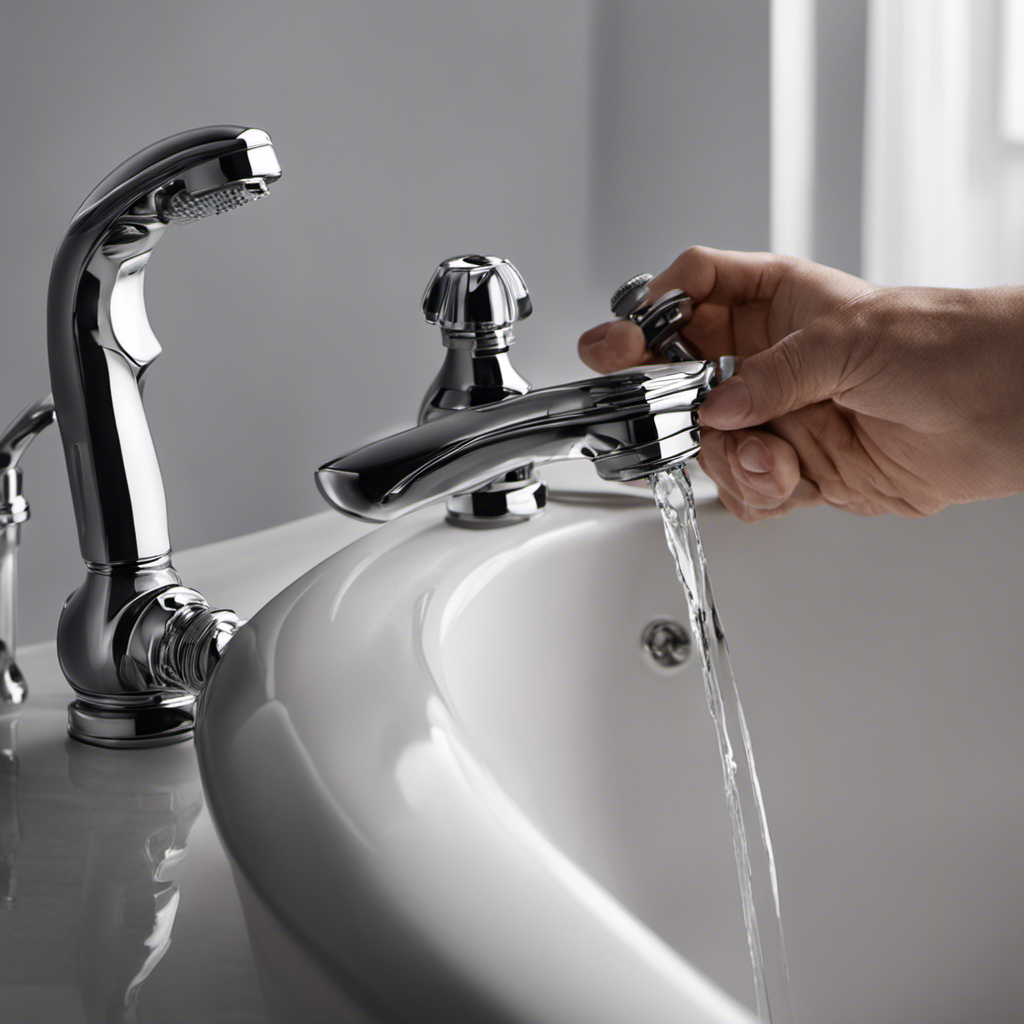
Step 3: Unscrew the Handle
First, you’ll need to locate the set screw on the handle. This small screw is usually located underneath a decorative cap or cover. Once you’ve found it, follow these steps to unscrew the handle:
-
Use a screwdriver or Allen wrench to loosen and remove the set screw. Make sure to turn it counterclockwise until it is completely loose.
-
Once the set screw is removed, gently pull the handle away from the faucet. It may require some wiggling or twisting to release it from the stem.
-
Be careful not to force the handle as it may break or cause damage to the faucet. If it feels stuck, try lubricating it with a small amount of penetrating oil and then try again.
Now that you’ve successfully removed the handle, you can proceed with the handle replacement process.
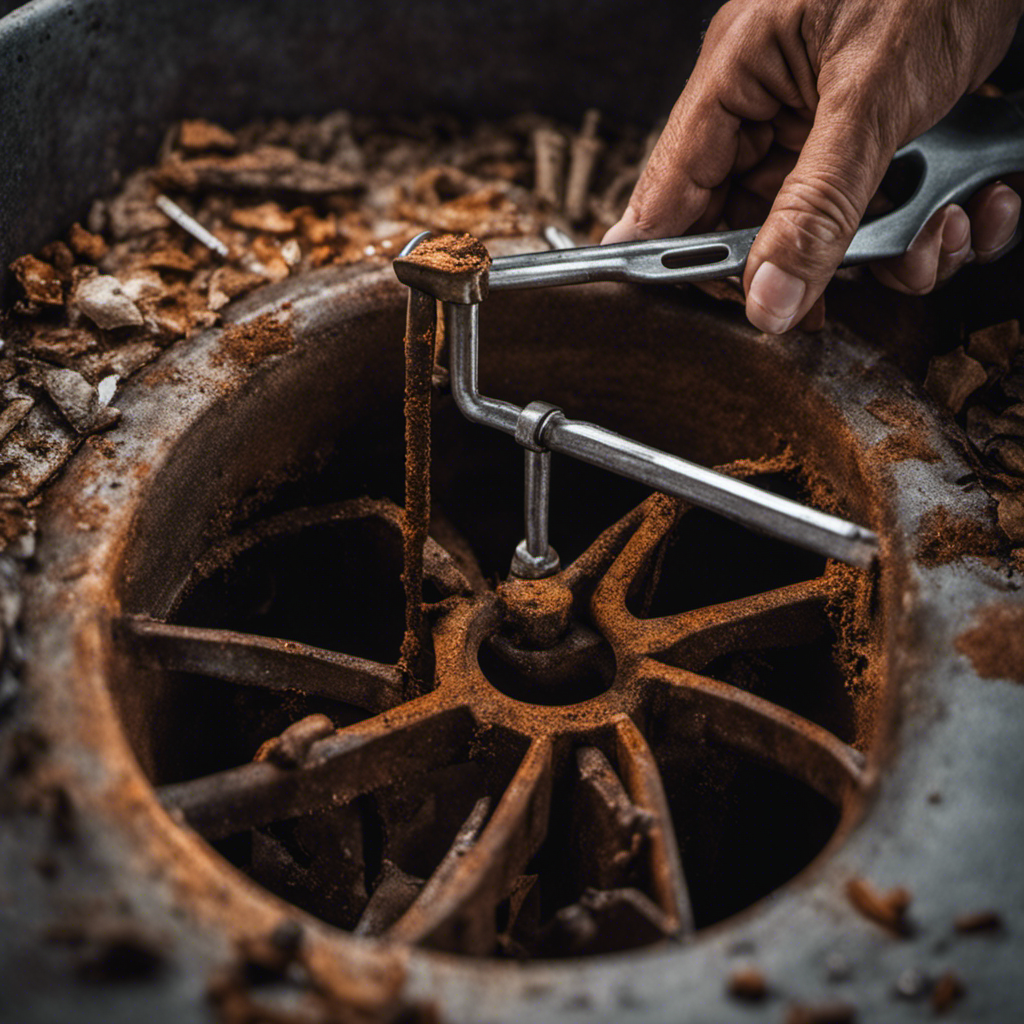
Step 4: Disconnect the Cartridge or Valve Stem
When it comes to disconnecting the cartridge or valve stem of a bathtub faucet, there are several methods that can be used.
One common method involves using a pair of pliers to grip and twist the cartridge or valve stem counterclockwise until it loosens and can be pulled out.
Another technique involves using a cartridge removal tool, specifically designed for this purpose, to unscrew and remove the cartridge or valve stem. These tools come in various sizes and shapes, allowing for a secure grip and easy removal.
Cartridge Removal Methods
To remove the cartridge, you’ll need to locate the retaining clip and pull it out using a pair of pliers. Here are the steps you should follow for cartridge removal:
-
Turn off the water supply to the bathtub faucet. This is crucial to prevent any water from spraying out during the removal process.
-
Remove the handle of the faucet by unscrewing the set screw located underneath or on the side of the handle. This will expose the cartridge.
-
Locate the retaining clip, which is usually a small metal or plastic piece holding the cartridge in place. Use a pair of pliers to grip the clip and carefully pull it out. Make sure to keep a firm grip to prevent it from flying off.
Once the retaining clip is removed, you can easily pull out the cartridge from its housing. This method is commonly used for cartridge replacement or troubleshooting techniques. Remember to refer to the manufacturer’s instructions for specific details regarding your bathtub faucet model.
Valve Stem Disconnection Techniques
To disconnect the valve stem, you need to locate the retaining nut and use a wrench to loosen it. The valve stem is a crucial component in your bathtub faucet, and if it is damaged or worn out, it may need to be replaced.
Troubleshooting faucet leaks often involves inspecting and replacing the valve stem. Start by turning off the water supply to the faucet. Next, remove the handle and escutcheon plate to access the valve stem. Locate the retaining nut, which holds the valve stem in place, and use a wrench to loosen it.
Once the nut is loose, you can easily disconnect the valve stem from the faucet assembly. Remember to replace the valve stem with a new one to ensure a proper seal and prevent future leaks.
Tools for Disconnecting
Using a wrench, you can easily loosen the retaining nut to disconnect the valve stem.
When it comes to removing faucet handles, having the right tools is crucial. Here are three essential tools to help you disconnect the handles effectively:
-
Adjustable wrench: This versatile tool allows you to grip and turn the retaining nut with ease. Its adjustable jaw size ensures a secure fit, preventing any damage to the nut or surrounding components.
-
Screwdriver: A flathead or Phillips screwdriver may be required to remove any screws securing the handle to the valve stem. Carefully unscrew these to release the handle from its position.
-
Allen wrench: Some faucet handles may have set screws that require an Allen wrench to loosen and remove. These screws are usually located on the side or back of the handle. Insert the appropriate-sized Allen wrench and turn counterclockwise to release the handle.
Step 5: Remove the Handle Adapter or Escutcheon Plate
Make sure you have a screwdriver ready to remove the handle adapter or escutcheon plate. This step is crucial in the process of removing bathtub faucet handles.
The handle adapter or escutcheon plate connects the handle to the valve stem, allowing you to control the flow of water. It is important to regularly clean the handle adapter to prevent any buildup or debris that can affect the smooth operation of the faucet.
Over time, the handle adapter may develop issues such as corrosion or loosening. By removing the handle adapter or escutcheon plate, you can address these common problems and ensure the proper functioning of your bathtub faucet.
Using a screwdriver, carefully unscrew the handle adapter or escutcheon plate and set it aside for cleaning or replacement if necessary.
Step 6: Clean and Inspect the Faucet Components
Once you have taken apart the handle adapter or escutcheon plate, it’s time to clean and inspect the various components of the faucet. Here are some faucet cleaning tips and steps to inspect the faucet components:
-
Clean the components: Use a mild soap and warm water solution to clean the handles, spout, and any other removable parts. Scrub gently with a soft brush or cloth to remove any dirt or grime. Rinse thoroughly and dry with a clean towel.
-
Inspect for damage: Check each component for any signs of wear, such as cracks, chips, or corrosion. Pay close attention to the gaskets, O-rings, and valves, as these are common areas for leaks to occur.
-
Replace faulty parts: If you notice any damaged or worn-out components, it’s important to replace them promptly. This will help prevent any future issues and ensure a properly functioning faucet.
Frequently Asked Questions
How Do I Know if My Bathtub Faucet Handles Need to Be Replaced?
If my bathtub faucet handles are leaking or showing signs of wear and tear, it might be time to replace them. I can fix a leaky bathtub faucet handle by removing and replacing it.
Can I Remove the Bathtub Faucet Handles Without Shutting off the Water Supply?
Sure, I can remove bathtub faucet handles without shutting off the water supply. First, I gather the necessary tools like a screwdriver and pliers. Then, I carefully unscrew the handle and detach it from the valve stem.
What Should I Do if the Decorative Cap Is Stuck and Won’t Come Off?
To safely loosen stuck bathtub faucet handles, start by removing stubborn decorative caps. Gently pry them off using a flathead screwdriver. Once the caps are off, you can proceed with removing the handles following the proper steps.
How Often Should I Clean and Inspect the Faucet Components?
When it comes to maintaining my bathtub faucet, I make sure to clean and inspect the components regularly. By doing so, I can spot any signs of wear and determine when it’s time to replace them.
Can I Use Any Type of Cleaner to Clean the Faucet Components, or Are There Specific Products I Should Use?
I recommend using specific products designed for cleaning faucet components. These are often the best option as they are formulated to effectively remove dirt and grime without causing damage. However, there are also some DIY alternatives that can be effective.
Conclusion
In conclusion, removing bathtub faucet handles may seem like a daunting task, but it can be done easily with the right tools and precautions. By following the steps outlined above, you can successfully dismantle and clean the faucet components.
Remember to always shut off the water supply before starting any work. This step is crucial to prevent any water damage or accidents.
Removing the faucet handles is like peeling back the layers of an onion, revealing the inner workings of your faucet. It can be a fascinating process to see how everything fits together.
So, grab your wrench and get ready to give your bathtub a fresh new look!

With an impeccable eye for detail and a passion for bathroom-related, Ava leads our editorial team gracefully and precisely.
Under her guidance, Best Modern Toilet has flourished as the go-to resource for modern bathroom enthusiasts. In her free time, you might find Ava exploring antique shops and looking for vintage bathroom fixtures to add to her collection.