Hey there! Did you know that removing a bathtub surround can completely transform the look of your bathroom? Well, I’m here to show you how it’s done.
In this article, I’ll guide you through the step-by-step process of removing a bathtub surround, from disconnecting and removing fixtures to cleaning and preparing the bathtub for a new installation.
With the right tools and a little know-how, you’ll be well on your way to a fresh and updated bathroom in no time.
So, let’s get started!
Key Takeaways
- Use the proper tools and safety precautions, such as a utility knife, pry bar, and protective gloves, to safely remove the bathtub surround.
- Prepare the surrounding area by removing caulk or adhesive, locating and removing screws or nails, and assessing and repairing any damage to the walls.
- Disconnect and remove fixtures by turning off the water supply, using wrenches or pliers to disconnect plumbing connections, and unscrewing or unclipping fixtures from their mounts.
- Remove the surround panels by locating and removing screws or clips, gently pulling the panels away from the wall, and setting aside any cracked or damaged panels for repair or replacement.
Tools and Materials Needed
You’ll need a utility knife, pry bar, and caulk remover to remove the bathtub surround.
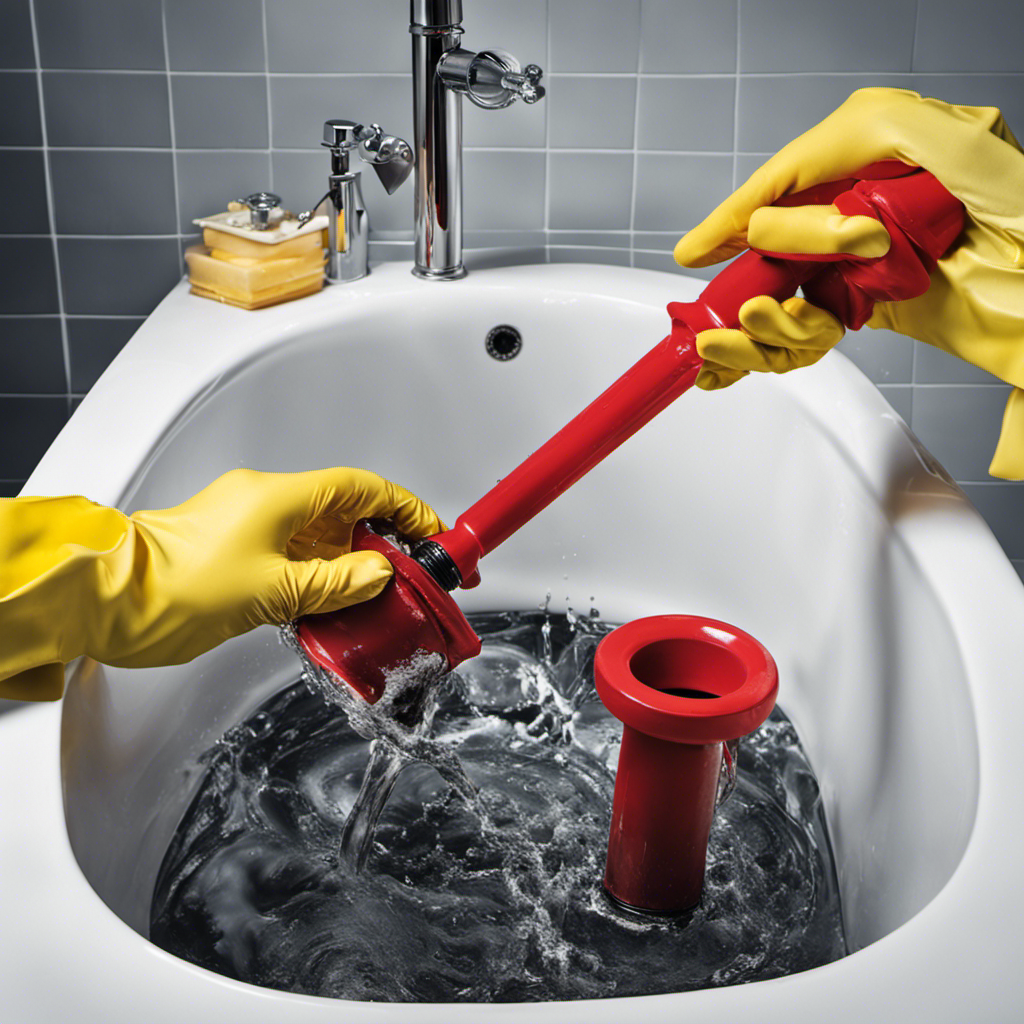
Before starting, it’s important to take safety precautions to avoid any accidents or injuries. Make sure to wear protective gloves and eyewear to protect your hands and eyes. Additionally, ensure that the bathroom is well-ventilated to avoid inhaling any dust or fumes.
One common mistake people make when removing a bathtub surround is not properly preparing the area. Take the time to clear out any personal items or accessories around the tub to create a clear workspace.
Another common mistake is rushing the removal process. Take your time and work carefully to avoid damaging the surrounding walls or plumbing fixtures.
Preparing the Surround for Removal
Before starting, it’s important to ensure that the area surrounding the bathtub is cleared and ready for removal.
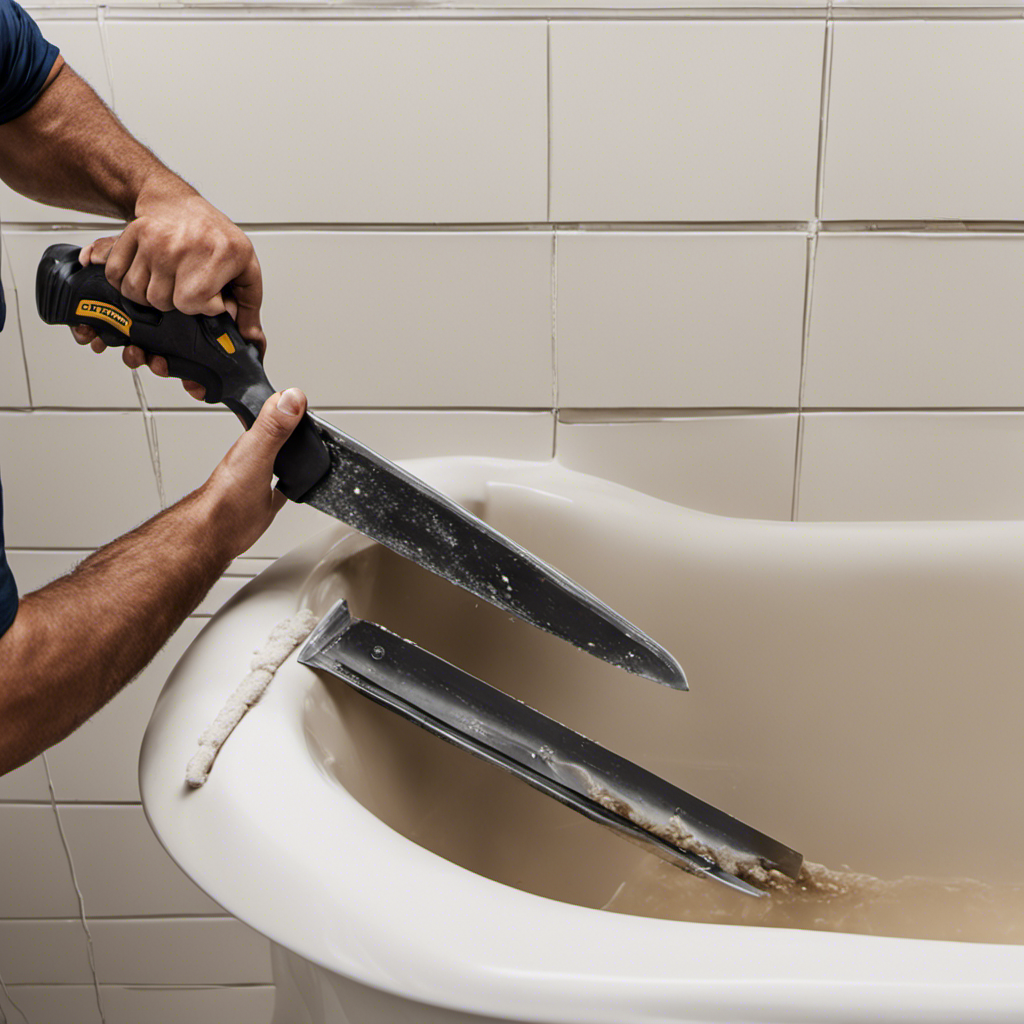
To begin, I recommend using demolition techniques to carefully remove the bathtub surround. Start by removing any caulk or adhesive using a scraper or putty knife. Then, locate the screws or nails holding the surround in place and remove them using a screwdriver or pry bar.
Once the surround is loose, gently pull it away from the wall, taking care not to damage the surrounding area.
After removing the surround, assess the condition of the walls. If any damage has occurred during the removal process, you may need to repair the walls before installing a new surround. Patch any holes or cracks using spackle or joint compound, and sand the area smooth before applying a fresh coat of paint.
Disconnecting and Removing Fixtures
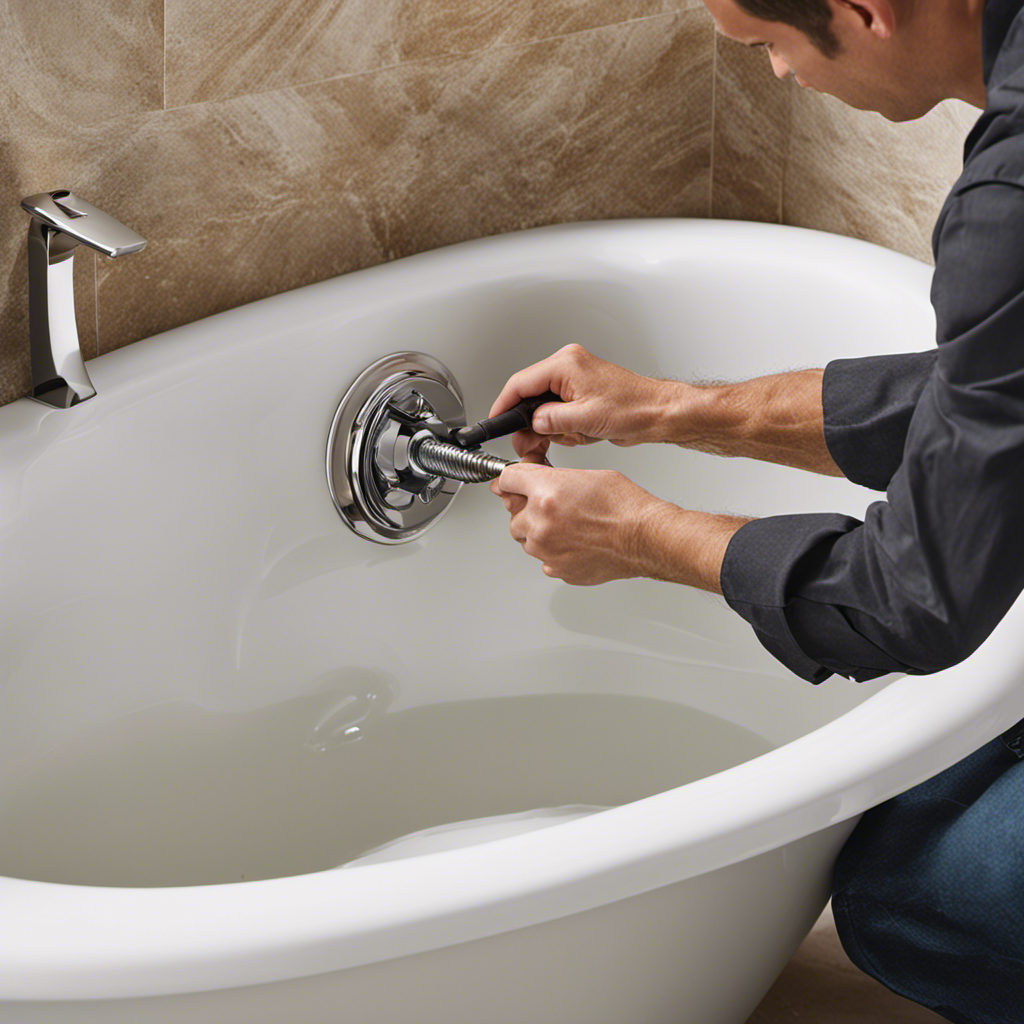
To disconnect and remove fixtures, start by turning off the water supply and disconnecting the plumbing using a wrench or pliers.
Here are the steps I followed to disconnect and remove fixtures:
-
Turn off the water supply: Locate the shut-off valves for the fixtures you want to disconnect. Turn the valves clockwise until they are fully closed to stop the water flow.
-
Disconnect the plumbing: Use a wrench or pliers to loosen the nuts connecting the plumbing to the fixtures. Turn the nuts counterclockwise to loosen them and remove the plumbing connections.
-
Remove the fixtures: Once the plumbing is disconnected, you can remove the fixtures by unscrewing or unclipping them from their mounts. Be careful not to damage the surrounding walls or surfaces.
Removing the Surround Panels
Once the plumbing connections are disconnected, I carefully unscrew or unclip the panels from their mounts to safely remove them.
Removing bathtub surround panels is necessary for repairing cracked or damaged panels, as well as replacing outdated or worn ones.
To start, I locate and remove any screws or clips that are securing the panels in place. I take care to avoid damaging the surrounding tiles or other fixtures.
With the panels loose, I gently pull them away from the wall, being mindful of any caulking or adhesive that may be holding them in place.
If there are any cracked or damaged panels, I set them aside for repair or replacement.
This step-by-step process ensures a successful removal of the bathtub surround panels.
Cleaning and Preparing the Bathtub for New Installation
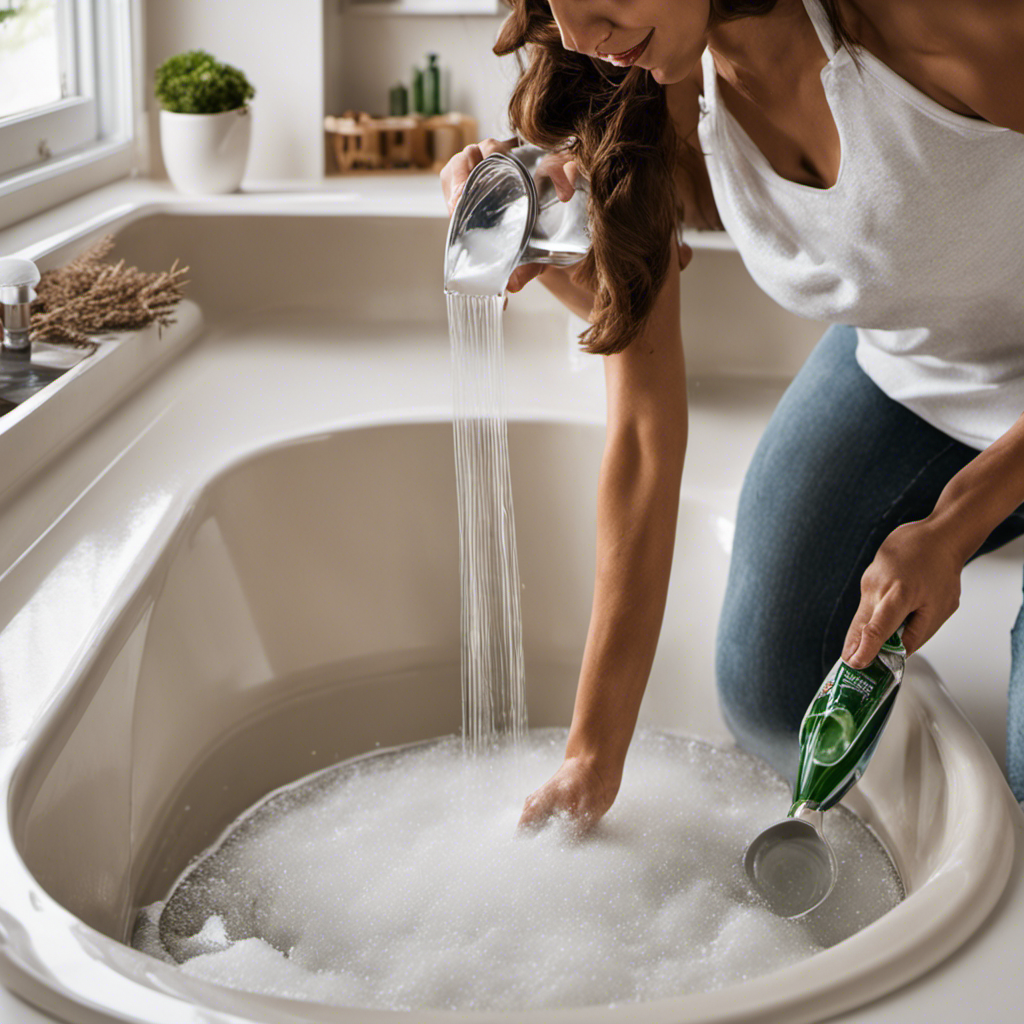
After removing the panels, I wipe down the bathtub and use a cleaning solution to remove any dirt or residue. It’s important to thoroughly clean the bathtub before installing a new surround to ensure a proper fit and minimize the risk of any issues in the future.
Here are some cleaning techniques I find helpful:
-
Scrubbing: I use a non-abrasive sponge or brush and gently scrub the entire surface of the bathtub, paying special attention to any stubborn stains or grime.
-
Vinegar solution: To remove any soap scum or mineral deposits, I mix equal parts white vinegar and water in a spray bottle and spray it onto the bathtub. After letting it sit for a few minutes, I scrub and rinse thoroughly.
-
Bleach solution: For more stubborn stains or mold and mildew, I use a bleach solution (1 part bleach to 10 parts water) and apply it to the affected areas. I let it sit for a few minutes before scrubbing and rinsing.
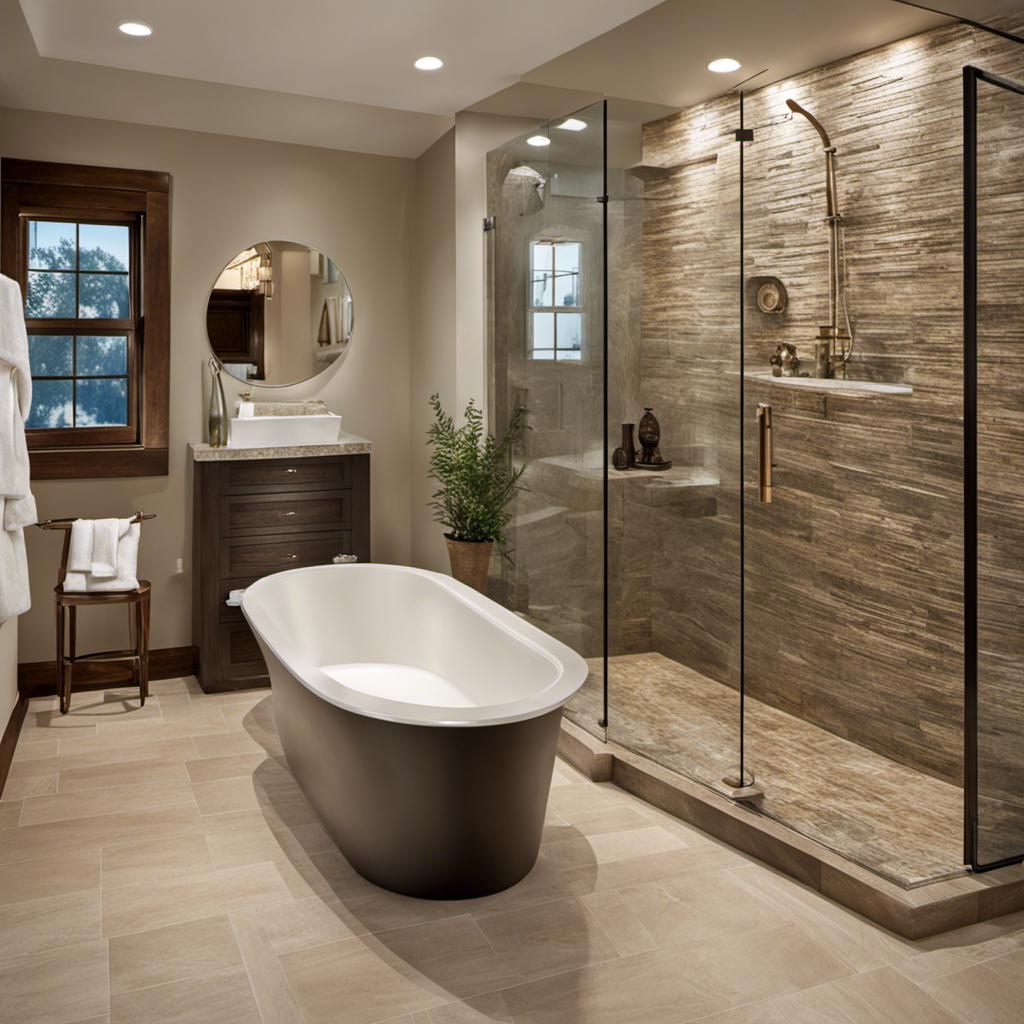
When choosing a new bathtub, it’s essential to consider factors such as size, material, and style to ensure it meets your needs and preferences.
Conclusion
After going through the process of removing a bathtub surround, I must say it was quite an adventure. From disconnecting fixtures to carefully removing the panels, it was a journey of discovery and hard work.
But now, my bathtub is ready for a fresh start, a new installation. It’s like a rebirth for my bathroom, a transformation that brings a sense of excitement and anticipation.
So, if you’re ready to take on this task, be prepared for a fulfilling and satisfying experience.