Did you know that over time, bathtub drains can become clogged or start to show signs of wear and tear? If you’re facing this issue, fear not!
In this article, I will guide you through the process of removing an old bathtub drain. With just a few simple tools and a little bit of patience, you can successfully tackle this task and restore your bathtub to its former glory.
So let’s get started!
Key Takeaways
- It is important to assess the condition and type of bathtub drain before attempting to remove it.
- There are different types of bathtub drains including lift-and-turn, push-and-pull, toe-tap, trip lever, and pop-up.
- Each drain type has its own characteristics and operation methods, so it is essential to understand them before removal.
- Selecting a replacement drain based on the identified type is crucial for proper installation.

4 Pack Washable Filter For Roborock Q5 Pro/Pro+(Plus)/ Max+(Plus)/ DuoRoller+, Q7/ Q7+, Q7 Max/Max+, Q8 Max/Max+ Robot Vacuum Cleaner Accessories Replacement Part True HEPA Filter For Robotic
Compatible Models: The True HEPA washable filter replacement parts are compatible with Roborock Q7, Q7+(Plus), Q7 Max, Q7...
As an affiliate, we earn on qualifying purchases.
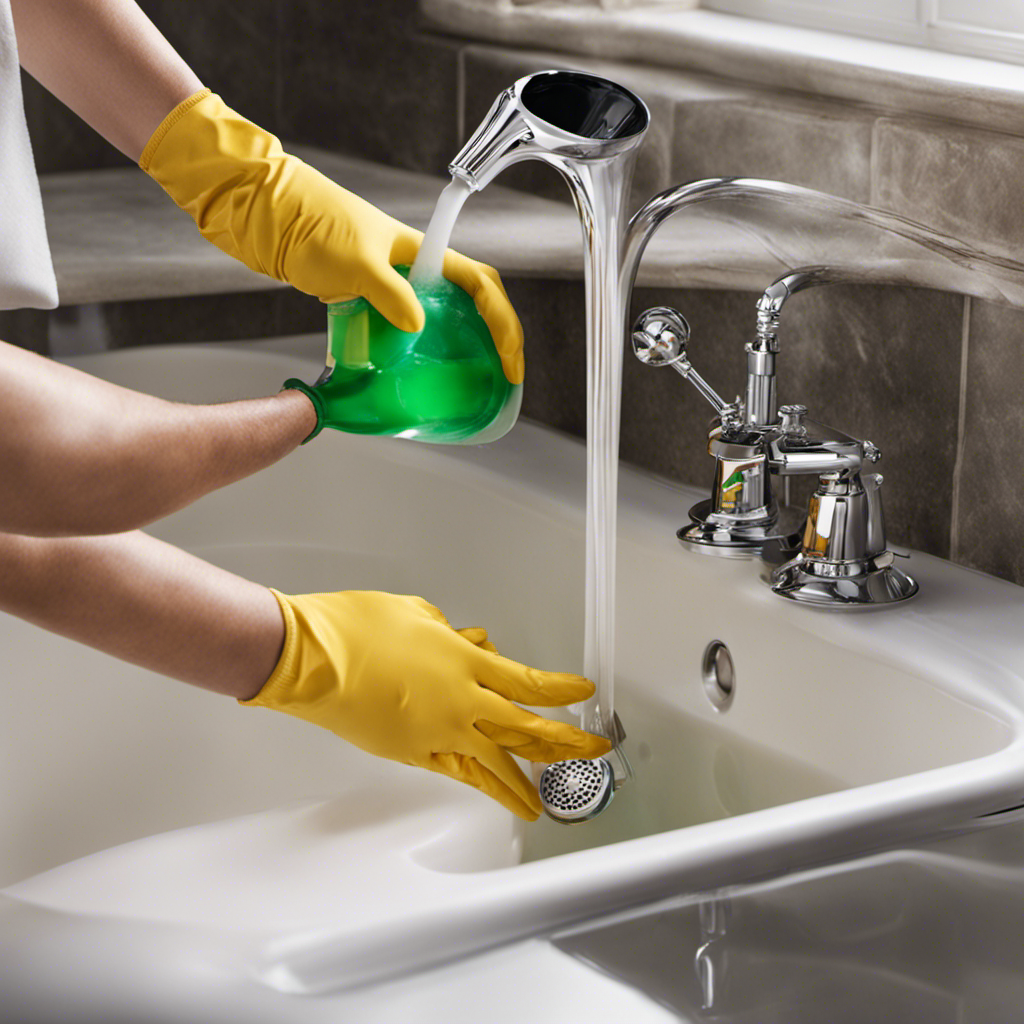
Tools and Materials Needed
To remove the old bathtub drain, you’ll need a pair of pliers and a screwdriver. These tools are essential for a successful removal process.
Here are the step-by-step instructions on how to remove the old bathtub drain.
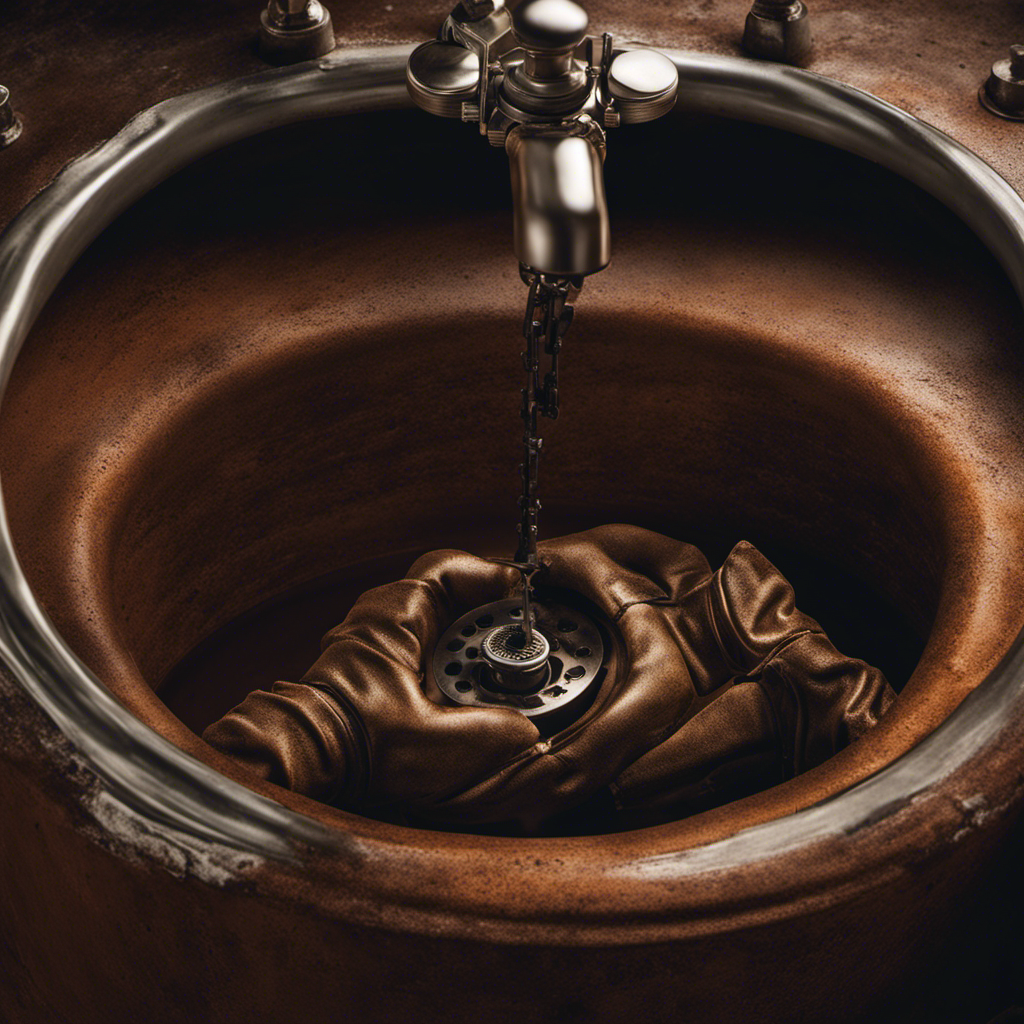
First, locate the drain cover and remove it by unscrewing any screws holding it in place. Once the cover is off, you’ll see the drain basket. Take the pliers and grip the edges of the drain basket firmly. Rotate it counterclockwise to loosen it. If it’s too tight, you can use the screwdriver for extra leverage. Once the drain basket is loose, continue turning it until it comes off completely.
With the old drain removed, you can now assess the drain type and proceed with the necessary steps for the next stage of the process.

De'Longhi Magnifica Evo Next Fully Automatic Espresso Machine - Programmable Coffee Maker with Grinder and Milk Frother - Hot & Cold Brewer for Espresso, Latte, Cappuccino, Americano, Tea and More
#1 Super Automatic Espresso Maker in the US*, *Source: Circana Retail Tracking Service, Unit Share, Jan. 2025 -...
As an affiliate, we earn on qualifying purchases.
Assessing the Drain Type
First, take a moment to determine what type of drain you have in your bathtub. Evaluating the drain condition is an important step in the process of removing an old bathtub drain. Different types of drains may require different methods for removal, so it’s crucial to identify the specific type before proceeding. Here is a table that provides an overview of the most common types of bathtub drains and their characteristics:
| Drain Type | Description | Removal Method |
|---|---|---|
| Lift-and-Turn | Requires twisting and lifting to open and close | Use a pair of pliers to twist counterclockwise |
| Push-and-Pull | Operates by pushing down and pulling up | Insert a screwdriver and push down to release |
| Toe-Tap | Activated by tapping with your toe | Unscrew the stopper counterclockwise |
| Trip Lever | Operated by a lever on the overflow plate | Remove the overflow plate and unscrew the drain |
| Pop-Up | Pops up and down with a push of a button or knob | Unscrew the stopper counterclockwise |
Once you have evaluated the drain condition and determined the type, you can proceed to selecting a replacement drain. This will ensure that the new drain fits properly and functions correctly. With the right replacement drain in hand, you will be ready to move on to the next step of removing the bathtub stopper.

De'Longhi Replacement Water Filter for Select Espresso Machines, DLSC002
Designed to optimize the water quality
As an affiliate, we earn on qualifying purchases.
Removing the Bathtub Stopper
Once you’ve identified the type of drain in your bathtub, it’s time to tackle the task of removing the stopper. Here are some troubleshooting tips and alternative methods to help you with this process:
-
Twist and Lift Method:
-
Insert a flathead screwdriver into the small hole on the stopper.
-
Gently twist the screwdriver counterclockwise to loosen the stopper.
-
Lift the stopper out of the drain.
-
Plunger Method:
-
Place a plunger over the drain and create a tight seal.
-
Push and pull the plunger vigorously to create suction.
-
The suction should dislodge the stopper, allowing you to remove it easily.
-
Screwdriver and Pliers Method:
-
Use a screwdriver to remove the screw holding the stopper in place.
-
Once the screw is removed, use pliers to grip the stopper and pull it out.
Remember to be patient and gentle when removing the stopper to avoid damaging the bathtub.

Keurig K-Mini Single Serve K-Cup Pod Coffee Maker, 6 to 12oz Brew size, with Cord Storage, Perfect for Small Spaces, Black
FITS ANYWHERE: Less than 5 inches wide, perfect for small spaces.
As an affiliate, we earn on qualifying purchases.
Detaching the Drain Flange
After identifying the drain type, I gently unscrewed the drain flange using pliers. It’s important to be careful during this step to avoid damaging the bathtub or the surrounding area.
The drain flange is the visible part of the drain assembly that is attached to the bathtub. By unscrewing it, I was able to access the drain pipe below.
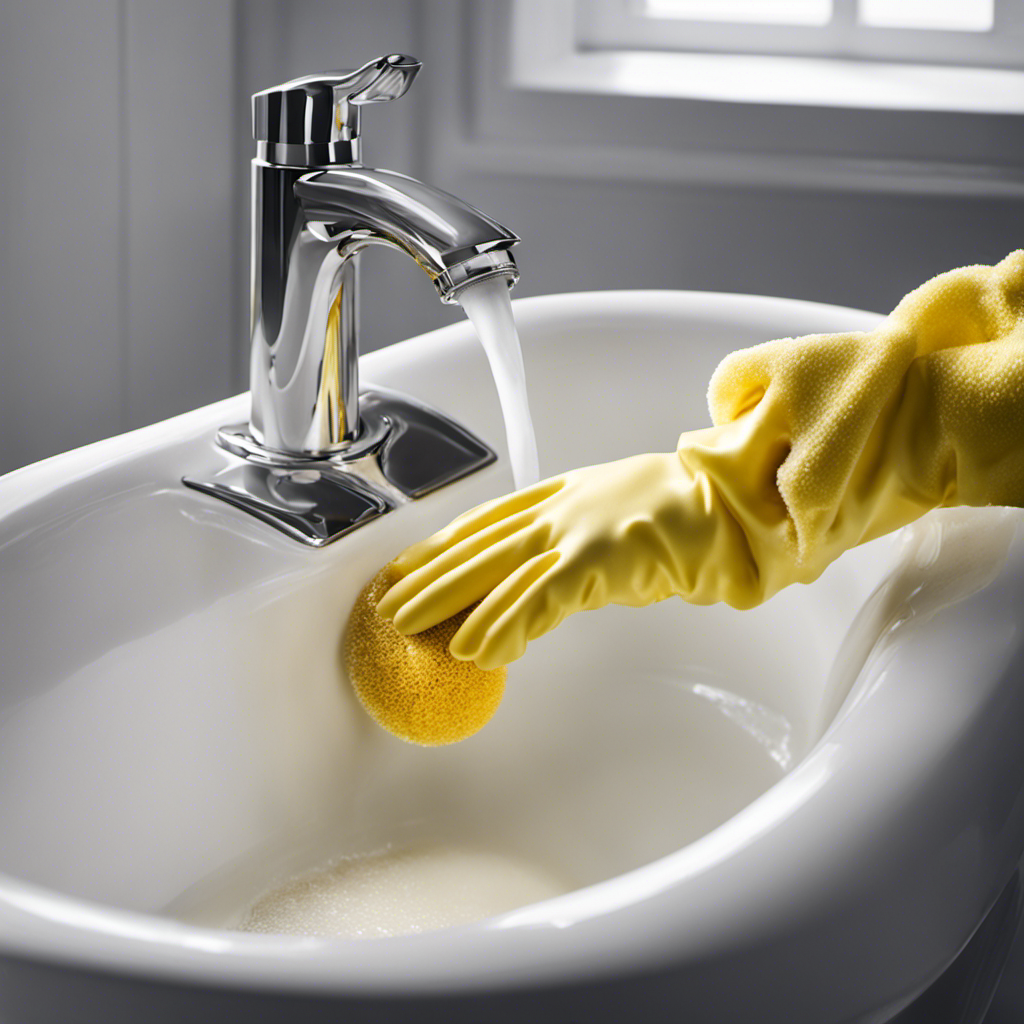
Before replacing the drain flange, I took the opportunity to clean the drain pipe thoroughly. I used a wire brush to remove any debris or buildup that had accumulated over time. This ensures that the new drain assembly will fit properly and function effectively.
With the drain flange removed and the drain pipe cleaned, I was ready to move on to the next step of removing the old drain assembly.
Removing the Old Drain Assembly
To begin, I carefully disconnected the components of the existing drain assembly. This step is crucial in order to remove the old drain cover and clean the drain pipe effectively.
Here is a step-by-step guide on how to remove the old drain assembly:
-
Remove the drain cover: Using a screwdriver, gently unscrew the screws or pry off the cover if it’s not screwed on.
-
Disconnect the drain flange: Locate the drain flange underneath the bathtub and unscrew it counterclockwise. This may require some force, so be cautious not to damage the surrounding area.
-
Clean the drain pipe: Once the old drain assembly is removed, take the opportunity to clean the drain pipe thoroughly. Use a plumbing brush or a mixture of baking soda and vinegar to remove any debris or buildup.
Conclusion
Well, folks, we’ve made it to the end of our journey on how to remove an old bathtub drain.
I hope you’ve enjoyed this thrilling adventure into the depths of plumbing.
Remember, it’s not for the faint of heart, but with the right tools and a little patience, you can conquer any drain obstacle that comes your way.
So go forth, my fellow DIYers, and may your drains always flow freely.
Happy plumbing!