As a homeowner, I’ve faced my fair share of maintenance tasks, but few are as frustrating as dealing with old caulking in the bathtub. It’s stubborn, unsightly, and can cause water damage if left untreated.
But fear not, because I’m here to guide you through the process of removing that pesky old caulking. With a few simple tools and some patience, you’ll have a clean and fresh bathtub in no time.
So let’s roll up our sleeves and get to work!
Key Takeaways
- Preparing the bathtub for caulking removal is important to ensure a clean and debris-free surface.
- Softening the old caulking with a suitable caulk softener is necessary for easier removal.
- Proper tools and techniques should be used to safely remove the old caulking.
- Preparing the surface for new caulking involves thorough cleaning and enhancing adhesion for a long-lasting finish.
Tools and Materials Needed
To remove old caulking from a bathtub, you’ll need a few tools and materials.
First, you’ll need a caulk removal tool, which is a sharp-edged scraper specifically designed to remove caulk without damaging the surface. This tool allows you to carefully scrape away the old caulk.
Additionally, a caulk softener is essential in loosening the caulk and making it easier to remove. This product softens the caulk, making it more pliable and easier to scrape off. It is important to choose a caulk softener that is compatible with the type of caulk you are removing.
Lastly, you’ll need a clean cloth or sponge to wipe away any residue left after the old caulk has been removed.
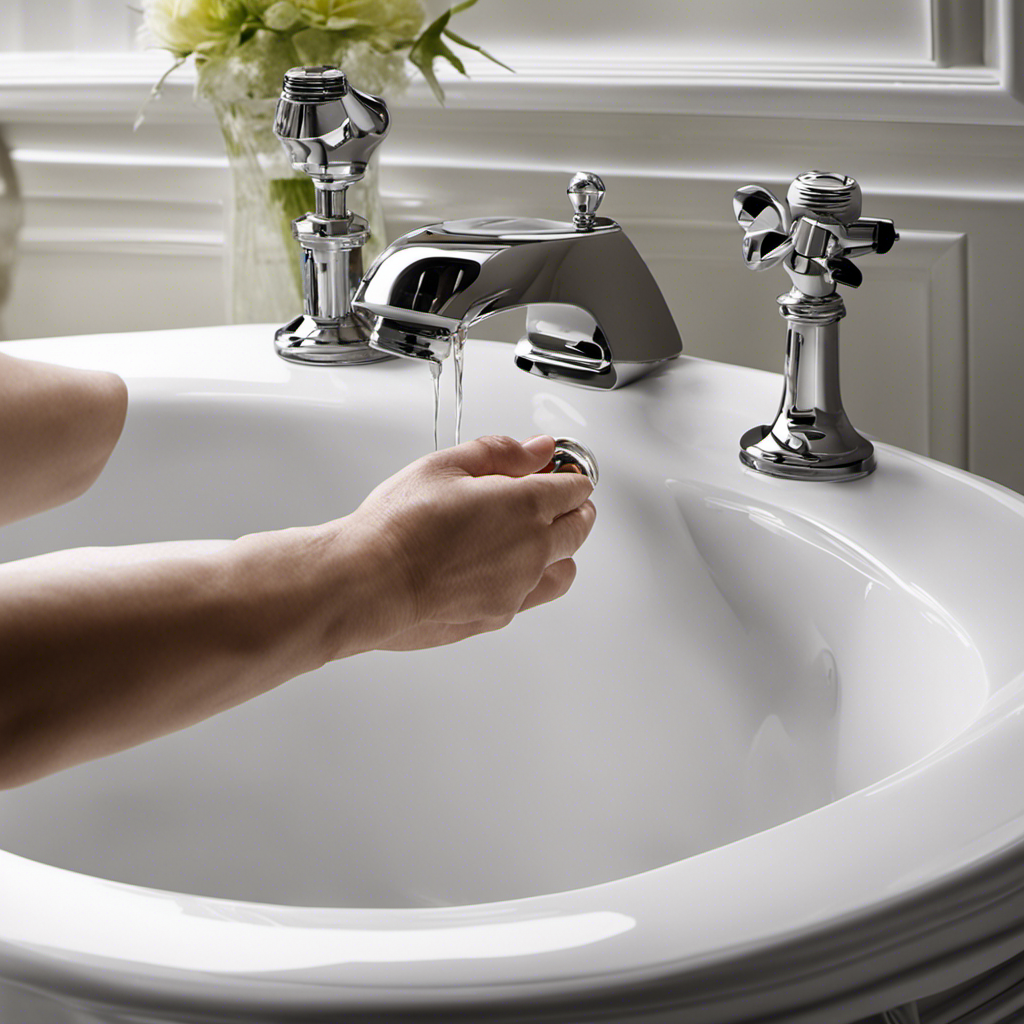
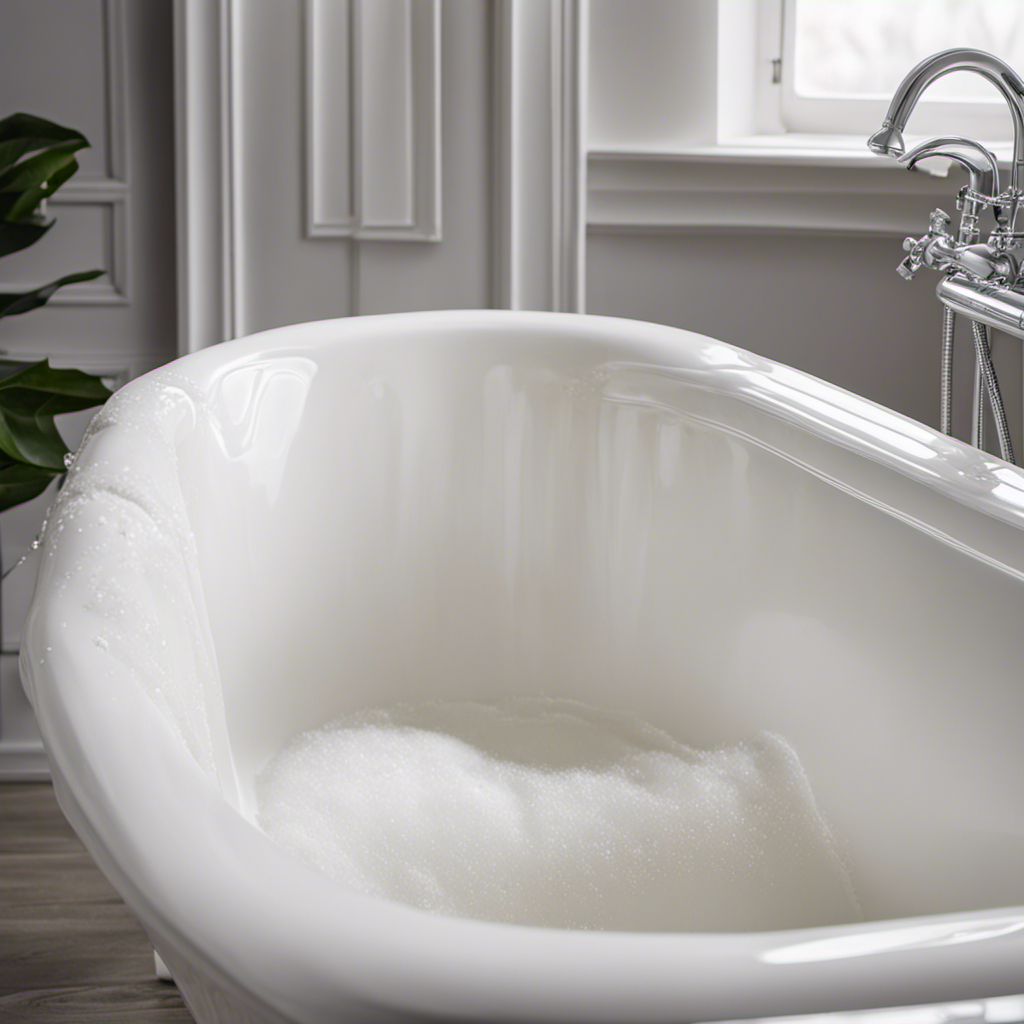
Preparing the Bathtub
First, make sure you have all the necessary tools ready for the task at hand.
When preparing the bathtub for caulking removal, it is important to consider the condition of the tub surface. If the bathtub has been previously refinished or restored, extra care must be taken to avoid damaging the finish.
Start by thoroughly cleaning the bathtub using a non-abrasive cleaner and a soft cloth. Remove any soap scum, dirt, or grime that may be present.
Next, rinse the tub with warm water and dry it completely. This will ensure that the surface is clean and free of any debris that could interfere with the caulking removal process.
With the bathtub prepped, it is now time to soften the old caulking for easier removal.
Softening the Old Caulking
Once you’ve gathered all the necessary materials, begin by applying a caulking softener to help loosen the old caulking. This step is crucial in easing the removal process and ensuring a clean surface for recaulking. Here’s how to do it:
-
Choose a caulk softener: Look for a product specifically designed to soften caulk. There are various options available, such as citrus-based solvents or chemical caulking removers. Make sure to follow the instructions on the packaging.
-
Apply the softener: Using a brush or applicator, generously apply the caulking softener to the old caulk. Ensure that the softener covers the entire length of the caulk line. Allow it to sit for the recommended time specified on the product.
-
Test the caulk: After the recommended time has passed, gently test the caulk using a caulk removal tool or a plastic scraper. If the caulk feels soft and pliable, it is ready to be removed. If not, you may need to reapply the softener and wait a bit longer.
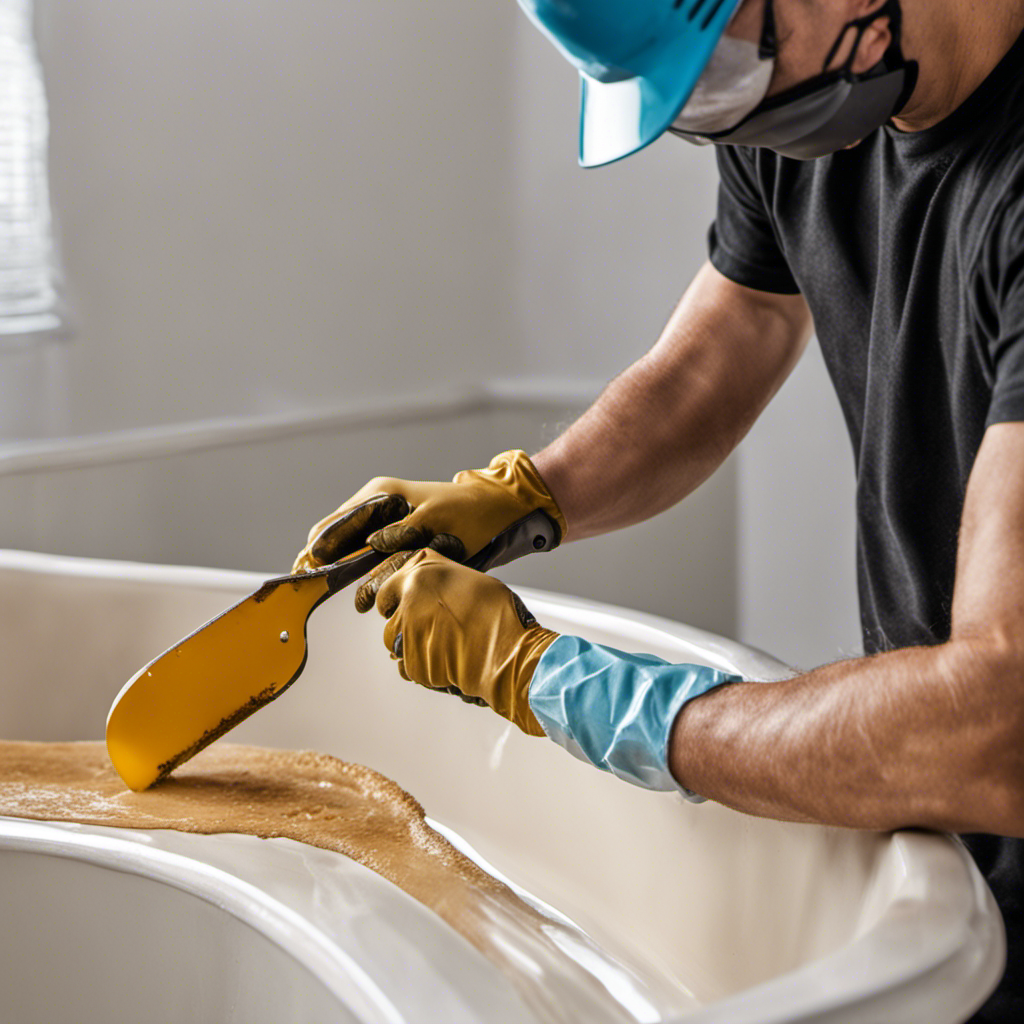
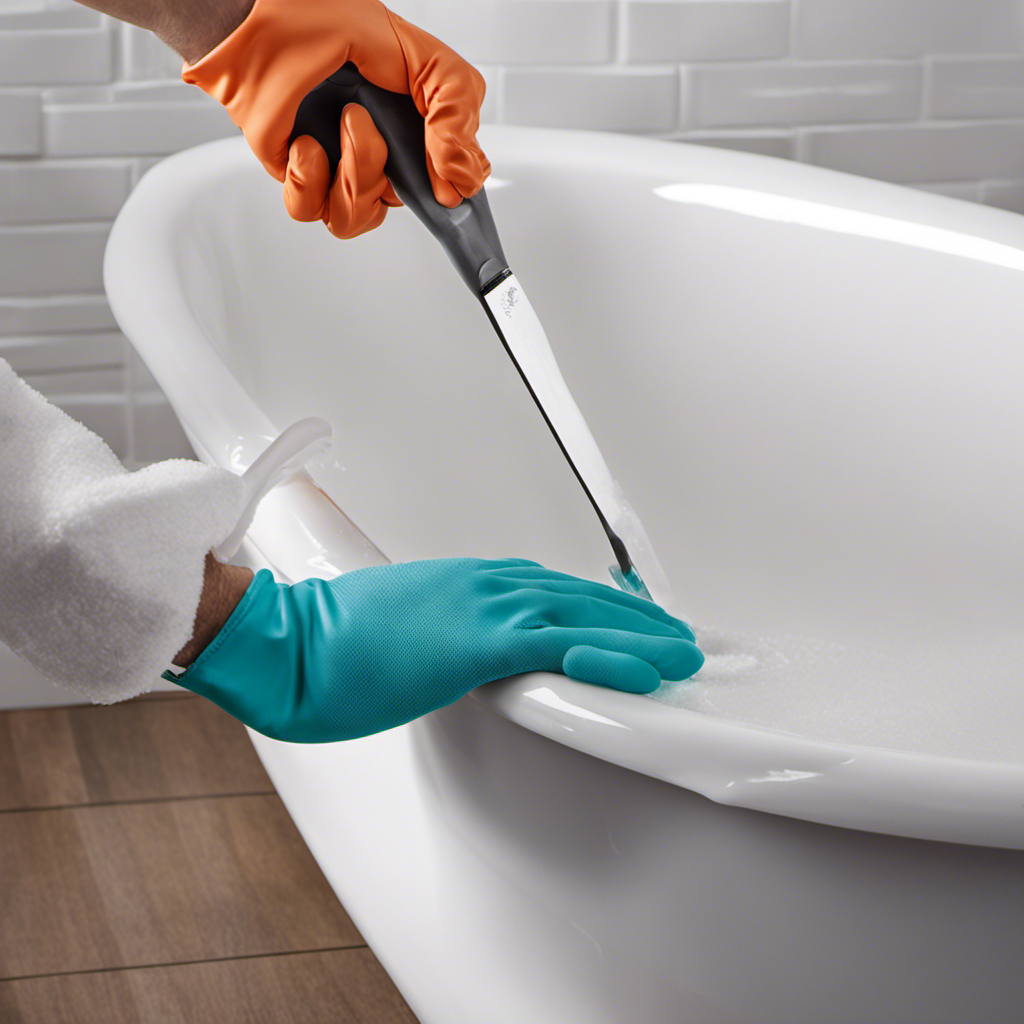
Removing the Old Caulking
When it comes to removing old caulking, there are a few key points to keep in mind.
First, you’ll need the right tools for the job. A sharp utility knife, a caulk remover tool, and a scraper will all come in handy for this task.
Next, it’s important to use proper caulking removal techniques to ensure a clean and efficient removal process. This may include scoring the caulk, gently prying it away from the surface, or using a caulk softener if necessary.
Lastly, before applying new caulk, it’s crucial to prepare the surface properly by thoroughly cleaning it and removing any residue left behind from the old caulk.
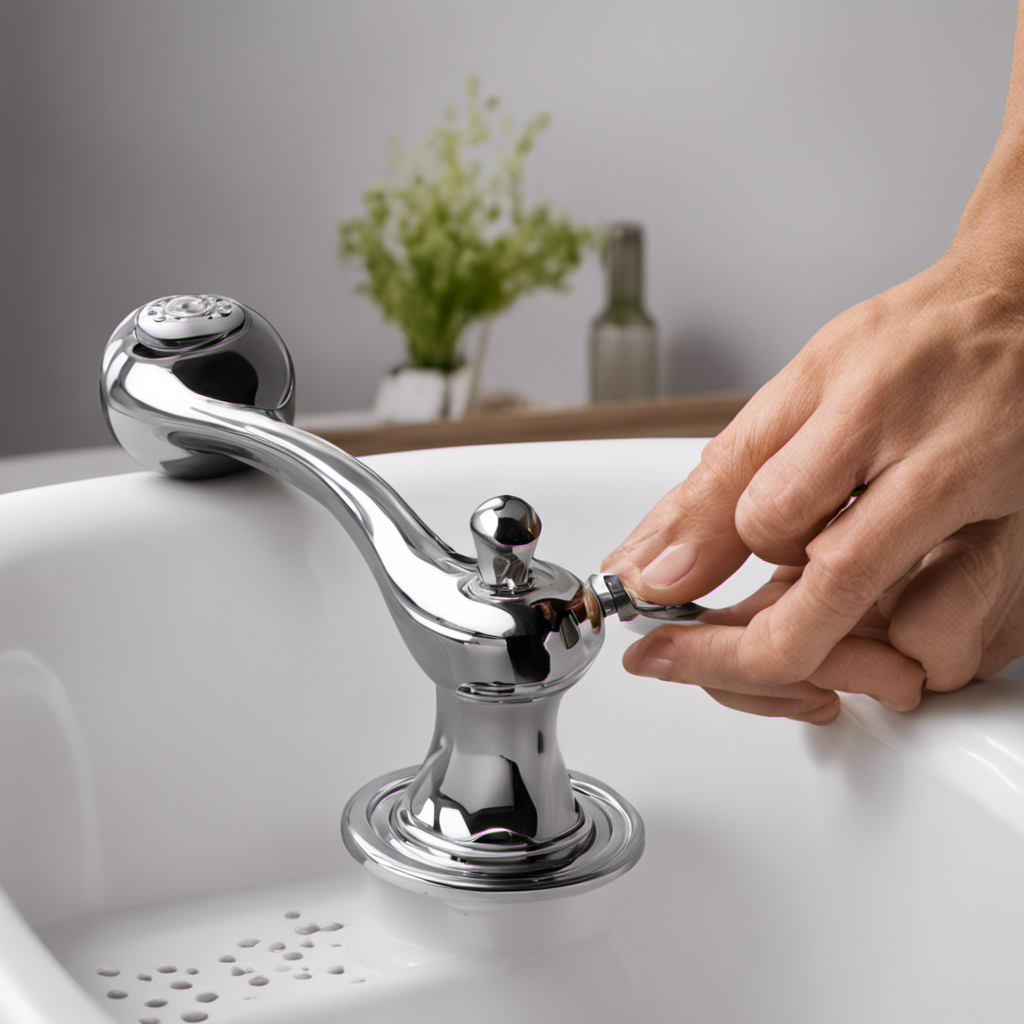
Tools Needed for Removal
To remove old caulking from a bathtub, you’ll need a utility knife, a caulk removal tool, and a hairdryer. Here are the tools needed for the removal process:
-
Utility Knife: This tool is essential for cutting through the old caulk and creating clean edges. It allows you to carefully remove the caulk without damaging the surrounding surfaces.
-
Caulk Removal Tool: This specialized tool is designed to scrape and remove old caulk. It has a sharp edge that helps to loosen the caulk from the surface, making it easier to remove.
-
Hairdryer: Heat can be a great ally when removing old caulking. By using a hairdryer to warm the caulk, it becomes softer and more pliable, making it easier to remove without leaving behind any residue.
Proper Caulk Removal Techniques
You can effectively loosen and scrape away the old caulk by using a hairdryer to heat it up and a caulk removal tool to safely remove it. When removing caulk, it is important to prioritize safety.
Always wear protective gloves and goggles to prevent any injuries. Start by heating the caulk with a hairdryer on low heat for a few minutes. This will soften the caulk, making it easier to remove.
Next, use a caulk removal tool, such as a putty knife or caulk scraper, to carefully scrape away the softened caulk. Be cautious not to damage the surface beneath the caulk.
If you prefer alternative methods, there are also caulk removal solutions available on the market that can help dissolve the caulk for easier removal. Remember to always follow the manufacturer’s instructions and exercise caution when using any chemicals.
Preparing the Surface
Before applying new caulk, it’s essential to thoroughly clean the surface to ensure proper adhesion. Surface preparation is crucial for achieving a long-lasting and professional-looking result. Here are three important reasons why proper preparation is so important:
-
Removal of dirt and grime: Cleaning the surface removes any dirt, dust, or grime that may be present. This ensures that the caulk adheres properly and prevents any contaminants from interfering with the bond.
-
Removal of old caulk: If there is existing caulk on the surface, it needs to be completely removed before applying new caulk. This ensures a clean and smooth surface for the new caulk to adhere to.
-
Enhancing adhesion: Properly cleaning the surface improves the adhesion of the new caulk. This helps prevent any water or moisture from seeping through and causing damage.
Cleaning the Surface
When it comes to cleaning the surface of my bathtub, I always make sure to use proper cleaning techniques to ensure a thorough and effective clean.
I pay special attention to removing stubborn stains that may have built up over time, using the right products and techniques to tackle them.
Additionally, I take preventative measures to avoid future buildup by regularly cleaning and maintaining the surface of my bathtub.
Proper Cleaning Techniques
To properly clean the bathtub, it’s important to use the right cleaning products. Here are some proper cleaning techniques that will help you maintain a clean and mold-free bathtub:
-
Start by removing any loose debris or hair from the bathtub surface using a soft brush or sponge.
-
Mix a solution of warm water and a mild detergent or bathroom cleaner. Avoid using harsh chemicals that can damage the bathtub surface.
-
Use a non-abrasive sponge or cloth to scrub the bathtub, paying special attention to areas prone to mold growth, such as corners and grout lines.
Removing Stubborn Stains
Now that we’ve covered proper cleaning techniques, let’s move on to tackling stubborn stains. Sometimes, no matter how hard you scrub, there are stains that just won’t budge. But don’t worry, I’ve got some DIY hacks and cleaning products that can help.
One effective DIY hack for removing stubborn stains is to make a paste using baking soda and hydrogen peroxide. Simply mix the two ingredients until you have a thick paste, then apply it to the stained area. Let it sit for a few hours, then scrub away the paste with a brush or sponge. The combination of baking soda’s gentle abrasiveness and hydrogen peroxide’s stain-lifting properties can work wonders.
Another cleaning product you can try is vinegar. Its acidic nature helps dissolve stains and grime. Just spray some vinegar onto the stained area, let it sit for a while, and then scrub away the stain.
With these DIY hacks and cleaning products, you’ll be able to tackle even the toughest stains on your bathtub.
Preventing Future Buildup
You can easily prevent future buildup in your bathtub by regularly wiping it down after each use. By following this simple step, you can maintain the cleanliness and prevent any potential damage.
Here are three additional tips to further prevent future buildup and maintain the durability of caulk in your bathtub:
-
Use a mildew-resistant caulk: Opt for a caulk that is specifically designed to resist mildew growth. This will help prevent the buildup of mold and mildew in your bathtub, keeping it clean and hygienic.
-
Keep the bathroom well-ventilated: Proper ventilation is crucial in preventing moisture buildup, which can lead to damage and mold growth. Use an exhaust fan or open a window to allow for air circulation and reduce humidity levels in the bathroom.
-
Regularly inspect and replace damaged caulk: Over time, caulk can become cracked or damaged, which can lead to water seepage and buildup. Inspect the caulk in your bathtub regularly and replace any damaged areas promptly to prevent future damage.
Applying New Caulking
First, make sure you have all the necessary materials for applying new caulking to your bathtub. You will need a caulk gun, caulk remover, a putty knife, a damp cloth, and of course, the caulk itself.
Before applying the new caulk, it’s important to remove any old caulk and clean the surface thoroughly. Once the surface is clean and dry, load the caulk into the caulk gun and cut the tip of the caulk tube at a 45-degree angle.
Apply the caulk evenly along the joint, using steady pressure on the caulk gun. It’s also crucial to choose the right caulk color that matches your bathtub or bathroom fixtures. This will ensure a seamless finish and enhance the overall appearance of your bathtub.
Conclusion
After following these step-by-step instructions to remove old caulking from your bathtub, you’ll be left with a clean and refreshed surface ready for a fresh application.
But wait, there’s more! Applying new caulking will not only improve the appearance of your bathtub but also prevent water damage and mold growth.
Don’t miss out on the chance to transform your bathroom into a pristine oasis. So grab your tools and get ready to say goodbye to that old caulking and hello to a beautiful bathtub.

With an impeccable eye for detail and a passion for bathroom-related, Ava leads our editorial team gracefully and precisely.
Under her guidance, Best Modern Toilet has flourished as the go-to resource for modern bathroom enthusiasts. In her free time, you might find Ava exploring antique shops and looking for vintage bathroom fixtures to add to her collection.