I gotta admit, getting rid of that pesky overflow drain from your bathtub can be a real pain. But fear not, because I’m here to guide you through the process step by step.
In this article, I’ll show you the tools you’ll need, how to prepare the bathtub, and the exact method for removing the screw or cover plate.
Trust me, with my tips and tricks, this removal process will be as smooth as can be. So let’s dive in and get that drain out of there!
Key Takeaways
- Proper tools and preparation are important for a successful removal process.
- Clean the area around the screw or cover plate and use lubricant to loosen stuck screws.
- Disconnect the overflow drain assembly by unscrewing the overflow cover, loosening the linkage, and removing the overflow pipe.
- Apply steady pressure while turning counterclockwise to avoid damage and consult manufacturer’s instructions or professional help if needed.

WOODBRIDGE 67" Acrylic Freestanding Bathtub Contemporary Soaking Tub, White Acrylic (Matte Black Drain/Overflow), B0013-MB-Drain &O
Dimensions and specifications: Exterior dimension 67'' long x 31 1/2'' wide x 22 4/5'' deep, effective tub capacity...
As an affiliate, we earn on qualifying purchases.
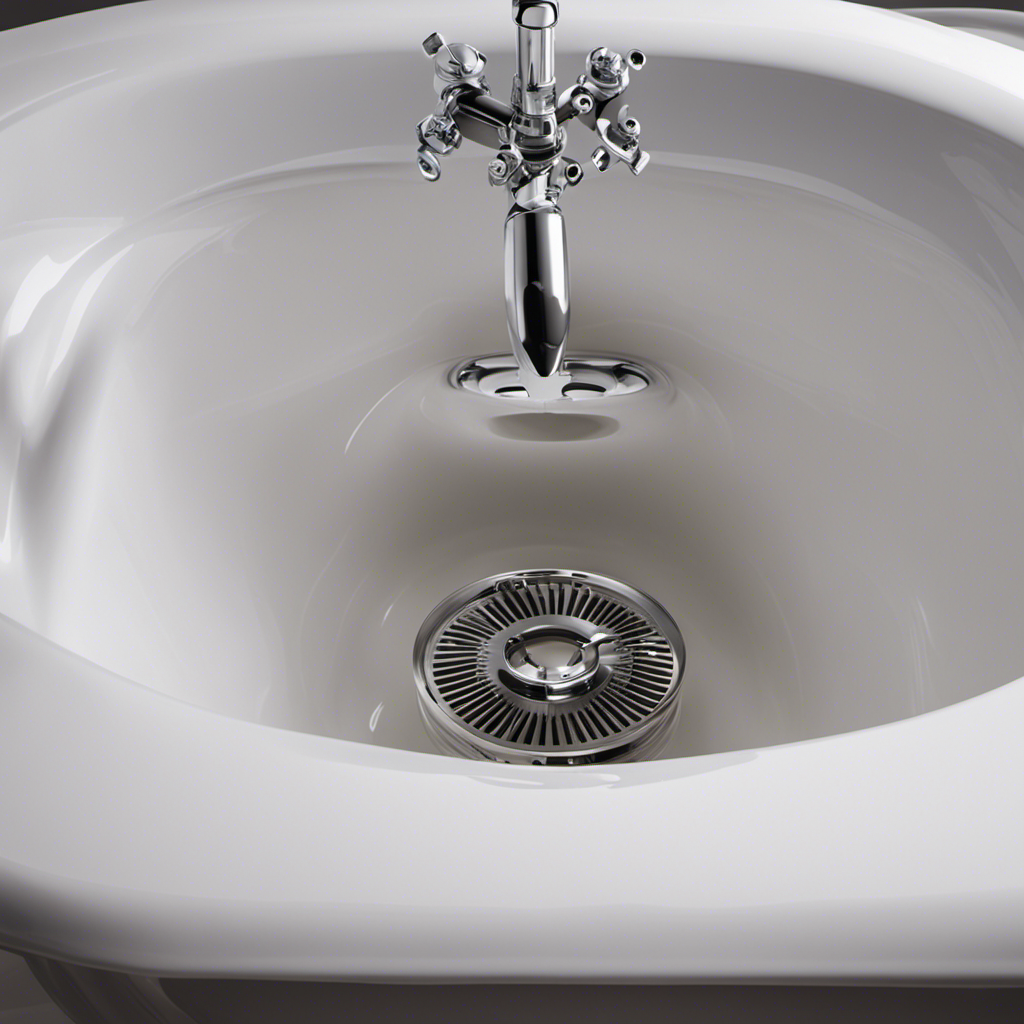
Tools Needed for Removing the Overflow Drain
You’ll need a screwdriver and pliers to remove the overflow drain from the bathtub.
When it comes to removing the overflow drain, there are a few common problems you may encounter. One is rusted or corroded screws, which can make it difficult to unscrew them. In this case, using a penetrating oil like WD-40 can help loosen the screws.
Another problem is a drain that is stuck due to years of buildup or debris. To address this, you can try using a plunger or a drain snake to dislodge the clog.
If these methods don’t work, you may need to call a professional plumber. Remember, always be cautious and turn off the water supply before attempting any repairs.

Freestanding Bathtub 67 inch Acrylic Soaking Bathtub with Chrome Drain & Overflow, Free Standing Bathtub for Spa-Inspired Bathroom, Deep Stand Alone Tub for Relaxation
【Deep Soaking Comfort – Melt Away Daily Fatigue】Immerse yourself in a full-body soak that wraps you in relaxation...
As an affiliate, we earn on qualifying purchases.
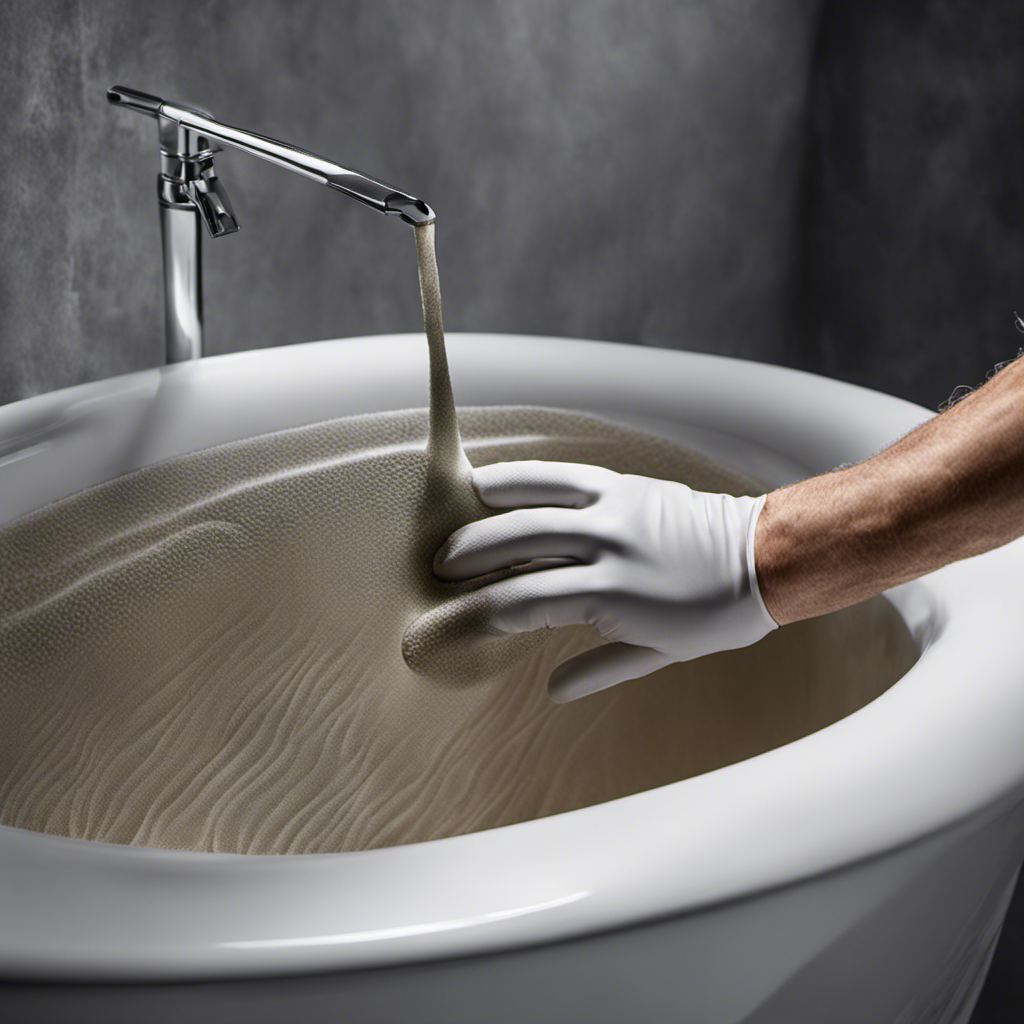
Preparing the Bathtub for Drain Removal
Before starting, make sure the tub is empty and the water has been completely drained. Proper cleaning techniques before removing the overflow drain are essential to ensure a smooth removal process. Here are some important steps to follow:
-
Inspect for any potential damage: It is crucial to check for any signs of cracks or leaks in the bathtub before proceeding with the removal of the overflow drain. This will help prevent further damage during the process.
-
Clean the area: Use a mild detergent or cleaner to thoroughly clean the overflow drain and the surrounding area. This will remove any dirt, grime, or buildup that might hinder the removal process.
-
Apply lubricant: Apply a small amount of lubricant around the edges of the overflow drain. This will help loosen any tight fittings and make it easier to remove.
-
Use the right tools: Make sure you have the necessary tools, such as a screwdriver or a wrench, to safely remove the overflow drain. Using the wrong tools can cause damage and make the removal process more difficult.
Following these steps will ensure that your bathtub is properly prepared for the removal of the overflow drain, minimizing the risk of damage and ensuring a successful removal process.
GarveeHome 67'' Freestanding Bathtub, Deep Soaking Tub, Non-Slip Base, Acrylic, cUPC Certified Free Standing Tub, Chrome Drain Bath Tub, Modern Tub for Bathrooms, White
【Premium Acrylic Construction】 Crafted with 4 mm thick high-gloss acrylic, this freestanding bathtub delivers superior heat retention with...
As an affiliate, we earn on qualifying purchases.
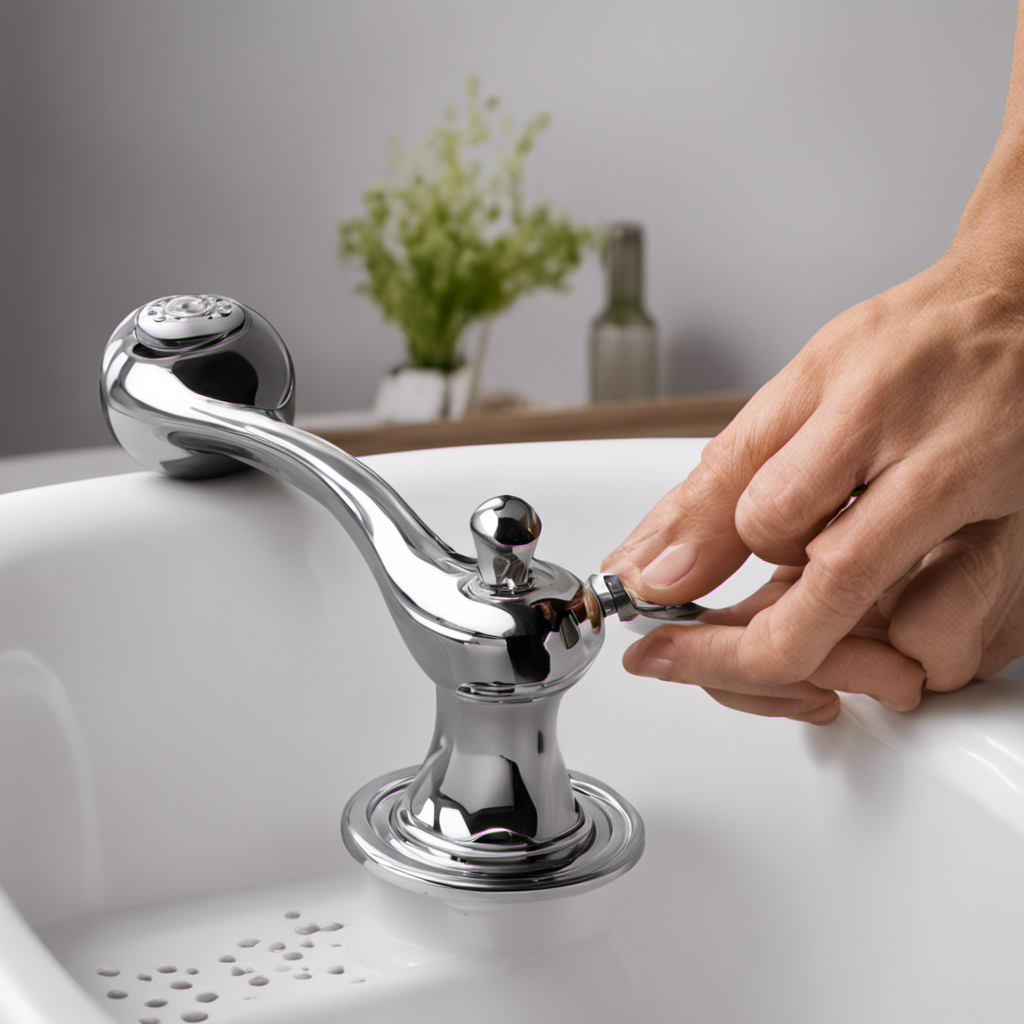
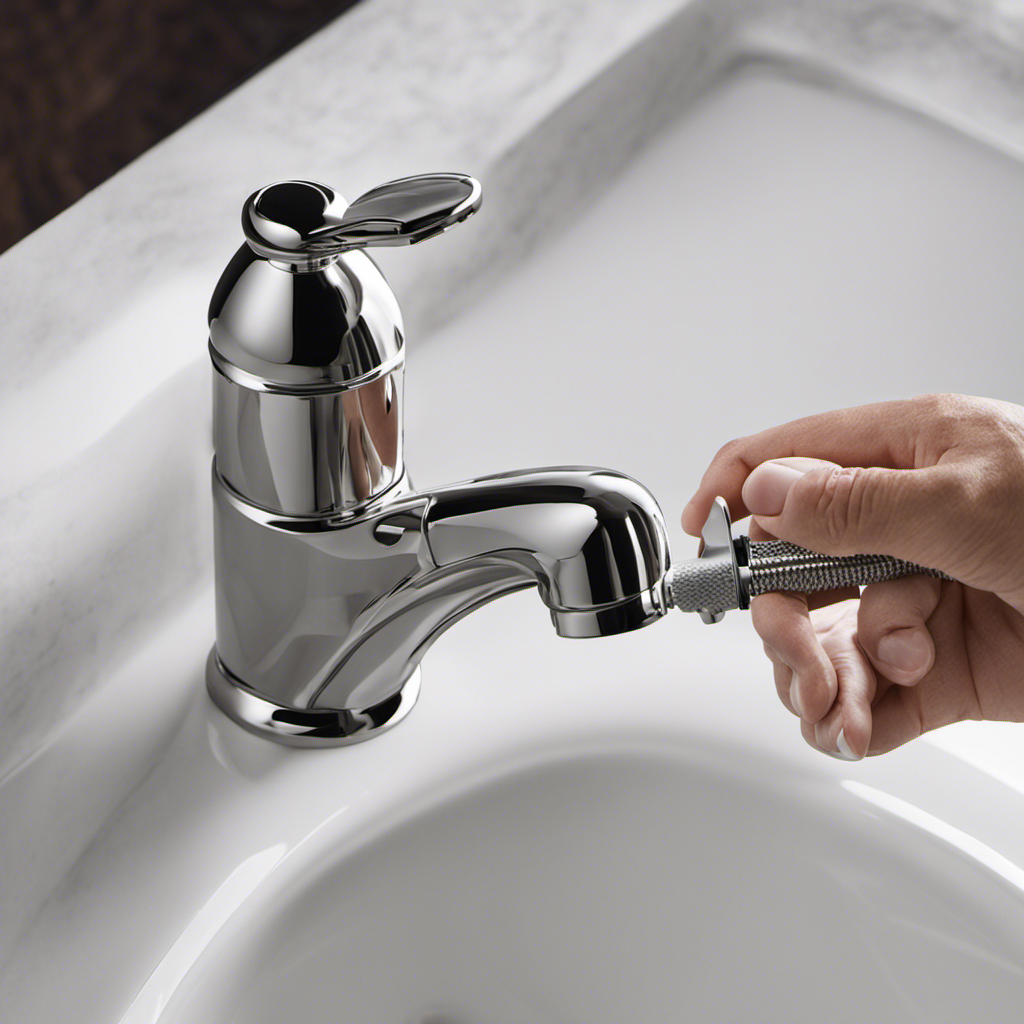
Removing the Screw or Cover Plate
To start, make sure the area around the screw or cover plate is clean and free of any debris. This is crucial for a successful removal of the overflow drain from your bathtub.
Troubleshooting common issues during this process is important, as sometimes screws may be stuck or difficult to unscrew. If you encounter this problem, try using a lubricant such as WD-40 to loosen the screw.
Another alternative method for removing the overflow drain is to use a screwdriver with a larger handle for better leverage. This can provide more torque and make it easier to unscrew. Remember to turn counterclockwise to loosen the screw or cover plate.

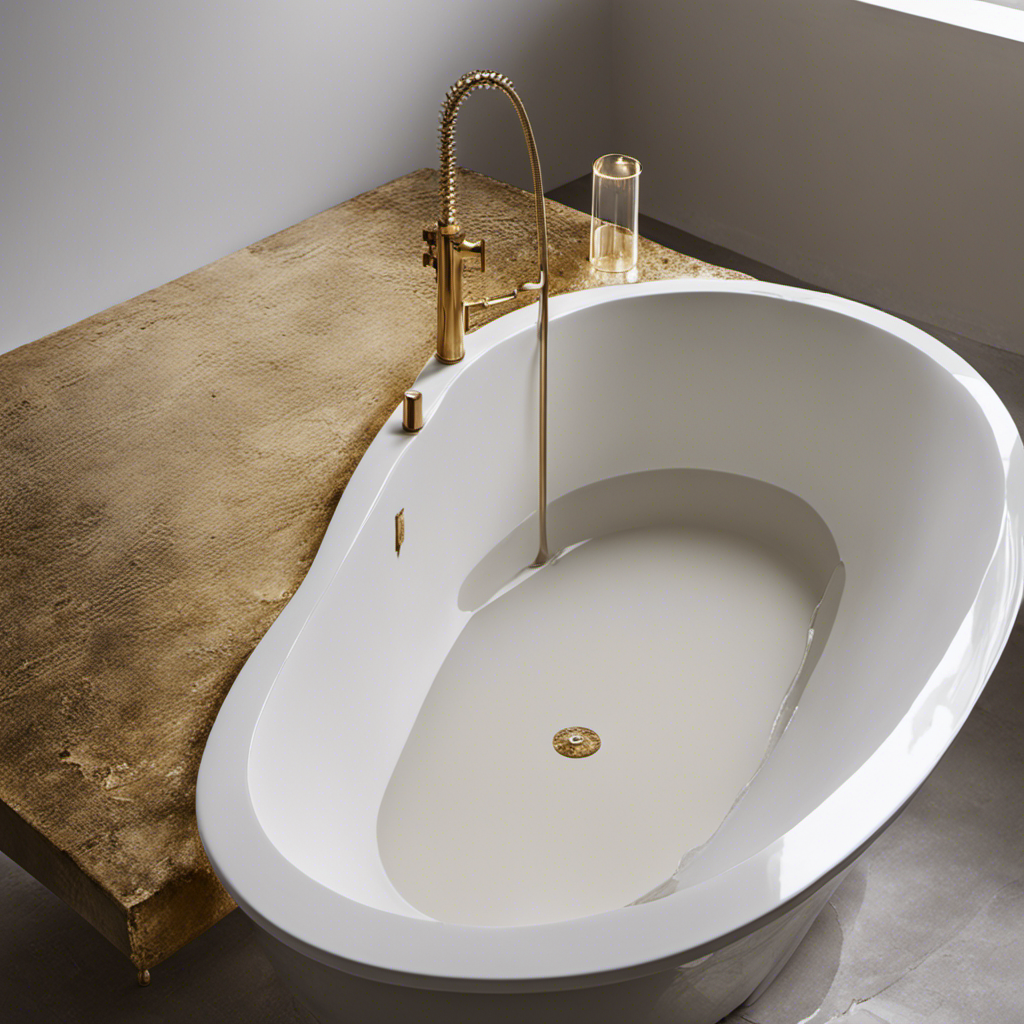
59" Acrylic Freestanding Soaking Bathtub, Free Standing Tub, Stylish Stand Alone Contemporary Soaking Tub with Integrated Overflow and Drain In Chrome, cUPC Certified
【RELAXATION-FOCUSED BATHING EXPERIENCE】:Measuring 59 inches long with a 17-18-inch soaking depth, this acrylic bathtub delivers a spacious, ergonomic...
As an affiliate, we earn on qualifying purchases.
Detaching the Overflow Drain Assembly
After detaching the screw or cover plate, it’s important to proceed with removing the overflow drain assembly from your bathtub. This step is crucial in replacing the overflow drain or troubleshooting any issues with it.
Here are some key points to keep in mind:
- The overflow drain assembly consists of several parts, including the overflow cover, linkage, and overflow pipe.
- Carefully unscrew the overflow cover using a screwdriver or hex key, depending on the type of fastening.
- Disconnect the linkage by loosening the nut or clip that holds it in place.
- Remove the overflow pipe by unscrewing it from the drain shoe.
By following these steps, you can successfully detach the overflow drain assembly and proceed with further repairs or replacement.
Remember to consult the manufacturer’s instructions or seek professional help if you encounter any difficulties.
Tips for a Smooth Removal Process
One of the key points to keep in mind is to carefully unscrew the overflow cover using a screwdriver or hex key, depending on the type of fastening.
Common mistakes when removing the overflow drain from a bathtub include using excessive force, which can damage the drain assembly or surrounding plumbing. To avoid this, it’s important to apply steady pressure while turning the screwdriver or hex key counterclockwise.
If the cover is stuck, try using a penetrating oil to loosen it before attempting to unscrew it. Another troubleshooting tip is to check for any hidden screws or clips that may be securing the overflow cover in place.
Conclusion
In conclusion, removing the overflow drain from your bathtub is a straightforward process that requires basic tools and a few simple steps. By following the outlined procedure and using the right technique, you can effortlessly eliminate any overflow drain issues.
Remember to be patient and take your time to ensure a smooth removal process. With determination and diligence, you’ll be able to conquer the challenge of removing the overflow drain and enjoy a fully functional bathtub once again.