
Are you tired of dealing with a stubborn plug in your bathtub that just won’t budge? Well, look no further, because we’ve got you covered.
In this step-by-step guide, we will walk you through the process of removing the plug from your bathtub with ease.
Imagine a scenario where you’re ready to take a relaxing bath after a long day, only to find that the plug is stuck. Don’t worry, by following our instructions and using the right tools, you’ll have that plug out in no time.
Let’s get started!
Key Takeaways
- Preparing the bathtub and inspecting the plug is important before attempting to remove the plug.
- Removing the overflow cover plate and loosening the retaining nut is necessary to gain access to the plug mechanism.
- There are different methods to remove the plug, such as using a drain key, a plunger, or a screwdriver.
- Common plug assembly issues include improper sealing and difficulty in opening or closing smoothly.
Tools You Will Need
You’ll need a pair of pliers to remove the plug from the bathtub.
To begin troubleshooting plug issues, follow these plug removal techniques.
First, locate the overflow plate on the side of the tub. This plate covers the drain and holds the plug mechanism. Use a screwdriver to remove the screws securing the plate.
Once the plate is off, you’ll see the plug assembly. Take your pliers and grip the crossbar connecting the plug to the drain. Turn counterclockwise to loosen and remove the plug.
If the plug is stuck or difficult to turn, apply some lubricant to loosen it up.
Once the plug is removed, inspect it for any damage or debris that may be causing the issue.
Preparing the Bathtub
Before starting, make sure the water isn’t running and that there’s no obstruction in the drain.
Proper bathtub maintenance is essential to ensure a smooth and hassle-free bathing experience. In case you’re facing issues with your bathtub plug, it might be time to consider some alternatives.
Here are a few steps to help you prepare your bathtub for plug removal. Firstly, gather your tools such as a pair of pliers, a screwdriver, and a silicone-based lubricant.
Next, check the condition of the plug and surrounding area for any signs of damage or buildup. Clean the area thoroughly using a mild detergent and warm water.
Lastly, apply the lubricant to the plug, allowing it to penetrate and loosen any debris. By following these steps, you’ll be well-prepared to tackle any bathtub plug issues.
Inspecting the Plug
After inspecting the area, make sure to check for any signs of damage or blockage. This step is important in troubleshooting plug issues. Inspecting the plug can help identify any issues that may be causing it to get stuck or not function properly. Here is a step-by-step guide on how to perform a plug inspection:
- Start by removing the plug from the bathtub.
- Examine the plug for any visible damage such as cracks or breaks.
- Check the plug’s rubber seal for any signs of wear or deterioration.
- Inspect the plug’s mechanism to ensure it moves freely and without resistance.
By inspecting the plug thoroughly, you can identify any issues that may be preventing it from working properly. This will help you troubleshoot and resolve any plug-related problems effectively.
| Signs of Damage | Rubber Seal | Plug Mechanism |
|---|---|---|
| Cracks | Worn | Free movement |
| Breaks | Deteriorated | No resistance |
Taking the time to inspect the plug can save you from future frustrations and potential plumbing issues. So, don’t skip this step and ensure your plug is in good working condition.
Removing the Overflow Cover Plate
To remove the overflow cover plate, start by unscrewing the screws that hold it in place using a screwdriver.
Once the cover plate is removed, you will have access to the drain mechanism and the overflow pipe.
Take note of how the components are positioned before disassembling them so that you can easily reassemble the overflow system later.
Unscrewing the Cover Plate
To remove the plug from the bathtub, you’ll need to unscrew the cover plate. Start by inspecting the cover plate to find the screws holding it in place. Look for indentations or slots on the plate where the screws may be hidden. Once you locate the screws, use a secure-fitting screwdriver. Apply firm pressure and turn the screwdriver counterclockwise to loosen and remove the screws. Be gentle yet firm to avoid stripping the screw heads.
Once all the screws are removed, carefully lift the cover plate away from the bathtub. Pay attention to any attached components, like the lever or linkage, which may require additional steps for removal.
Accessing the Drain Mechanism
First, inspect the drain mechanism to locate any visible screws or fasteners. This step is crucial in troubleshooting drain issues.
Start by removing any debris or hair that may be blocking the drain. Then, look for any screws or fasteners that are holding the drain stopper in place. These may be located on the underside of the drain or on the sides. Use a screwdriver or wrench to loosen and remove these screws or fasteners.
Once they are removed, you can lift the drain stopper out of the drain. Inspect the stopper for any damage or clogs. If necessary, clean or replace the stopper to ensure proper drainage.
Reassembling the Overflow System
Now that you have successfully accessed the drain mechanism, it’s time to move on to reassembling the overflow system. This step is crucial in troubleshooting plug issues and ensuring the proper functioning of your bathtub. Follow these steps:
-
Inspect the overflow system: Carefully examine all the components of the overflow system, including the overflow plate, trip lever, linkage, and stopper. Look for any signs of damage or wear.
-
Clean and lubricate: Thoroughly clean all the parts using warm water and mild soap. Once clean, apply a small amount of silicone lubricant to ensure smooth movement.
-
Reassemble the overflow system: Start by attaching the linkage to the trip lever. Then, insert the stopper into the overflow drain and secure it with the overflow plate.
With the overflow system reassembled, you’re now ready to move on to the next step: loosening the retaining nut.
Loosening the Retaining Nut
To start loosening the retaining nut, try using a pair of pliers to grip and turn it counterclockwise. This will allow you to remove the plug from the bathtub and troubleshoot any plug issues you may be experiencing. Here are some plug removal techniques that you can follow:
| Step | Technique | Description |
|---|---|---|
| 1 | Pliers | Grip the retaining nut with pliers and turn it counterclockwise to loosen it. |
| 2 | WD-40 | Spray WD-40 on the retaining nut to lubricate it and make it easier to turn. |
| 3 | Hammer | Tap the retaining nut gently with a hammer to loosen it if it’s stuck. |
Disconnecting the Linkage
Once the retaining nut is loosened, you can simply detach the linkage to continue troubleshooting any issues with the plug mechanism.
To disconnect the linkage, follow these steps:
- Locate the linkage underneath the bathtub. It is usually connected to the plug mechanism near the drain.
- Use pliers or a wrench to loosen the nut that holds the linkage in place. Turn it counterclockwise to loosen it.
- Once the nut is loose, carefully remove the linkage from the plug mechanism.
By disconnecting the linkage, you can easily inspect it for any damage or blockages that may be causing issues with the plug mechanism. This step is crucial in troubleshooting plug issues and ensuring a smooth removal process.
Now that you have successfully disconnected the linkage, you can proceed to the next step of removing the plug assembly.
Removing the Plug Assembly
When it comes to removing the plug assembly from your bathtub, there are several methods you can use.
One common method involves using a plunger to create suction and pull the plug out.
However, if the plug is stuck or there are other issues, you may need to use specialized tools such as a plug wrench or a plug removal tool.
These tools are designed to help you safely and effectively remove the plug assembly without causing any damage to your bathtub or the plumbing system.
Plug Removal Methods
There’s a few different ways you can remove the plug from your bathtub. Here are three methods you can try:
-
Using a Drain Key: This tool is specifically designed for removing stubborn plugs. Insert the drain key into the drain and turn counterclockwise to unscrew the plug assembly.
-
Using a Plunger: If the plug is stuck due to a clog, try using a plunger. Fill the tub with enough water to cover the plunger cup. Place the plunger over the drain and push down firmly, then pull up quickly. Repeat this motion until the plug loosens and can be lifted out.
-
Using a Screwdriver: If you can access the underside of the tub, locate the screws holding the plug assembly in place. Use a screwdriver to remove the screws, then lift the plug assembly out.
Common Plug Assembly Issues
One common issue with plug assemblies is that they can become clogged with debris over time. To ensure proper functioning and prevent clogs, regular plug assembly maintenance is essential. Troubleshooting plug issues can be done by following these steps:
- Identify the problem: Is the plug not sealing correctly or not opening/closing smoothly?
- Remove the plug assembly: Locate the access panel or remove the overflow plate to gain access to the assembly.
- Clean the plug: Use a toothbrush or small brush to remove any debris or buildup from the plug and surrounding area.
- Check the drain: Inspect the drain for any blockages or obstructions that might be affecting the plug’s performance.
- Reassemble and test: Put the plug assembly back together and test its functionality.
By properly maintaining and troubleshooting plug issues, you can ensure a smooth and efficient bathtub draining experience.
Now, let’s delve into the tools needed for plug removal.
Tools for Plug Removal
To remove a plug, you’ll need a pair of pliers or a wrench. Follow these steps to successfully remove the plug from your bathtub:
-
Inspect the plug: Check if there are any visible screws or tabs that hold the plug in place. If so, use a screwdriver or your fingers to unscrew or release them.
-
Apply lubricant: If the plug is stuck, apply a lubricant such as WD-40 around the edges. Allow the lubricant to penetrate for a few minutes to loosen the plug.
-
Use pliers or a wrench: Grip the plug firmly with a pair of pliers or use a wrench to turn it counterclockwise. Apply steady pressure to unscrew the plug from the drain.
Once you have successfully removed the plug, it’s important to clean the drain area to ensure smooth water flow and prevent any clogs.
Now let’s move on to the next section about cleaning the drain area.
Cleaning the Drain Area
Start by using a plunger to unclog the drain area. Cleaning the drain area is essential for preventing clogs and maintaining the functionality of your bathtub.
Here are some step-by-step cleaning techniques to help you keep your drain clear and avoid future blockages.
-
Remove any visible debris: Start by using your hands or a pair of gloves to remove any visible hair, soap scum, or other debris from the drain area. Discard the debris properly.
-
Use a drain brush: Next, use a drain brush to scrub the inside of the drain pipe. This will help dislodge any stubborn residue that may be clinging to the walls of the pipe.
-
Flush with hot water: After brushing, flush the drain with hot water to rinse away any remaining debris and to help dissolve any soap or grease buildup.
-
Repeat regularly: To prevent clogs, it’s important to clean the drain area regularly. Make it a part of your cleaning routine to ensure a clog-free bathtub.
Replacing the Plug Assembly
When replacing the plug assembly, make sure you have the necessary tools ready. Here’s a step-by-step guide on how to replace a bathtub plug:
-
Begin by removing the old plug assembly. Use a drain wrench to loosen the locknut securing the assembly to the drain pipe.
-
Once the locknut is loose, carefully lift the old plug assembly out of the drain.
-
Inspect the assembly for any signs of damage or wear. If you notice any issues such as cracks or corrosion, it’s best to replace the entire assembly.
Now that you have successfully replaced the plug assembly, it’s time to test its functionality.
Testing the Plug Functionality
If you’re experiencing issues with your bathtub plug not sealing properly or difficulty removing the plug, there are a few possible causes to consider.
First, check if the plug is installed correctly and securely in the drain. If it’s not properly aligned or tightened, it may not create a proper seal.
Additionally, debris or hair may be obstructing the plug from sealing or causing it to get stuck.
In the following discussion, we will explore these key points in detail and provide step-by-step instructions on how to address these issues effectively.
Plug Not Sealing Properly
To fix the issue of your bathtub plug not sealing properly, try adjusting the plug’s position and ensuring it is securely in place. Here’s what you can do:
-
Inspect the plug: Check for any damage or wear on the plug that may be preventing it from sealing properly. If you notice any issues, consider replacing the plug with a new one.
-
Adjust the position: Sometimes, the plug may not align correctly with the drain, causing it to not seal properly. Try rotating the plug or adjusting its position to ensure a tight seal.
-
Clean the drain: Over time, debris and buildup can accumulate in the drain, preventing the plug from sealing. Use a drain cleaner or a plunger to remove any obstructions and ensure a proper seal.
Difficulty Removing the Plug
If you’re facing difficulty removing the plug from your bathtub, don’t worry! Troubleshooting plug removal is a common issue that can be easily resolved.
Here’s a step-by-step guide to help you out:
-
Ensure that the plug is fully in the open position. Sometimes, the plug can get stuck if it’s not completely open.
-
Apply some lubricant around the edges of the plug. This will help loosen it up and make it easier to remove. You can use a silicone-based lubricant or even a bit of dish soap.
-
Use a pair of pliers or a plug wrench to grip the plug firmly and give it a gentle twist counterclockwise. This should help break any seal or suction holding it in place.
-
If the plug still won’t budge, try using a drain claw or snake to catch onto the plug and pull it out.
Maintaining Your Bathtub Plug
You should regularly clean your bathtub plug to prevent blockages. Proper maintenance of your bathtub plug is essential for ensuring smooth drainage and avoiding any plumbing issues. Here’s a step-by-step guide to help you in maintaining and troubleshooting plug issues:
-
Remove the plug: Start by unscrewing or lifting the plug from the drain. Use a pair of pliers if necessary.
-
Clean the plug: Inspect the plug for any hair, soap scum, or debris. Use a brush or toothbrush to scrub away any buildup.
-
Check the drain: Look inside the drain for any clogs or obstructions. Remove any visible debris using a drain snake or a bent wire hanger.
By regularly cleaning your bathtub plug, you can prevent blockages and ensure proper drainage.
If you encounter persistent issues, such as slow draining or complete blockage, it’s advisable to seek professional help to avoid further damage to your plumbing system.
Frequently Asked Questions
How Do I Know if My Bathtub Plug Needs to Be Removed?
To determine if your bathtub plug needs to be removed, look for signs of a malfunctioning plug such as water not draining properly or the plug being stuck. If these signs are present, it’s time to learn how to remove a stuck bathtub plug.
Can I Use Regular Household Tools to Remove the Bathtub Plug?
You can remove the bathtub plug using alternative methods with regular household tools. Follow these step-by-step instructions for DIY bathtub plug removal.
Is It Necessary to Clean the Drain Area Before Removing the Plug Assembly?
Before removing the plug assembly, it is necessary to clean the drain area. This ensures a smooth and efficient removal process. However, if you’re looking for alternative methods, there are specialized tools available for this task.
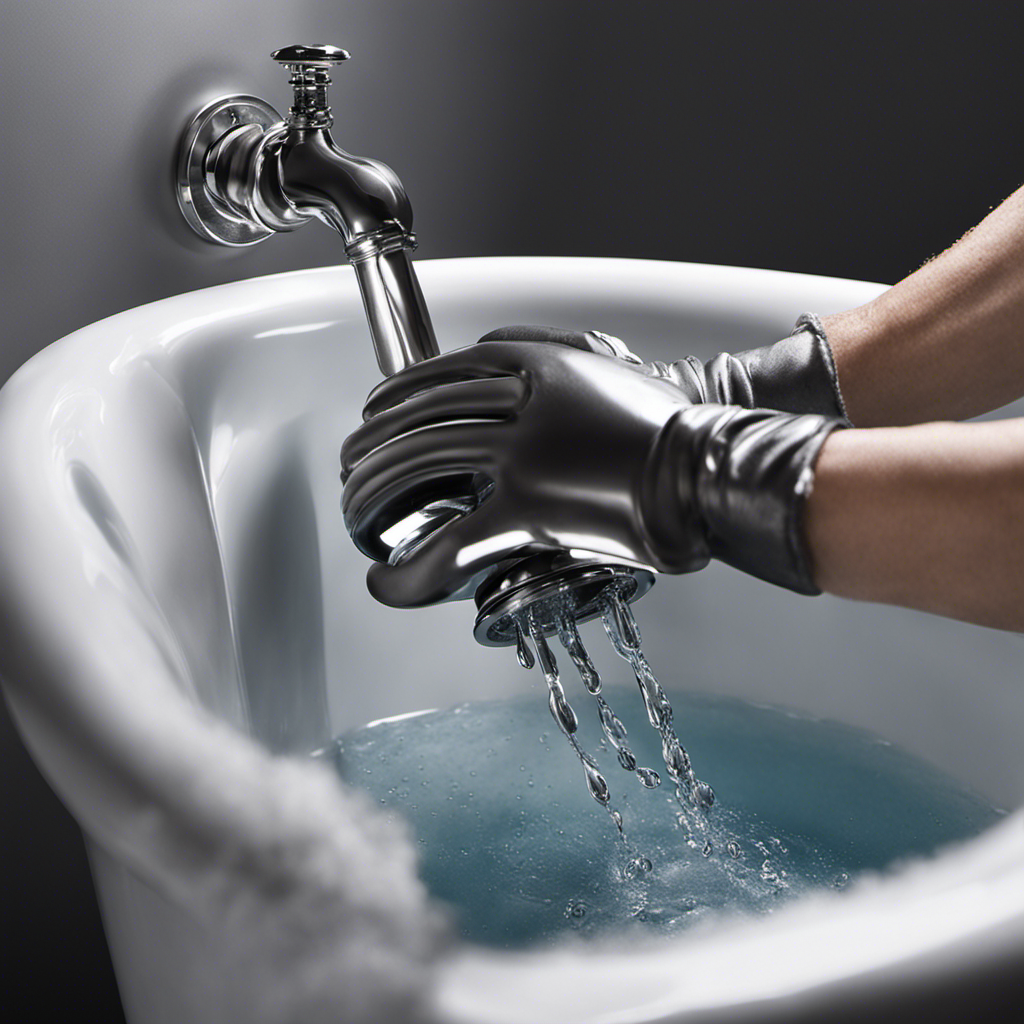
Should I Wear Any Protective Gear While Removing the Plug From the Bathtub?
To safely remove the plug from the bathtub, it is important to wear protective gear. Safety precautions such as gloves and goggles should be worn to prevent any harm or injury during the process.
Can I Hire a Professional Plumber to Remove the Plug From My Bathtub?
You can definitely hire a professional plumber for bathtub plug removal. They have expertise in various bathtub plug removal techniques, and it offers the benefits of saving time, ensuring proper removal, and minimizing potential damage.
Conclusion
Congratulations! You’ve successfully learned how to liberate your bathtub from the clutches of a stubborn plug. By following the step-by-step instructions and armed with a few essential tools, you’ve acquired the skills to tackle this seemingly daunting task with ease.
Now, you can effortlessly bid farewell to those draining issues and indulge in a relaxing bath without any hindrance. Remember to maintain your bathtub plug regularly, and may your bathing experiences always be smooth and blissful.