
I’ve been there – standing in a slowly filling tub, frustrated by a stuck drain that refuses to budge. But fear not, because I’ve got the solution for you.
In this article, I will guide you step-by-step on how to remove a stubborn bathtub drain. With just a few tools and a little patience, you’ll be able to tackle this annoying problem head-on.
So, let’s dive in and get that drain flowing smoothly once again.
Key Takeaways
- Assess the situation and try DIY methods like removing visible debris or using a plunger before seeking professional help.
- Use WD-40 or a vinegar and baking soda mixture to remove rust, corrosion, dirt, and grime buildup from the drain cover.
- Apply lubricant, use pliers, or create suction with a plunger to loosen a stuck drain.
- When reassembling the bathtub drain, clean the drain assembly, check for damage or corrosion, and securely screw the drain body and flange together.
Tools You Will Need
To remove the stuck bathtub drain, you’ll need a pair of pliers and a drain wrench.
Common bathtub drain problems can include clogs caused by hair, soap scum, or other debris. DIY bathtub drain maintenance tips can help prevent these issues.
Start by removing the drain cover and using a flashlight to inspect the drain for any visible clogs. If you can see the blockage, carefully use the pliers to grab and pull it out.
If the clog is deeper, you may need to use a drain snake to break it up and remove it.
If the drain is still stuck, you’ll need to use a drain wrench to unscrew the drain from the pipe. This will allow you to access and remove any remaining clogs.
Assessing the Situation
When assessing the situation, it’s important to check for any visible debris or blockage. Start by removing any hair or gunk that may be clogging the drain using a pair of needle-nose pliers or tweezers.
If there is no visible blockage, evaluating your options becomes necessary. You can try using a plunger to create suction and dislodge the stuck drain, or you can use a drain snake to physically remove any obstructions.
However, if these methods fail, it may be time to seek professional help. A plumber will have the necessary tools and expertise to remove the stuck drain without causing further damage.
With that in mind, let’s now move on to removing the drain cover.
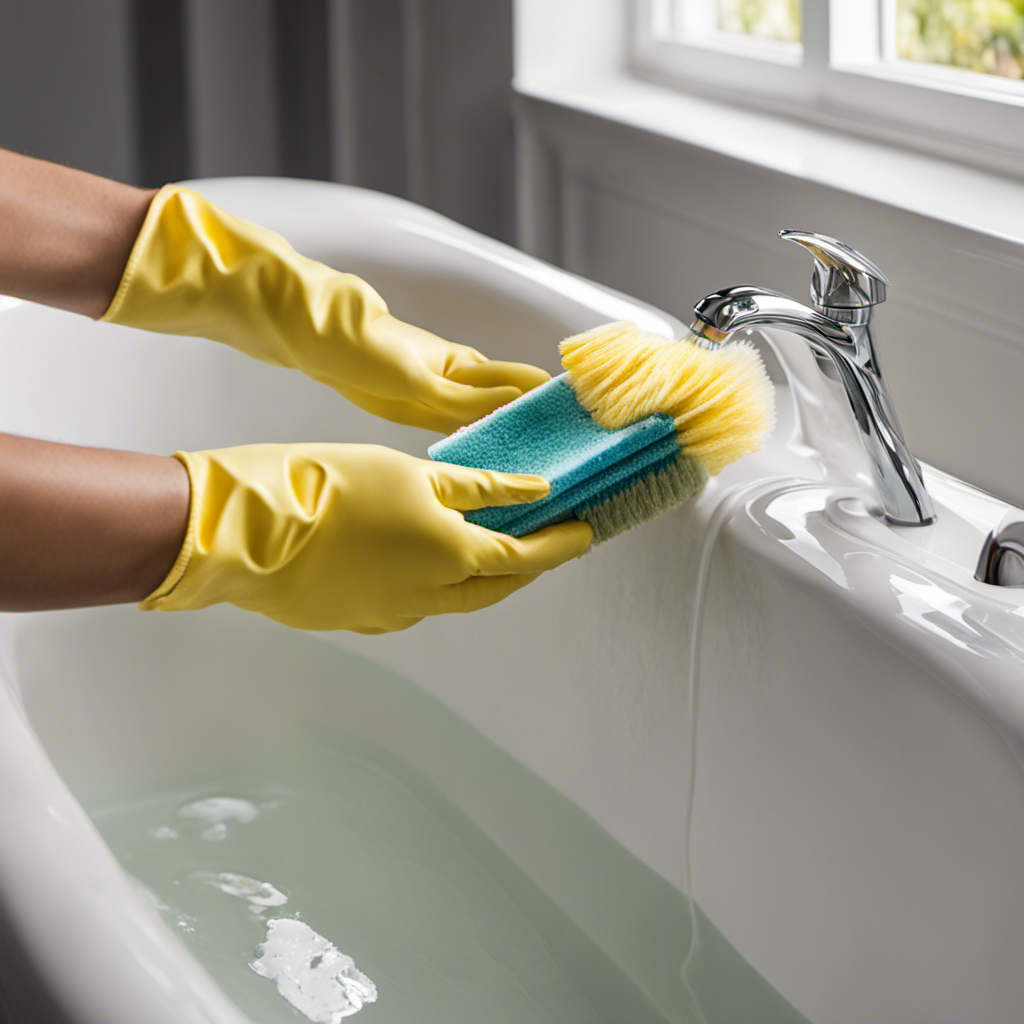
Removing the Drain Cover
After assessing the situation, it’s important to check for any visible debris or blockage before proceeding. Here are some common causes of stuck drain covers and alternative methods for removing them:
-
Rust and corrosion: Over time, drain covers can become stuck due to rust or corrosion. In this case, using a lubricant such as WD-40 can help loosen the cover.
-
Dirt and grime buildup: Accumulated dirt and grime can also make drain covers difficult to remove. A simple solution is to use a mixture of vinegar and baking soda to dissolve the buildup and make it easier to lift the cover.
-
Improper installation: Sometimes, drain covers get stuck because they were installed incorrectly. In such cases, using a plunger or suction cup can create enough suction to break the seal and release the cover.
-
Broken or damaged parts: If the drain cover is stuck due to broken or damaged parts, it may be necessary to remove the entire drain assembly to access and replace the faulty components.
Now that we know how to remove the drain cover, let’s move on to the next step of loosening the stuck drain.
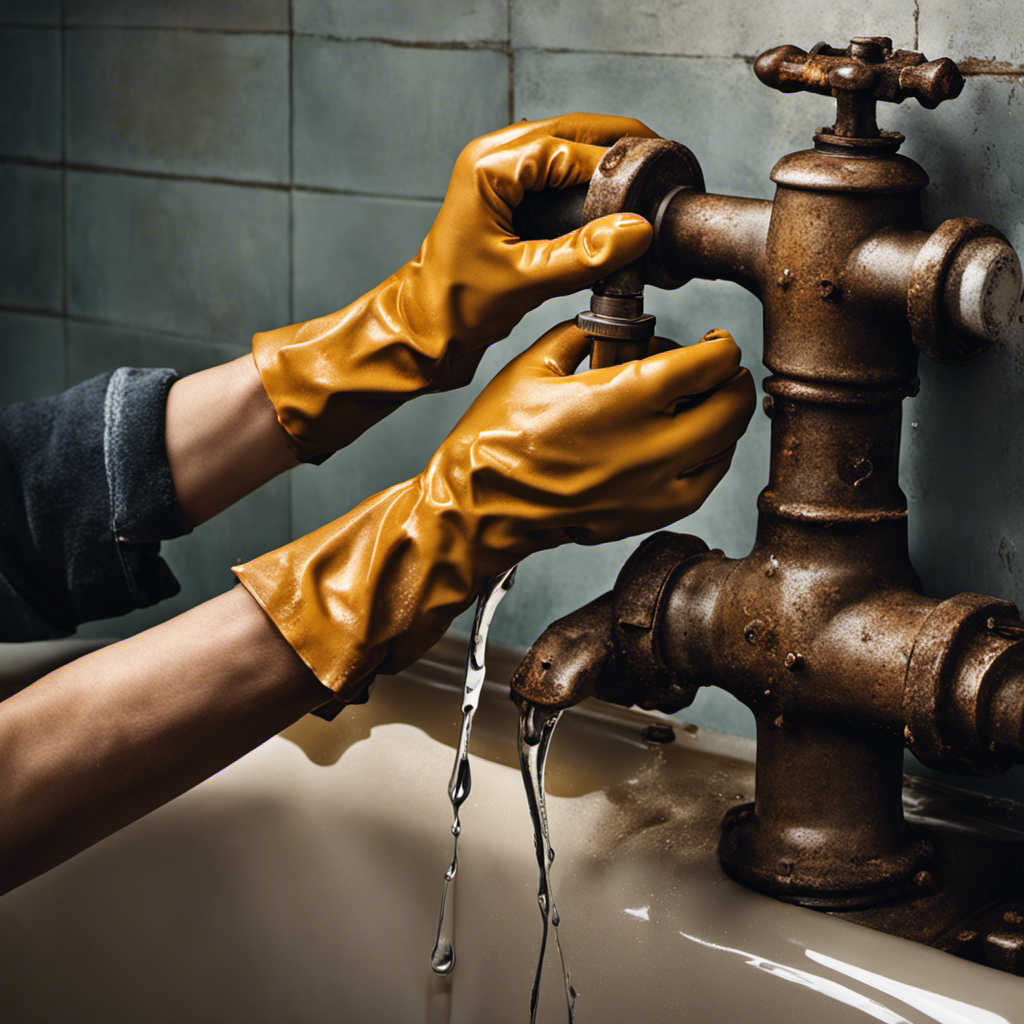
Loosening the Stuck Drain
First, you’ll need to gather a pair of pliers to help you loosen the stuck drain.
To begin, apply a lubricant, such as WD-40, to the edges of the drain. This will help to loosen any rust or debris that may be causing the drain to stick.
Once the lubricant has been applied, use the pliers to grip the edges of the drain securely. Apply steady pressure and try to turn the drain counterclockwise to loosen it.
If the drain remains stuck, you can try using a plunger. Place the plunger over the drain and push down firmly, creating a seal. Then, rapidly push and pull the plunger to create suction and force the drain to loosen.
Repeat these steps as necessary until the drain is successfully loosened.
Reassembling the Bathtub Drain
To reassemble the drain, you’ll need to carefully align the pieces and secure them with the provided screws. Follow these steps to ensure a proper reassembly:
- Clean the drain assembly thoroughly to remove any debris or residue.
- Inspect the drain pipe for any signs of damage or corrosion. If necessary, replace the drain pipe with a new one.
Place the rubber gasket onto the drain flange and insert it into the drain opening.
- Align the drain body with the drain flange and screw them tightly together using the provided screws.
Conclusion
In conclusion, removing a stuck bathtub drain can be a challenging task. However, with the right tools and techniques, it is achievable.
By carefully assessing the situation and using the appropriate tools, such as pliers and a screwdriver, you can easily remove the drain cover.
Loosening the stuck drain may require some additional effort, such as using a wrench or lubricant.
Once the drain is free, reassembling it correctly is crucial to ensure proper functioning.
Remember, patience and persistence are key when dealing with a stubborn drain. As the saying goes, ‘Rome wasn’t built in a day,’ and neither is a smoothly flowing bathtub drain.

Liam’s journey with us started as a consumer. Having faced challenges while setting up his own modern bathroom, he delved deep into research.
Recognizing his knack for simplifying complex information and his authentic writing style, we were thrilled to welcome him aboard. Liam’s articles often merge practicality with style, ensuring readers find the perfect fit for their homes. Liam is an avid hiker off-duty and often jokes about finding the best “natural toilets” Mother Earth has to offer.