As the proud owner of a bathtub with a trip lever float, I understand the frustration of dealing with a faulty one. But fear not! In this article, I will guide you through the step-by-step process of removing the trip lever float from your bathtub.
With the right tools and a little know-how, you’ll have that float out in no time. So let’s dive in and get your bathtub back in tip-top shape!
Key Takeaways
- The trip lever float can be removed from the bathtub using standard tools such as pliers and a screwdriver.
- It is important to turn off the water supply before removing the trip lever float.
- The trip lever float should be thoroughly cleaned and inspected for any damage or debris that may cause it to get stuck.
- When reinstalling the trip lever float, it is important to choose the appropriate type of float and follow the specific installation instructions for that float.
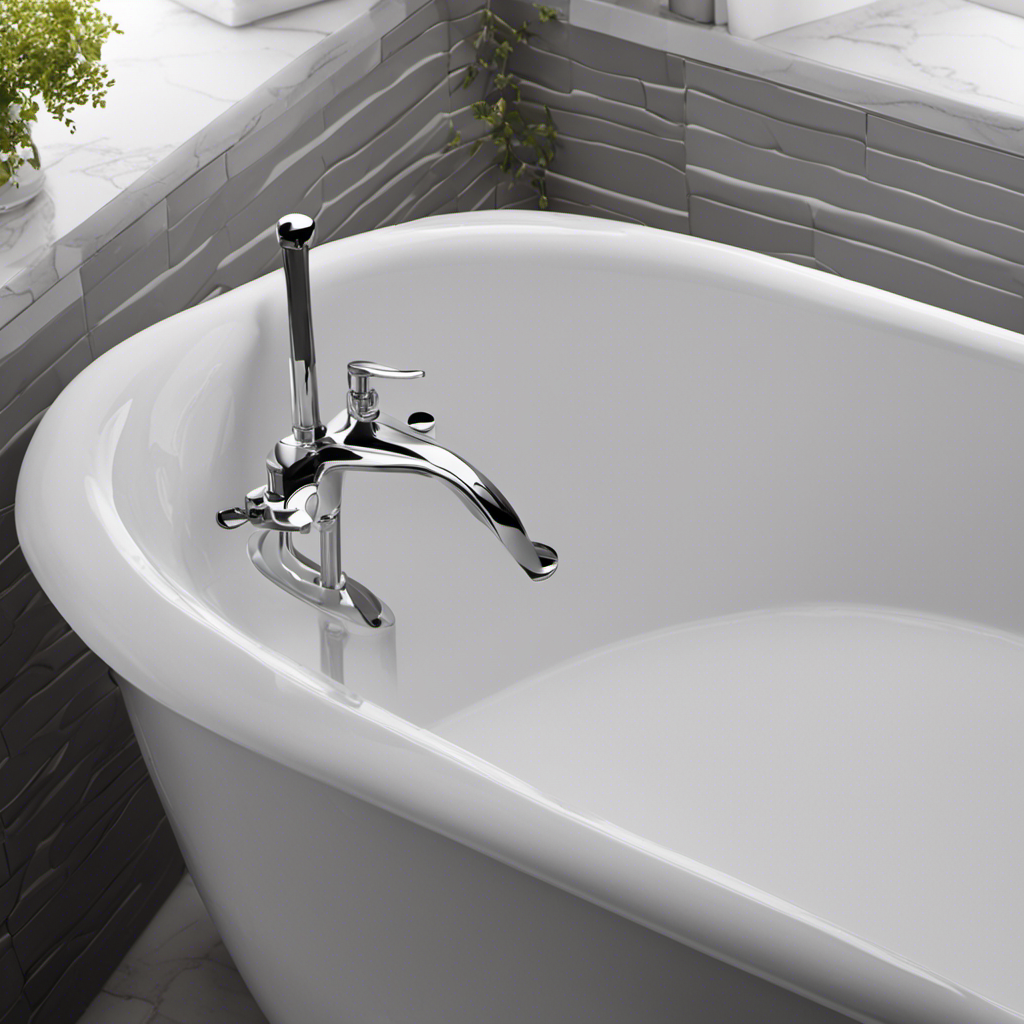
bathtub trip lever float removal tool
As an affiliate, we earn on qualifying purchases.
As an affiliate, we earn on qualifying purchases.
Tools Needed for Removing the Trip Lever Float
To remove the trip lever float in your bathtub, you’ll need a few tools.
First, make sure you have a standard tool kit handy. You’ll need a pair of pliers to grip and turn the screws on the trip lever plate. A screwdriver is also essential for loosening and removing the screws.
Additionally, a flashlight will come in handy to provide better visibility in the tight space under the bathtub. I recommend having a bucket or container nearby to catch any water or debris that may come out during the removal process.
Lastly, keep a rag or towel nearby to wipe away any excess water or dirt. Having these tools readily available will make the process of removing the trip lever float in your bathtub much smoother and efficient.
bathtub trip lever replacement kit
As an affiliate, we earn on qualifying purchases.
As an affiliate, we earn on qualifying purchases.
Step-By-Step Instructions for Accessing the Trip Lever Float
First, you’ll need to locate the access panel for the trip lever float. This panel is usually located on the side of the bathtub, near the drain.
Once you’ve found the access panel, follow these steps to troubleshoot common problems with trip lever floats in bathtubs:
- Check for any obstructions or debris that may be preventing the trip lever float from moving freely.
- Make sure that the trip lever is properly aligned and connected to the float mechanism.
- Test the trip lever by manually lifting and lowering it to see if it operates smoothly.
- If the trip lever float is not functioning properly, it may need to be adjusted or replaced.
By following these tips for troubleshooting trip lever float issues in bathtubs, you can ensure that your bathtub’s drainage system is working efficiently.
Now, let’s move on to the next step of removing the trip lever float from the bathtub.
bathtub drain repair tools
As an affiliate, we earn on qualifying purchases.
As an affiliate, we earn on qualifying purchases.
Removing the Trip Lever Float From the Bathtub
Once you’ve successfully troubleshooted the trip lever float, you can proceed with the next step of taking it out from the bathtub. Removing the trip lever float requires careful attention to detail and a few essential tools. First, make sure to turn off the water supply to the bathtub to prevent any accidents. Then, locate the trip lever cover plate and unscrew it using a screwdriver. Once the cover plate is removed, you will see the trip lever assembly and the float attached to it. Gently disconnect the float from the trip lever assembly by unscrewing the connecting nut. Be cautious not to damage any surrounding parts during this process. Different types of trip lever floats may vary in design and size, so it’s important to compare and choose the appropriate replacement for your bathtub drain.
| Type of Trip Lever Float | Features |
|---|---|
| Plastic Float | Lightweight and durable |
| Brass Float | Sturdy and resistant to corrosion |
| Stainless Steel Float | Long-lasting and easy to clean |
| Rubber Float | Flexible and provides a good seal |
bathtub float assembly
As an affiliate, we earn on qualifying purchases.
As an affiliate, we earn on qualifying purchases.
Cleaning and Inspecting the Trip Lever Float
When cleaning and inspecting the trip lever float, you should be thorough and check for any signs of damage or buildup. Regular maintenance is important to ensure the proper functioning of trip lever floats.
Here are some common issues you may encounter while troubleshooting trip lever floats:
- Buildup of dirt or debris: This can cause the float to get stuck or prevent it from moving freely.
- Damage to the float: Cracks or breaks in the float can affect its ability to float and control the water level.
- Malfunctioning trip lever mechanism: The trip lever assembly may become loose or worn out, leading to improper operation.
- Corrosion or rust: Over time, the metal parts of the trip lever float can corrode, affecting its performance.
Reinstalling the Trip Lever Float in the Bathtub
After inspecting and cleaning, you can easily reinstall the trip lever float in the bathtub. To ensure a successful installation, it is important to understand the different types of trip lever floats and their pros and cons.
Here is a table outlining the most common types of trip lever floats:
| Type | Pros | Cons |
|---|---|---|
| Ball Float | Easy to install and maintain | Limited adjustability and may not provide accurate water level control |
| Cylinder Float | Provides precise water level control | Can be more complicated to install and may require more maintenance |
| Diaphragm Float | Excellent water level control and durability | Can be more expensive and may require professional installation |
| Piston Float | Accurate water level control and suitable for high water pressure systems | Can be more expensive and may require professional installation |
Frequently Asked Questions
How Do I Know if My Bathtub Has a Trip Lever Float?
To test the functionality of a trip lever float in a bathtub, I would look for common signs of malfunctioning such as water not draining properly or the lever not moving smoothly.
Can I Remove the Trip Lever Float Without Any Special Tools?
Certainly! Removing the trip lever float without any special tools is possible. By carefully manipulating the lever and gently pulling it up, the float should detach easily.
What Should I Do if the Trip Lever Float Is Not Coming Out Easily?
If the trip lever float is not coming out easily, I would try using a lubricant like WD-40 to loosen it. If that doesn’t work, I might need to use pliers or a wrench to carefully remove it.
How Often Should I Clean and Inspect the Trip Lever Float?
I clean and inspect my trip lever float regularly to ensure it functions properly. By removing any debris or buildup, I prevent any issues with the float not moving easily.
Are There Any Alternative Methods for Reinstalling the Trip Lever Float in the Bathtub?
There are alternative methods for reinstalling the trip lever float in the bathtub. It’s important to carefully follow the manufacturer’s instructions and ensure that all components are properly aligned and secured.
Conclusion
In conclusion, removing the trip lever float in the bathtub is an easily accomplished task with the right tools and instructions.
By following the step-by-step guide provided, you can access, remove, clean, and inspect the trip lever float.
One interesting statistic to note is that regular maintenance of the trip lever float can help prevent clogs and other plumbing issues. This maintenance can save homeowners an average of $150 in repair costs per year.
So, don’t neglect this simple yet important task. Keep your bathtub functioning smoothly.