As I stood in my outdated bathroom, staring at my worn-out bathtub, I couldn’t help but feel a sense of frustration. It was time for a change.
That’s when I discovered the secrets to renewing a bathtub. In this step-by-step guide, I will show you how to transform your old, faded bathtub into a beautiful and rejuvenated centerpiece for your bathroom.
From preparing the surface to applying a fresh coat of paint or resurfacing, get ready to give your bathtub a second life.
Key Takeaways
- Thoroughly clean the bathtub surface before starting the renewal process.
- Remove old caulk and grime to create a clean surface for new caulk.
- Repair any chips and scratches using a bathtub repair kit.
- Consider either applying a fresh coat of paint or resurfacing the bathtub to give it a renewed look.
Preparing the Bathtub Surface
Before you begin renewing your bathtub, it’s important to properly prepare the surface. This step is crucial to ensure that the renewal process is effective and long-lasting.
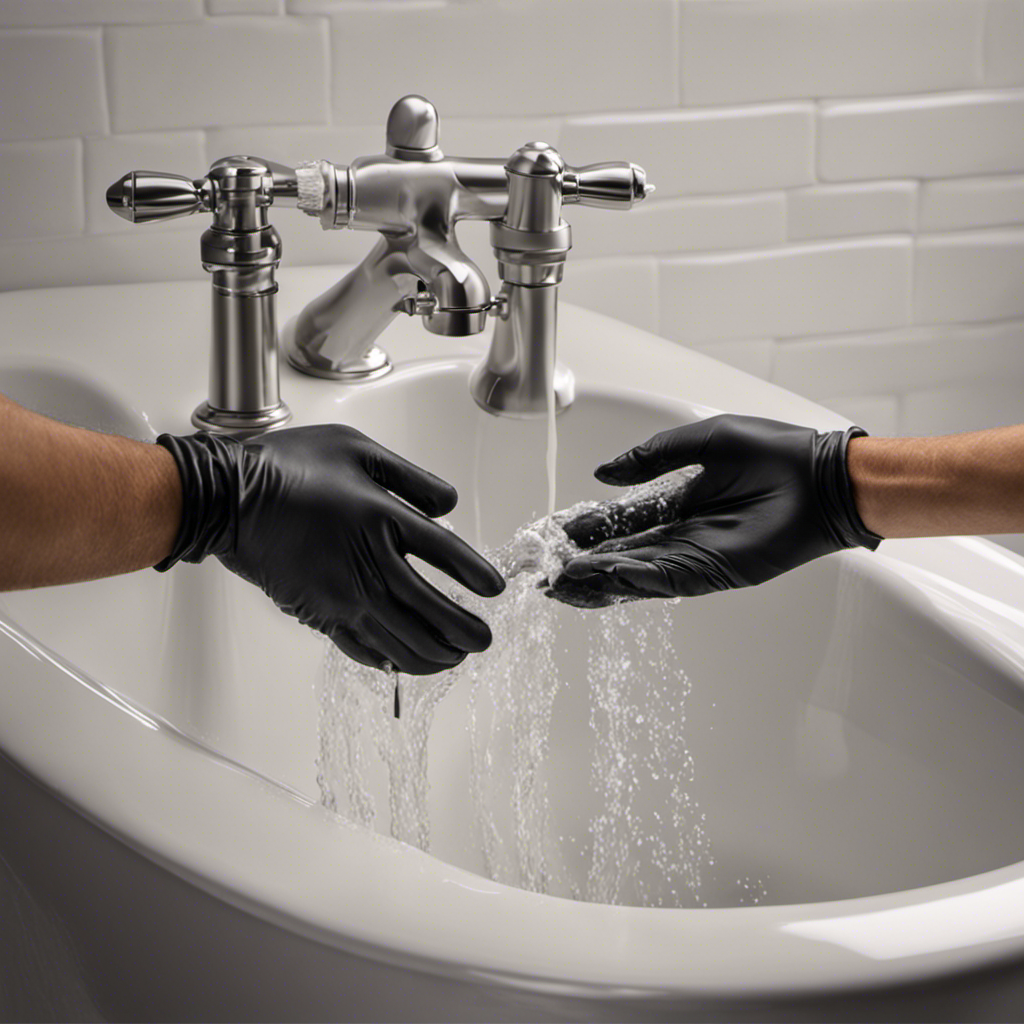
Start by thoroughly cleaning the bathtub using a mild detergent and a soft sponge. Scrub away any soap scum, stains, or dirt that may have accumulated over time. Rinse the bathtub thoroughly with clean water to remove any residue from the cleaning solution.
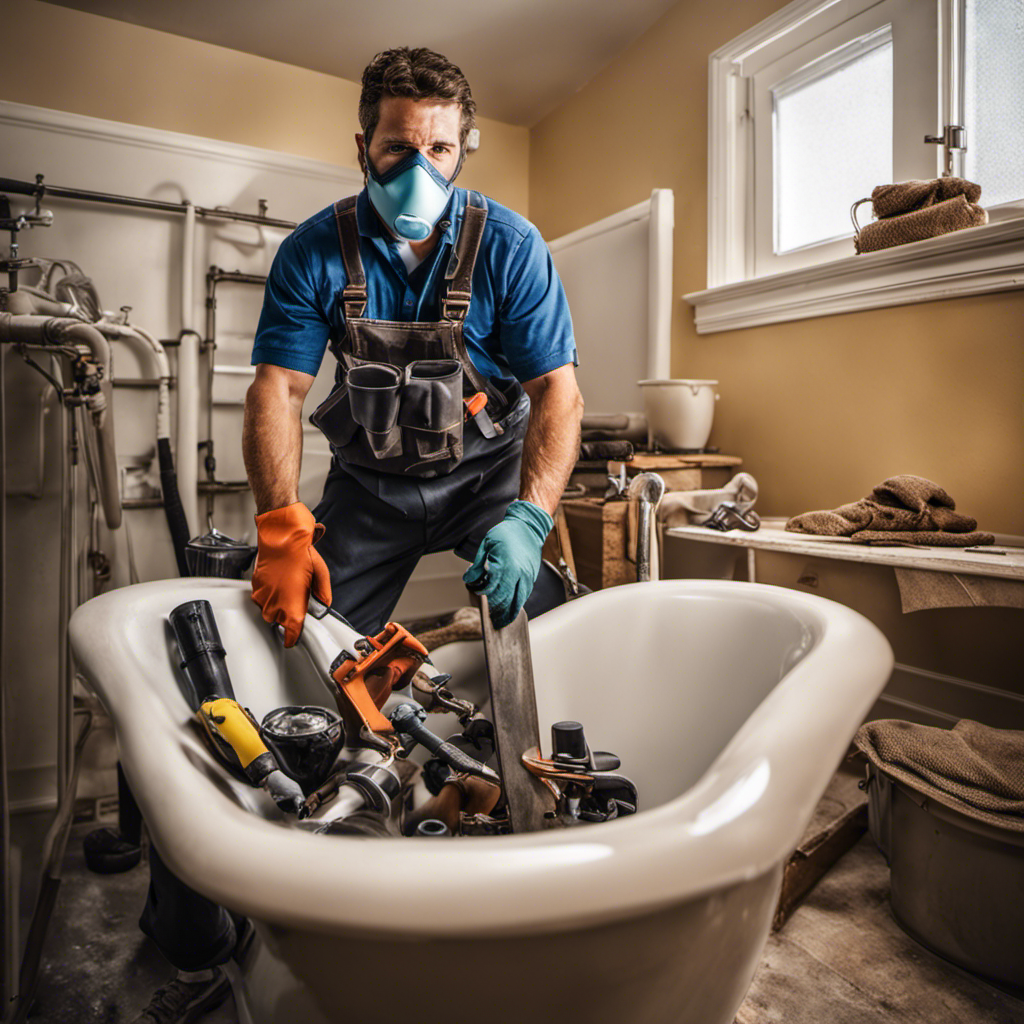
Once the bathtub is clean, it’s time to assess its condition and address any maintenance issues. Check for any cracks, chips, or areas of peeling enamel. Repair these issues using a bathtub repair kit, following the manufacturer’s instructions.
Removing Old Caulk and Grime
To remove old caulk and grime, you’ll need a caulk removal tool and a scrub brush. Cleaning techniques are essential to renewing a bathtub and achieving a fresh, clean surface. Here’s a step-by-step guide on how to remove old caulk and grime from your bathtub.
-
Start by using the caulk removal tool to gently scrape away the old caulk. Be careful not to damage the bathtub surface.
-
Once the caulk is removed, use the scrub brush to scrub away any remaining grime and residue. Make sure to thoroughly clean all areas, including corners and edges.
-
For stubborn stains, you can use a mixture of baking soda and water to create a paste. Apply the paste to the stains and scrub gently with the brush.
-
Rinse the bathtub with clean water to remove any leftover residue from the cleaning process.
-
Finally, dry the surface with a clean towel or allow it to air dry before applying new caulk.
Repairing Chips and Scratches
If there are any chips or scratches on your tub, you can easily repair them using a bathtub repair kit. Here’s a step-by-step guide on how to do it.
First, clean the damaged area thoroughly. Use a mild abrasive cleaner to remove any dirt or grease.
Next, fill the cracks or chips with the repair compound provided in the kit. Apply a thin layer and smooth it out using a putty knife. Allow it to dry completely.
Once dry, sand the surface gently with fine-grit sandpaper to ensure a smooth finish. Wipe away any dust with a damp cloth.
Finally, apply the color-matching coating provided in the kit to blend the repaired area with the rest of the tub. Allow it to dry according to the instructions.
Your tub will look as good as new!
Applying a Fresh Coat of Paint or Resurfacing
Applying a fresh coat of paint or resurfacing can give your tub a brand new look in no time. When it comes to choosing the right paint color, you should consider the overall aesthetic of your bathroom and personal preference. Neutral colors like white or gray are popular choices, as they can create a clean and timeless look. On the other hand, bold colors can add a pop of personality and make a statement.
Now, let’s discuss the pros and cons of DIY versus professional resurfacing. DIY resurfacing kits are affordable and can be done at your own convenience. However, they require careful preparation and may not provide the same level of durability as professional resurfacing. Hiring a professional ensures a high-quality finish, but it can be more expensive.
Ultimately, the choice between DIY and professional resurfacing depends on your budget, time, and desired outcome.
Sealing and Finishing the Renewed Bathtub
After sealing and finishing the renewed tub, you can expect a glossy and smooth surface that will protect the paint and ensure longevity. The sealing techniques and finishing options play a crucial role in achieving these results.
Here’s a step-by-step guide to help you seal and finish your bathtub:
-
Sealing Techniques:
- Clean the surface thoroughly to remove any dirt or debris.
- Apply a primer specifically designed for bathtubs, using a brush or roller.
- Allow the primer to dry completely before proceeding to the next step.
-
Finishing Options:
- Choose a high-quality bathtub paint that is formulated for durability and water resistance.
- Apply the paint evenly, using a brush or sprayer, following the manufacturer’s instructions.
- Allow the paint to cure for the recommended time before using the bathtub.
Conclusion
In conclusion, renewing your bathtub is a simple and rewarding process that can breathe new life into your bathroom. By following the step-by-step instructions in this article, you can easily prepare the surface, remove old caulk and grime, repair any chips or scratches, and apply a fresh coat of paint or resurfacing.
Don’t let your bathtub be a dull and worn-out sight, unleash its hidden potential and make it shine like a diamond in the rough. Get ready to enjoy a rejuvenated bathing experience!
