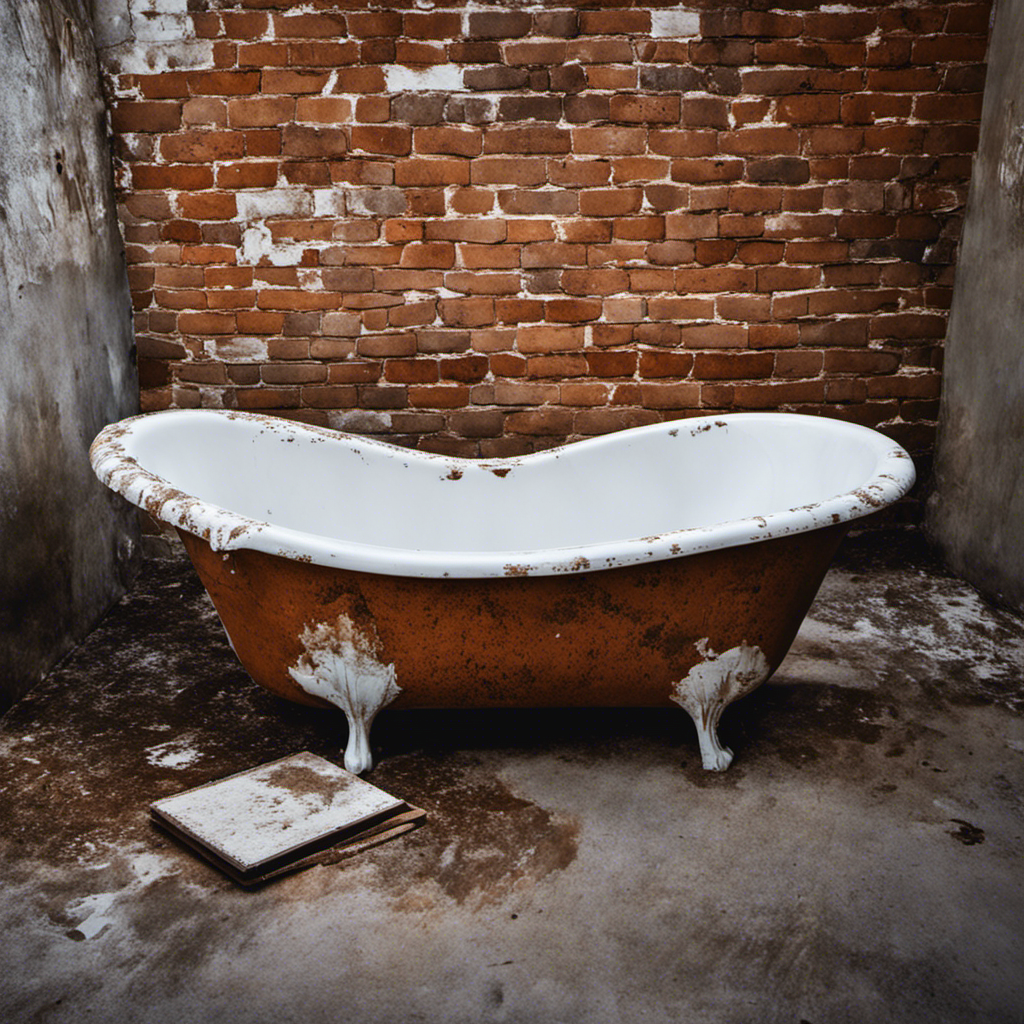
Are you tired of looking at your worn-out bathtub, longing for a fresh and vibrant look?
Well, it’s time to take matters into your own hands and give your bathtub a makeover!
In this article, we will guide you through the step-by-step process of repainting your bathtub, transforming it into a stunning centerpiece of your bathroom.
You don’t need to be a professional painter to achieve amazing results – with our detailed instructions and expert tips, you’ll be able to tackle this project with confidence.
So, let’s dive in and bring new life to your bathtub!
Key Takeaways
- Surface preparation is essential before repainting a bathtub, including cleaning, sanding, and patching any cracks or damage.
- Proper priming is crucial for a successful bathtub repaint, including using high-quality primer and applying it evenly to the entire surface.
- Stripping and removing old paint or finishes can be done using chemical paint removers or alternative methods like sanding or using a heat gun.
- Repairing damaged areas involves cleaning the damaged area, filling it with a two-part epoxy filler, smoothing it out, and allowing it to dry before sanding.
Necessary Supplies
To repaint your bathtub, you’ll need a few necessary supplies like primer, paint, a paintbrush, and a roller. These items are essential for ensuring a successful bathtub refinishing process.
Before you begin, it’s important to prioritize bathtub safety. Make sure the area is well-ventilated and wear appropriate protective gear such as gloves and a mask.
Start by cleaning the bathtub thoroughly to remove any dirt or grime.
Next, apply a coat of primer to create a smooth surface for the paint to adhere to. Allow the primer to dry completely before moving on to the next step.
Now, it’s time to apply the paint using a paintbrush or roller, depending on your preference. Start from the top and work your way down, applying even strokes to ensure a consistent finish.
Follow the manufacturer’s instructions for drying and curing times, and avoid using the bathtub until the paint has fully cured.
Preparing the Bathtub Surface
Before you can start repainting your bathtub, it’s crucial to properly prepare the surface. This involves using surface cleaning techniques to remove any dirt, grime, or soap scum that may be present.
Additionally, sanding and stripping methods are used to ensure a smooth and even surface for the new paint to adhere to.
Surface Cleaning Techniques
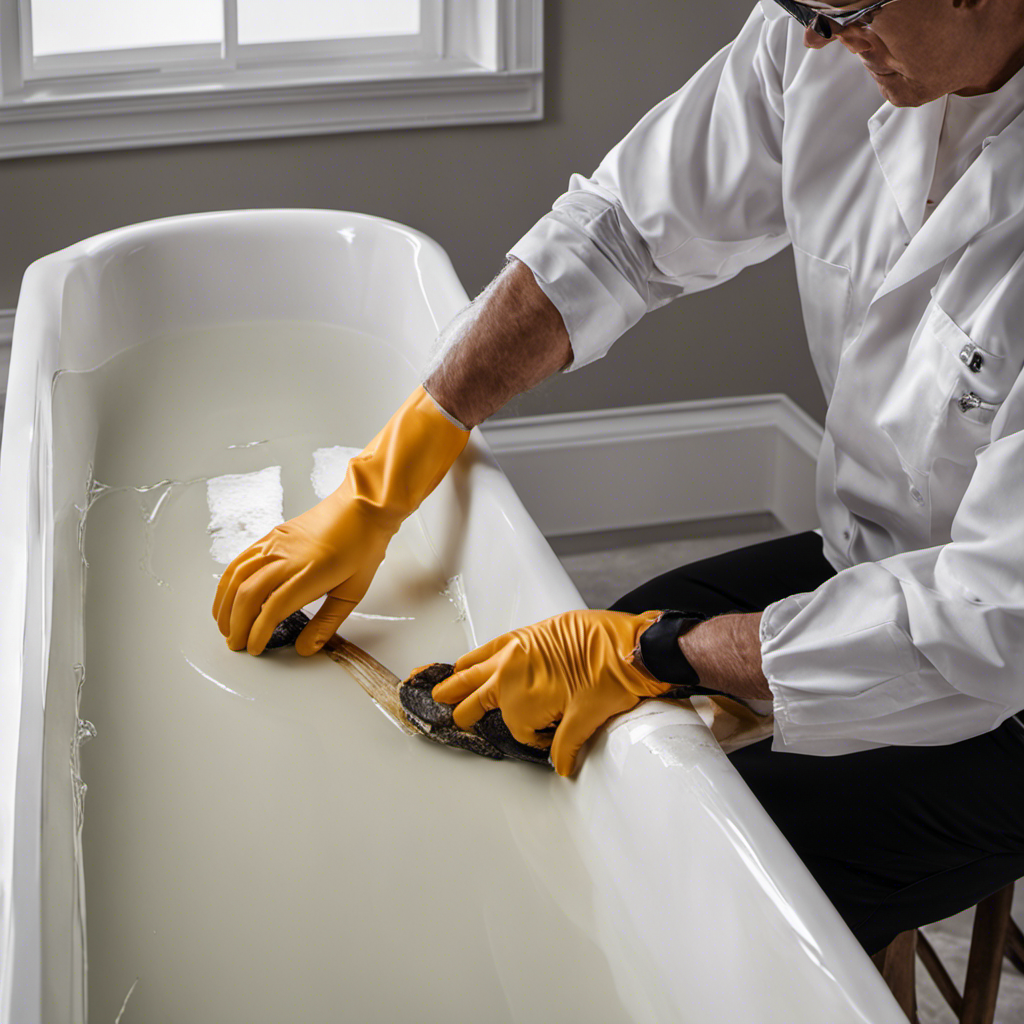
First, you’ll want to scrub the surface of your bathtub using a mild cleaner and a sponge. This will ensure that any dirt, grime, or soap scum is removed before painting.
Here are three surface cleaning techniques to help you achieve a clean and smooth surface for repainting:
-
Use a surface cleaning product specifically designed for bathtubs. These products are formulated to tackle tough stains and residue effectively.
-
Apply the cleaner onto the sponge and scrub the entire surface of the bathtub in circular motions. Pay extra attention to areas with built-up grime or soap scum.
-
Rinse the bathtub thoroughly with water to remove any remaining cleaner residue. Make sure to dry the surface completely before moving on to the next step.
Sanding and Stripping Methods
Once you have thoroughly cleaned the surface, you can begin sanding and stripping away any old paint or finishes.
Start by gathering the necessary sanding equipment, such as sandpaper with different grits (coarse, medium, and fine), a sanding block or sponge, and a dust mask for protection.
Begin by using the coarse-grit sandpaper to remove the existing paint or finish from the bathtub surface. Make sure to sand in a circular motion to achieve an even result.
Once the majority of the paint or finish is removed, switch to the medium-grit sandpaper to smooth out any rough areas.
Finally, use the fine-grit sandpaper to achieve a smooth and even surface.
If you prefer alternative stripping methods, you can use a chemical paint stripper or a heat gun to remove the old paint or finish. Both methods require caution and follow the manufacturer’s instructions.
Remember to properly dispose of any paint or finish residue.
With the sanding and stripping process complete, you are now ready to move on to removing the old paint or finishes.
Removing Old Paint or Finishes
When it comes to removing old paint or finishes from your bathtub, there are a few options to consider.
Chemical paint removers can be effective in stripping away the layers of paint, but it’s important to follow the instructions carefully and take proper safety precautions.
Another option is sanding or scraping, which can be a more labor-intensive process but may be necessary for certain types of finishes.
If you’re not confident in your DIY skills or if the bathtub has a complex finish, professional stripping services may be the best choice to ensure a smooth and successful paint removal process.
Chemical Paint Removers
Using chemical paint removers is an effective way to strip the old paint from the bathtub. Here’s why:
-
Chemical safety: Before using any paint remover, it is crucial to prioritize your safety. Ensure proper ventilation by opening windows or using fans. Wear protective gloves, goggles, and a mask to shield yourself from harmful fumes and chemicals.
-
Alternative methods: If you prefer not to use chemical paint removers, there are alternative methods available. These include sanding the old paint off, using a heat gun to soften the paint, or using a natural paint stripper made from ingredients like vinegar or baking soda.
-
Professional advice: When repainting a bathtub, it’s always beneficial to seek guidance from a professional painter or surface refinisher. They can provide step-by-step instructions, recommend the right tools and materials, and address any challenges that may arise during the process.
Following these guidelines will ensure a successful bathtub repainting project while keeping your safety a top priority.
Sanding or Scraping
Sanding or scraping the old paint off the surface requires careful technique and the right tools.
To start, gather a medium-grit sandpaper and a paint scraper.
Begin by sanding the entire bathtub surface to create a rough texture that will help the new paint adhere better. Make sure to sand in a circular motion, applying even pressure.
Next, use the paint scraper to gently scrape away any loose or peeling paint. Be careful not to damage the surface underneath.
Once all the old paint has been removed, wipe down the bathtub with a clean cloth to remove any dust or debris. This step is crucial for achieving a smooth and even finish.
Following these sanding techniques and using the proper scraping tools will ensure a clean and well-prepared surface for repainting your bathtub.
Professional Stripping Services?
If you’re looking for a quicker and more efficient way to remove old paint from your bathtub, consider hiring professional stripping services. Here’s why:
-
Expertise: A professional painter or surface refinisher has the knowledge and experience to provide step-by-step instructions for repainting a bathtub. They know the specific tools, materials, and techniques required for the job.
-
Comprehensive instructions: Professionals ensure that no important steps are missed. They provide clear and easy-to-follow instructions, explaining the reasons behind each step. They also offer tips and tricks to achieve the best results.
-
Addressing challenges: Professionals anticipate common challenges or issues that may arise during the bathtub repainting process. They provide solutions and guidance to overcome them, saving you time and frustration.
Repairing Any Damaged Areas
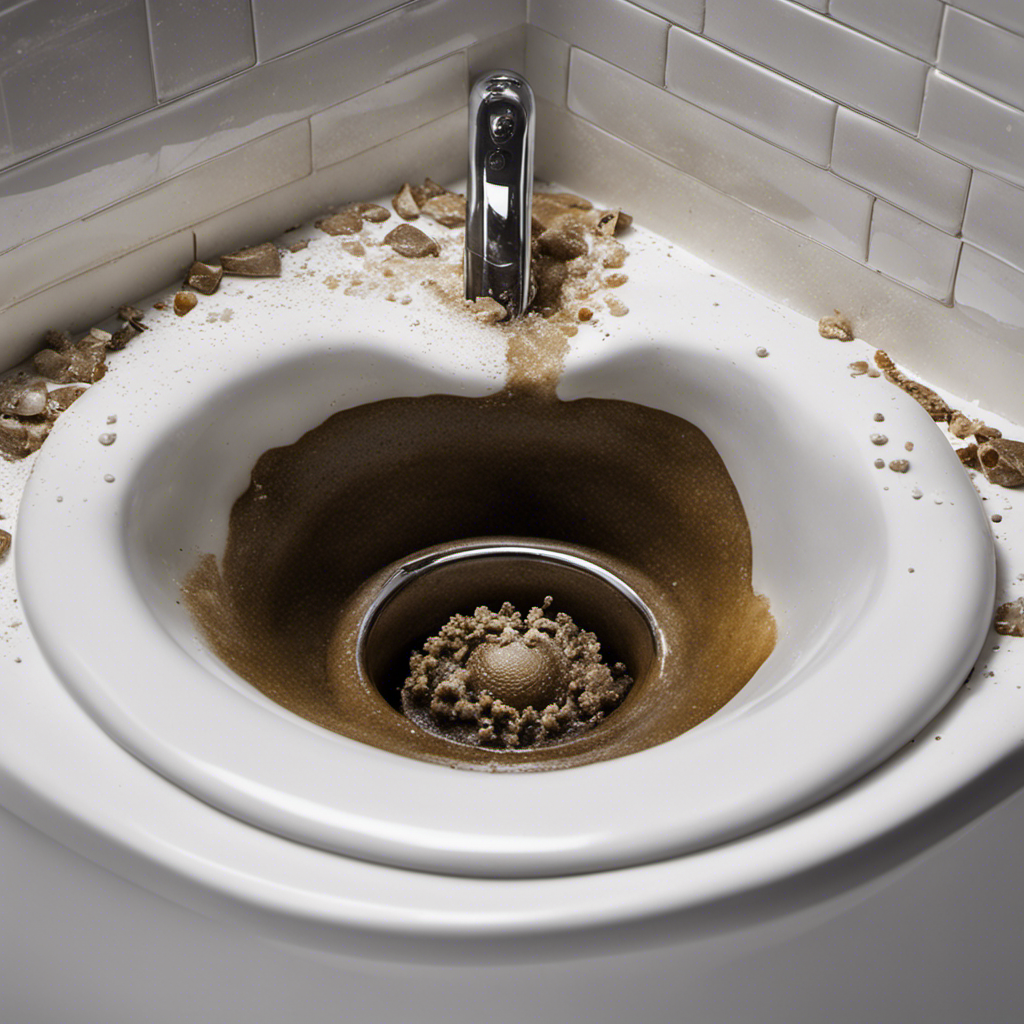
To repair any damaged areas, you’ll need to assess the extent of the damage before proceeding with the repainting process. Start by examining the bathtub for any chips or cracks. If you find any, you’ll need to repair them before moving forward.
To repair chips, start by cleaning the damaged area with a mild detergent and warm water. Once dry, fill the chip with a two-part epoxy filler, using a putty knife to smooth it out. Let it dry completely before sanding the area with fine-grit sandpaper to create a smooth surface.
For patching cracks, use a fiberglass repair kit. Begin by cleaning the crack with a fiberglass cleaner and then apply the resin and hardening agent mixture to the crack. Use a fiberglass cloth to reinforce the repair and apply additional layers until the crack is filled.
Priming the Bathtub
Before applying primer to the bathtub, make sure you have thoroughly cleaned the surface. This step is crucial for achieving a smooth and long-lasting finish.
Here’s a step-by-step guide to priming your bathtub for refinishing or resurfacing:
-
Gather your materials: You will need a high-quality primer specifically designed for bathtubs, a paintbrush or roller, and painter’s tape to protect surrounding areas.
-
Prep the surface: Remove any caulking or old paint and sand the entire bathtub to create a rough surface for the primer to adhere to. Wipe away any dust or debris with a damp cloth.
-
Apply the primer: Start by applying a thin, even coat of primer to the entire bathtub using a brush or roller. Make sure to cover all areas, including the corners and edges. Allow the primer to dry completely before moving on to the next step.
Applying the Paint
Once the primer has dried completely, you can start applying the paint to the bathtub using smooth, even strokes. Before you begin, it’s important to choose the right bathtub paint color that suits your taste and bathroom decor. Now, let’s take a look at the table below to understand the paint application techniques for repainting your bathtub:
| Step | Tools Required | Techniques |
|---|---|---|
| 1 | Paintbrush or roller | Apply the paint evenly in long, straight strokes. |
| 2 | Paint tray | Pour the paint into the tray and load the brush or roller evenly. |
| 3 | Sandpaper or sanding block | Lightly sand the surface between coats for better adhesion. |
Drying and Curing Process
Now that you’ve successfully applied the paint to your bathtub, it’s crucial to ensure proper drying and curing for a long-lasting and beautiful finish. Here are the steps you need to follow:
-
Allow sufficient drying time: The paint manufacturer’s instructions will provide the recommended drying time. Make sure to give the paint enough time to dry completely before using the bathtub.
-
Use drying techniques: To speed up the drying process, you can use fans or blow dryers on a low heat setting. This will help remove moisture from the surface and promote faster drying.
-
Maintain good ventilation: Proper ventilation is essential during the drying and curing process. Open windows and use fans to circulate fresh air, helping the paint dry faster and preventing any strong odors from lingering.
Finishing Touches
To achieve a professional-looking result, it’s important to pay attention to the finishing touches. After repainting your bathtub, there are a few steps you can take to ensure a polished and long-lasting finish. First, make sure to remove any tape or protective covering carefully. This will prevent any accidental smudging or peeling. Next, clean the bathtub thoroughly with a non-abrasive cleaner to remove any lingering residue. Finally, inspect the bathtub for any imperfections or touch-ups that may be needed.
Here is a helpful table to guide you through the finishing touches:
| Finishing Touches |
|---|
| Remove tape and protective covering |
| Clean bathtub with non-abrasive cleaner |
| Inspect for imperfections |
| Touch up as needed |
Frequently Asked Questions
How Long Does the Repainted Bathtub Need to Dry Before It Can Be Used Again?
After repainting your bathtub, it’s important to let it dry completely before using it again. The drying process typically takes around 24-48 hours, but you can use alternative bathing options in the meantime.
Can I Use Any Type of Paint for Repainting My Bathtub?
You can’t use just any paint for repainting your bathtub. There are specific bathtub paint options available, and the best paint for a bathtub is one that is designed for high moisture and water resistance.
Is It Necessary to Remove All the Old Paint Before Repainting the Bathtub?
It is necessary to remove all the old paint before repainting the bathtub. There are various techniques for removing old paint, such as sanding, using chemical strippers, or using a heat gun.
Can I Repaint a Bathtub That Has Chips or Cracks?
Yes, you can repaint a bathtub that has chips or cracks. Start by repairing the bathtub cracks and filling the bathtub chips. Then, follow the step-by-step instructions provided by a professional painter or surface refinisher for best results.
How Long Does the Repainted Bathtub Typically Last Before It Needs to Be Repainted Again?
On average, a repainted bathtub can last anywhere from 5 to 10 years before it needs to be repainted again. Factors like proper preparation, quality of materials, and regular maintenance can affect its durability.
Conclusion
In conclusion, repainting a bathtub requires careful preparation and attention to detail. Just like an experienced painter or surface refinisher, you should gather the necessary supplies and carefully prepare the bathtub surface.
Removing old paint or finishes and repairing any damaged areas are crucial steps before priming the bathtub. Applying the paint with precision and allowing it to dry and cure properly are essential for a successful outcome.
Remember, just as a skilled professional would, address any common challenges that may arise and provide helpful tips along the way. With patience and expertise, your bathtub can be transformed into a beautiful masterpiece.


