I’ve been there – standing in ankle-deep water, frustrated with a clogged bathtub drain. But fear not, because I’m here to guide you through the process of repairing it.
With just a few simple steps and the right tools, you’ll have your drain working like new in no time.
So grab your plunger and let’s dive into the world of bathtub drain repair. Trust me, it’s easier than you think.
Key Takeaways
- Observe the drain for visible signs of blockage or damage.
- Obtain necessary tools like a screwdriver, pliers, and a bucket.
- Remove the old drain cover by unscrewing it counterclockwise.
- Choose a new drain that fits the diameter of the existing drain and has a reliable sealing mechanism to prevent leaks.

Tub Drain Linkage Assembly with Trip Lever and Strainer Done Cove, Fit for Trip Lever Bath Tub Waste and Overflow Drain by Artiwell
- Durable Brass Construction: Ensures strength and long-lasting use
- Complete Repair Kit: Includes linkage, flange, screws, and strainer cover
- Adjustable Height: Fits 14 to 16-inch standard drains
As an affiliate, we earn on qualifying purchases.
As an affiliate, we earn on qualifying purchases.
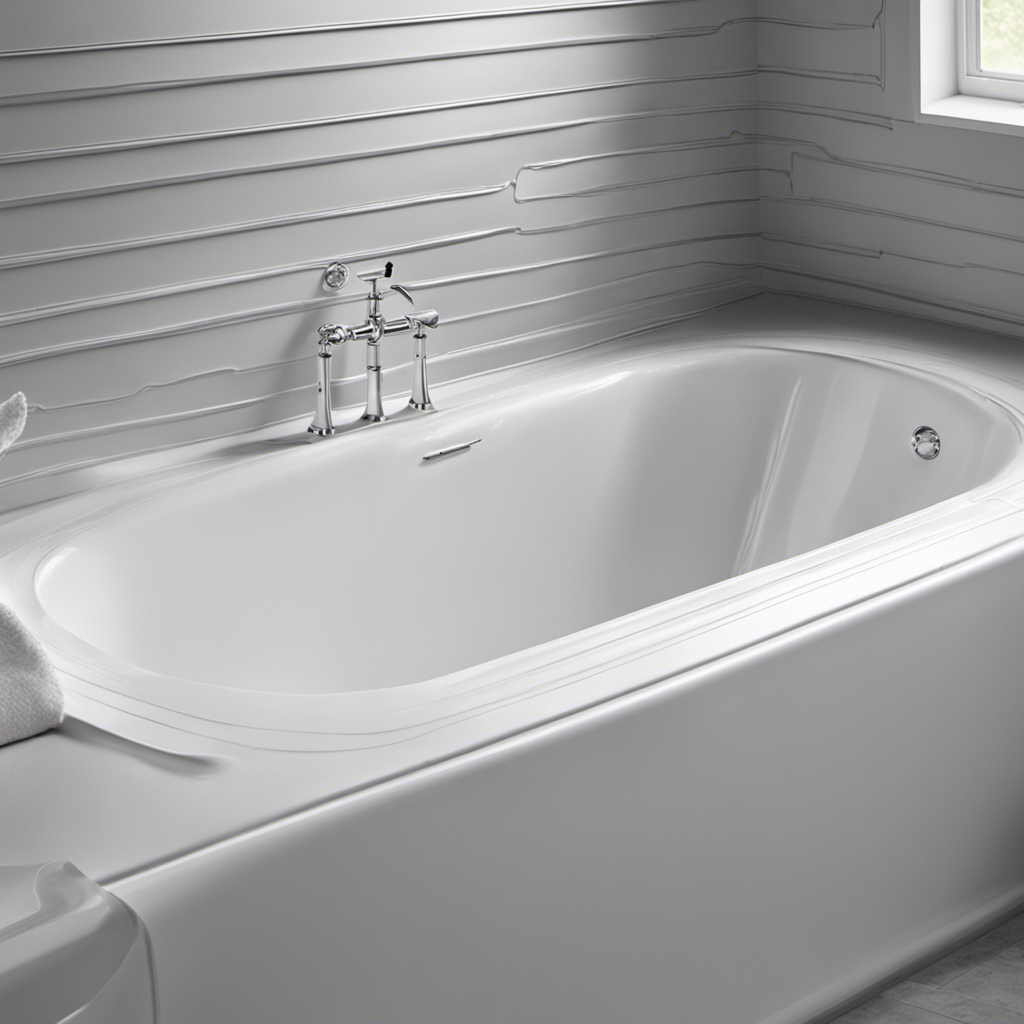
Identifying the Problem
Before starting the repair, make sure you’re able to identify what’s causing the issue with your bathtub drain. Common bathtub drain problems can include clogs, leaks, or slow draining. Troubleshooting bathtub drain issues is crucial in determining the appropriate solution.
Begin by observing the drain and looking for any visible signs of blockage or damage. Check for any standing water or slow drainage, which could indicate a clog.
Next, remove the drain cover and use a flashlight to inspect the drain pipe for any obstructions. If there are no visible blockages, the problem may lie deeper within the plumbing system.
In that case, it may be necessary to call a professional or gather the necessary tools to proceed with further investigation and repair.
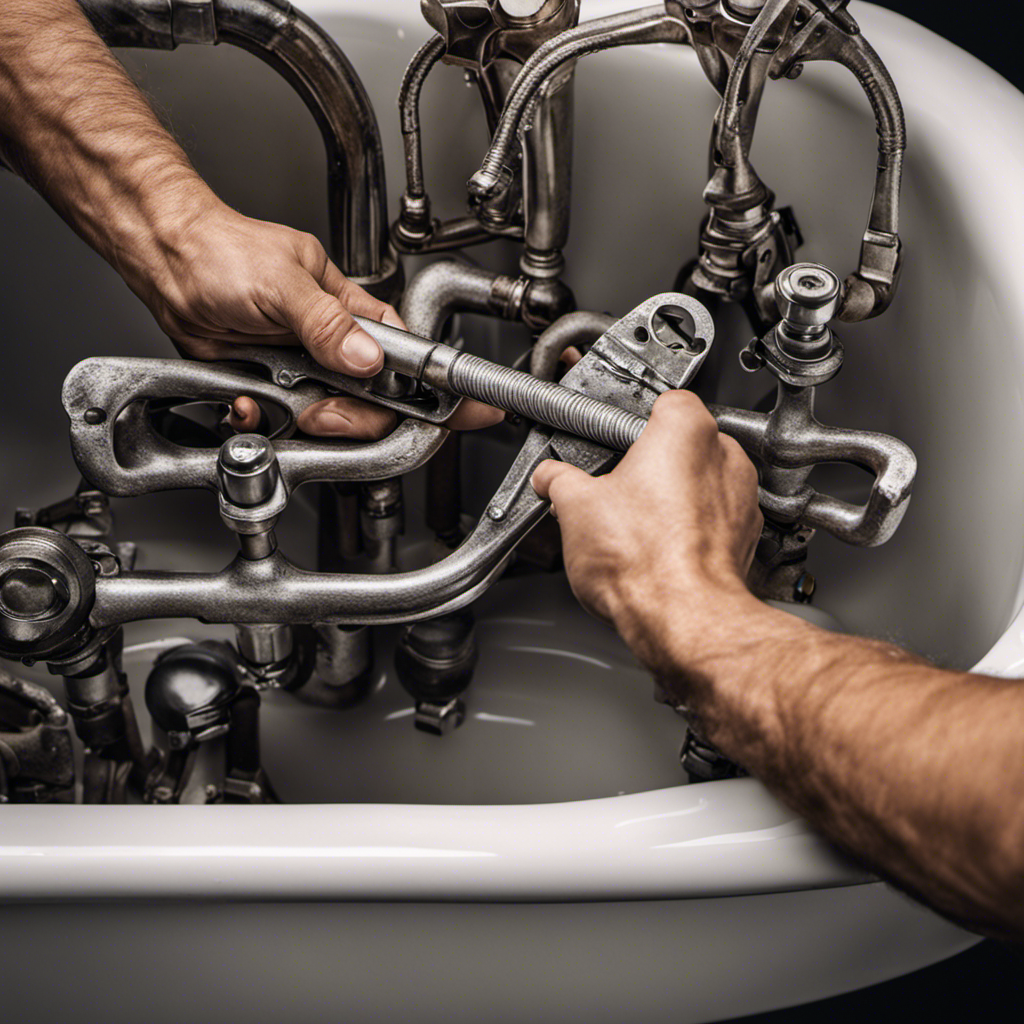
Gathering the Necessary Tools
To gather the necessary tools, you’ll need a screwdriver, pliers, and a bucket. These tools are essential for repairing a bathtub drain.
Before starting the repair process, it’s important to choose the right drain repair kit. Look for a kit that includes a new drain cover, gasket, and any other necessary components. This will ensure that you have everything you need to complete the repair successfully.
Additionally, it’s important to follow some tips for preventing future drain issues. Regularly clean your drain to remove any hair or debris that could cause clogs. Avoid pouring grease or oil down the drain, as this can lead to build-up. Finally, consider using a drain strainer to catch any large particles before they enter the drain.
These simple steps can help you avoid future drain problems and keep your bathtub drain running smoothly.
Removing the Old Drain
Once you’ve gathered the necessary tools, you’ll need to unscrew the old drain cover using a screwdriver. Here are the steps to removing the old drain:
-
Locate the screws: Take a close look at the drain cover and find the screws holding it in place. They are usually located on the top or sides of the cover.
-
Position the screwdriver: Place the tip of the screwdriver into the screw head and apply firm pressure. Make sure the screwdriver is the right size to prevent stripping the screw.
-
Unscrew the cover: Turn the screwdriver counterclockwise to loosen and remove the screws. Keep them in a safe place to avoid losing them.
-
Lift off the drain cover: Once the screws are removed, lift the drain cover off the drain. If it is stuck, you can use a flathead screwdriver to gently pry it loose.
These repairing techniques and troubleshooting tips will help you successfully remove the old drain cover and proceed with your bathtub drain repair.
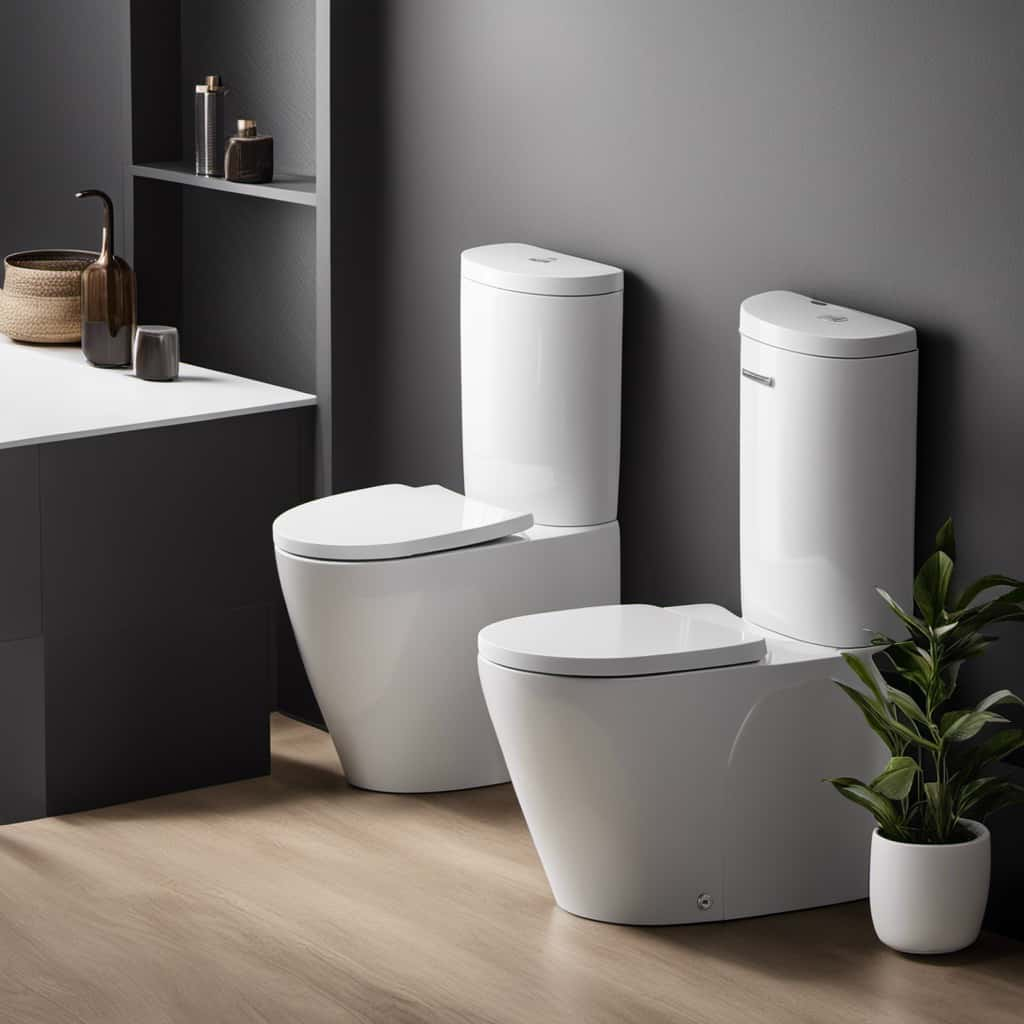
Installing the New Drain
When installing the new drain, make sure you have the correct size and type of drain cover to fit your specific bathtub. This is an important step to avoid common mistakes during bathtub drain installation.
Here are some tips for selecting the right bathtub drain for your bathroom.
-
Measure the diameter of your existing drain to ensure you choose a replacement that fits snugly.
-
Consider the material of the drain cover. Stainless steel or brass are durable options that can withstand regular use.
-
Look for a drain with a built-in strainer to prevent hair and debris from clogging the pipes.
-
Check if the drain has an overflow feature, especially if your bathtub has an overflow opening.
-
Ensure the drain has a reliable sealing mechanism to prevent any leaks.
Testing and Finishing Touches
After you’ve finished the installation, don’t forget to test the new drain and add the finishing touches. This is a crucial step to ensure that everything is working properly and avoid any future issues. Here are some important steps to follow:
-
Test the drain: Fill the bathtub with water and let it drain completely. Observe if the water drains smoothly without any blockages or slow draining. If there are any issues, you may need to recheck the installation or clear any obstructions.
-
Check for leaks: Inspect the area around the drain for any signs of leaks. Look for water dripping or pooling. If you notice any leaks, tighten the connections or replace any faulty parts.
-
Clean the drain cover: Remove the drain cover and clean it thoroughly to prevent any buildup of hair or debris. Regular cleaning will help maintain a properly functioning drain.
-
Apply caulk: Finally, apply a thin layer of silicone caulk around the edges of the drain cover to create a watertight seal and prevent any water from seeping through.
Conclusion
So there you have it, folks! Repairing a bathtub drain may seem like a daunting task, but with the right tools and a little know-how, it can be a breeze.
Remember the old saying, ‘A stitch in time saves nine,’ and don’t put off fixing that leaky drain. By following the step-by-step guide we’ve provided, you’ll have your bathtub drain repaired in no time.
Happy fixing!