If your bathtub has a chip, don’t worry – you can fix it yourself! In this guide, we’ll show you how to repair a chipped bathtub step by step.
First, you’ll learn how to identify the chip and gather the necessary materials.
Then, we’ll walk you through preparing the surface and applying the repair solution.
Finally, we’ll show you how to finish and seal the repair, leaving your bathtub looking as good as new.
So, let’s get started!
Key Takeaways
- Evaluating the severity and cause of the chip is important before starting the repair process.
- Gathering the necessary materials, such as a repair kit, sandpaper, mild cleaner, bonding agent, and finishing tools, is essential for a successful repair.
- Preparing the surface by cleaning it thoroughly, sanding the chipped area gently, and ensuring it is free of debris is crucial for proper adhesion of the repair solution.
- Applying the repair solution in thin layers, using a small brush, and avoiding over-application will result in a smooth and seamless finish. Additionally, finishing and sealing the repair with the right sealant is necessary for a long-lasting repair.

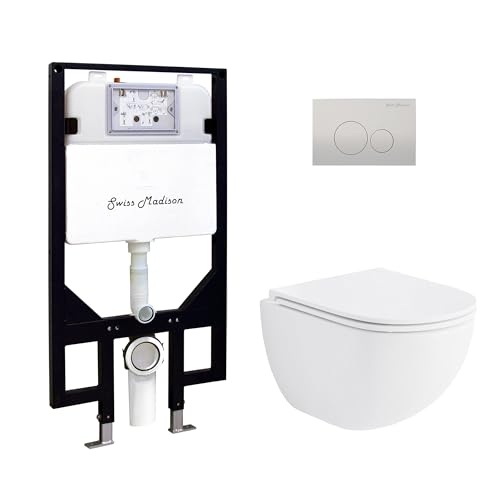
Wall Hung Toilet with Tank, Eridanus Wall Mounted Toilet Combo Set, 2x4 In-Wall Toilet Tank Carrier, Dual-Flush Plate Included, Floating Bowl With Soft-Close Seat, Glossy White, 2 Separate Packages
【Please Note】Toilet and tank are shipped in two separate packages and may not arrive at the same time.
As an affiliate, we earn on qualifying purchases.
Identifying the Chip
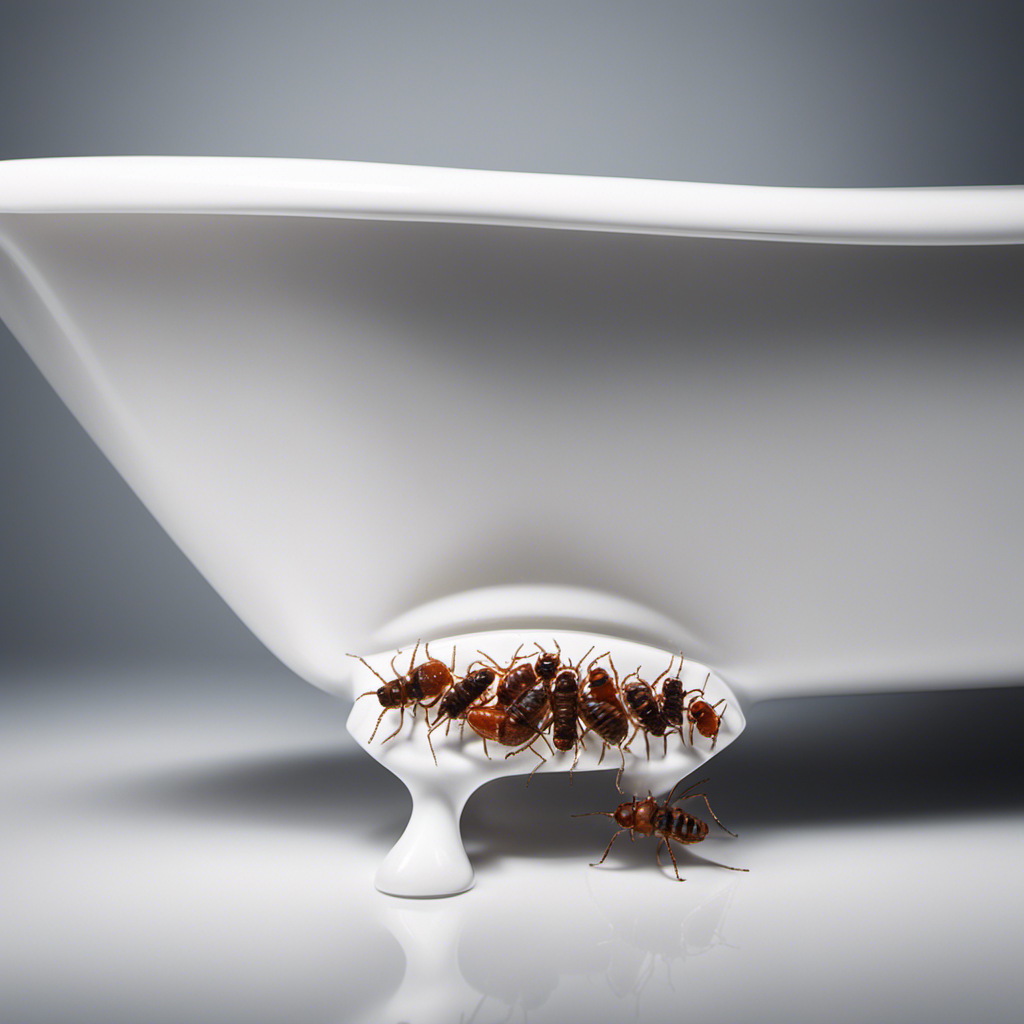
To start repairing a chipped bathtub, the first step is identifying the exact location of the chip. Begin by carefully evaluating the severity of the chip. Is it a small, shallow chip, or a deeper and larger one? Understanding the extent of the damage will help you choose the appropriate repair method.
Next, you need to determine the cause of the chip. Was it caused by a heavy object falling on the surface or by general wear and tear over time? Knowing the cause will help prevent future chips and guide your repair strategy. Take your time to thoroughly inspect the chip and surrounding area, using a flashlight if necessary, to ensure accuracy.
Once you have successfully identified the chip, you can move on to the next step in repairing your bathtub.

Comfort & Elongated Wall Hung Toilet System, Los Flexi Wall Mounted Toilet with Adjustable Floating Toilet Bowl, Durable In-Wall Toilet Tank Carrier, Soft-Close Seat & Dual-Flush Push Plate Included
Ergonomic Design for Maximum Comfort: The wall hung toilet with tank features an elongated bowl, offering a comfortable,...
As an affiliate, we earn on qualifying purchases.
Gathering the Necessary Materials
You’ll need a few materials to fix the damage on your tub. Here are the items you’ll need to gather:
-
Repair kit: Choosing the right repair kit is crucial for a successful fix. Look for a kit that matches the material of your tub, such as fiberglass or acrylic.
-
Sandpaper: You’ll need sandpaper to smooth out the chipped area before applying the repair material. Use a fine grit sandpaper for the best results.
-
Cleaning supplies: Before starting the repair, make sure to clean the damaged area thoroughly. Use a mild cleaner and a soft cloth to remove any dirt or debris.
-
Bonding agent: A bonding agent is used to ensure that the repair material adheres properly to the tub’s surface. Follow the instructions on the repair kit to determine the type of bonding agent to use.
-
Finishing tools: To blend the repair with the surrounding surface, you’ll need some finishing tools, such as a putty knife or a sanding block. These tools will help you achieve a smooth and seamless finish.

Eridanus Wall Hung Toilet with Tank, 2x4 In-Wall Toilet Tank Carrier, Wall Mounted Toilet Combo Set, Dual-Flush Plate Included, Floating Bowl With Soft-Close Seat, Glossy White, 2 Separate Packages
【Please Note】Toilet and tank are shipped in two separate packages and may not arrive at the same time.
As an affiliate, we earn on qualifying purchases.
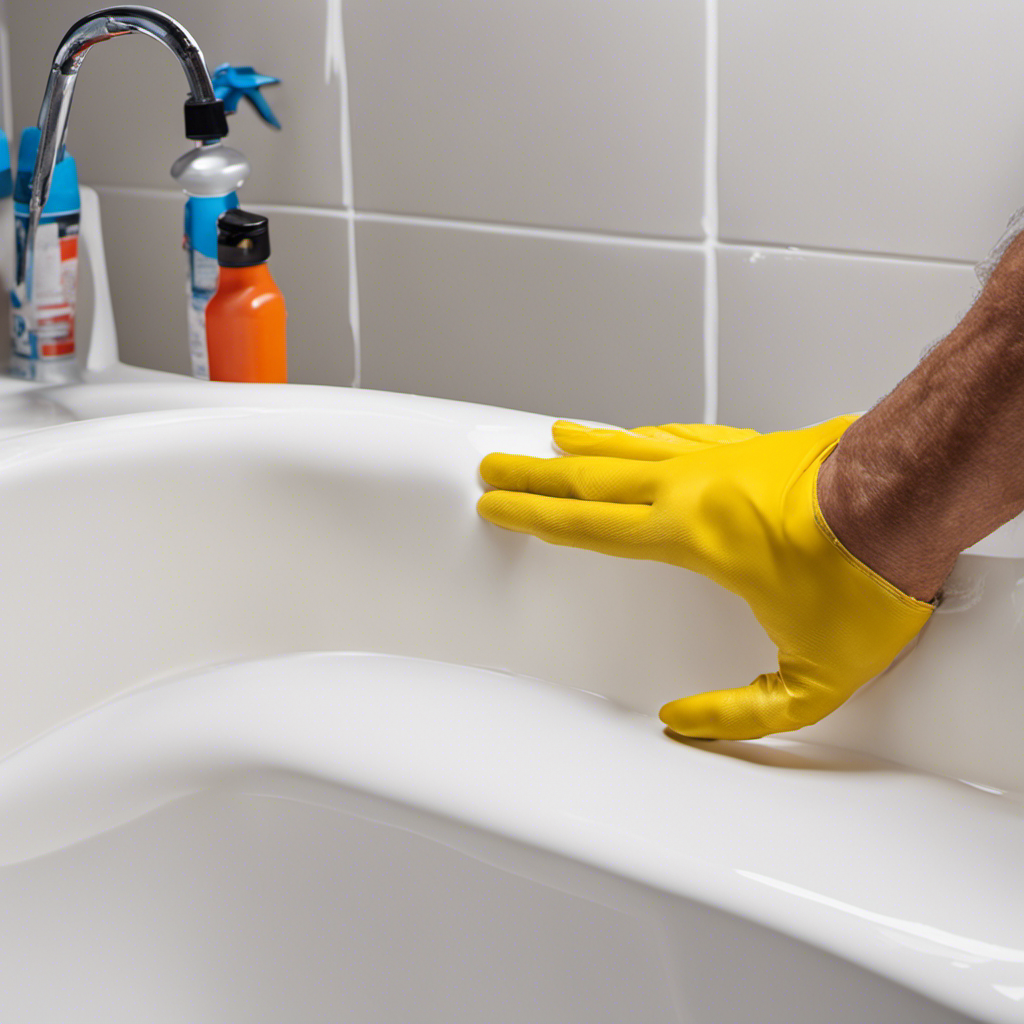
Preparing the Surface
Before starting, make sure the damaged area is clean and free of debris. Surface cleaning is an essential step in preparing your bathtub for repair.
Begin by wiping down the damaged area with a mild detergent or a bathtub cleaner. This will remove any dirt or grime that may interfere with the repair process.
Once the surface is clean, you will need to sand the damaged area to create a smooth and even surface for the repair solution to adhere to. Use a fine-grit sandpaper and gently sand the chipped area in a circular motion. Be careful not to apply too much pressure, as this can further damage the bathtub.
Once the surface is smooth, you can proceed to applying the repair solution to restore your bathtub to its former glory.
St. Tropez Wall Hung Toilet Bundle, Glossy White
Dual Flush : The buttons for dual flush allow you to choose between a low 0.8 gpf light...
As an affiliate, we earn on qualifying purchases.
Applying the Repair Solution
Once the area is clean and smooth, it’s time to apply the repair solution for restoring the damaged surface. Applying the repair solution correctly is crucial to achieve a seamless repair on your chipped bathtub. Here are some tips to ensure a successful application:
-
Use a small brush: Opt for a small, fine brush to apply the repair solution. This will help you control the amount of solution used and ensure precise application.
-
Apply in thin layers: It’s important to apply the repair solution in thin layers, allowing each layer to dry completely before applying the next. This will help build up the repair gradually and prevent any unevenness.
-
Smooth out any bubbles: While applying the solution, be mindful of any bubbles that may form. Smooth them out with a brush or a toothpick to ensure a flawless finish.
-
Avoid over-application: Over-applying the repair solution can result in a raised or lumpy surface. Apply the solution sparingly, focusing on filling in the chipped area only.
-
Clean up excess solution: Once the repair solution has dried, carefully remove any excess with a scraper or sandpaper. This will help blend the repair with the surrounding surface.
Finishing and Sealing the Repair
To finish and seal the repair, gently sand the repaired area using fine-grit sandpaper. This step is crucial for achieving a smooth and seamless finish.
Start by selecting the right sealant for your bathtub. Look for a sealant specifically designed for use on porcelain or fiberglass surfaces. This will ensure maximum durability and resistance to water and chemicals.
Before applying the sealant, make sure the repaired area is completely clean and dry. Use a damp cloth to remove any dust or debris.
Apply the sealant evenly over the repaired area, using a small brush or a foam applicator. Smooth out any excess sealant with a putty knife or a sponge.
Allow the sealant to dry completely before using the bathtub.
Following these tips will help you achieve a professional-looking finish that will last for years to come.
Frequently Asked Questions
Can I Repair a Chip in My Bathtub Without Professional Help?
Yes, you can repair a chip in your bathtub without professional help. DIY bathtub chip repair can be done using simple techniques and materials. It’s an easy and cost-effective way to restore the appearance of your bathtub.
How Long Will the Repair Solution Take to Dry Completely?
To ensure proper drying time, it is crucial to follow the instructions provided with the repair solution. Applying multiple layers may require longer drying time between each layer.
Is It Normal for the Repaired Area to Feel Slightly Rough After Finishing and Sealing?
It’s totally normal for the repaired area to feel slightly rough after sealing. Just make sure you use proper sanding techniques before sealing it. There are different types of bathtub repair kits available to help you fix it.
Can I Use the Bathtub Immediately After Finishing the Repair?
You can use the bathtub immediately after repairing it, but it’s important to take some precautions. Make sure the repair is fully cured, avoid using abrasive cleaners, and be gentle when using the tub to prevent further damage.
What Should I Do if the Chip Reappears After the Repair?
If the chip reappears after the repair, don’t worry. You can address this recurring chip issue by using long term solutions. Consider using epoxy putty or professional bathtub refinishing to ensure a lasting fix.
Conclusion
Congratulations, you’ve successfully repaired your chipped bathtub! With a keen eye and a little elbow grease, you transformed that unsightly chip into a smooth, flawless surface.
Now, your bathtub shines like a diamond in the rough. Remember, a chip may seem like a small problem, but neglecting it can lead to bigger issues down the road.
So, take charge and give your bathtub the TLC it deserves. You’ll be rewarded with a bathing experience that’s as refreshing as a cool summer breeze.