
I’ve had my fair share of mishaps in the bathroom, and one particularly frustrating incident was when I discovered a crack in my acrylic bathtub. Thankfully, I learned how to repair it myself, saving me time and money on a professional.
In this article, I’ll walk you through the step-by-step process of fixing a crack in an acrylic bathtub. With the right materials and a little bit of patience, you’ll have your bathtub looking good as new in no time.
Key Takeaways
- Thoroughly examine the crack, noting its size, location, and any accompanying damage.
- Choose a repair kit specifically designed for acrylic surfaces for the best results.
- Smooth any rough edges around the crack using sandpaper with a fine grit.
- Address the cause of the crack during the repair process to prevent future damage.

600ml Sausage Pneumatic Caulking Gun Silicone Sealant Gun Air Rubber Gun Caulk Applicator Tool with 10 Transparent Glue Nozzles
It is suitable for most glass adhesives, sheet metal adhesives and structural adhesives. It is widely used in...
As an affiliate, we earn on qualifying purchases.
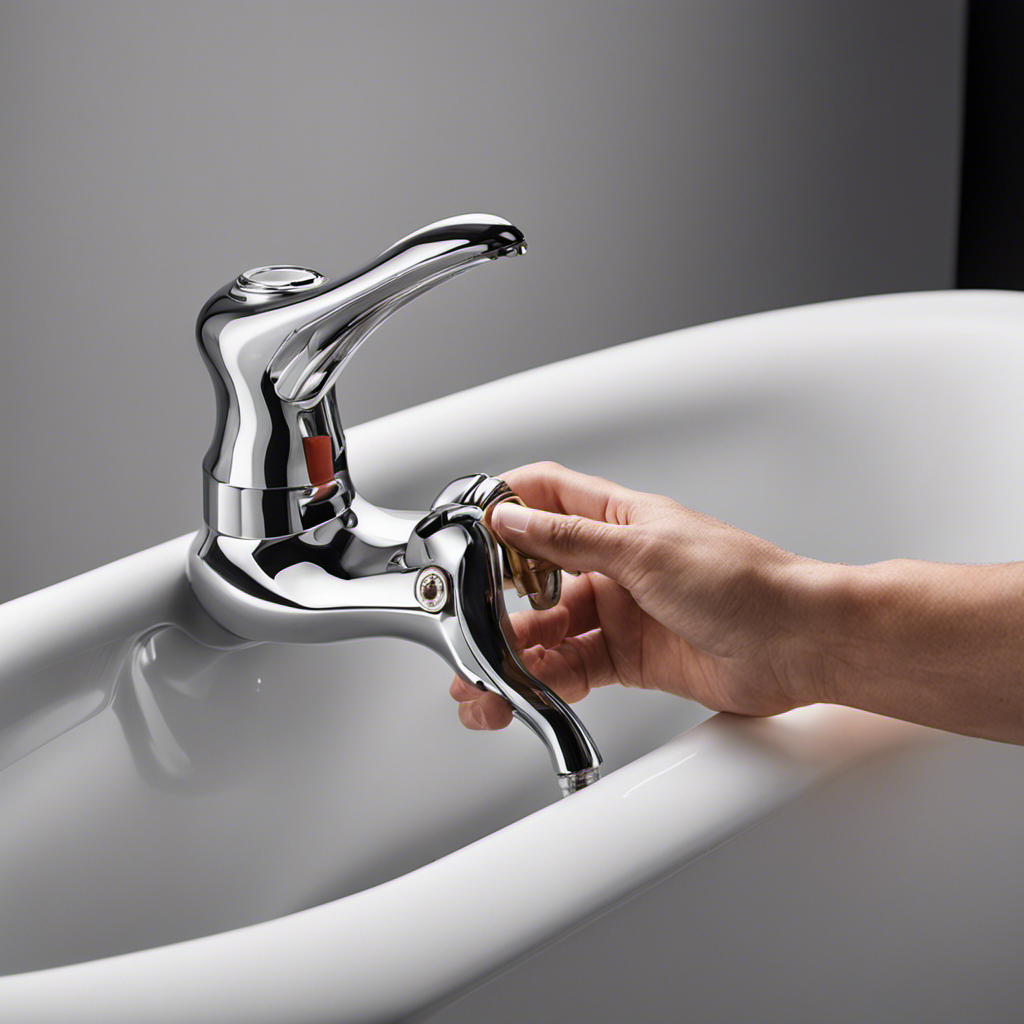
Assessing the Damage
Before you can repair a crack in an acrylic bathtub, you’ll need to assess the extent of the damage. Evaluating the extent of the crack is crucial in determining the best course of action for the repair.
Start by thoroughly examining the crack, noting its size, location, and any accompanying damage. Is the crack superficial or does it run deep? Is it a single crack or are there multiple ones? Understanding the extent of the damage will help you determine the appropriate repair method and materials needed.
Additionally, it’s important to determine the cause of the crack. Was it due to a heavy impact or a structural issue? Identifying the cause will help prevent future cracks and ensure a successful repair.

SILIGUN™ Gen-3 Compact Caulking Gun - No Drip Caulk Gun - Patented Design - Lightweight ABS Frame - Works with All 10 oz Tubes
Compact Convenience – Seal up windows, trim, tile, and more with your innovative no drip caulk gun from...
As an affiliate, we earn on qualifying purchases.
Gathering the Materials
Make sure you have all the materials you need to fix it. When it comes to repairing a crack in an acrylic bathtub, choosing the right repair kit is crucial. Look for a kit specifically designed for acrylic surfaces, as it will provide the best results. Additionally, protecting the surrounding areas is essential to prevent any accidental damage.
Here are some tips to keep in mind:
- Use masking tape to cover the areas around the crack.
- Lay down a drop cloth or old towel to catch any drips or spills.
- Have a clean cloth or sponge handy for any necessary cleaning.
- Make sure you have a plastic putty knife for applying the repair compound.
- Keep a hairdryer nearby for speeding up the drying process.
With these materials at hand, you can confidently move on to preparing the surface for repair.

Saker Caulk Gun Kit, Manual Caulking Gun with 11-in-1 Caulking Tool Set, Silicone Sealant Finishing Tools, Grout Scrapers & Shapers with Masking Tape for Bathroom, Kitchen, Window & Home Repair
Easy, Smooth, Dripless Operation:The Saker Caulking Tool Set features a lightweight, manual dripless caulk gun with a smooth...
As an affiliate, we earn on qualifying purchases.
Preparing the Surface
Once you have gathered all the necessary materials, start preparing the surface for the repair. It is crucial to ensure that the crack is clean and smooth, allowing for a successful repair.
Begin by using a sanding technique to smooth any rough edges around the crack. This will help the repair material adhere better and create a seamless finish. Use sandpaper with a fine grit, such as 220 or 320, and gently sand the area until it feels smooth to the touch.
After sanding, it is important to thoroughly clean the surface using appropriate cleaning products. Avoid using abrasive cleaners that could further damage the acrylic. Instead, opt for mild soap and water or a non-abrasive bathroom cleaner.
This will remove any dirt, grease, or soap residue, ensuring a clean surface for the repair.

Caulk Gun Kit Smooths No-drip Silicone Caulking Gun and Caulking Tools, Sealant Tools Grout Scraper For Kitchen Bathroom Sink Joint,With Gift Box Works 10OZ Tubes blue
Leikius caulk gun kit, a premium set designed for professionals and DIY user. Each caulking tool in our...
As an affiliate, we earn on qualifying purchases.
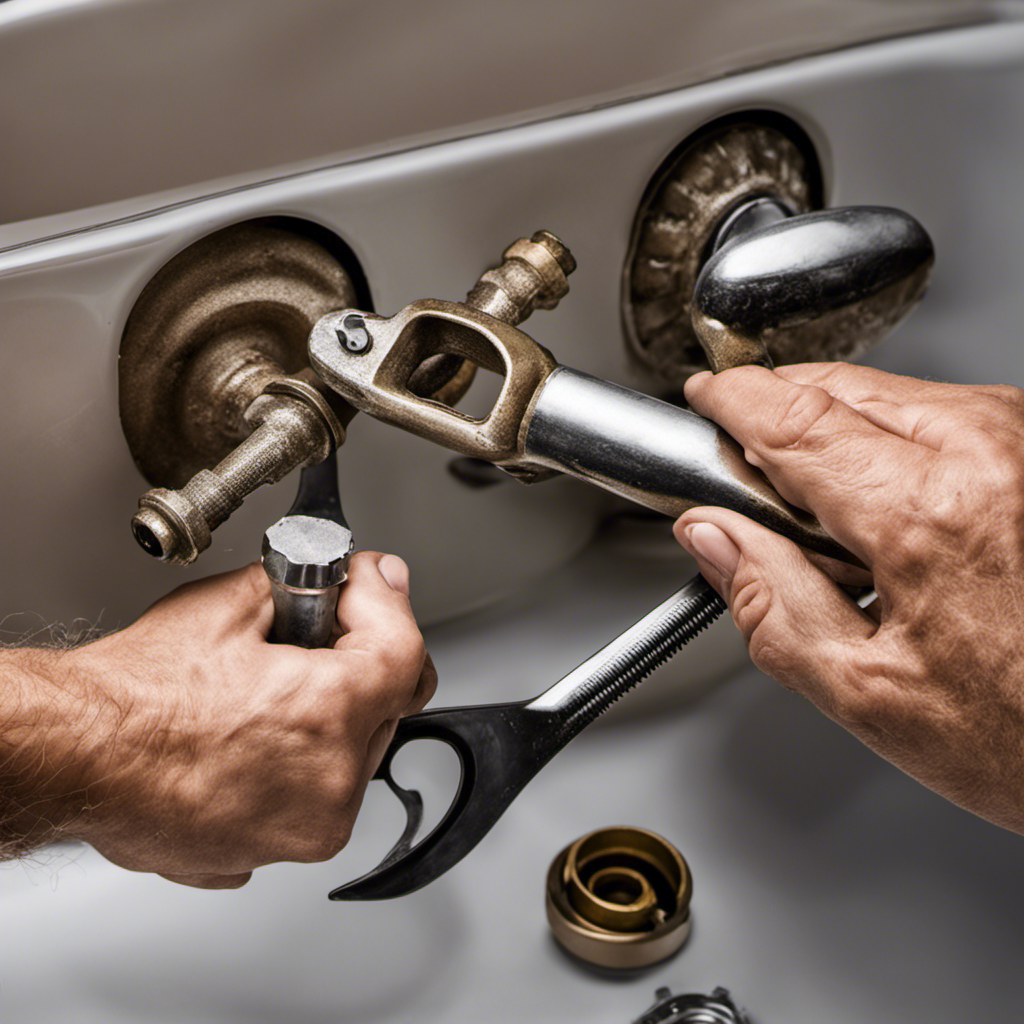
Applying the Acrylic Repair Kit
To apply the acrylic repair kit, you’ll need to carefully follow the provided instructions. Start by cleaning the cracked area with soap and water, ensuring it’s free of any dirt or debris. Then, use a fine-grit sandpaper to lightly sand the edges of the crack, creating a smooth surface for the repair.
Next, mix the color matching pigment with the acrylic repair compound, following the recommended ratios. Apply the mixture to the crack using a putty knife, making sure to fill it completely. Allow the repair to dry for the specified drying time, usually around 24 hours.
Once dry, you can move on to finishing and polishing the repair, which will be discussed in the next section.
Now, let’s move on to finishing and polishing the repair for a seamless finish.
Finishing and Polishing the Repair
When finishing and polishing, remember to use a fine-grit sandpaper to smooth out any rough edges. This step is crucial in achieving a seamless and professional-looking repair on your acrylic bathtub.
After sanding, it’s time to employ the buffing technique to bring back the shine and luster of the surrounding area. Start by applying a small amount of buffing compound onto a clean, soft cloth. Gently rub the compound onto the repaired area using circular motions, gradually increasing the pressure. Continue buffing until the surface is smooth and glossy. If necessary, you can repeat the process for a more polished finish.
Additionally, when it comes to color matching options, some acrylic repair kits provide multiple shades to choose from. This ensures that you can find the closest match to your bathtub’s original color, resulting in a virtually invisible repair.
Conclusion
In conclusion, repairing a crack in an acrylic bathtub is a task that requires careful assessment and preparation. By using the right materials and following the steps outlined in this article, you can restore your bathtub to its former glory.
However, it is important to remember that the success of the repair depends on your attention to detail and thoroughness in the process. So, are you ready to take on the challenge and bring your bathtub back to life?
Stay tuned for the amazing results that await you!