
Did you know that cracked bathtubs can lead to water leaks and costly repairs? Don’t let a small crack turn into a big problem.
In this article, we’ll guide you through the step-by-step process of repairing a cracked bathtub.
- Assess the extent of the damage
- Gather the necessary tools and materials
- Prepare the surface
- Apply a patch or filler
- Finish with a waterproof sealant.
With our expert tips, you’ll have your bathtub looking good as new in no time.
Key Takeaways
- Thoroughly examine the crack to determine its length, width, and depth.
- Small and superficial cracks can be fixed with a DIY repair kit, while large cracks or signs of spreading require professional consultation.
- Safety goggles and gloves are essential for protection, and the appropriate filler, such as epoxy resin or bathtub repair kits, should be selected.
- Proper preparation, including cleaning the surface thoroughly and removing old caulking, is necessary for a successful repair process.
Assessing the Extent of the Crack
Before beginning the repair process, it’s important to assess the extent of the crack in your bathtub. Assessing the crack severity will help determine if you can tackle the repair yourself or if you should consider professional repair options.
Start by thoroughly examining the crack to determine its length, width, and depth. Look for any signs of water leakage or structural damage. If the crack is small and superficial, you may be able to fix it with a DIY repair kit. However, if the crack is large, extends deep into the bathtub, or shows signs of spreading, it’s best to consult a professional. They have the expertise and tools to handle more serious repairs.
Once you have assessed the crack severity, you can move on to the next step of gathering the necessary tools and materials.
Gathering the Necessary Tools and Materials
To begin the process, you’ll need to gather all the necessary tools and materials. Here’s what you’ll need:
-
Safety goggles and gloves: Ensuring your safety is crucial when working with chemicals and tools. Protect your eyes and hands from any potential harm.
-
Sandpaper and a putty knife: These tools will help you assess the surface damage on your bathtub. Sandpaper will smooth out any rough edges while the putty knife will allow you to scrape off loose material.
-
Appropriate filler: Depending on the extent of the crack, you’ll need to select the appropriate filler. Epoxy resin or bathtub repair kits are commonly used to fill in cracks and restore the bathtub’s surface.
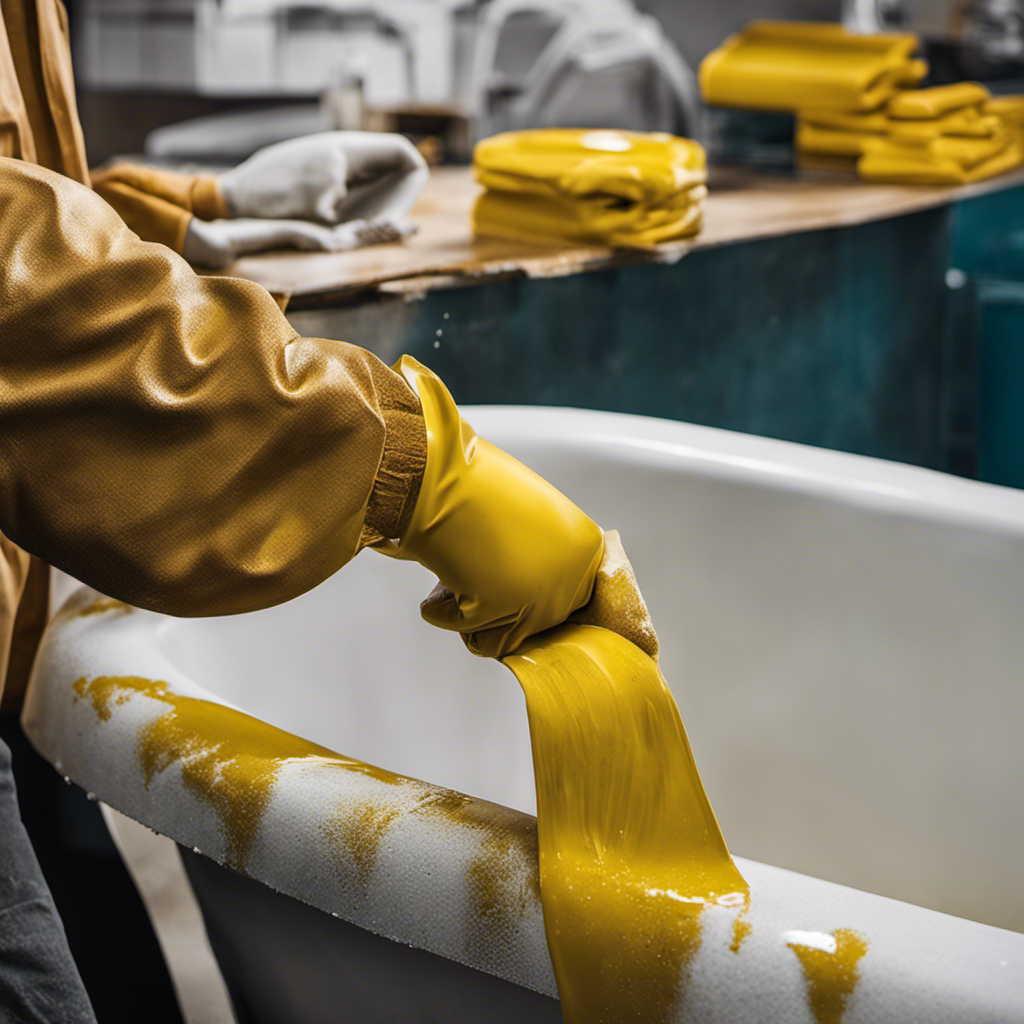
Preparing the Bathtub Surface for Repair
Before you can begin repairing a cracked bathtub, you need to ensure that the surface is properly prepared.
This involves cleaning the surface thoroughly to remove any dirt and grime that may interfere with the repair process. Additionally, you will need to remove any old caulking to ensure a clean and smooth surface for applying the new caulking.
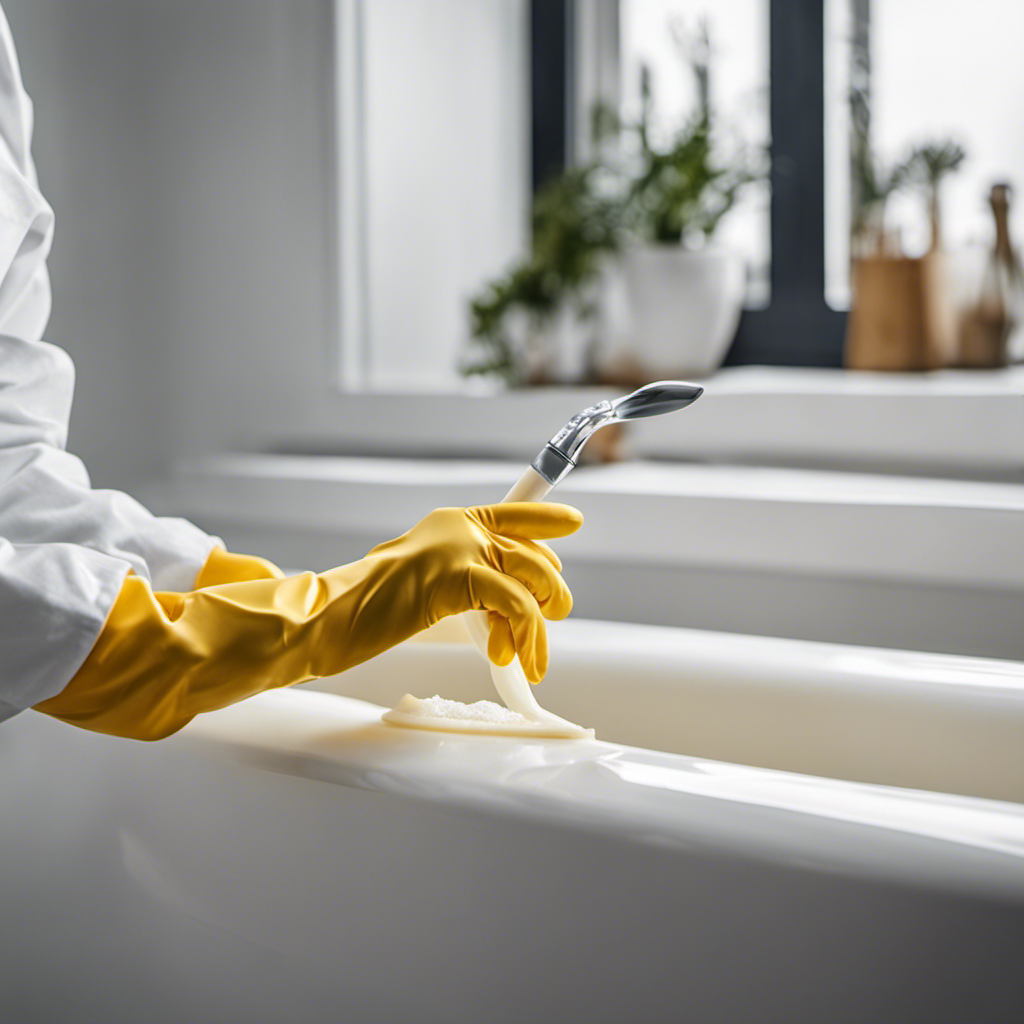
Cleaning the Surface
After cleaning the surface, you’ll want to apply a layer of epoxy to the cracked area of the bathtub. Cleaning the surface is crucial as it ensures proper adhesion and a long-lasting repair. Here are three effective cleaning techniques for surface preparation:
-
Use a mild detergent: Start by mixing a small amount of mild detergent with warm water. Scrub the cracked area gently using a sponge or cloth. This will remove any dirt, grime, or soap scum that may hinder the epoxy’s bonding ability.
-
Rinse thoroughly: After scrubbing, rinse the surface with clean water to remove any residue from the detergent. Make sure to rinse it thoroughly to avoid leaving behind any soapy residue.
-
Allow it to dry completely: Before applying the epoxy, it is essential to ensure that the surface is completely dry. Use a clean towel or allow it to air dry for a sufficient amount of time. Moisture can hinder the epoxy’s ability to adhere properly.
Removing Old Caulking
Removing old caulking can be a challenging task, but it is necessary for a successful surface preparation. Before you begin, assess the severity of the cracks in your bathtub. Look for any signs of water damage or structural issues that may require professional assistance.
Once you have determined the extent of the damage, you can proceed with removing the old caulk residue. Start by using a caulk removal tool or a utility knife to carefully cut along the edges of the caulk. Then, use a caulk removal solvent or a mixture of warm water and dish soap to soften the caulk and make it easier to remove.
Use a scraper or a putty knife to gently scrape away the old caulk, being careful not to damage the bathtub surface. Finally, clean the area thoroughly to remove any remaining residue before applying new caulk.
Sanding for Smoothness
To achieve a smooth surface, sand the area after removing the old caulking. Surface preparation is crucial for a successful bathtub repair. Here are three important sanding techniques to ensure a flawless finish:
-
Start with coarse-grit sandpaper: Use a sanding block or a power sander with coarse-grit sandpaper to remove any rough edges or high spots on the surface. This will create an even base for the repair.
-
Switch to finer-grit sandpaper: Gradually move to a finer-grit sandpaper to smooth out the surface further. This will help to blend the repaired area with the surrounding bathtub surface seamlessly.
-
Finish with a sanding sponge: To achieve a perfectly smooth finish, use a sanding sponge with a fine grit. The sponge conforms to the shape of the surface, allowing you to reach all the nooks and crannies.
Applying a Patch or Filler to the Crack
When it comes to repairing a cracked bathtub, there are a few key points to keep in mind.
First, you’ll need to gather the necessary patching materials and tools, such as epoxy or fiberglass repair kits, sandpaper, and a putty knife.
Next, it’s important to properly prepare the crack by cleaning it thoroughly and removing any loose or damaged material.
Patching Materials and Tools
You’ll need a few specific tools and materials to patch the cracked bathtub. Here’s what you’ll need:
-
Epoxy filler: This is a highly durable filler that can withstand water and provide a strong bond. It’s perfect for repairing cracks in bathtubs as it creates a waterproof seal.
-
Putty knife: You’ll need a putty knife to apply the filler smoothly and evenly. Make sure to choose a putty knife with a flexible blade so that you can easily spread the filler over the crack.
-
Sandpaper: After applying the filler, you’ll need sandpaper to smooth out any rough edges and create a seamless finish. Opt for a medium-grit sandpaper to gently sand the patched area.
Proper Crack Preparation
Before starting the patching process, it’s important to properly prepare the crack in the bathtub. Assessing the severity of the crack will help determine the appropriate repair materials.
Take a close look at the crack to determine its length and width. Small hairline cracks can be easily repaired using a bathtub repair kit, while larger cracks may require more extensive repair.
When choosing repair materials, consider factors such as the type of bathtub material and the color match. Acrylic and fiberglass bathtubs require specific repair materials, while porcelain and enamel bathtubs may need different ones.
It’s important to select materials that are designed for bathtub repairs to ensure a successful and long-lasting fix.
Applying the Patch
To apply the patch, it’s best to start by cleaning the area around the crack with a mild cleanser and a soft cloth. This will ensure that the patch adheres properly and that there are no particles or debris that may interfere with the repair.
Once the area is clean, follow these techniques for applying the patch:
-
Apply a thin layer of bathtub repair adhesive over the crack, using a putty knife or a silicone spreader. Make sure to spread it evenly and cover the entire crack.
-
Place a fiberglass patch over the adhesive, pressing it firmly into place. Smooth out any air bubbles or wrinkles with the putty knife.
-
Allow the patch to dry completely before using the bathtub. This can take several hours or overnight, depending on the type of adhesive used.
Troubleshooting tip: If the patch begins to peel or lift, apply additional adhesive and press it back into place.
Smoothing and Leveling the Repaired Area
Start by applying a thin layer of epoxy filler to the repaired area, ensuring it is smooth and level.
Surface finishing is an important step in bathtub repair techniques to achieve a seamless and professional-looking result.
After the epoxy filler has been applied, use a putty knife or a similar tool to carefully smooth out any excess filler and level the surface.
Pay close attention to the edges of the repaired area, as they should blend seamlessly with the surrounding bathtub surface.
Take your time and make sure the surface is completely smooth and level before moving on to the next step.
This will ensure a durable and visually appealing repair, restoring your bathtub to its former glory.
Allowing the Repair to Dry or Cure
Once the epoxy filler has been applied, simply let it dry or cure according to the instructions on the product packaging. The drying process is crucial for the repair to set properly and ensure its longevity. Here are three important things to keep in mind during this time:
-
Patience: This step requires patience as the drying process can take some time. Rushing it may compromise the repair and lead to a subpar outcome. Take the necessary time to allow the epoxy filler to dry completely before moving on to the next steps.
-
Follow the instructions: Different epoxy fillers have varying curing times. It’s essential to carefully read and follow the instructions provided by the manufacturer. These instructions will guide you on the appropriate drying time and any additional steps required for a successful repair.
-
Optimal conditions: To facilitate proper drying and curing, ensure that the repaired area is in a well-ventilated space. Adequate air circulation will aid in the drying process. Additionally, maintaining the recommended temperature and humidity levels will help achieve optimal results.
Sanding and Priming the Repaired Area
After the epoxy filler has dried, you’ll want to sand and prime the repaired area to ensure a smooth and seamless finish.
Start by using a fine-grit sandpaper to gently sand down the surface of the repaired crack. This will help to remove any rough edges or imperfections caused by the epoxy filler. Be careful not to sand too aggressively, as you don’t want to damage the surrounding area.
Once the surface is smooth, wipe away any dust or debris using a clean cloth.
Next, apply a coat of primer specifically designed for bathtub refinishing. This will help the paint adhere better and provide a waterproof sealant.
Allow the primer to dry completely before moving on to the next step.
Applying a Waterproof Sealant or Epoxy Coating
Now that you’ve sanded and primed the repaired area, it’s time to move on to the next step: applying a waterproof sealant or epoxy coating. This crucial step will ensure that your bathtub remains protected and free from future cracks or leaks.
To achieve the best results, follow these waterproof sealant application and epoxy coating techniques:
-
Clean the area: Before applying the sealant or epoxy, make sure the repaired area is clean and free from any dust or debris. Use a damp cloth or sponge to wipe away any residue.
-
Apply the sealant or epoxy: Using a brush or roller, carefully apply the waterproof sealant or epoxy coating to the repaired area. Make sure to follow the product instructions for the correct application method and drying time.
-
Allow proper curing time: After applying the sealant or epoxy, allow it to cure for the recommended time before using the bathtub again. This will ensure that the coating fully adheres and provides maximum protection.
Buffing and Polishing the Repaired Area
Now that you’ve repaired the cracked bathtub and applied the waterproof sealant or epoxy coating, it’s important to focus on achieving a smooth surface finish.
The surface smoothness after repair plays a crucial role in the overall appearance and durability of the bathtub. To achieve the desired smoothness, there are recommended polishing techniques you can use.
Some of these techniques include sanding, buffing, and using specialized polishes. By using these techniques, you’ll be able to achieve a professional-looking finish and ensure that the repaired area blends seamlessly with the rest of the bathtub.
Surface Smoothness After Repair
Once the bathtub is repaired, you’ll notice a smoother surface. This is achieved through the process of surface finishing, which helps to restore the bathtub’s original smoothness and shine.
After repairing the cracked area, it is important to perform post-repair maintenance to ensure the surface remains smooth and durable. Here are three key steps to consider:
-
Sanding: Use a fine-grit sandpaper to smooth out any rough edges or uneven areas. This will help create a more even surface for the finishing process.
-
Buffing: Apply a polishing compound to a soft cloth and gently rub it onto the repaired area. This will help remove any scratches or imperfections, leaving behind a smooth and shiny surface.
-
Sealing: To protect the repaired area and maintain its smoothness, apply a clear sealant or epoxy coating. This will help prevent future damage and keep the surface looking pristine.
Recommended Polishing Techniques
To achieve a smooth and shiny surface, it is recommended to gently rub a polishing compound onto the repaired area using a soft cloth.
Polishing techniques are crucial for giving your bathtub that flawless finish after a crack repair.
After the repair has been completed and the surface is smooth and level, it’s time to add those finishing touches.
Start by choosing a high-quality polishing compound that is specifically designed for use on bathtubs and other bathroom fixtures.
Apply a small amount of the compound onto the soft cloth and begin rubbing it onto the repaired area using circular motions.
Continue this process until the surface is evenly polished and any imperfections are minimized.
Remember to apply gentle pressure and be patient, as the polishing compound needs time to work its magic.
Once you are satisfied with the results, wipe away any excess compound using a clean cloth.
Your bathtub should now have a smooth, shiny, and professional-looking finish.
Testing the Repair for Durability and Effectiveness
After applying the epoxy, check if the bathtub repair has held up by running water over the cracked area. This durability testing will help assess the effectiveness of the repair.
Here are three key factors to consider during the assessment:
-
Water tightness: Observe if any leakage occurs after the water has been running for a few minutes. A successful repair should prevent any water from seeping through the crack.
-
Adhesion: Pay attention to whether the epoxy adheres firmly to the surface of the bathtub. Gently tap the repaired area to see if there is any movement or loosening of the epoxy. A strong bond indicates a well-executed repair.
-
Visual appearance: Evaluate the aesthetics of the repair. The epoxy should seamlessly blend with the surrounding bathtub surface, creating a smooth and uniform finish.
Maintaining and Preventing Future Cracks in the Bathtub
Now that you’ve tested the repair and ensured its durability, it’s important to focus on maintaining your bathtub to prevent future cracks. By taking preventive measures, you can prolong the lifespan of your bathtub and avoid costly repairs. One crucial step is to choose the right sealant for your bathtub. Look for a sealant specifically designed for use in bathrooms, as it will be resistant to moisture and provide better protection against cracks. Additionally, regular cleaning and proper maintenance can also help prevent discoloration and the formation of cracks. Make sure to avoid using abrasive cleaning agents that can damage the surface of your bathtub. Instead, opt for mild cleaners and non-abrasive sponges. By following these steps, you can keep your bathtub in top condition and minimize the risk of future cracks.
| Preventive Measures | Benefits |
|---|---|
| Choosing the right sealant | Provides better protection against cracks |
| Regular cleaning | Prevents discoloration |
| Proper maintenance | Minimizes the risk of future cracks |
Frequently Asked Questions
How Long Does It Take for the Repair to Fully Dry or Cure?
It usually takes a few days for the repair to fully dry and cure. Keep in mind that the drying time and curing process may vary depending on the type of bathtub material and the specific repair method used.
Can I Use Any Type of Waterproof Sealant or Epoxy Coating?
You can use various types of waterproof sealants or epoxy coatings. Each has its pros and cons. Some sealants may be easier to apply, while epoxy coatings offer better durability. Consider your specific needs before choosing.
Is It Necessary to Sand and Prime the Repaired Area?
Yes, it is necessary to sand and prime the repaired area. This ensures proper adhesion and a smooth finish. While there may be alternative methods, sanding and priming are recommended for the best results.
How Often Should I Buff and Polish the Repaired Area?
To maintain the repaired area of your bathtub, it is recommended to buff and polish it regularly. The frequency will depend on the level of use and wear. Consult with a professional for specific techniques and products.
What Can I Do to Prevent Future Cracks in My Bathtub?
To prevent future cracks in your bathtub, choose the best bathtub materials such as acrylic or fiberglass, which are less prone to cracking. Also, avoid using harsh chemicals and abrasive cleaners that can weaken the surface.
Conclusion
In conclusion, repairing a cracked bathtub is a task that requires careful assessment, preparation, and application.
By following the steps outlined in this article, you can effectively fix the crack and restore the bathtub’s functionality and appearance.
Just like a skilled surgeon delicately mending a broken bone, your careful attention to detail and use of the right tools will result in a seamlessly repaired bathtub that will withstand the test of time.
Remember to maintain your bathtub properly to prevent future cracks from occurring, ensuring its longevity.