Hey there! So you’ve got a cracked fiberglass bathtub, huh? Don’t worry, I’ve got you covered.
I’m here to share my tried and true method for repairing those unsightly cracks and bringing your bathtub back to its former glory. With just a few simple steps and some basic materials, you’ll be able to tackle this project like a pro.
So roll up your sleeves and let’s get started on fixing that bathtub in no time!
Key Takeaways
- Assess the length, depth, and location of the crack to determine appropriate repair methods.
- Gather the necessary materials such as sandpaper, epoxy resin, and a fiberglass repair kit.
- Prepare the crack by cleaning the area and choosing the appropriate repair technique.
- Apply the fiberglass repair kit by mixing it thoroughly and spreading it evenly over the crack, allowing each layer to cure fully.

600ml Sausage Pneumatic Caulking Gun Silicone Sealant Gun Air Rubber Gun Caulk Applicator Tool with 10 Transparent Glue Nozzles
It is suitable for most glass adhesives, sheet metal adhesives and structural adhesives. It is widely used in...
As an affiliate, we earn on qualifying purchases.
Assessing the Crack
Before beginning the repair, it’s important to assess the crack in your fiberglass bathtub. As someone who has dealt with numerous bathtub repairs, I can tell you that understanding the severity of the crack is crucial in determining the appropriate repair methods.
First, carefully examine the crack to identify its length, depth, and location. Is it a hairline crack or a larger one? This will help you determine the potential causes of the crack, such as structural issues, temperature changes, or improper installation.

SILIGUN™ Gen-3 Compact Caulking Gun - No Drip Caulk Gun - Patented Design - Lightweight ABS Frame - Works with All 10 oz Tubes
Compact Convenience – Seal up windows, trim, tile, and more with your innovative no drip caulk gun from...
As an affiliate, we earn on qualifying purchases.
Gathering the Necessary Materials
Make sure you’ve got all the materials you need for the job, such as sandpaper, epoxy resin, and a fiberglass repair kit.
Before you can begin repairing a cracked fiberglass bathtub, it’s crucial to gather the necessary materials to ensure a successful repair. Choosing the right repair method is essential to fix the crack effectively.
There are a few options available, such as using a fiberglass patch, applying epoxy resin, or using a bathtub repair kit specifically designed for fiberglass. Each method has its advantages and disadvantages, so it’s important to consider the severity of the crack and the desired durability of the repair.
Additionally, it’s crucial to follow the manufacturer’s instructions carefully to ensure proper application and a long-lasting fix. To prevent future cracks, it’s advisable to avoid using abrasive cleaners or heavy objects that may cause impact damage. Regular maintenance, such as cleaning with non-abrasive cleaners and using a non-slip mat, can help prolong the life of your fiberglass bathtub and prevent cracks from occurring.

Saker Caulk Gun Kit, Manual Caulking Gun with 11-in-1 Caulking Tool Set, Silicone Sealant Finishing Tools, Grout Scrapers & Shapers with Masking Tape for Bathroom, Kitchen, Window & Home Repair
Easy, Smooth, Dripless Operation:The Saker Caulking Tool Set features a lightweight, manual dripless caulk gun with a smooth...
As an affiliate, we earn on qualifying purchases.
Preparing the Crack
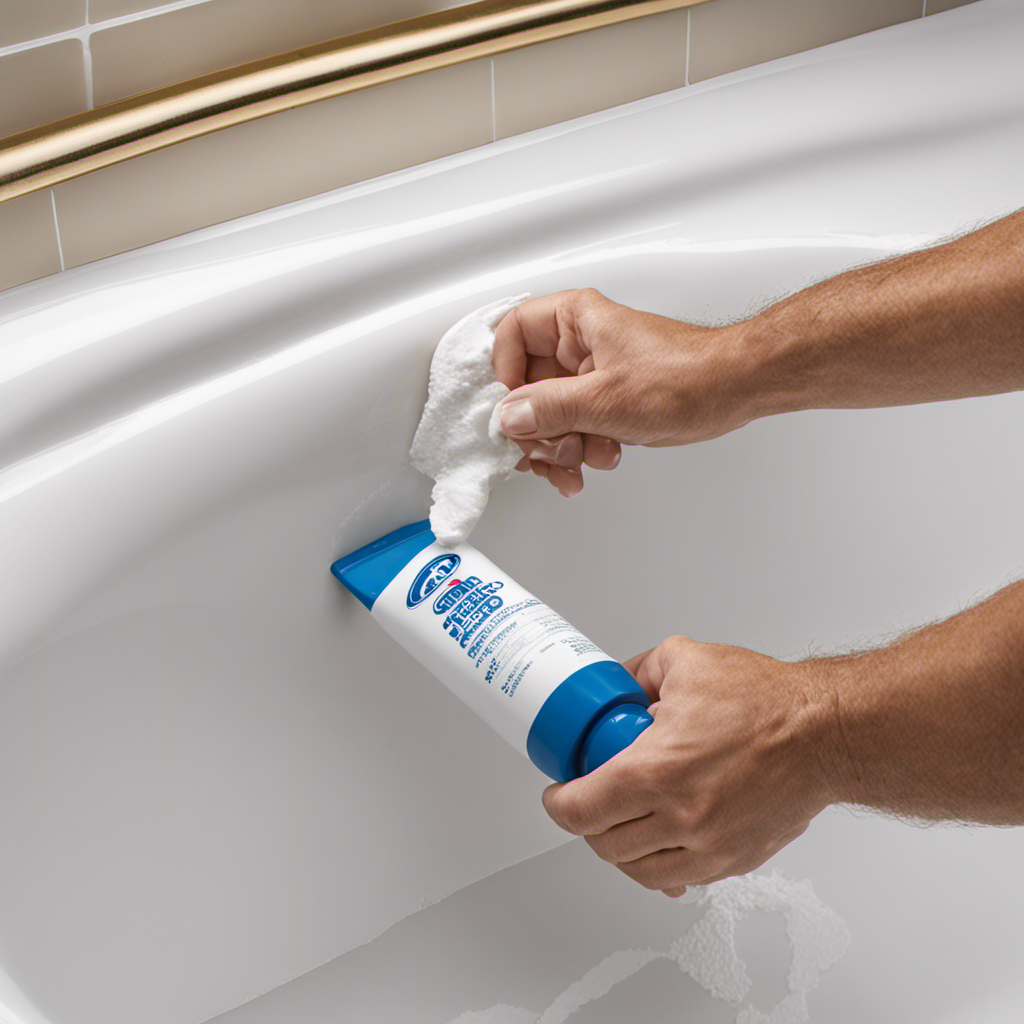
To properly prepare the crack in your bathtub, start by cleaning the area around it with a mild detergent and warm water. This step is crucial to ensure that the repair materials adhere properly to the surface. Once the area is clean and dry, it’s time to assess the extent of the crack. This will help determine the appropriate repair technique to use. Below is a table outlining common repair techniques and their suitability for different crack sizes:
| Crack Size | Repair Technique |
|---|---|
| Hairline crack | Gel coat repair kit |
| Small crack | Epoxy adhesive |
| Large crack | Fiberglass patch kit |
| Multiple cracks | Professional repair |
| Deep and wide crack | Replace bathtub |
It’s important to note that one of the most common mistakes in crack repair is using the wrong technique for the size of the crack. It’s always advisable to consult a professional if you’re unsure about the best approach for your specific situation.

Caulk Gun Kit Smooths No-drip Silicone Caulking Gun and Caulking Tools, Sealant Tools Grout Scraper For Kitchen Bathroom Sink Joint,With Gift Box Works 10OZ Tubes blue
Leikius caulk gun kit, a premium set designed for professionals and DIY user. Each caulking tool in our...
As an affiliate, we earn on qualifying purchases.
Applying the Fiberglass Repair Kit
You’ll need a clean and dry surface before applying the fiberglass repair kit. This step is crucial to ensure that the repair properly adheres to the bathtub.
Start by cleaning the cracked area with a mild detergent and warm water, and then dry it thoroughly.
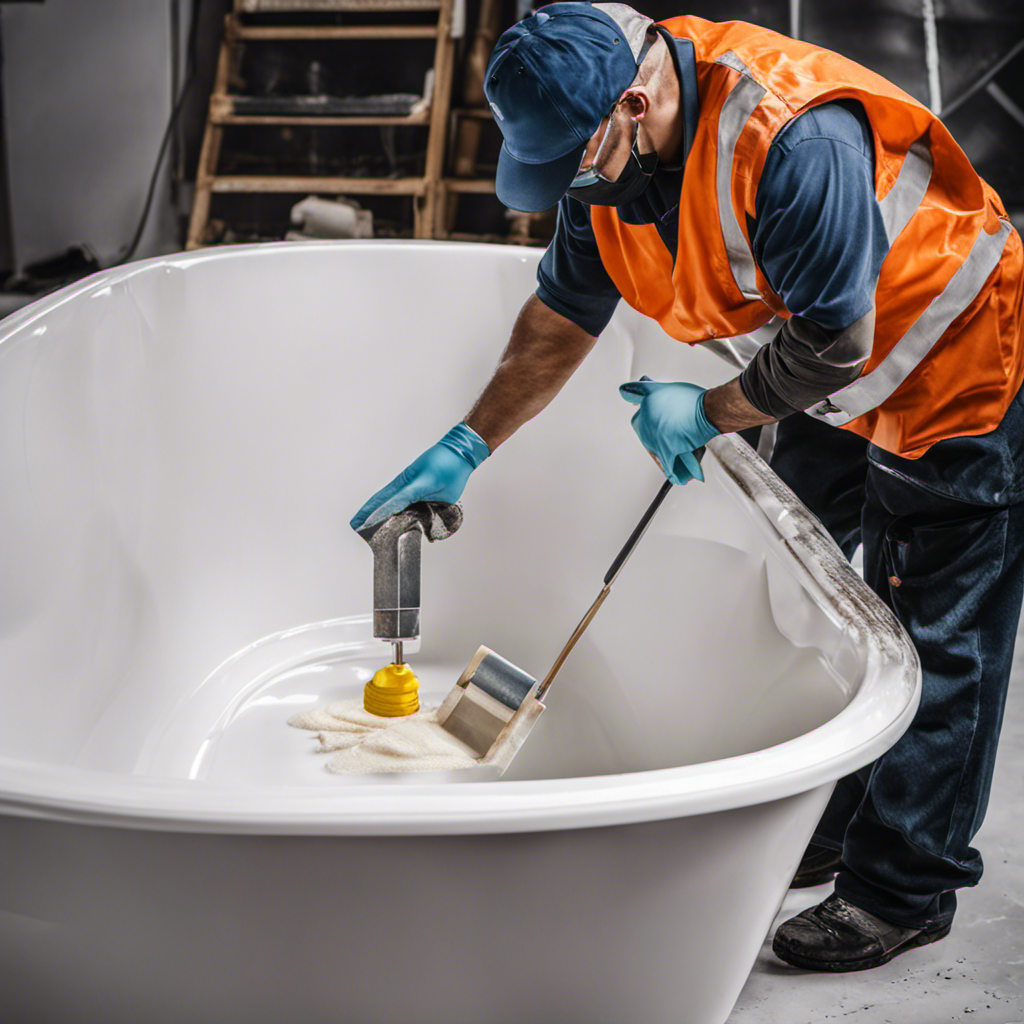
Once the surface is ready, it’s time to apply the fiberglass repair kit. Troubleshooting common issues during this process includes making sure that the repair kit is mixed thoroughly and applied evenly.
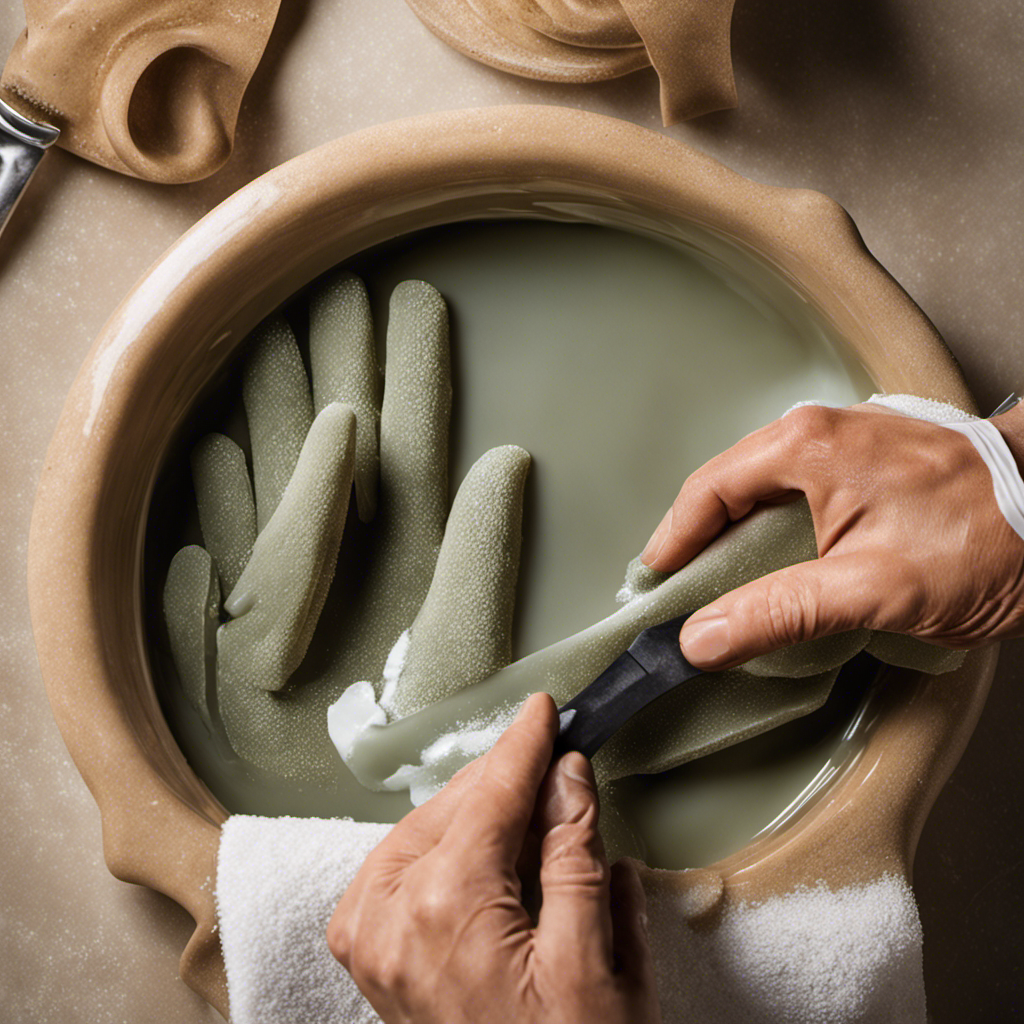
Use a brush or a spatula to spread the repair compound over the crack, making sure to cover it completely. It’s important to follow the manufacturer’s instructions for curing time and temperature.
To ensure long-lasting repairs, it’s recommended to apply multiple layers of the repair compound, allowing each layer to fully cure before applying the next.
Finishing Touches
For a polished look, carefully sand the surface to smooth out any rough edges or imperfections.
Once the surface is smooth, it’s time to focus on blending colors and adding a protective coating to your repaired fiberglass bathtub.
To begin, choose a color that closely matches the original bathtub color. Mix the color with a hardener according to the manufacturer’s instructions.
Using a small brush, carefully apply the color mixture to the repaired area, blending it with the surrounding surface. Take your time and make sure the color is evenly distributed.
Once the color is blended, allow it to dry completely.
Frequently Asked Questions
Can I Use Regular Household Glue or Epoxy to Repair a Cracked Fiberglass Bathtub Instead of a Fiberglass Repair Kit?
Using regular household glue or epoxy as an alternative repair method for a cracked fiberglass bathtub may seem tempting, but it is not recommended. A fiberglass repair kit is designed specifically for this purpose and offers better durability and long-term results.
How Long Does the Fiberglass Repair Kit Take to Dry and Cure Before I Can Use the Bathtub Again?
The drying time and curing process of a fiberglass repair kit for a cracked bathtub vary depending on the specific product used. It is important to follow the manufacturer’s instructions for optimal results.
Can I Use the Same Fiberglass Repair Kit for Repairing Other Fiberglass Surfaces, Such as a Shower Stall or Boat?
Yes, the same fiberglass repair kit can be used for other surfaces like a shower stall or boat. However, it’s important to follow proper safety precautions when using the kit and ensure the surface is properly prepared before applying the repair.
Is It Necessary to Hire a Professional to Repair a Cracked Fiberglass Bathtub, or Can I Do It Myself?
I can definitely repair a cracked fiberglass bathtub myself. Hiring a professional can be expensive, but with the right DIY techniques and materials, I can save money and have a successful repair.
Are There Any Specific Cleaning Products or Techniques I Should Avoid Using on a Repaired Fiberglass Bathtub to Ensure Its Longevity?
I would recommend avoiding harsh cleaning products and abrasive techniques on a repaired fiberglass bathtub to ensure its longevity. These can damage the surface and compromise the repair work. Stick to gentle cleaners and non-abrasive methods for cleaning.
Conclusion
In conclusion, repairing a cracked fiberglass bathtub is a task that requires careful assessment, proper preparation, and the use of a reliable fiberglass repair kit.
By following the steps outlined in this article, such as gathering the necessary materials and applying the repair kit effectively, you can restore your bathtub to its former glory.
Remember, as the wise saying goes, ‘A stitch in time saves nine,’ taking prompt action to fix a crack can prevent it from worsening and potentially save you from more extensive repairs in the future.
Trust your skills and tackle this project with confidence.