As a seasoned DIY enthusiast, I’ve encountered my fair share of bathroom mishaps. But when my beloved fiberglass bathtub suffered a crack, panic set in. Determined to restore its former glory, I embarked on a journey to repair it myself.
With the right tools and materials at hand, I meticulously assessed the damage and prepared the surface for repair.
In this article, I’ll guide you through the step-by-step process of fixing your own fiberglass bathtub, ensuring a flawless finish that will leave you feeling accomplished and your tub looking brand new.
Key Takeaways
- Thoroughly examine the bathtub surface for cracks, chips, or holes.
- Use a repair kit specifically designed for fiberglass, including epoxy resin, hardener, and fiberglass cloth.
- Prepare the surface by cleaning it with a mild detergent and sanding it slightly.
- Follow the instructions on the repair kit carefully, applying layers of resin and fiberglass cloth to the damaged area, and finishing with sanding, gel coat application, and polishing.

Wall Hung Toilet with Tank, Eridanus Wall Mounted Toilet Combo Set, 2x4 In-Wall Toilet Tank Carrier, Dual-Flush Plate Included, Floating Bowl With Soft-Close Seat, Glossy White, 2 Separate Packages
【Please Note】Toilet and tank are shipped in two separate packages and may not arrive at the same time.
As an affiliate, we earn on qualifying purchases.
Assess the Damage
First, you’ll need to assess the damage to your fiberglass bathtub. Assessing the extent of the damage is crucial in determining the cause and finding the appropriate repair method.
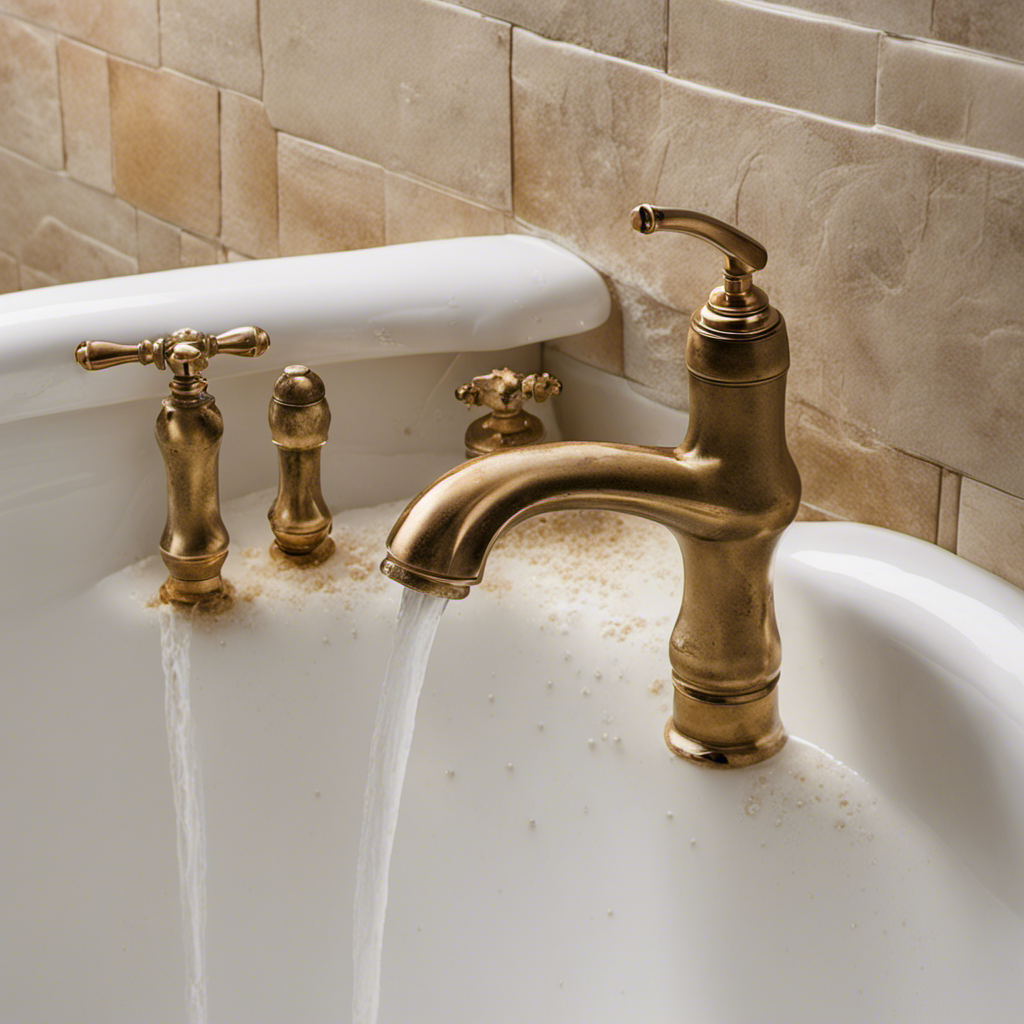
Start by thoroughly examining the bathtub surface for cracks, chips, or holes. Use a flashlight to check for any hidden damage. Pay close attention to areas where water may have pooled or leaked, as this could indicate structural issues. Look for discoloration or soft spots, which may indicate water damage. Additionally, inspect the surrounding caulking and grout for signs of deterioration.
Once you have assessed the extent of the damage and determined the cause, you can proceed to gather the necessary tools and materials for the repair process.

MEJE #MZE014P - Intelligent Wall-Hung Toilet, One-piece Elongated Smart Toilet with Bidet Built in,Heated Seat, Warm Air Dryer,Auto Flush, Auto Open and Close, Remote Control, Night Light, White
【Smart Wall Hung Toilet 】: MEJE Wall Hung Smart Toilet comes with a comfortable Built-in Bidet, include the...
As an affiliate, we earn on qualifying purchases.
Gather the Necessary Tools and Materials
Before you start, make sure you have all the tools and materials you need.
When it comes to repairing a fiberglass bathtub, it’s important to choose the right repair kit. Look for a kit that is specifically designed for fiberglass and includes all the necessary materials, such as epoxy resin, hardener, and fiberglass cloth.
These kits usually come with detailed instructions that will guide you through the repair process.
If you’re not confident in your DIY skills or the damage to your bathtub is extensive, it may be best to find professional help. A professional repair technician will have the expertise and experience to properly assess the damage and ensure a quality repair.
They will also have access to specialized tools and materials that may not be readily available to you.

Swiss Madison Well Made Forever SM-WT450, Ivy Wall Hung Elongated Toilet Bowl 0.8/1.28 GPF Dual Flush
Dual Flush: The buttons for dual flush allow you to choose between a low 0.8 GPF light flush...
As an affiliate, we earn on qualifying purchases.
Prepare the Surface for Repair
To prepare the surface for the repair, you’ll need to thoroughly clean it using a mild detergent and a soft sponge. This step is crucial to ensure proper adhesion of the repair materials.
Begin by mixing the mild detergent with warm water in a bucket. Dip the soft sponge into the soapy mixture and gently scrub the surface of the fiberglass bathtub. Pay special attention to any areas that may have accumulated dirt or grime.
Once the surface is clean, rinse it thoroughly with water and allow it to dry completely. After the surface is clean, you may need to use sanding techniques to roughen up the surface slightly. This will create a better surface for the repair materials to adhere to.
Use a fine-grit sandpaper and lightly sand the area, being careful not to apply too much pressure. Sanding in a circular motion can help to even out any uneven areas. Remember to wipe away any dust or debris after sanding.

American Standard 2882107.020 Glenwall VorMax Wall-Hung Elongated Toilet with Left Hand Trip Lever, 1.28 gpf, White
Elongated wall-hung, top spud flushometer valve toilet, less seat
As an affiliate, we earn on qualifying purchases.
Apply the Fiberglass Repair Kit
Now you’ll need to carefully follow the instructions on the fiberglass repair kit to apply the necessary materials and complete the repair.
Fiberglass repair techniques can vary, but most kits will include a resin and a hardener, along with a piece of fiberglass cloth or mat.
Start by mixing the resin and hardener according to the instructions provided. Then, using a brush or a spreader, apply a thin layer of the mixture to the damaged area, making sure to cover it completely.
Next, place the fiberglass cloth or mat over the resin, pressing it down gently to ensure good adhesion. Apply another layer of resin over the cloth, making sure to smooth out any air bubbles or excess resin.
Common mistakes in bathtub repair include not properly mixing the resin and hardener, applying too much or too little resin, or not properly covering the damaged area with the fiberglass cloth.
Once the repair is complete, allow it to dry according to the instructions on the kit.
Now, we can move on to the next step: finishing and sealing the repaired area.
Finish and Seal the Repaired Area
After allowing the repair to dry, you’ll want to sand down the area to ensure a smooth finish. This step is crucial in achieving a professional-looking repair. Here’s what you need to do:
-
Start with a coarse-grit sandpaper, like 80 or 120 grit, and sand the repaired area gently in circular motions. This will help to level any unevenness and blend the repair with the surrounding surface.
-
Switch to a finer-grit sandpaper, such as 220 or 320 grit, and continue sanding in the same circular motion. This will further smooth out the surface and prepare it for the next step.
-
Now, it’s time to apply a gel coat. Using a brush or roller, apply a thin, even layer of gel coat to the repaired area. Make sure to follow the manufacturer’s instructions for mixing and application.
-
Lastly, once the gel coat has cured, you can use a buffing compound to polish the repaired area. Apply the compound to a buffing pad or cloth and gently buff the surface in circular motions until it shines.
Conclusion
In conclusion, fixing a fiberglass bathtub is no small task, but with the right tools and materials, it can be accomplished successfully.
Assessing the damage and preparing the surface are crucial steps that cannot be overlooked.
Applying the fiberglass repair kit requires precision and patience, but the end result will be a flawlessly restored bathtub.
Don’t forget to finish and seal the repaired area for long-lasting durability.
With this knowledge and experience, you can confidently tackle any fiberglass bathtub repair with ease.