So, you’ve found yourself with a pesky crack in your plastic bathtub. Don’t panic! I’ve been there, and I’ve got you covered.
In this article, I’ll guide you through the step-by-step process of repairing your bathtub like a pro. We’ll assess the damage, gather the necessary tools and materials, patch and fill those annoying cracks, sand and smooth the surface, and finish off with a protective coating.
Get ready to say goodbye to that unsightly crack and hello to a beautifully restored bathtub.
Key Takeaways
- Inspect the bathtub for cracks, chips, or holes and note the size and location of the damage.
- Choose a repair kit designed for plastic tubs and match the color of the repair kit to your bathtub.
- Clean the damaged area with mild detergent and warm water, and roughen the surface around the damage with sandpaper.
- Mix the repair material according to the kit instructions, apply it to the damaged area, place the fiberglass cloth over it, and let it cure.

Tub Repair Kit White, Tub Chip and Bathtub Repair Kit for Enamel, Fiberglass, Acrylic, Porcelain, Patch and Repairs Chips, Crack, Scratches, Rust, Holes on Tubs, Toilet, Sink, Shower, Tray in Bathroom
Instantly Restore Glossy White Tubs Like New: Flawlessly cover ugly chips, cracks, holes, scratches, dents, peel and rust…
As an affiliate, we earn on qualifying purchases.
As an affiliate, we earn on qualifying purchases.
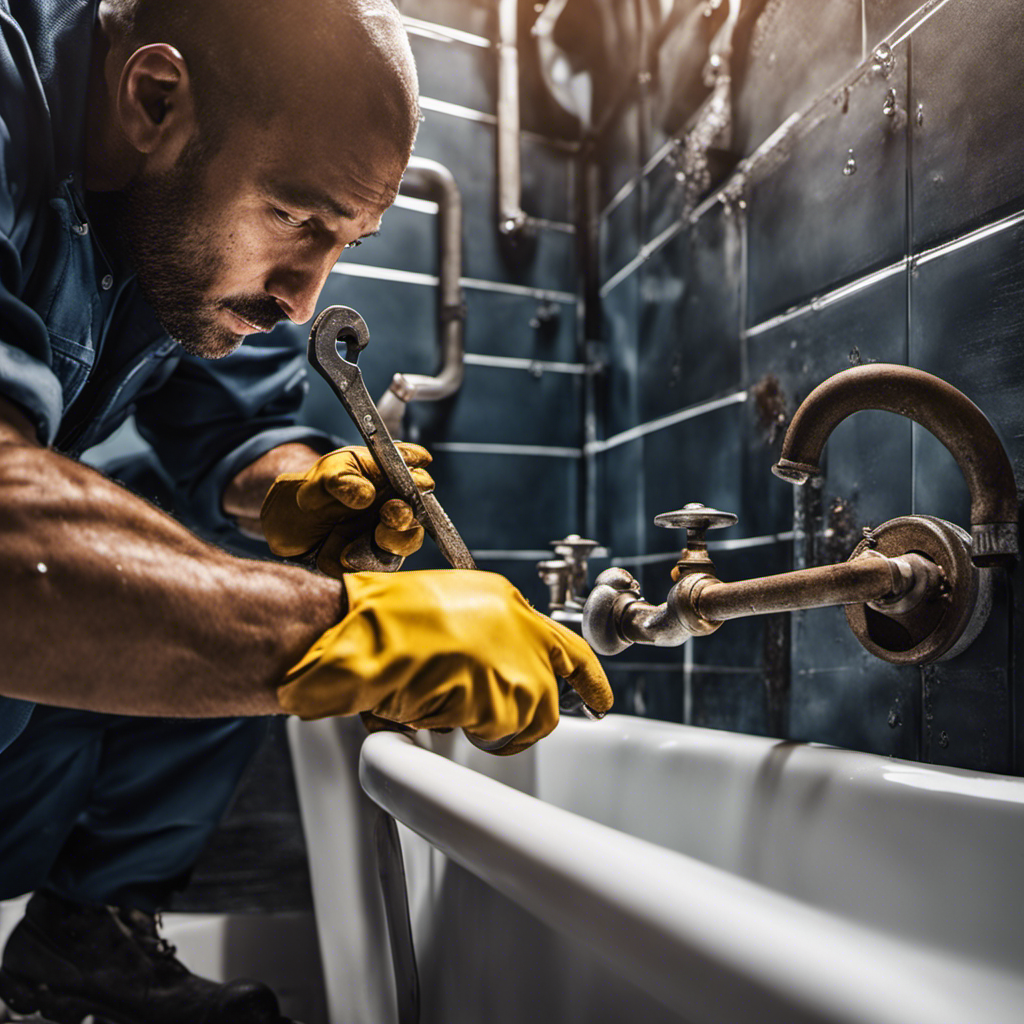
Assessing the Damage
Before you begin repairing a plastic bathtub, you should start by assessing the extent of the damage. Evaluating the extent of the damage is crucial in determining the right repair method to use. This step is essential as it helps you understand the scope of the problem and plan accordingly.
To start the assessment, carefully inspect the bathtub for any cracks, chips, or holes. Take note of the size and location of the damage. Additionally, check the surrounding area for any signs of water leakage or mold growth.
By thoroughly evaluating the extent of the damage, you can make an informed decision on the most suitable repair method to employ.
Once you have assessed the damage, you can then move on to gathering the necessary tools and materials for the repair process.
Tub Repair Kit White, Tub Chip and Bathtub Repair Kit for Enamel, Fiberglass, Acrylic, Porcelain, Patch and Repairs Chips, Crack, Scratches, Rust, Holes on Tubs, Toilet, Sink, Shower, Tray in Bathroom
Permanently Repair Bathtub Chips, Cracks and Holes: For Fiberglass, Enamel, Acrylic; restore a glossy, non-yellowing, leak-stopping and chip…
As an affiliate, we earn on qualifying purchases.
As an affiliate, we earn on qualifying purchases.
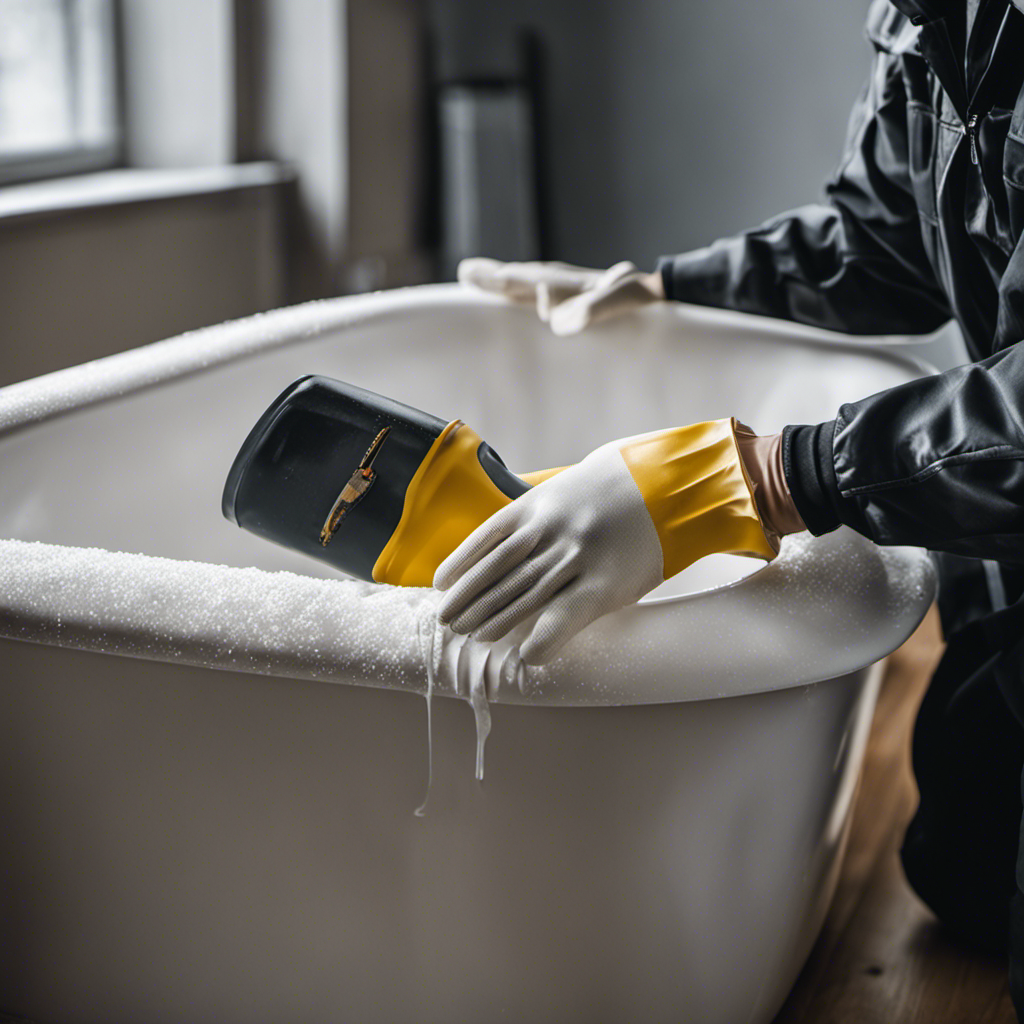
Gathering the Necessary Tools and Materials
Once you’ve got the tools and materials ready, it’s time to get started fixing your tub.
The first step is to choose the right repair kit for your plastic bathtub. Look for a kit that is specifically designed for plastic tubs and matches the color of your bathtub. This will ensure a seamless repair.
Next, you need to prepare the surface of the bathtub. Start by cleaning the damaged area thoroughly with a mild detergent and warm water. Rinse it well and allow it to dry completely. Then, use sandpaper to roughen the surface around the damaged area. This will help the repair material adhere better. Finally, wipe the area with a clean cloth to remove any dust or debris.
With your repair kit and a properly prepared surface, you’re ready to move on to the actual repair process.
Tub Repair Kit White, Tub Chip and Bathtub Repair Kit for Enamel, Fiberglass, Acrylic, Porcelain, Patch and Repairs Chips, Crack, Scratches, Rust, Holes on Tubs, Toilet, Sink, Shower, Tray in Bathroom
Permanently Repair Bathtub Chips, Cracks and Holes: For Fiberglass, Enamel, Acrylic; restore a glossy, non-yellowing, leak-stopping and chip…
As an affiliate, we earn on qualifying purchases.
As an affiliate, we earn on qualifying purchases.
Patching and Filling Cracks or Holes
To start patching and filling cracks or holes, you’ll need to mix the repair material according to the instructions on the kit. Repairs can be a daunting task, but with the right tools and materials, it can be easily accomplished. One effective method for repairing deep scratches in a plastic bathtub is by using a fiberglass repair kit. These kits typically contain all the necessary components, such as a resin, hardener, and fiberglass cloth, to effectively patch and fill cracks or holes. The process involves thoroughly cleaning the damaged area, applying the resin mixture, and reinforcing it with the fiberglass cloth. Once the repair material has cured, it can be sanded and painted to match the surrounding surface. Here’s a table to help you better understand the process:
| Step | Description |
|---|---|
| 1 | Clean the damaged area |
| 2 | Mix the resin and hardener according to the instructions |
| 3 | Apply the resin mixture to the damaged area |
| 4 | Place the fiberglass cloth over the resin |
| 5 | Smooth out any air bubbles and let it cure |

Milescraft 1622 – Sand-It Multi-Surface Sanding Block. Sand Flat, Concave, Convex & Round Surfaces or Fit into Tight Spaces. Accepts any ¼ Sheet of Sand Paper. 150 Grit Sand Paper Included
4-in-1 sand block
As an affiliate, we earn on qualifying purchases.
As an affiliate, we earn on qualifying purchases.
Sanding and Smoothing the Surface
After the repair material has cured, you can sand and smooth the surface to achieve a seamless finish. Sanding is a crucial step in the bathtub repair process as it helps to blend the repaired area with the rest of the bathtub surface.
To ensure a successful sanding process, it is important to use the right sanding techniques and select the appropriate sandpaper. Here are some key points to keep in mind:
- Start with a coarse-grit sandpaper to remove any excess repair material and level the surface.
- Gradually move to finer grits of sandpaper to smooth out the surface and remove any visible scratches or imperfections.
- Use a sanding block or sanding sponge to maintain an even pressure and prevent uneven sanding.
- Clean the sanded surface thoroughly before proceeding to the next step to ensure proper adhesion of the refinishing material.
Applying a Protective Finish
To achieve a durable and glossy surface, remember to apply a protective finish to your newly repaired bathtub. Choosing the right protective finish is crucial in ensuring the longevity and appearance of your bathtub. There are several options available, such as epoxy, polyurethane, and acrylic finishes. Each has its own advantages and application techniques, so it’s important to consider your specific needs and preferences.
When applying the protective finish, it is essential to follow the manufacturer’s instructions carefully. Here are some general techniques to keep in mind:
- Clean the surface thoroughly before applying the finish to remove any dirt or debris.
- Use a high-quality brush or roller to evenly apply the finish in smooth, overlapping strokes.
- Allow the first coat to dry completely before applying additional coats for better adhesion and coverage.
- Sand lightly between coats to create a smooth surface.
- Finally, allow the finish to cure for the recommended time before using the bathtub.
By following these techniques and choosing the right protective finish, you can ensure that your bathtub remains beautiful and protected for years to come.
| Finish Type | Advantages | Application Techniques |
|---|---|---|
| Epoxy | Durable | Apply in thin coats, sand between coats |
| Polyurethane | Water-resistant | Use a brush for even application |
| Acrylic | Quick-drying | Roll on for a smooth finish |
Conclusion
In conclusion, repairing a plastic bathtub may seem like a daunting task, but it can be easily accomplished with the right tools and materials.
By assessing the damage, patching and filling any cracks or holes, sanding and smoothing the surface, and applying a protective finish, you can restore your bathtub to its former glory.
So why spend money on a costly replacement when you can fix it yourself? Give it a try and see the amazing results for yourself.
Happy repairing!