Are you tired of dealing with a worn-out, leaky bathtub? Well, worry no more! In this article, we will walk you through the process of repairing your bathtub step by step.
From fixing leaks and water damage to replacing faucets and tiles, we’ve got you covered. With the help of some basic tools and materials, you’ll be able to tackle any bathtub repair with ease.
So, let’s dive in and get your bathtub back in tip-top shape!
Key Takeaways
- Proper identification of bathtub problems is crucial before starting the repair process.
- Gathering the necessary tools and materials beforehand ensures a smooth repair process.
- Repairing or replacing the bathtub drain stopper and faucet depends on factors like age, cost, severity of the issue, and future renovation plans.
- Additional bathtub repair and maintenance tasks include refinishing, fixing clogged drains, repairing or replacing tiles, fixing caulking and sealing, preventing water damage, and repairing or replacing bathtub jets or whirlpool systems.

Eridanus Wall Hung Toilet with Tank, 2x4 In-Wall Toilet Tank Carrier, Wall Mounted Toilet Combo Set, Dual-Flush Plate Included, Floating Bowl With Soft-Close Seat, Glossy White, 2 Separate Packages
【Please Note】Toilet and tank are shipped in two separate packages and may not arrive at the same time.
As an affiliate, we earn on qualifying purchases.
Identifying the Problem
Before you start repairing your bathtub, it’s important to identify the problem. A plumber or bathtub repair specialist would provide step-by-step instructions on how to repair a bathtub, ensuring that you understand the specific techniques and actions needed to fix it effectively.
Their writing style would be technical, using specific terminology related to plumbing and bathtub repair. They would explain the various components of a bathtub, such as faucets, drains, and pipes, and discuss the specific issues that commonly occur and how to address them.
They would approach the article with a problem-solving mindset, addressing common problems like leaks, clogs, or damaged fixtures, and providing practical solutions to fix them. By troubleshooting and finding effective solutions, you can ensure that your bathtub is repaired properly.
Now let’s move on to gathering the necessary tools and materials for the repair process.
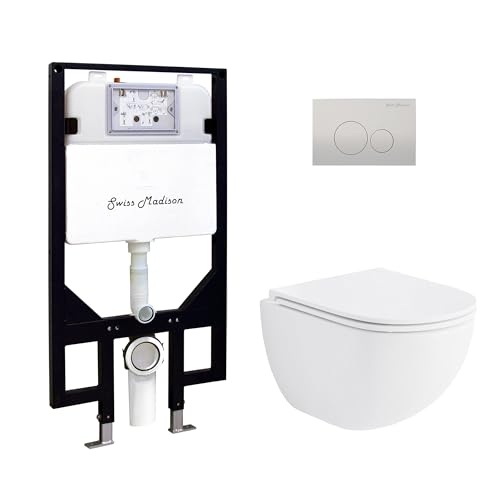
St. Tropez Wall Hung Toilet Bundle, Glossy White
Dual Flush : The buttons for dual flush allow you to choose between a low 0.8 gpf light...
As an affiliate, we earn on qualifying purchases.
Gathering Necessary Tools and Materials
To get started, you’ll need to gather all the necessary tools and materials for repairing your bathtub.
First, make sure you have a wrench, pliers, screwdriver, and a putty knife. These tools will help you remove and replace any damaged components.
Additionally, gather a new bathtub drain stopper, caulk, plumber’s tape, and a bucket. These materials will be used to fix any leaks or clogs that you may encounter.
Once you have gathered all the tools and materials, it’s time to prepare your workspace. Clear the area around the bathtub, ensuring that there is enough room to work comfortably.
Lay down a protective covering to prevent any damage to the floor or surrounding areas.
With your tools and materials ready, you are now prepared to tackle the next step: removing the bathtub drain stopper.

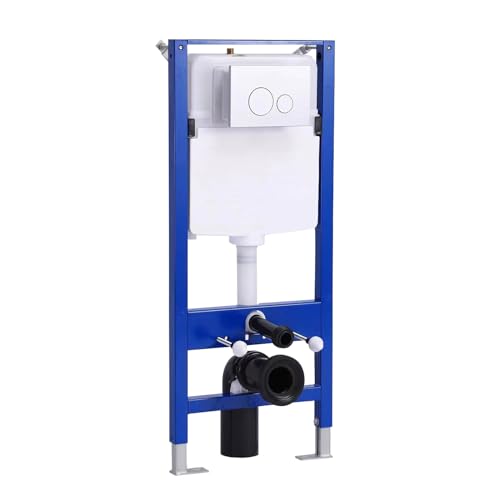
Geberit G111902005 Duofix Carrier 2x6 Installation for 1.28 GPF Wall Hung Toilets with Concealed Dual Flush Tank
Tank and carrier covered by limited lifetime warranty
As an affiliate, we earn on qualifying purchases.
Removing the Bathtub Drain Stopper
Are you having trouble with your bathtub drain stopper?
In this discussion, we will explore the techniques for removing the stopper, the common issues that can arise with it, and whether it’s better to repair or replace it.
As a bathtub repair specialist, I will guide you through each step of the stopper removal process, using technical terminology to ensure a thorough understanding.
Additionally, I will provide problem-solving solutions for the common stopper issues you may encounter, helping you troubleshoot and find the most effective repairs.
Stopper Removal Techniques
First, you’ll want to unscrew the stopper to remove it from the bathtub. To do this, locate the stopper in the drain and twist it counterclockwise until it is loose enough to lift out. Be careful not to drop or lose any parts as you remove the stopper.
Once the stopper is out, you can inspect it for any damage or wear. If it needs to be replaced, you can find a new stopper at a hardware store or online. Regular maintenance of the stopper is also important to ensure it functions properly. Clean any debris or hair that may have accumulated around the stopper and make sure it is tightened securely into place.
Common Stopper Issues
If you notice your stopper not sealing properly, it may be due to a worn-out gasket or a misaligned mechanism. To fix this issue, you will need to perform some stopper maintenance.
First, remove the stopper by unscrewing it counterclockwise. Inspect the gasket for any signs of wear or damage. If it is worn out, replace it with a new one.
Next, check the mechanism for any misalignment or debris that may be obstructing the seal. Clean the mechanism and realign it if necessary.
Once everything is clean and in proper alignment, reinstall the stopper by screwing it back into place. Test the seal to ensure it is tight and secure.
Repair or Replace?
To decide whether to repair or replace your bathtub’s stopper, consider the following factors:
-
Age of the bathtub: If your bathtub is old and worn out, it may be more cost-effective to replace it rather than invest in repairs.
-
Cost comparison: Compare the cost of repairing the stopper with the cost of a new bathtub. Sometimes, the cost of a repair can outweigh the benefits of replacing the entire unit.
-
Severity of the issue: If the stopper issue is minor, such as a loose screw or a small crack, repairing it might be the most practical solution. However, if the stopper is completely broken or damaged beyond repair, replacement may be necessary.
-
Overall condition: Consider the overall condition of your bathtub. If it is in good shape and the stopper issue is the only problem, repairing it might be the best option.
-
Future plans: Think about your future plans. If you are planning to renovate your bathroom in the near future, it might make more sense to replace the bathtub as part of the renovation process.
HOROW Concealed Toilet Tank Carrier, In-Wall Carrier System for Wall Hung Toilets, Wall Mounted Toilet Carrier with Chrome Actuator Plate, 1.1 GPF / 1.6 GPF Dual Flush
Widely Compatible: Our HOROW wall mounted toilet tank carrier is compatible with most wall hung toilets.
As an affiliate, we earn on qualifying purchases.
Repairing or Replacing the Bathtub Faucet
You’ll need to remove the old bathtub faucet before installing a new one.
To repair a bathtub faucet, start by turning off the water supply to the bathtub. This can usually be done by shutting off the water valves located underneath the sink or behind the bathtub.
Next, remove the handle of the faucet by unscrewing it counterclockwise. Once the handle is removed, use a wrench to loosen and remove the bonnet nut. This will allow you to access the cartridge or valve stem.
Inspect the cartridge or valve stem for any signs of damage or wear. If necessary, replace it with a new one.
Finally, reassemble the faucet by following the steps in reverse order. Tighten all connections securely and turn on the water supply to check for any leaks.
With the faucet repaired or replaced, you can now move on to fixing leaks and water damage.
Fixing Leaks and Water Damage
To prevent mold growth and fix leaks and water damage in your bathtub, you’ll need to address any rusted pipes and damaged fixtures. Follow these steps to tackle the problem effectively:
- Identify the source of the leak by inspecting the pipes and fittings.
- Turn off the water supply and drain the bathtub completely.
- Replace any rusted or corroded pipes with new ones, using a pipe cutter and wrench.
- Use plumber’s tape to secure the fittings and prevent future leaks.
- Apply a waterproof sealant around the edges of the bathtub to prevent water from seeping into the walls.
By fixing rusted pipes and addressing water damage promptly, you can prevent mold growth and ensure the longevity of your bathtub.
Now, let’s move on to the next section on repairing or replacing a cracked or chipped bathtub surface.
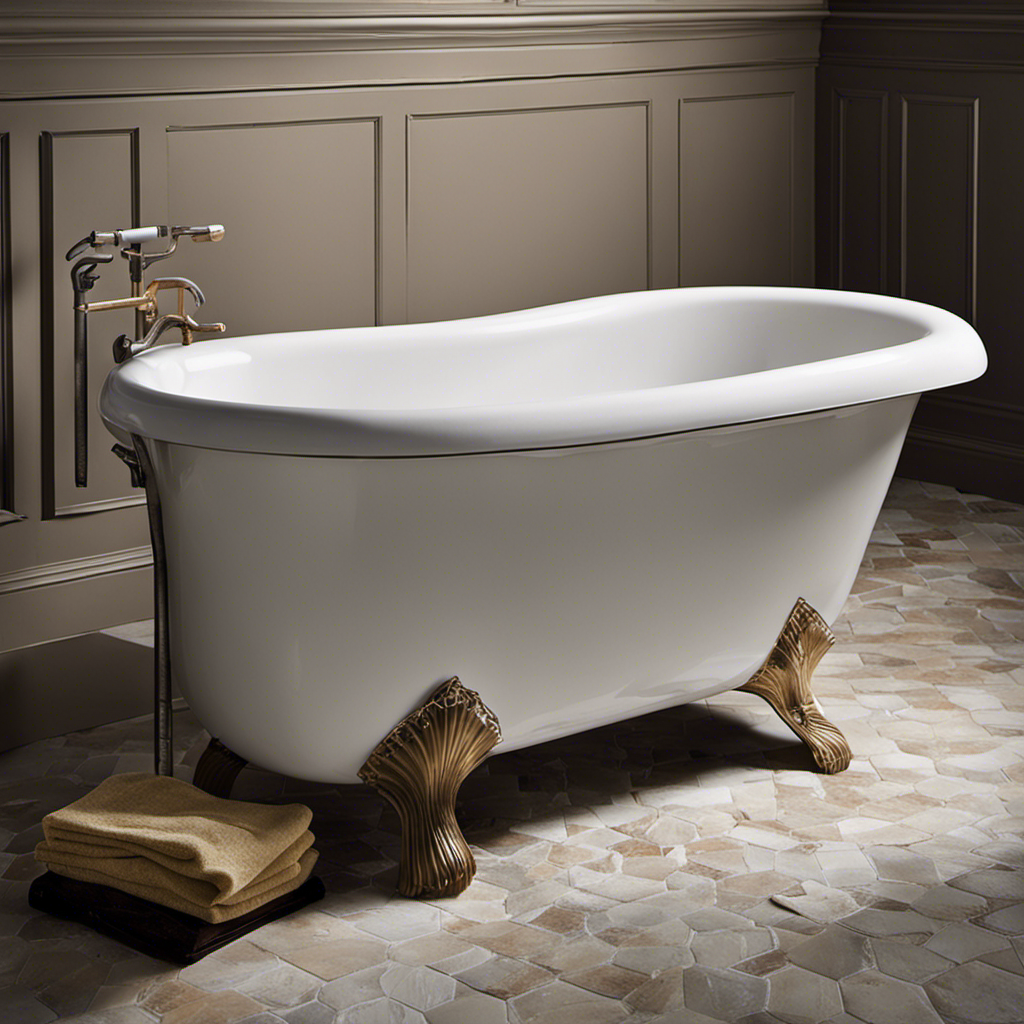
Repairing or Replacing Cracked or Chipped Bathtub Surface
Now, let’s address the issue of a cracked or chipped surface in your bathtub and explore the options for repairing or replacing it.
If your bathtub has a small crack or chip, you may be able to repair it yourself using a DIY bathtub repair kit. These kits typically include materials like epoxy or acrylic fillers that can be used to patch up the damaged area. Before starting the repair process, make sure to thoroughly clean and dry the surface of the bathtub. Then, follow the instructions provided with the kit to apply the filler and smooth it out. Allow the filler to dry completely before using the bathtub again.
If the damage is more severe or if you prefer a professional touch, you can consider bathtub refinishing. This involves stripping off the old finish and applying a new one to give your bathtub a fresh look. However, refinishing is a more complex process that requires specialized tools and skills, so it’s best left to the experts.
Fixing Clogged Bathtub Drains
Having a clogged bathtub drain can be a frustrating experience. There are several methods you can try to unclog it.
First, grab a plunger and place it over the drain, making sure there is a tight seal. Then, push and pull vigorously to create suction and force the clog to dislodge.
If the plunger doesn’t work, you can try using baking soda and vinegar. Pour half a cup of baking soda down the drain, followed by half a cup of vinegar. Let it sit for about 30 minutes, then flush it with hot water.
Unclogging With Plunger
First, grab a plunger and position it over the drain to start unclogging the bathtub. Make sure the plunger covers the entire drain opening. Apply downward pressure and create a tight seal by pressing the plunger firmly against the tub surface. Use quick, forceful plunges to create suction and dislodge the clog. Repeat this motion several times, maintaining a consistent rhythm.
If the plunger technique doesn’t work, there are alternative solutions you can try. Pour hot water down the drain to loosen the clog, or use a mixture of baking soda and vinegar to break it down. You can also use a drain snake to physically remove the blockage, or try using a chemical drain cleaner as a last resort. Remember to read the instructions carefully and use protective gloves when handling chemicals.
Using Baking Soda
Now that you’ve learned how to unclog a bathtub using a plunger, let’s move on to another effective method using baking soda.
Baking soda is a versatile and natural alternative cleaning agent that can help tackle various bathtub issues. To start, mix equal parts of baking soda and water to create a paste. Apply the paste to any stained or dirty areas on the bathtub surface and let it sit for about 15 minutes. Then, scrub the area with a soft brush or sponge, and rinse thoroughly with water. Baking soda’s abrasive nature helps remove grime and stains without damaging the tub.
In addition to cleaning, baking soda can also be used to unclog drains. Pour half a cup of baking soda down the drain, followed by a cup of vinegar. Let the mixture sit for 30 minutes, then flush with hot water. The baking soda and vinegar combination creates a chemical reaction that helps break down clogs and clear the drain.
Using baking soda as an alternative cleaning method is not only effective but also environmentally friendly. Give it a try and see the difference it can make in keeping your bathtub clean and functioning properly.
Chemical Drain Cleaners
If you’re dealing with a stubborn clog in your drain, you can try using chemical drain cleaners. However, there are alternative methods to consider that are more eco-friendly and safer for your pipes. Here are five alternatives to chemical drain cleaners:
-
Baking soda and vinegar: Mix equal parts of baking soda and vinegar and pour it down the drain. Let it sit for a few hours, then flush it with hot water.
-
Boiling water: Pour boiling water down the drain to break up the clog. This method works best for grease or soap buildup.
-
Manual removal: Use a plunger or a drain snake to physically remove the clog. This is effective for larger obstructions.
-
Enzyme-based cleaners: These cleaners contain bacteria and enzymes that eat away at organic matter, such as hair or food particles.
-
Hot water and salt: Dissolve a cup of salt in a pot of hot water and pour it down the drain. This can help dissolve mineral deposits and clear the clog.
Repairing or Replacing Bathtub Tiles
To repair or replace the tiles on your bathtub, start by removing any damaged tiles using a chisel and hammer. Carefully chip away at the grout lines surrounding the broken tiles and gently pry them off the surface. Once the damaged tiles are removed, clean the area thoroughly to ensure a smooth and even surface for the new tiles. Here is a step-by-step guide to help you with the process:
| Step | Repair Process | Tools Required |
|---|---|---|
| 1 | Remove damaged tiles | Chisel, Hammer |
| 2 | Clean the area | Grout scraper, Sponge, Cleaning solution |
| 3 | Prepare the adhesive | Tile adhesive, Trowel |
| 4 | Install new tiles | Tile cutter, Tile spacer, Grout float, Grout |
Fixing Bathtub Caulking and Sealing
Are you tired of dealing with water damage in your bathroom?
In this discussion, we will explore preventive measures and long-term sealing solutions to help you avoid costly repairs.
As a bathtub repair specialist, I will provide you with detailed instructions on how to effectively seal your bathtub, using specific terminology and explaining the various components involved.
With a problem-solving mindset, we will address common issues like leaks and damaged fixtures, providing practical solutions to ensure your bathtub is repaired properly and remains water-tight for years to come.
Preventing Water Damage
One way to prevent water damage in your bathtub is by regularly checking for leaks. Leaks can lead to mold growth and other water-related issues if left unaddressed.
Here are some waterproofing techniques to help you prevent water damage in your bathtub:
- Inspect the caulking around your bathtub regularly and repair any cracks or gaps.
- Install a shower curtain liner to prevent water from splashing outside the tub.
- Use a bath mat with a non-slip surface to prevent water from pooling on the floor.
- Clean and maintain the grout between your tiles to prevent water from seeping through.
- Consider installing a waterproofing membrane on the walls and floor of your bathroom for added protection.
Long-Term Sealing Solutions
Check out these long-term sealing solutions to help you maintain a watertight bathroom and prevent any future water damage.
When it comes to long term maintenance and waterproofing options for your bathtub, there are a few key steps you can take.
First, ensure that all the joints and seams around your bathtub are properly sealed with a high-quality waterproof sealant. This will help prevent any water from seeping through and causing damage.
Additionally, consider using a waterproofing membrane or liner underneath your bathtub to provide an extra layer of protection.
Finally, regularly inspect your bathtub for any signs of water damage or leaks, and address them promptly to prevent further issues.
By implementing these long-term sealing solutions, you can ensure that your bathtub remains watertight and protected for years to come.
Now, let’s move on to repairing or replacing bathtub jets or the whirlpool system.
Repairing or Replacing Bathtub Jets or Whirlpool System
To fix your bathtub’s jets or whirlpool system, start by turning off the power and water supply. This will ensure your safety and prevent any further damage.
Once you have done that, follow these steps to repair or replace the jets:
-
Remove the jet covers and inspect for any debris or clogs.
-
Use a small brush or toothbrush to clean the jets thoroughly.
-
If the jets are damaged beyond repair, you may need to replace them. Consult your bathtub’s manual or contact a professional for guidance.
-
Check the water supply valves and make sure they are fully open.
-
Test the jets by turning on the power and water supply. If they still don’t work, there may be a larger issue with the system that requires professional help.
Reassembling and Testing the Repaired Bathtub
After you have finished cleaning the jets and replacing any damaged parts, it’s time to reassemble the bathtub and test it to ensure everything is working properly. Follow these steps to reassemble your bathtub:
- Place the bathtub back in its original position and secure it using screws or brackets.
- Connect the pipes and drains, ensuring they are tightly sealed using plumber’s tape or sealant.
- Reattach the faucets and handles, ensuring they are properly aligned and tightened.
Once you have reassembled the bathtub, it’s important to test it for any issues. Use the following testing methods:
- Fill the bathtub with water and check for any leaks around the drains, pipes, or faucets.
- Turn on the jets or whirlpool system to ensure they are functioning properly.
- Test the hot and cold water controls to ensure they are working and adjusting the temperature as desired.
Frequently Asked Questions
Can I Repair a Bathtub Surface That Is Severely Cracked or Chipped, or Do I Need to Replace the Entire Bathtub?
You can repair a severely cracked or chipped bathtub surface with bathtub resurfacing. It involves repairing the cracks and chips, then applying a new surface coating. This can be done by a bathtub repair specialist using specialized tools and techniques.
How Can I Fix a Clogged Bathtub Drain Without Using Chemical Drain Cleaners?
To unclog your bathtub drain without using chemical drain cleaners, try natural drain cleaning methods. These include using a plunger, a drain snake, or a mixture of baking soda and vinegar.
What Are Some Tips for Repairing or Replacing Bathtub Tiles Without Causing Further Damage to the Surrounding Area?
To repair or replace bathtub tiles without causing further damage, follow these steps: 1) Remove damaged tiles carefully. 2) Clean the area thoroughly. 3) Apply adhesive and install new tiles. 4) Grout and seal.
Is It Possible to Fix Bathtub Caulking and Sealing Issues Without Removing the Existing Caulking?
To fix bathtub caulking without removing it, you can use a caulk removal tool to clean and prep the area. Apply new caulk, smoothing it out with a caulk finishing tool. Regular maintenance is important to prevent future issues.
Are There Any Specific Steps or Considerations When Repairing or Replacing a Bathtub’s Jets or Whirlpool System?
When repairing jets or replacing a whirlpool system in your bathtub, there are specific steps and considerations to keep in mind. Let’s dive in and explore the detailed process to get your bathtub back in working order.
Conclusion
So there you have it, a step-by-step guide on how to repair your bathtub. By following these instructions, you can tackle any problem that may arise and have your bathtub looking and functioning like new.
Just imagine, no more leaks or damaged tiles, and a perfectly sealed and caulked bathtub. It’s like having a luxurious spa right in your own home.
So go ahead, grab your tools and get started on fixing that bathtub. You’ll be amazed at the results and proud of your handy work.
Happy repairing!