Imagine stepping into your bathtub, only to notice a glaring crack running along the surface. Don’t panic, because with the right tools and know-how, you can repair that crack and restore your bathtub to its former glory.
In this article, we will guide you through the step-by-step process of repairing a bathtub crack. From assessing the severity of the crack to applying the crack repair solution, we will provide you with all the information you need to successfully tackle this DIY project.
Get ready to say goodbye to that unsightly crack and hello to a beautifully restored bathtub.
Key Takeaways
- Assess the severity and stability of the crack before attempting any repairs.
- Gather the necessary tools and materials, including a caulk gun, putty knife, sandpaper, and an epoxy or acrylic repair kit.
- Prepare the surface for repair by cleaning the cracked area, removing loose paint, and sanding the area around the crack.
- Apply and smooth the crack repair solution, sand the repaired area, apply primer and bathtub paint, and finish by drying, polishing, and blending the repaired area with the rest of the surface.
Assess the Severity of the Crack
To determine if the bathtub crack can be easily fixed, you’ll need to assess its severity.
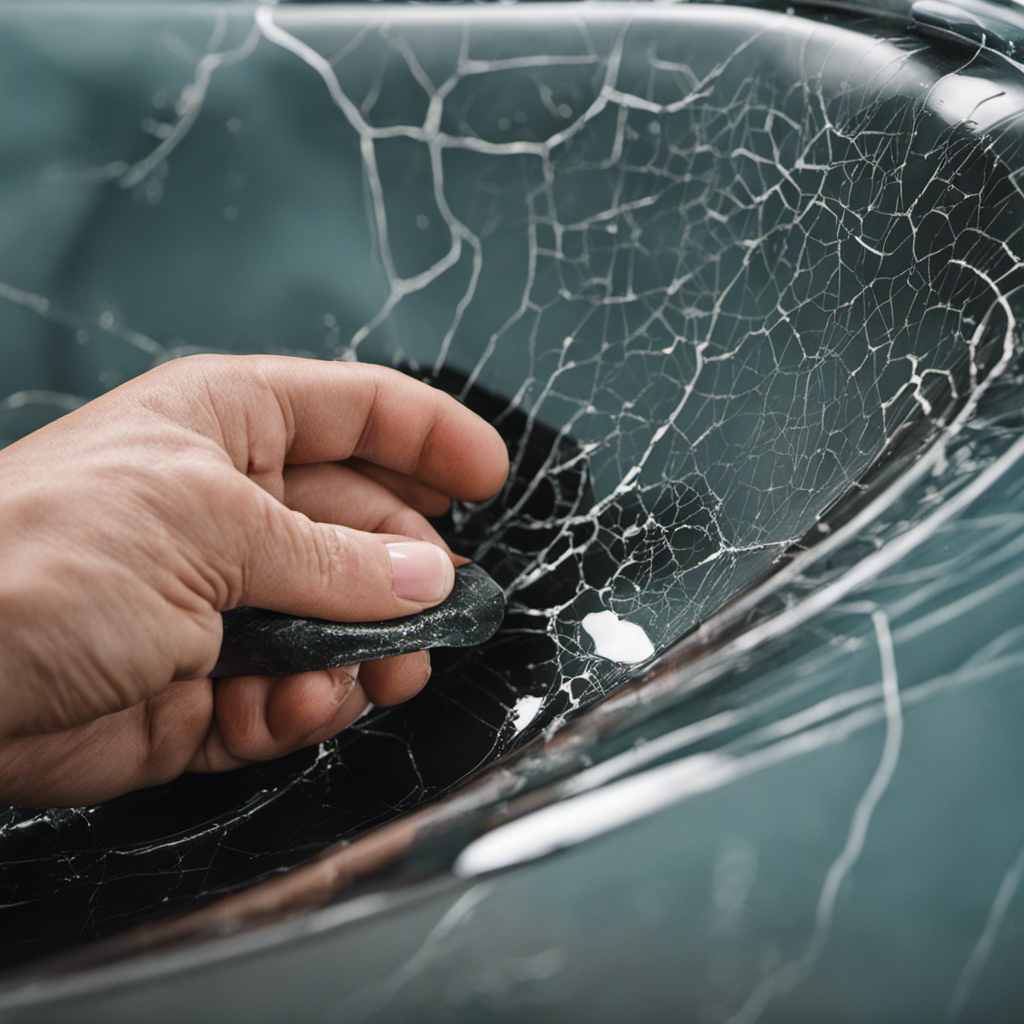
Start by examining the crack closely. Look for any visible signs of damage, such as length, depth, and width. Assess the location of the crack as well, as some areas may be more challenging to repair than others.
Determine if the crack is superficial or if it extends through the entire structure. This will help you understand the extent of the damage and guide your repair options.
It’s essential to evaluate the stability of the crack too. If the crack is stable and not expanding, you may have more repair choices available. However, if the crack is widening or causing water leaks, professional assistance may be necessary to prevent further damage.
Assessing the severity of the crack is crucial in determining the most suitable repair options for your bathtub.
Gather the Necessary Tools and Materials
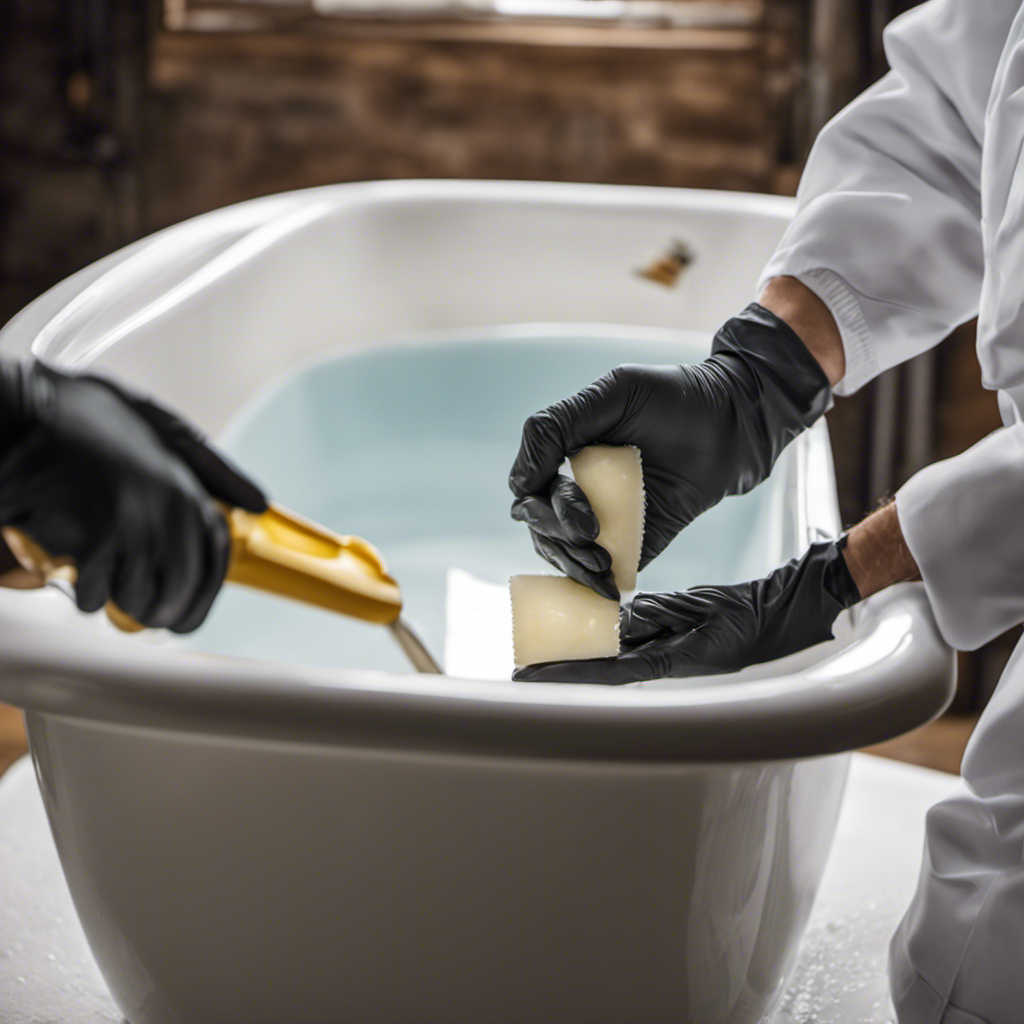
To successfully repair a bathtub crack, you will need to gather the essential repair tools and a required materials list. These tools include a putty knife, sandpaper, a caulking gun, and a waterproof epoxy or bathtub repair kit.
The materials list may include a bathtub repair adhesive, bathtub refinishing paint, and a silicone caulk.
Essential Repair Tools
You’ll need a set of essential repair tools to fix that bathtub crack. Here are five must-have items to ensure a successful repair:
-
Caulk gun: This tool will allow you to apply the necessary sealant evenly along the crack.
-
Putty knife: Use a putty knife to remove any loose or damaged caulk before applying the new sealant.
-
Sandpaper: Sanding the area around the crack will help create a smooth surface for the repair.
-
Epoxy or acrylic repair kit: These kits typically include a filler and a hardening agent to patch up the crack.
-
Safety goggles and gloves: Protect yourself from any potential hazards while working on the repair.
Required Materials List
Make sure you have all the necessary materials before starting the repair. When it comes to repairing a bathtub crack, it’s important to have the right tools and materials on hand.
The causes of a bathtub crack can vary, from age and wear to improper installation or even accidental damage. To prevent future cracks, it’s essential to take proper care of your bathtub, avoiding harsh chemicals and excessive weight.
Now, let’s focus on the materials you’ll need for the repair. You’ll need an epoxy or acrylic bathtub repair kit, sandpaper, a putty knife, a cleaning solution, a cloth or sponge, and a hairdryer. Having these materials ready will ensure a smooth and successful repair process.
Prepare the Surface for Repair
First, gather the necessary materials to prepare the surface for repair. To properly prepare the surface for repair, follow these steps:
- Clean the cracked area thoroughly using a mild detergent and warm water. Remove any dirt, debris, or soap scum from the surface.
- Use a scraper or putty knife to remove any loose or peeling paint around the crack. This will ensure a smooth and even surface for the repair.
- Sand the area around the crack using fine-grit sandpaper. This will help roughen the surface and promote better adhesion of the repair material.
- Wipe down the sanded area with a damp cloth to remove any dust or residue.
Finally, use a crack detection kit to identify any hidden or hairline cracks that may not be visible to the naked eye. This will help ensure a thorough repair and prevent future issues.
Apply the Crack Repair Solution
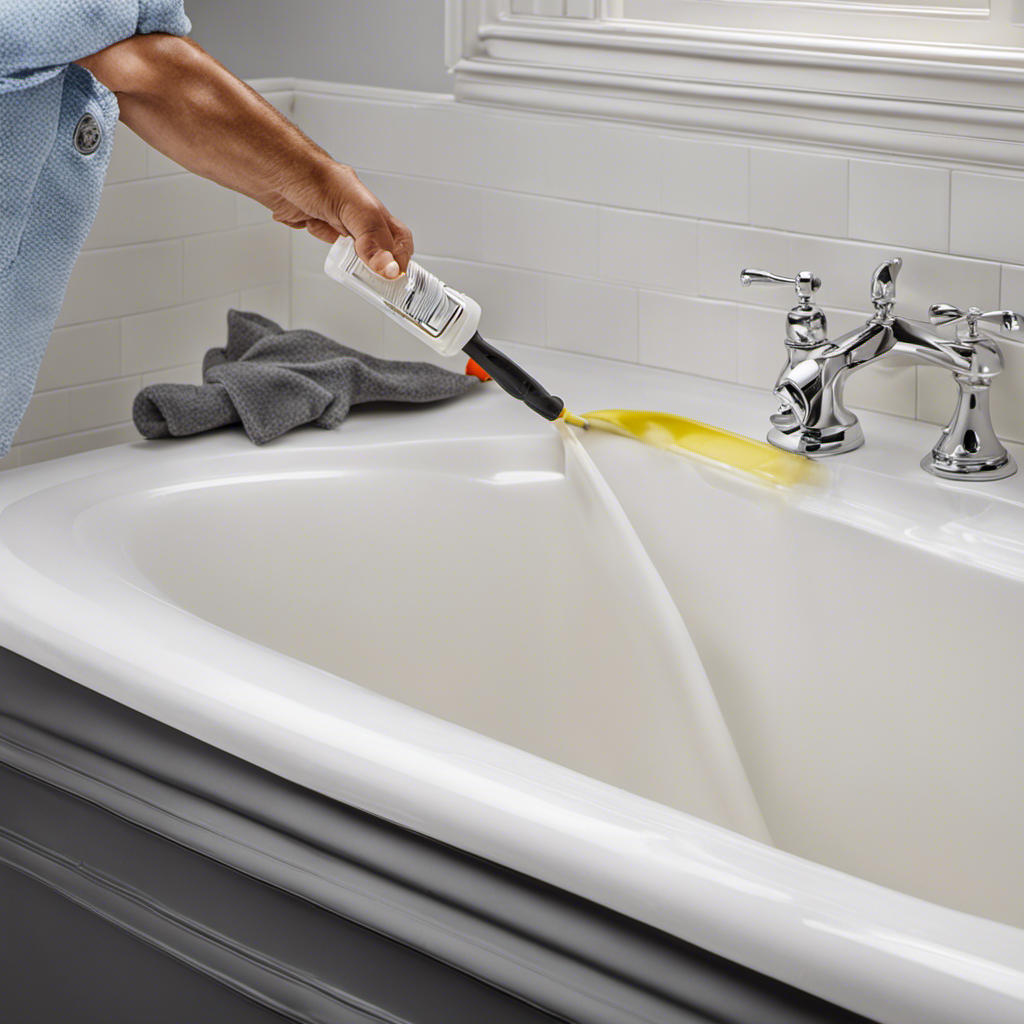
Once the surface has been properly prepared, simply apply the crack repair solution according to the manufacturer’s instructions. This step is crucial in bathtub crack prevention and ensuring a successful DIY bathtub repair. The crack repair solution is specifically designed to bond and seal the crack, preventing any further damage or water leakage. To make it easier for you to understand, here’s a handy table outlining the steps to apply the crack repair solution:
| Step | Instructions |
|---|---|
| 1 | Clean the crack and surrounding area thoroughly |
| 2 | Apply the crack repair solution using a brush or applicator |
| 3 | Allow the solution to dry completely |
| 4 | Repeat the process for any additional cracks or damaged areas |
Smooth and Blend the Repair
To achieve a seamless finish, use sandpaper to smooth and blend the repaired area with the surrounding surface. This step is crucial in ensuring that the repair is virtually undetectable.
Here are some blending techniques and crack prevention strategies to consider:
- Start by using a fine-grit sandpaper to gently sand the repaired area. This will help to remove any excess material and create a smooth surface.
- Gradually increase the grit of the sandpaper as you work, moving from a fine to a medium grit. This will further blend the repaired area with the rest of the surface.
- Use a damp cloth to wipe away any dust or debris that may accumulate during the sanding process.
- Apply a thin layer of primer to the repaired area to promote adhesion and ensure a seamless blend.
- Finally, paint the entire surface with a high-quality bathtub paint to protect against future cracks and maintain a consistent appearance.
Allow Sufficient Drying Time
Make sure you allow sufficient drying time for the primer and paint layers before using the bathtub again. Proper drying is essential to ensure that the repaired crack stays intact and doesn’t get damaged by moisture.
To speed up the drying process, you can use various drying techniques. Firstly, ensure good ventilation in the bathroom by opening windows or using fans. This will help circulate air and remove excess moisture.
Additionally, you can use a hairdryer on a low heat setting to gently dry the surface. However, be cautious not to overheat the area as it may cause the paint to bubble or crack.
Finally, consider using a dehumidifier in the bathroom to prevent moisture from affecting the drying process.
Sand and Finish the Repaired Area
To achieve a smooth and polished surface after repairing your bathtub crack, it’s crucial to follow the proper steps.
Begin by sanding the repaired area using fine-grit sandpaper, gradually working your way up to a finer grit for a flawless finish.
Next, apply a polishing compound to the surface, using a circular motion to buff and bring out the shine.
Lastly, when it comes to color matching techniques, consider using a color repair kit or consulting a professional to ensure a seamless blend with the surrounding area.
Polishing the Repaired Surface
After you’ve finished repairing the bathtub crack, you’ll want to start polishing the repaired surface to achieve a smooth finish. Polishing not only helps to restore the color of the tub but also ensures the repaired area blends seamlessly with the rest of the surface.
Here are some practical tips to help you achieve the best results:
- Use a fine-grit sandpaper to gently sand the repaired area, removing any rough edges or imperfections.
- Apply a polishing compound to the sanded area using a soft cloth. This will help to restore the shine and smoothness of the surface.
- Use circular motions to buff the area, applying even pressure to ensure a consistent finish.
- Repeat the polishing process if necessary, until you are satisfied with the result.
- Consider alternative repair methods such as using a tub refinishing kit or hiring a professional if the crack is extensive or the repair is challenging.
Color Matching Techniques
When color matching, it’s important to use a swatch or sample to ensure a seamless blend between the repaired area and the rest of the surface.
To achieve a perfect color match for your bathtub repair, there are a few techniques you can try.
Firstly, consider using specialized bathtub repair products that are designed to match the color of your bathtub. These products often come in a variety of shades to match different bathtub colors.
You can also try professional repair services that have the expertise to match the color accurately. They use advanced color matching techniques and have access to a wide range of color options.
Maintain and Prevent Future Cracks
You should regularly clean and dry your bathtub to prevent future cracks. Taking preventive measures can help prolong the life of your tub and save you from costly repairs. Here are some tips to keep your bathtub in good condition:
- Use a mild cleaner or vinegar solution to clean the tub regularly.
- Avoid using abrasive cleaners or tools that can scratch the surface.
- Dry the tub thoroughly after each use to prevent moisture buildup.
- Avoid dropping heavy objects or applying excessive pressure on the tub.
- Consider using a non-slip mat or stickers to prevent accidents.
If you notice any cracks in your bathtub, it’s essential to address them promptly. While some minor cracks can be repaired at home using DIY kits, it’s advisable to consult a professional for larger or more severe cracks. They have the expertise and professional repair options to ensure a long-lasting solution.
Don’t ignore bathtub cracks, as they can lead to water leakage and further damage if left untreated.
Frequently Asked Questions
Can I Use Any Type of Crack Repair Solution for My Bathtub Crack?
You can’t use any type of crack repair solution for your bathtub crack. There are specific bathtub crack repair products available that are designed to effectively fix the crack. Avoid alternative bathtub crack repair methods as they may not provide long-lasting results.
How Long Does the Crack Repair Solution Take to Dry?
You can speed up the crack repair solution’s drying process by increasing air circulation and using a hairdryer. Avoid common mistakes like applying too much solution or not properly preparing the crack.
Can I Use Regular Sandpaper to Sand the Repaired Area?
Yes, you can use regular sandpaper to sand the repaired area of your bathtub crack. However, it is recommended to use a fine-grit sandpaper specifically designed for repairing bathtubs for the best results.
How Often Should I Inspect My Bathtub for Potential Cracks?
To prevent bathtub cracks, regularly inspect for signs like visible cracks, leaks, or discoloration. Depending on usage, inspect every few months or after any impact. Early detection can save you from costly repairs.
Can I Use the Bathtub Immediately After Completing the Repair Process?
After repairing the bathtub crack using epoxy resin and applying a bathtub repair kit, it is recommended to wait at least 24 hours before using the tub to ensure the repair has fully cured.
Conclusion
In conclusion, you have assessed the severity of the crack and gathered the necessary tools and materials.
Next, you prepared the surface for repair by cleaning and removing any loose debris.
Then, you applied the crack repair solution according to the manufacturer’s instructions.
After applying the solution, you smoothed and blended the repair to ensure a seamless finish.
Now, it is important to allow sufficient drying time for the solution to set.
Once the solution is completely dried, you can proceed to sand and finish the repaired area.
Make sure to carefully sand and blend the area to achieve a smooth and even surface.
Lastly, remember to maintain your bathtub properly and take preventative measures to avoid future cracks.
By following these steps, you can successfully repair your bathtub crack and enjoy a like-new tub once again.
