Are you tired of the incessant drip, drip, drip of your bathtub faucet? Well, fear not!
This step-by-step guide will show you how to repair that annoying leak and restore peace to your bathroom oasis.
With just a few tools and some basic know-how, you’ll be able to identify the source of the leak, disassemble the faucet, and fix or replace any faulty parts.
So, grab your wrench and let’s get started on this leak-fixing adventure!
Key Takeaways
- Identifying the source of the faucet leak is the first step in repairing a bathtub faucet leak.
- Gathering the necessary tools and materials, such as an adjustable wrench and replacement parts, is essential for the repair process.
- Disassembling the faucet involves turning off the water supply, removing the faucet handle, and cleaning and replacing worn-out parts.
- After repairing the faucet, it is important to test the repaired parts, check for leaks, adjust water pressure and temperature, and inspect the surrounding area for any signs of water damage.
Identifying the Source of the Faucet Leak
First, you’ll need to turn off the water supply to the bathtub faucet to properly identify the source of the leak. To do this, locate the shut-off valve underneath the sink or near the water heater and turn it clockwise until it is fully closed.
Once the water supply is off, you can begin troubleshooting the common causes of a faucet leak. The first step is to check the faucet handles for any visible cracks or damage. If there are none, move on to inspecting the spout and the base of the faucet for any signs of water leakage.
Additionally, check the cartridge or valve stem for any wear or corrosion. By following these troubleshooting tips, you can successfully identify the source of the leak and proceed with the necessary repairs.
Tools and Materials Needed for Repair
To fix the problem, you’ll need a few tools and materials. Here’s what you’ll need:
- Adjustable wrench
- Screwdriver (flathead or Phillips, depending on your faucet)
- Replacement parts (such as O-rings, washers, or cartridges)
Now that you have the tools and materials ready, let’s move on to the next step. But before we do that, let’s quickly go over the types of bathtub faucets and the common causes of bathtub faucet leaks.
There are several types of bathtub faucets, including compression faucets, ball faucets, cartridge faucets, and disk faucets. Each type has its own design and mechanism for controlling the flow of water.
Common causes of bathtub faucet leaks include worn-out O-rings, damaged washers, faulty cartridges, or loose connections. Identifying the specific cause will help you determine which parts need to be replaced or repaired.
Now that you have a better understanding of the types of bathtub faucets and the common causes of leaks, let’s move on to the next step of repairing your bathtub faucet leak.
Step-by-Step Guide to Disassembling the Faucet
Now that you’ve gathered the necessary tools and materials, it’s time to carefully disassemble the different components of your faucet.
Before you start, make sure to turn off the water supply to avoid any accidents.
Begin by removing the handle of the faucet using a screwdriver or an Allen wrench, depending on the type of handle.
Next, use an adjustable wrench to loosen and remove the packing nut and stem assembly.
Be cautious not to force anything or use excessive pressure, as this can cause damage.
Common mistakes when disassembling a faucet include not keeping track of the order of the parts or not properly cleaning them.
To prevent future faucet leaks, remember to clean all components thoroughly and replace any worn-out parts.
With the faucet disassembled, you can now move on to fixing the leak: repairing or replacing parts.
Fixing the Leak: Repairing or Replacing Parts
Once you’ve disassembled the faucet, it’s time to assess the damage and decide whether to repair or replace any faulty parts.
Here are some common faucet problems and the repairing techniques you can use:
-
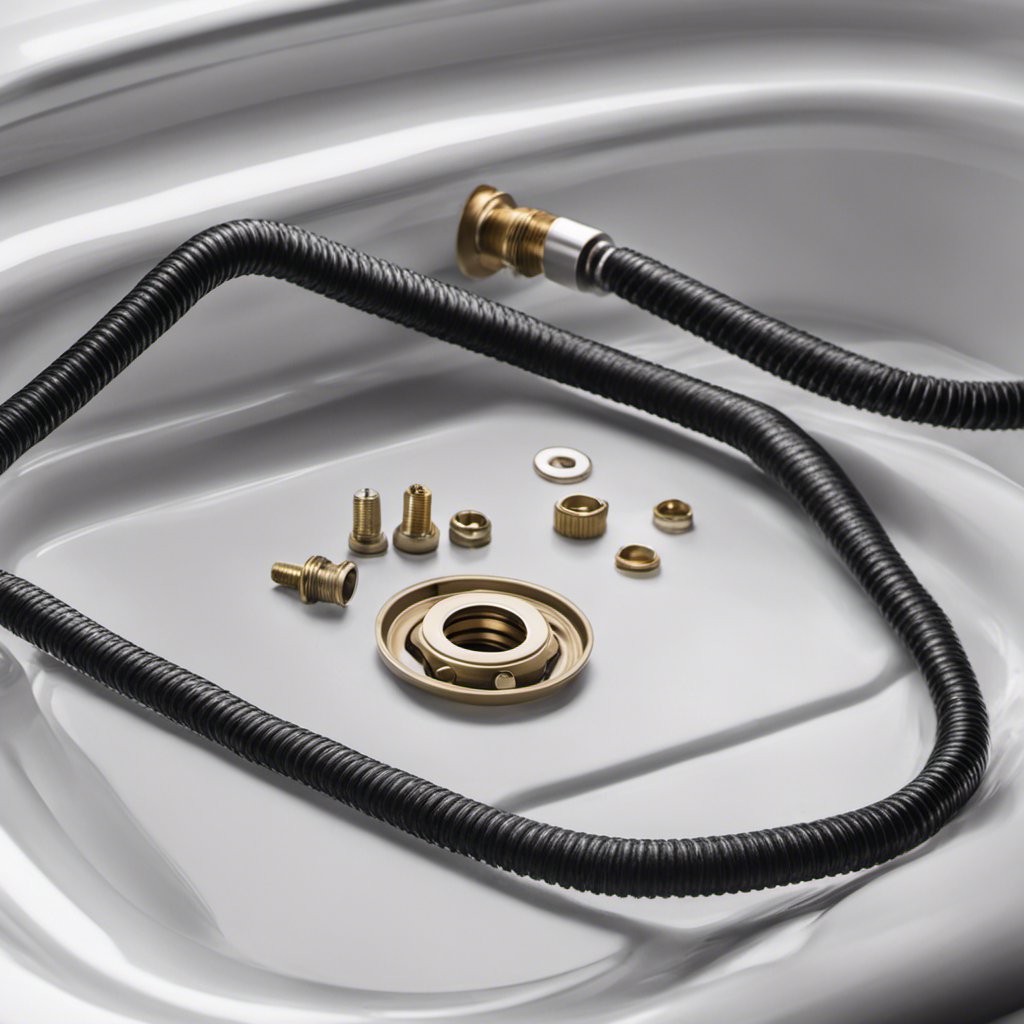
Leaky cartridge: If the cartridge is damaged or worn out, it can cause a leak. Remove the old cartridge and replace it with a new one.
-
Loose or worn-out O-rings: O-rings can become loose or worn out over time, leading to leaks. Tighten or replace the O-rings to fix the issue.
-
Corroded valve seat: The valve seat can corrode, causing leaks. Use a valve seat wrench to remove the old seat and replace it with a new one.
Reassembling and Testing the Repaired Faucet
After reassembling the repaired parts, it’s important to test the faucet to ensure it is working properly. Start by turning on the water supply to the bathtub.
Look for any signs of leakage around the faucet or handles. Check the water pressure and temperature by adjusting the handles. Make sure the water flows smoothly and there are no sudden changes in temperature. Listen for any unusual sounds or vibrations that could indicate a problem.
Additionally, inspect the surrounding area for any water stains or dampness that could suggest a hidden leak. If everything looks and functions as expected, you can be confident that the bathtub faucet leak has been successfully repaired.
Regularly monitor the faucet to ensure it continues to work properly and prevent future leaks.
Frequently Asked Questions
How Much Will It Cost to Hire a Professional Plumber to Fix a Bathtub Faucet Leak?
To fix a bathtub faucet leak, you might be tempted to hire a professional plumber. However, before comparing costs, consider DIY alternatives. These can save you money and provide a sense of accomplishment.
Can a Bathtub Faucet Leak Cause Water Damage to the Surrounding Walls or Floors?
A bathtub faucet leak can cause serious water damage to the surrounding walls and floors. If left unaddressed, the consequences can be costly and time-consuming to repair. Make sure to fix the leak promptly to avoid further damage.
Are There Any Temporary Fixes to Stop a Bathtub Faucet Leak Until It Can Be Properly Repaired?
To temporarily fix a bathtub faucet leak, try these DIY solutions. Start by turning off the water supply. Then, replace the rubber washer or O-ring, tighten loose connections, or apply plumber’s tape. Remember, these are temporary fixes and professional repair may be needed.
What Are Some Common Signs That Indicate a Bathtub Faucet Is Leaking?
To detect and fix a bathtub faucet leak, you need to know the common signs such as dripping sounds and water stains. Potential causes include worn-out washers or faulty O-rings. Now, let’s dive into the steps to repair it.
Is It Possible to Prevent Future Bathtub Faucet Leaks With Regular Maintenance?
To prevent future bathtub faucet leaks, take preventative measures through regular DIY bathtub faucet maintenance. By inspecting and cleaning the faucet, tightening connections, and replacing worn-out parts, you can avoid potential leaks and ensure a properly functioning fixture.
Conclusion
In conclusion, repairing a bathtub faucet leak is a straightforward process that anyone can tackle with the right tools and knowledge. By following the step-by-step guide provided, you can easily identify the source of the leak, disassemble the faucet, repair or replace the necessary parts, and reassemble the faucet for a fully functional result.
Think of it as solving a puzzle – each step brings you closer to the final picture of a leak-free faucet. So grab your tools and get ready to fix that drip!