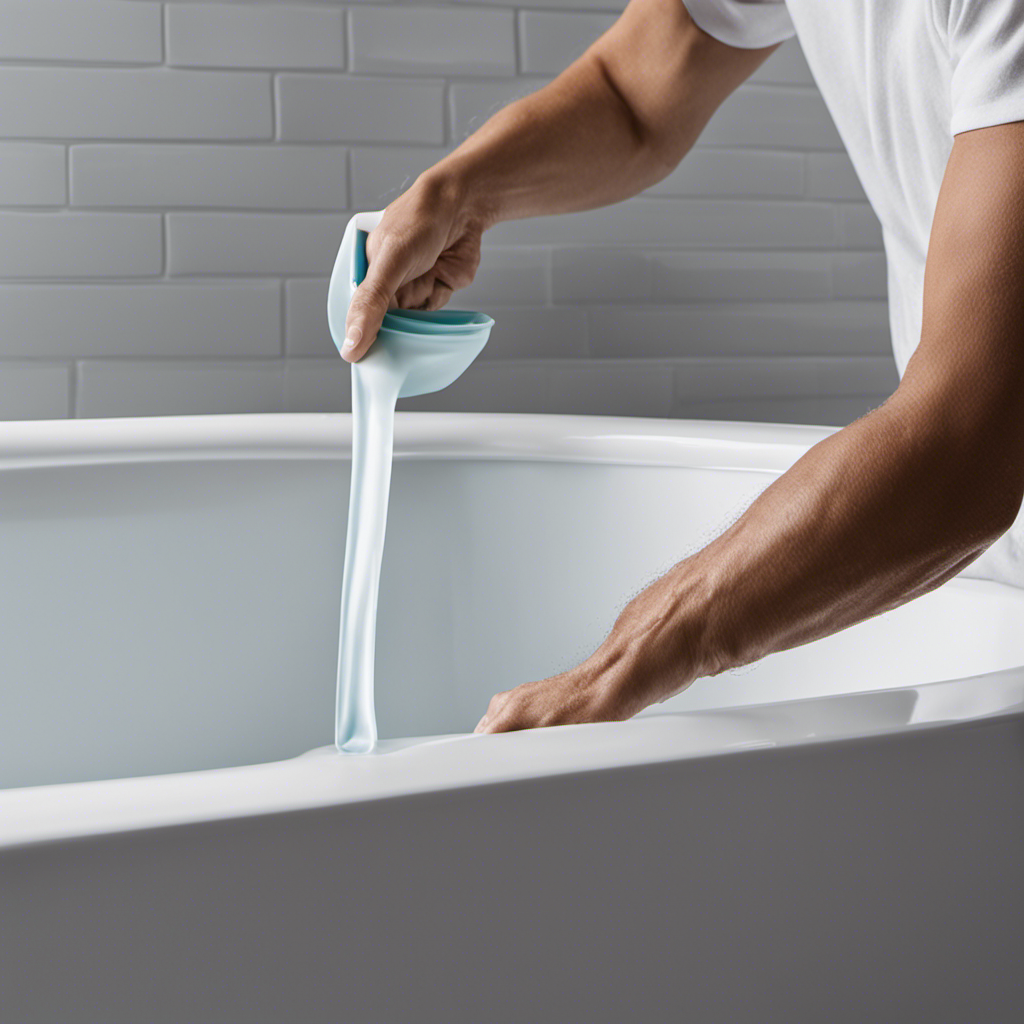
I’m here to guide you through the process of repairing a chip in your bathtub, so you can restore it to its former glory.
Imagine stepping into a pristine and flawless tub, free from any imperfections. With just a few simple steps, you’ll be able to achieve this dream-like state.
In this article, I will walk you through the process, providing clear and precise instructions, so you can confidently tackle this repair project on your own.
Let’s get started!
Key Takeaways
- Assess the size and depth of the chip before starting the repair process.
- Gather the necessary materials, including a bathtub repair kit, sandpaper, and cleaning solution.
- Prepare the chip for repair by sanding the damaged area and applying a primer.
- Apply the chip repair solution evenly and follow the manufacturer’s instructions for drying time and additional steps.
Assessing the Chip Damage
To assess the chip damage in your bathtub, you’ll need to closely examine the size and depth of the chip. Evaluating the extent of the damage is crucial in choosing the right method for repair.
Start by cleaning the area around the chip with a mild cleaner to remove any dirt or debris. Next, use a magnifying glass to get a closer look at the chip. Measure the size of the chip and note its depth. Is it just a surface chip or does it go deeper into the material? This information will help you determine the most effective repair method.
If the chip is small and shallow, you may be able to fix it with a DIY repair kit. However, if the chip is larger or goes deep into the bathtub material, it’s best to consult a professional for a more thorough repair.
Gathering the Necessary Materials
Before starting, gather all the materials you’ll need for fixing the chip in your bathtub.
The first step is to choose the right bathtub repair kit for the job. There are various types of repair kits available, so it’s important to understand the different types of bathtub chips before making a decision.
Some common types of chips include surface-level chips, deep chips, and cracks. Surface-level chips are minor and can be easily repaired with a basic repair kit. Deep chips, on the other hand, require a more advanced kit that includes a filler material to rebuild the damaged area. Cracks are the most severe type of chip and may require professional assistance.
Once you have chosen the appropriate repair kit, gather other materials such as sandpaper, a putty knife, and a cleaning solution.
Preparing the Chip for Repair
Before starting the repair process, it’s crucial to properly prepare the chipped area. This involves sanding the damaged area to create a smooth surface for the repair.
Additionally, applying a primer before the repair will help ensure better adhesion and a more durable finish.
Sanding the Damaged Area
Start by gently sanding the damaged area of your bathtub using a fine-grit sandpaper. This step is crucial for creating a smooth surface that will allow the repair material to adhere properly. When sanding, it’s important to use the right techniques and equipment to achieve the best results.
To begin, gather the necessary sanding equipment, including a fine-grit sandpaper, sanding block, and a dust mask to protect yourself from inhaling any particles. Start by wetting the sandpaper to prevent it from clogging up too quickly. Then, using light pressure, sand the damaged area in a circular motion. Be sure to keep the sandpaper flat against the surface to avoid creating any uneven patches.
To help you visualize the sanding process, here is a helpful table summarizing the key sanding techniques and equipment:
| Technique | Equipment |
|---|---|
| Circular motion | Fine-grit sandpaper |
| Light pressure | Sanding block |
| Wet sanding | Dust mask |
| Keeping sandpaper flat against surface |
Applying Primer Before Repair
To ensure proper adhesion, you’ll need to apply a primer before moving on to the next step. Primer application techniques are crucial in achieving a successful repair of a chip in a bathtub. Here are some key points to keep in mind:
- Clean the damaged area thoroughly to remove any dirt or debris.
- Apply the primer evenly over the entire chip using a brush or roller.
- Allow the primer to dry completely before proceeding with the repair.
Applying a primer serves multiple purposes. It creates a smooth surface for the repair material to adhere to, improves the durability of the repair, and prevents further damage.
However, if you’re looking for alternative repair methods, there are other options available such as using bathtub repair kits or hiring a professional to fix the chip. Ultimately, the choice depends on the severity of the damage and your skill level.
Applying the Chip Repair Solution
When applying the chip repair solution, make sure it is evenly spread over the damaged area. Start by cleaning the chip and removing any loose debris. Then, use a small brush or applicator to carefully apply the repair solution to the chip. Use smooth and even strokes for a seamless finish. Fill the chip completely, but avoid overfilling to prevent unevenness.
Follow the manufacturer’s instructions for drying time and any additional steps, such as curing with a UV light. Avoid common mistakes like rushing the application, applying too much solution, or not allowing enough drying time.
Once the repair solution has dried and hardened, move on to sanding and smoothing the repaired area.
Sanding and Smoothing the Repaired Area
After applying the chip repair solution, it’s important to sand and smooth the repaired area to achieve a seamless finish. This buffing technique helps to blend the repaired spot with the rest of the bathtub’s surface. Here’s how to do it:
-
Start by using a fine-grit sandpaper to gently sand the repaired area. This will help remove any excess repair material and create a smooth surface.
-
Next, switch to a higher grit sandpaper to further refine the surface. This will ensure that the repaired area is level with the rest of the bathtub.
-
Finally, use a buffing pad or a soft cloth to apply a polishing compound to the sanded area. This will restore the shine and make the repair virtually invisible.
When it comes to color matching options, you can use touch-up enamel or epoxy paint specifically designed for bathtubs. These products come in a variety of colors to closely match your bathtub’s original shade.
Finishing and Sealing the Repaired Chip
For a flawless finish, you’ll want to apply a clear sealant to protect the repaired area.
Before sealing, it’s important to choose the right color for the repaired chip.
To do this, you can either purchase a touch-up kit that matches your bathtub’s color or mix your own color using epoxy resin and pigment.
Once the chip is repaired and the color is chosen, it’s time to apply the protective coating.
This will ensure long-lasting results and prevent further damage.
Make sure to use a high-quality sealant that is specifically designed for use in bathrooms.
Apply the sealant evenly over the repaired area, following the manufacturer’s instructions.
Allow it to dry completely before using your bathtub again.
With the right color and a protective coating, your repaired chip will be virtually invisible and your bathtub will look as good as new.
Conclusion
In conclusion, repairing a chip in your bathtub is a straightforward process that can easily be accomplished with the right materials and techniques.
By following the steps outlined in this article, you can assess the damage, gather the necessary materials, prepare the chip, apply the repair solution, sand and smooth the area, and finish and seal the repaired chip.
With a little effort and attention to detail, your bathtub will be looking as good as new in no time.
So go ahead, grab your repair kit, and let’s fix that chip!


