I’ve discovered a simple solution for repairing chipped bathtub enamel that will leave your tub looking brand new.
In just a few easy steps, you can restore the surface to its original smoothness and shine. By assessing the damage, gathering the necessary supplies, and preparing the bathtub surface, you’ll be ready to apply the enamel repair solution.
Then, with some sanding and smoothing, followed by a protective finish, your bathtub will be as good as new.
Let’s get started!
Key Takeaways
- Assess the size, depth, and location of the chip and check for surrounding cracks or further damage.
- Choose a suitable bathtub enamel repair kit and gather the necessary supplies such as a putty knife, sandpaper, and a clean cloth.
- Prepare the bathtub surface by using a non-abrasive cleaner, removing old enamel with fine-grit sandpaper, and ensuring all necessary supplies are ready.
- Apply the enamel repair solution using a small brush or applicator, following recommended techniques to achieve a professional-looking repair.

AIM Plumbing Solder Kit with solder wire, flux and brush, Solder for Plumbing Repairs (113g / 4oz)
AIM Plumbing Kit includes all the solder and solder paste flux you need.
As an affiliate, we earn on qualifying purchases.
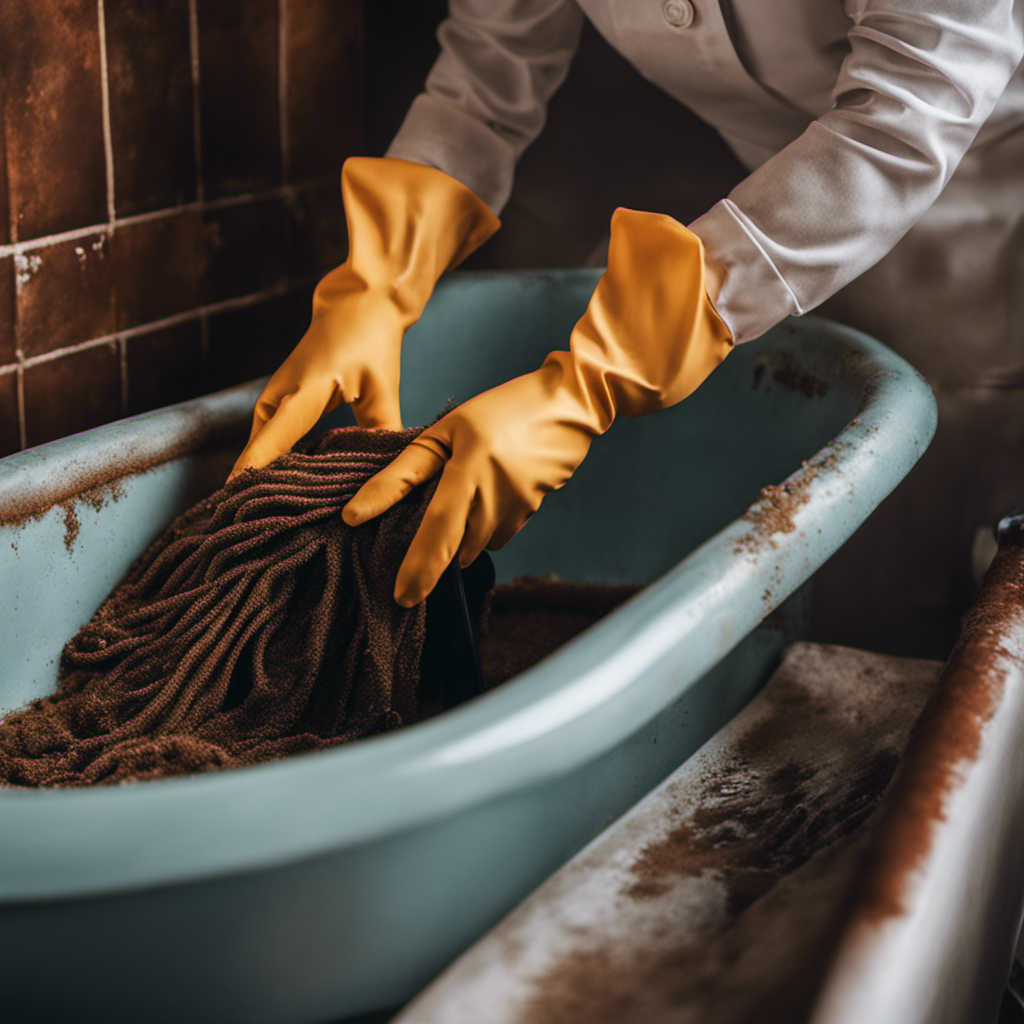
Assessing the Damage
Now, you’ll want to take a close look at the chipped enamel to assess the damage. Start by examining the size and depth of the chip. Is it a small, shallow chip or a larger, deeper one? This will determine the repair method you’ll need to use.
Next, check for any surrounding cracks or further damage. Sometimes, a chip can be a sign of a more significant issue. Take note of any additional areas that may need repair.
Finally, consider the location of the chip. Is it on a visible or non-visible surface? This will help you determine the level of urgency for the repair.

ComStar Copper Lock 2 oz, No Heat Liquid Solder for Copper, Brass & Yellow Metals, Instant Leak Proof Seal up to 500 PSI, -60°F to +300°F, Bonding Solution for Plumbing & HVAC (10-800)
INSTANT BOND & SEAL: Achieve a leak-proof connection in under 60 seconds with this powerful no flame pipe...
As an affiliate, we earn on qualifying purchases.
Gathering the Necessary Supplies
First, you’ll want to gather all the necessary supplies for fixing the chipped enamel on your bathtub.
To begin, choose the right enamel repair product. Look for a repair kit specifically designed for bathtub enamel, as it will provide the best results. You’ll also need a putty knife to apply the repair compound, sandpaper to smooth out the surface, and a clean cloth for wiping away any excess. Remember to wear gloves and eye protection for your safety.
Now, let’s talk about some tips for preventing future chips. Avoid using abrasive cleaners or scrub brushes that can damage the enamel. Place a non-slip mat in the tub to prevent accidental slips and falls. Lastly, be cautious when handling heavy objects near the bathtub to avoid any accidental impacts.

LA-CO 22194 -Water Soluble, All Weather Copper Flux Paste for Soldering, Brush in Cap, Developed for Plumbing, 4 oz, Made in USA
Water-soluble paste won’t leave residue in water piping
As an affiliate, we earn on qualifying purchases.
Preparing the Bathtub Surface
To get started, make sure you have all the necessary supplies ready for preparing the surface of your tub.
For cleaning the bathtub surface and removing old enamel, you will need a few items. First, gather a non-abrasive cleaner, such as a mild dish soap or a dedicated bathtub cleaner. You’ll also need a sponge or soft cloth to apply the cleaner and scrub the surface.
To remove the old enamel, you will need a fine-grit sandpaper or a sanding block. This will help to smooth out any rough patches or chips. Additionally, have a clean, dry cloth or towel nearby for wiping down the surface after cleaning and sanding.
Once you have all these supplies ready, you can proceed to the next step of repairing your chipped bathtub enamel.

Plumbing Solder Kit, Includes 4oz Solder, No 95 Flux, Sanding Cloth, Flux Brush
COMPLETE PLUMBING KIT: Includes Oatey lead-free plumbing solder 4oz solder wire, No 95 flux, 1 foot sanding cloth,...
As an affiliate, we earn on qualifying purchases.
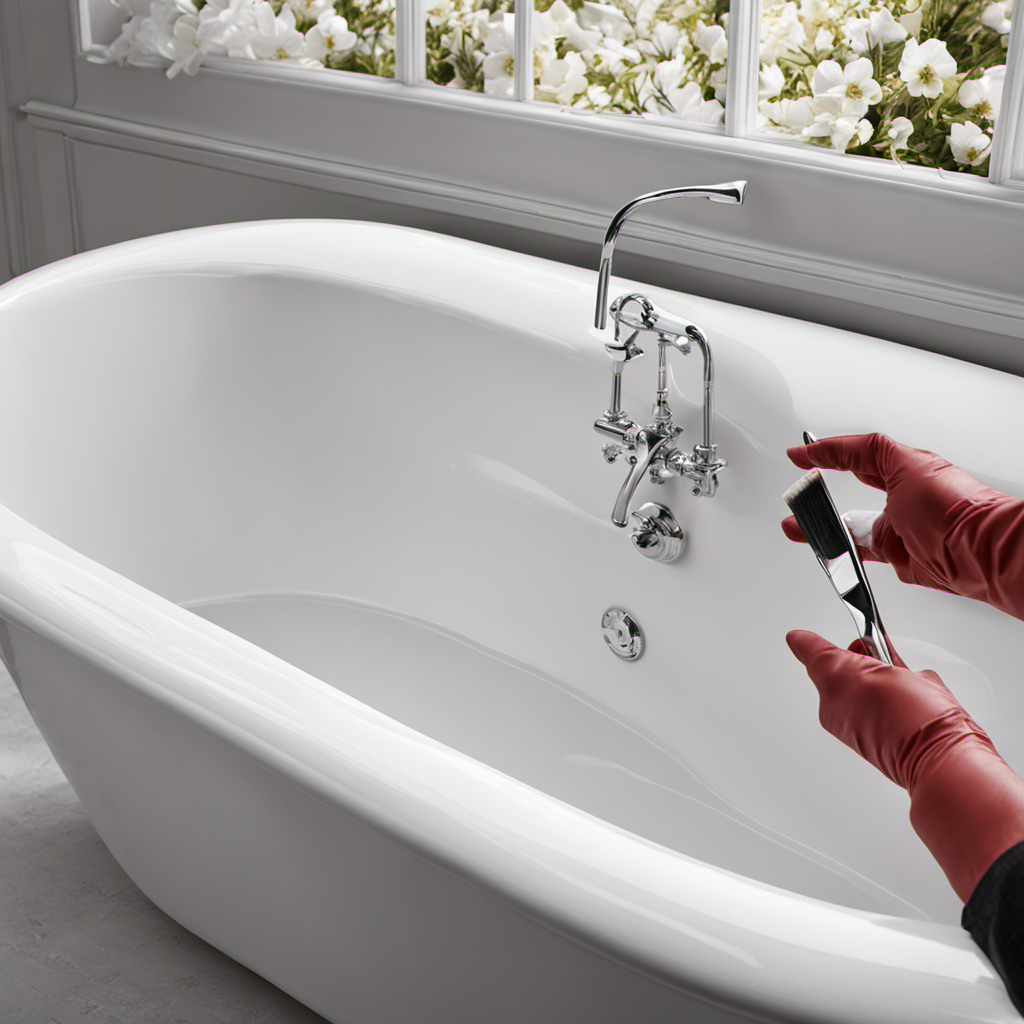
Applying the Enamel Repair Solution
Once you’ve gathered all the necessary supplies, start applying the enamel repair solution. Here are three enamel repair techniques and common mistakes to avoid when applying the solution:
-
Use a small brush or applicator: To ensure precise application, use a small brush or applicator that comes with the repair kit. This will help you reach the chipped area without spreading the solution onto the surrounding surface.
-
Apply thin layers: Instead of applying a thick layer of the repair solution, it’s best to apply thin coats. This allows for better adhesion and prevents the repaired area from standing out.
-
Smooth out any bubbles or imperfections: After applying the solution, use a toothpick or a small brush to smooth out any bubbles or imperfections. This will create a seamless finish and ensure a professional-looking repair.
Sanding and Smoothing the Repaired Area
Now that I’ve applied the enamel repair solution, it’s time to sand and smooth the area that has been repaired. This step is crucial to achieve a seamless finish.
Start by using a fine-grit sandpaper, around 220 to 400 grit, and gently sand the repaired area in a circular motion. Be careful not to apply too much pressure as it can damage the enamel.
After sanding, wipe away any dust or debris with a clean cloth.
Now, it’s time to use the buffing technique to further smooth the surface. Take a soft cloth and apply a small amount of polishing compound. Rub the compound onto the repaired area using circular motions.
This will help blend the repaired area with the surrounding enamel, giving it a polished and flawless appearance.
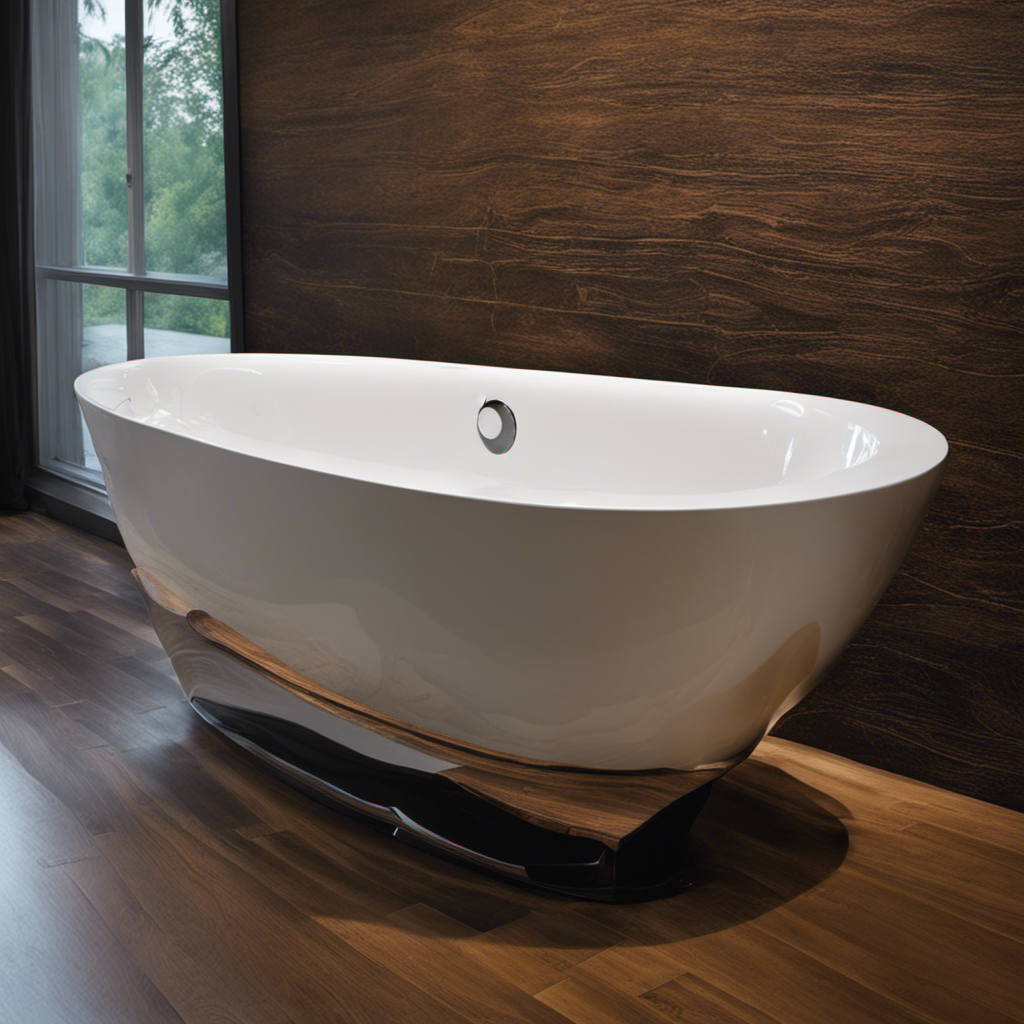
Applying a Protective Finish
For a durable and long-lasting finish, make sure you apply a protective top coat to safeguard the repaired area. This final step is crucial in ensuring the longevity of your bathtub enamel repair.
Here’s how to apply the protective finish:
-
Choose the right top coat: Select a high-quality, waterproof top coat specifically designed for use on bathtubs. This will provide maximum protection against moisture and daily wear and tear.
-
Prepare the surface: Ensure the repaired area is clean and free of any dust or debris. Use a damp cloth to wipe away any residue and allow the area to dry completely before applying the top coat.
-
Apply the top coat: Using a brush specifically made for applying enamel paint, apply a thin and even coat of the protective finish to the repaired area. Use smooth and steady brush strokes, following the natural contours of the bathtub.
Allow the top coat to dry completely according to the manufacturer’s instructions. This drying time is crucial in allowing the protective finish to cure properly and provide the desired durability.
Maintaining the Repaired Enamel
To keep the repaired area in good condition, remember to regularly clean and gently scrub the surface using a non-abrasive cleaner. Cleaning techniques are crucial for maintaining the long term durability of the repaired enamel on your chipped bathtub.
Here’s a step-by-step guide on how to clean and care for the repaired area:
-
Start by filling a bucket with warm water and add a small amount of mild, non-abrasive cleaner. Avoid using abrasive cleaners or scrub brushes as they can damage the repaired surface.
-
Dip a soft sponge or cloth into the cleaning solution and gently scrub the repaired area. Be sure to remove any dirt, soap scum, or residue that may have accumulated.
-
Rinse the area thoroughly with clean water to remove any remaining cleaner.
-
Dry the surface with a soft towel or cloth to prevent water spots or streaks.
Conclusion
Well, after all that hard work and effort, my bathtub is finally repaired! Who knew that fixing chipped enamel could be such a thrilling adventure? But hey, now I can proudly say that I’m a bathtub repair expert.
So, if you ever find yourself in the same chipped enamel situation, just remember to assess the damage, gather your supplies, prepare the surface, apply the repair solution, sand and smooth, apply a protective finish, and voila! Your tub will be as good as new.
Happy repairing!