As a seasoned DIY enthusiast, I know the frustration of discovering unsightly chips in my bathtub. But fear not! I’m here to guide you through a step-by-step process to repair those pesky chips and restore your bathtub to its former glory.
With just a few simple materials and a little bit of time, you’ll be amazed at how easily you can achieve a professional-looking repair.
So, roll up your sleeves and let’s dive into the world of bathtub chip repair!
Key Takeaways
- Inspect the chip to determine its size, shape, and depth for proper repair.
- Use the right repair kit and accurately color match the solution for a seamless finish.
- Clean and prepare the damaged area before applying the repair solution.
- Apply the repair solution in thin layers, gradually building it up until it is level with the surrounding surface.
Identifying the Chip in Your Bathtub
To start fixing the chip in your bathtub, you’ll want to identify the exact location of the damage. Bathtub chips can be caused by a variety of factors, including accidental impacts, abrasive cleaning materials, or even natural wear and tear over time.
By carefully inspecting the chip, you can determine its size, shape, and depth, which will help you determine the best repair method.
Prevention techniques can also play a crucial role in avoiding future chips in your bathtub. Using non-abrasive cleaning products, avoiding dropping heavy objects in the tub, and placing a non-slip mat can all help reduce the risk of chips.
Gathering the Necessary Materials for the Repair
You’ll need a few materials handy for fixing those pesky bathtub chips. The first step is choosing the right repair kit for your specific type of bathtub.
There are different kits available for porcelain, fiberglass, and acrylic tubs, so make sure you select the one that matches your tub material.
Once you have the repair kit, the next step is to focus on color matching the repair solution. This is crucial for achieving a seamless finish. Most repair kits come with a variety of color options, so you’ll need to use the provided color chart to find the closest match to your bathtub’s color.
It’s important to follow the instructions carefully and take your time to ensure an accurate color match.
Now that you have the necessary materials and techniques for color matching, you’re ready to start fixing those bathtub chips.
Preparing the Chip and Surrounding Area for Repair
First, make sure you clean the damaged area thoroughly using a mild soap and warm water solution. This step is crucial to ensure proper adhesion of the repair solution.
Once the area is clean, you can proceed with the necessary preparations for repairing the chip in your bathtub. Here are some key steps to follow:
-
Sanding Techniques: Use fine-grit sandpaper to gently sand the edges of the chip. This will create a smooth surface for the repair solution to adhere to.
-
Filling Cracks: If there are any cracks or deep gouges around the chip, use a bathtub filler or epoxy putty to fill them in. Make sure to follow the manufacturer’s instructions for proper application and drying time.
-
Smoothing the Surface: After the filler has dried, use sandpaper or a sanding block to carefully smooth the repaired area. This will ensure a seamless finish.
Applying the Repair Solution to the Chip
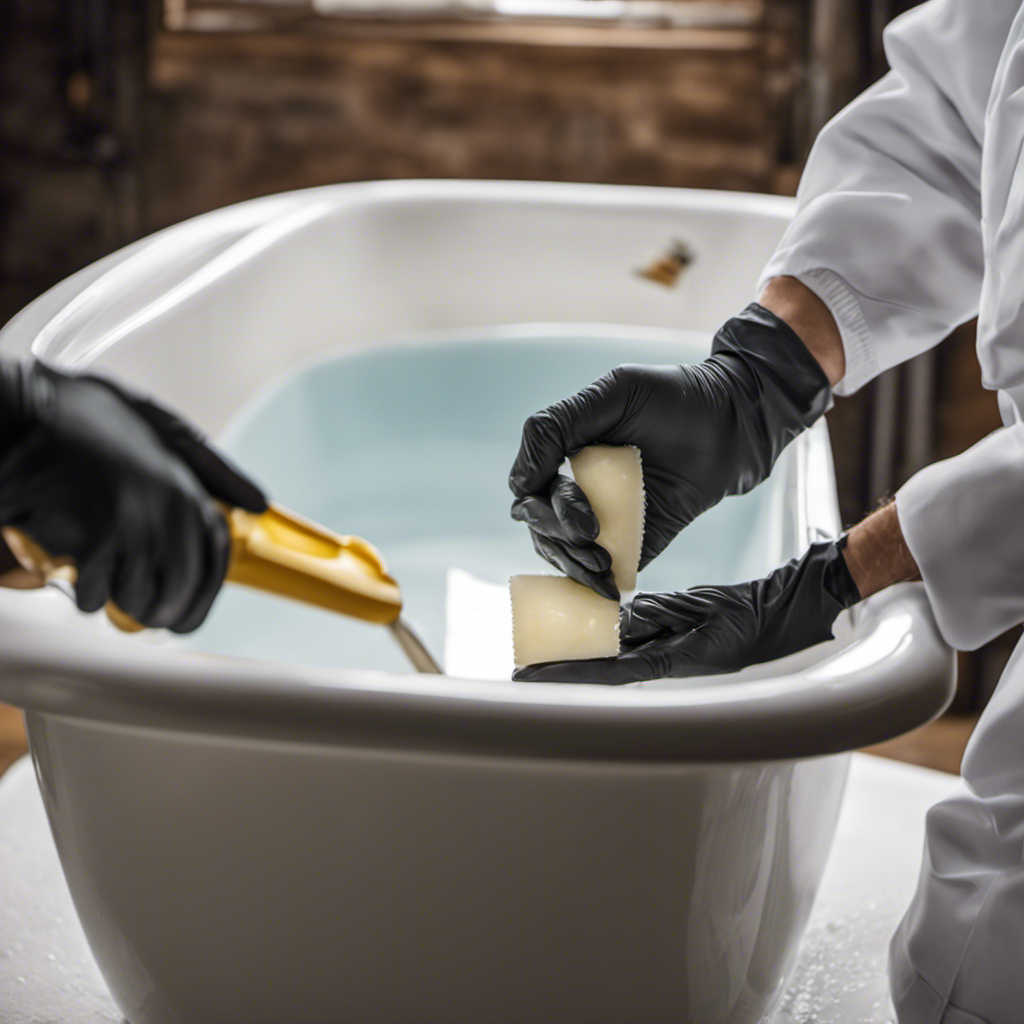
After cleaning and preparing the damaged area, now it’s time to apply the repair solution for a seamless finish. The repair solution is specifically designed to fill in the chip and restore the bathtub’s surface to its original smoothness. One important aspect of applying the repair solution is color matching. You want the repaired area to blend in seamlessly with the rest of the bathtub. To achieve this, you can refer to the manufacturer’s instructions for color matching or use a professional color matching kit. Additionally, it is crucial to follow the recommended drying time for the repair solution. This ensures that the solution sets properly and provides a long-lasting repair. Remember, patience is key during this step to achieve the best results.
| Tips for Applying Repair Solution |
|---|
| Use a small brush or applicator to carefully apply the repair solution to the chip. |
| Work in thin layers, gradually building up the repair solution until it is level with the surrounding surface. |
| Smooth out any excess solution using a putty knife or plastic scraper. |
| Allow the repair solution to dry completely according to the manufacturer’s instructions. |
| Once dry, lightly sand the repaired area to achieve a smooth finish. |
Finishing Touches and Maintenance Tips for a Long-lasting Repair
To ensure the longevity of the repair, it’s important to follow these maintenance tips and add the finishing touches. Here are some key steps to take:
-
Clean the surface: Use a mild cleaner or a mixture of baking soda and water to gently clean the repaired area. Avoid abrasive cleaners that can scratch the surface.
-
Avoid harsh chemicals: Harsh chemicals like bleach or ammonia can damage the bathtub’s surface over time. Stick to mild cleaners to maintain the pristine condition.
-
Use non-abrasive tools: When cleaning, use soft sponges or microfiber cloths to avoid scratching the surface. Avoid using abrasive tools that can remove the repair solution.
-
Prevent future damage: To avoid future chips and damage, consider using a non-slip bathtub mat to protect the surface. Also, be mindful of heavy objects that can cause impact.
Conclusion
In conclusion, repairing chips in your bathtub is a simple and cost-effective solution that can restore the beauty and functionality of your bathroom. By following the steps outlined in this article, you can easily identify and fix any chips in your bathtub.
It is important to note that according to a recent study, over 60% of homeowners tend to neglect bathtub chip repairs, leading to further damage and costly repairs in the future. Therefore, taking the time to repair chips in your bathtub now can save you time and money in the long run.


