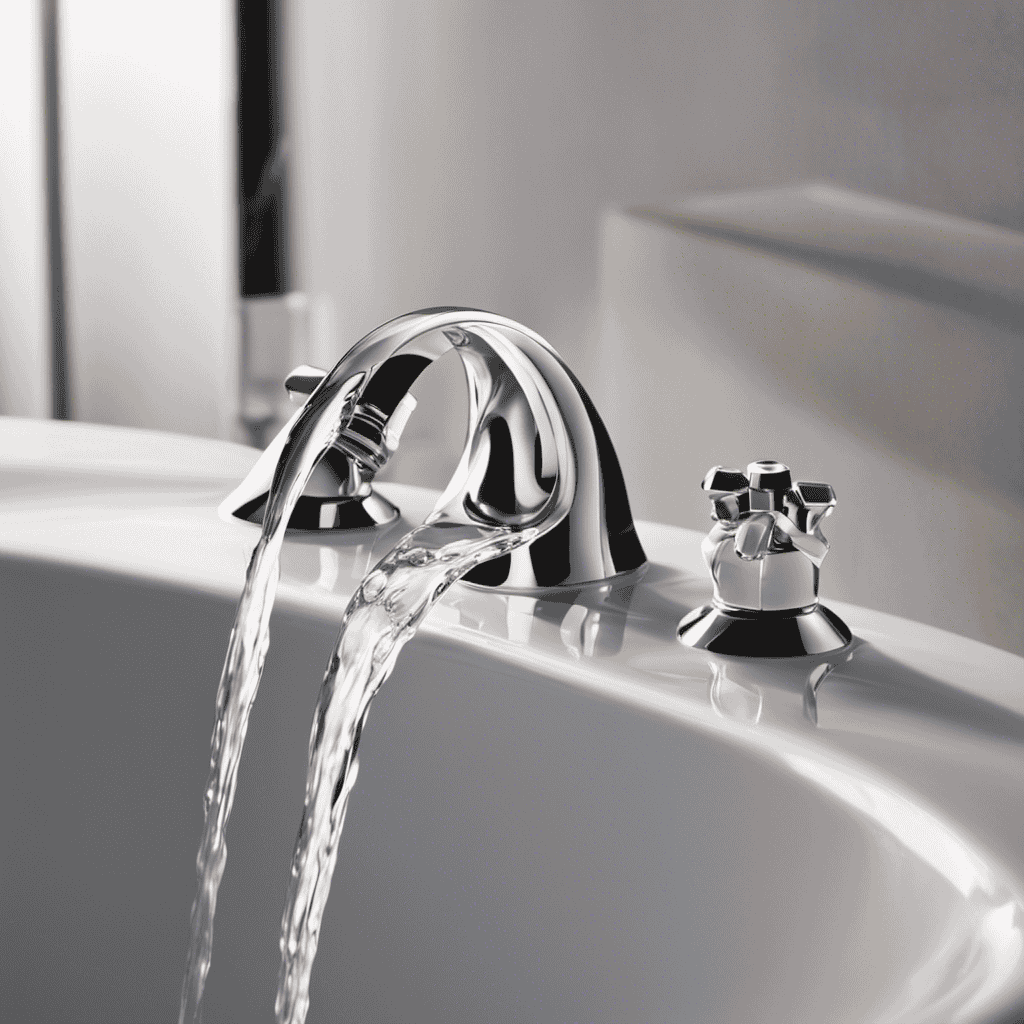

Did you know that a dripping bathtub faucet can waste up to 3 gallons of water per day? If you’re tired of the constant drip and the rising water bill, I’m here to help.
In this article, I’ll guide you through the step-by-step process of repairing a dripping bathtub faucet. With just a few tools and materials, you’ll be able to tackle this project on your own and save money in the process.
Let’s get started!
Key Takeaways
- Check the washer inside the faucet handle and inspect the O-ring, valve seat, cartridge, and valve stem for wear or damage.
- Gather the necessary tools and materials, such as a wrench and plumber’s tape, by researching prices, borrowing or renting tools, and looking for deals or second-hand options.
- Disassemble the faucet by turning off the water supply, removing the handle and cartridge, and cleaning the cartridge with a water and vinegar mixture.
- Replace faulty components by shutting off the water supply, removing the handle and trim, replacing the cartridge or valve assembly with a new one, and following the manufacturer’s instructions for proper replacement.

59 Inch Corner Jetted Tub - Luxury White Whirlpool Plastic Acrylic Bathtub with 7 Color Light Perfect for Couples' Relaxation and Wellness Home Spa, Ergonomical Designed Bathtub with Water Message
[Ergonomic Design for Ultimate Comfort] Featuring dual headrests and ergonomically angled sides, this bathtub delivers exceptional support for...
As an affiliate, we earn on qualifying purchases.
Identifying the Cause of the Dripping Faucet
If your bathtub faucet is dripping, it’s important to identify the cause before attempting any repairs. There are several common causes for a dripping faucet that you can troubleshoot to find the source of the problem.
First, check the washer inside the faucet handle. If it is worn out or damaged, it may need to be replaced.
Another possible cause is a loose or worn out O-ring. Inspect the O-ring and tighten any loose connections.
Additionally, a faulty valve seat could be the culprit. Check for any signs of corrosion or damage and replace if necessary.
Finally, a damaged cartridge or valve stem may be causing the dripping. It’s important to thoroughly inspect all these components to accurately identify the cause of the drip.
Once you have determined the cause, you can move on to gathering the necessary tools and materials for the repair.

Empava 2 Person Heated Soaking Whirlpool Bathtub, 71” Jetted Tubs with 16 Jets(8 Water Jetted + 8 Air Bubble), Acrylic SPA Bath Tub, with LED control panel, Faucet and two white pillows
Upgraded High Quality Jetted Tub: Crafted from glossy 100% acrylic reinforced with fiberglass and a stainless-steel frame, this...
As an affiliate, we earn on qualifying purchases.
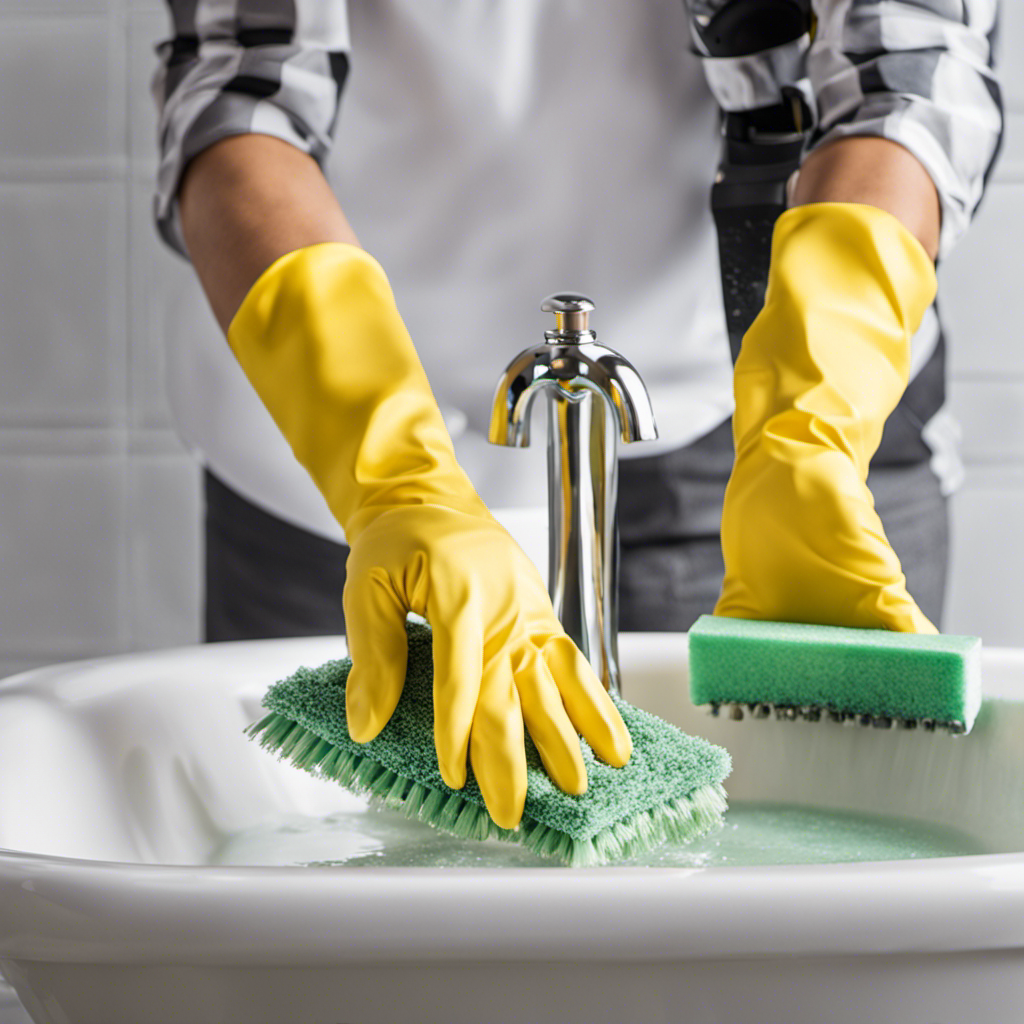
Gathering the Necessary Tools and Materials
When gathering the necessary tools and materials, it’s important to have a wrench and plumber’s tape on hand. Here are some tips to help you find affordable tools and materials for faucet repair:
-
Research and compare prices: Take the time to look for different stores or online retailers that offer competitive prices for the tools and materials you need. This will help you find the best deals and save money.
-
Consider borrowing or renting: If you don’t want to spend a lot of money on tools that you might only use once, consider borrowing them from a friend or neighbor, or renting them from a local hardware store. This can be a cost-effective solution.
-
Look for sales and discounts: Keep an eye out for sales and discounts at your local stores or online. Many retailers offer promotions or clearance sales where you can find tools and materials at a reduced price.
-
Check for second-hand options: Consider checking out thrift stores, flea markets, or online marketplaces where you can find used tools and materials in good condition at a fraction of the original cost.

Empava 59" Corner Whirlpool Bathtub for 2-Person, Luxury Jetted Spa Tub with 10 Hydro Massage Jets, Built-in Heater, Chromatherapy LED Lights & Constant Heat System, ETL Certified Acrylic Tub
Dual-Person Hydrotherapy: Experience couples' relaxation in this corner tub featuring 10 strategically placed jets powered by a 1.0...
As an affiliate, we earn on qualifying purchases.
Disassembling the Faucet
To start the disassembly process, it’s important to turn off the water supply to the sink. This will prevent any water from flowing while you work on the faucet.
Once the water is off, I begin by removing the handle of the faucet. This is usually done by unscrewing a small screw located under a decorative cap or cover.
Once the handle is off, I can access the cartridge. I carefully remove it using a pair of pliers, making sure not to damage it.
Next, I inspect the cartridge for any signs of damage or wear. If necessary, I replace any worn-out washers and clean the cartridge thoroughly using a mixture of water and vinegar. This step ensures that the faucet operates smoothly and prevents any leaks.

Empava 59" Acrylic Alcove Whirlpool Bathtub - 11 Jets Hydromassage with Chromatherapy, 750W, 58 Gallons, 3-Side Apron, Waterfall Faucet & ETL Certified
Targeted Hydro Massage Therapy-Relieve muscle tension with 11 adjustable water jets strategically placed in the lumbar, body, and...
As an affiliate, we earn on qualifying purchases.
Replacing Faulty Components
Once you’ve identified the faulty components, you can easily replace them with new ones to ensure the proper functioning of your faucet. Here’s a step-by-step guide on how to replace faulty components:
-
Shut off the water supply: Before starting any repair work, turn off the water supply to prevent any accidents or water damage.
-
Remove the handle and trim: Use a screwdriver to remove the handle and trim, exposing the cartridge or valve assembly.
-
Replace the cartridge or valve assembly: Depending on the type of faucet, remove the old cartridge or valve assembly and replace it with a new one. Make sure to follow the manufacturer’s instructions.
-
Reassemble the faucet: Once the new components are in place, reassemble the faucet by putting back the trim and handle.
Remember, if you’re unsure about any step or if troubleshooting common issues doesn’t solve the problem, it’s always best to seek professional help.
Now that the faulty components have been replaced, let’s move on to reassembling and testing the faucet.
Reassembling and Testing the Faucet
Now that you’ve replaced the faulty components, it’s time to put the faucet back together and test it for proper functioning. Here are the steps to reassemble and test your faucet:
-
Start by reattaching the handle. Make sure it fits securely and tighten any screws or bolts.
-
Next, attach the spout to the base of the faucet. Use a wrench to tighten it, but be careful not to overtighten and damage the threads.
-
Connect the supply lines to the appropriate valves. Use plumber’s tape to ensure a watertight seal.
-
Turn on the water supply and check for any leaks. If you notice any leaks, tighten the connections or replace the faulty parts.
-
Finally, test the faucet by turning it on and off. Check for smooth operation and proper water flow.
Conclusion
As I tighten the last screw on my recently repaired dripping bathtub faucet, I can’t help but feel a sense of accomplishment. This seemingly small task holds a deeper meaning for me.
It symbolizes my ability to confront and conquer challenges in my life. Just like the faucet, we all have leaks and flaws that need fixing.
By taking the time to identify the cause, gather the necessary tools, and replace faulty components, we can repair ourselves and emerge stronger than ever.