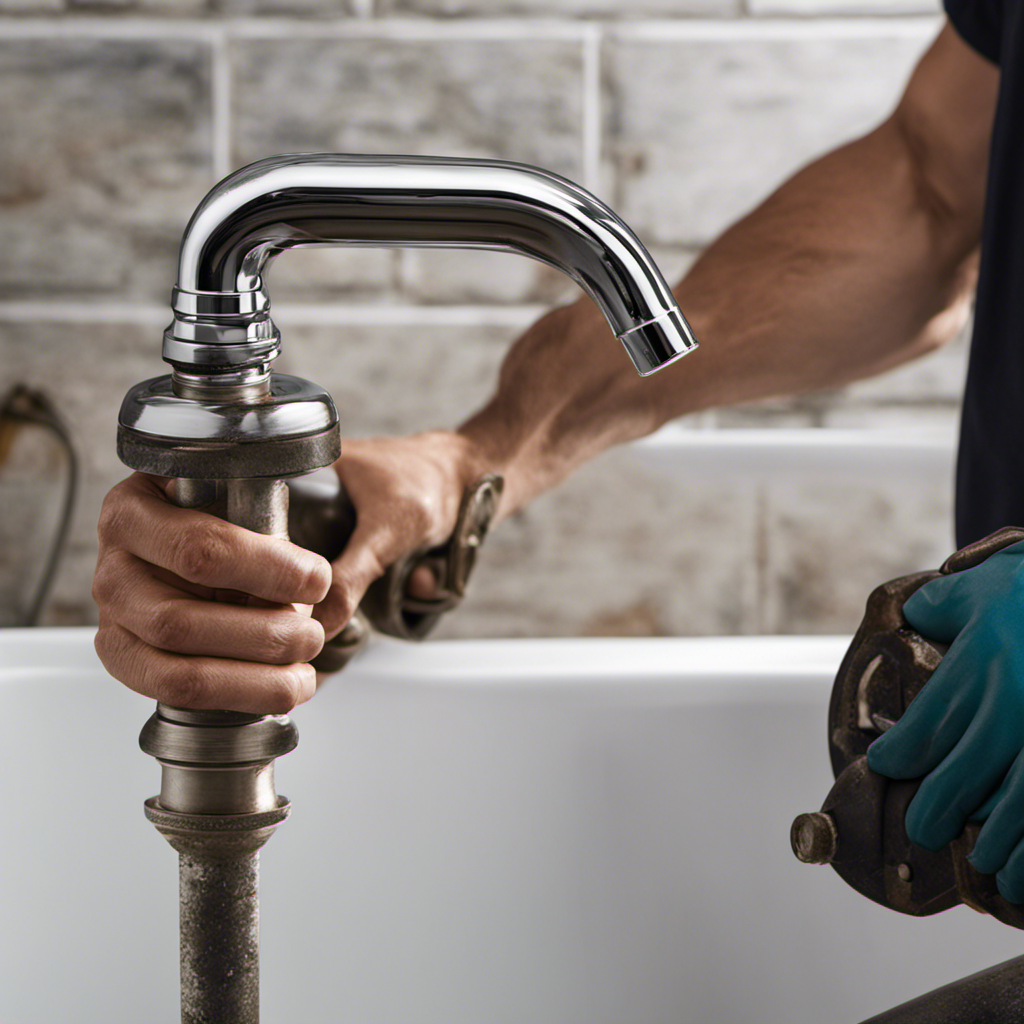
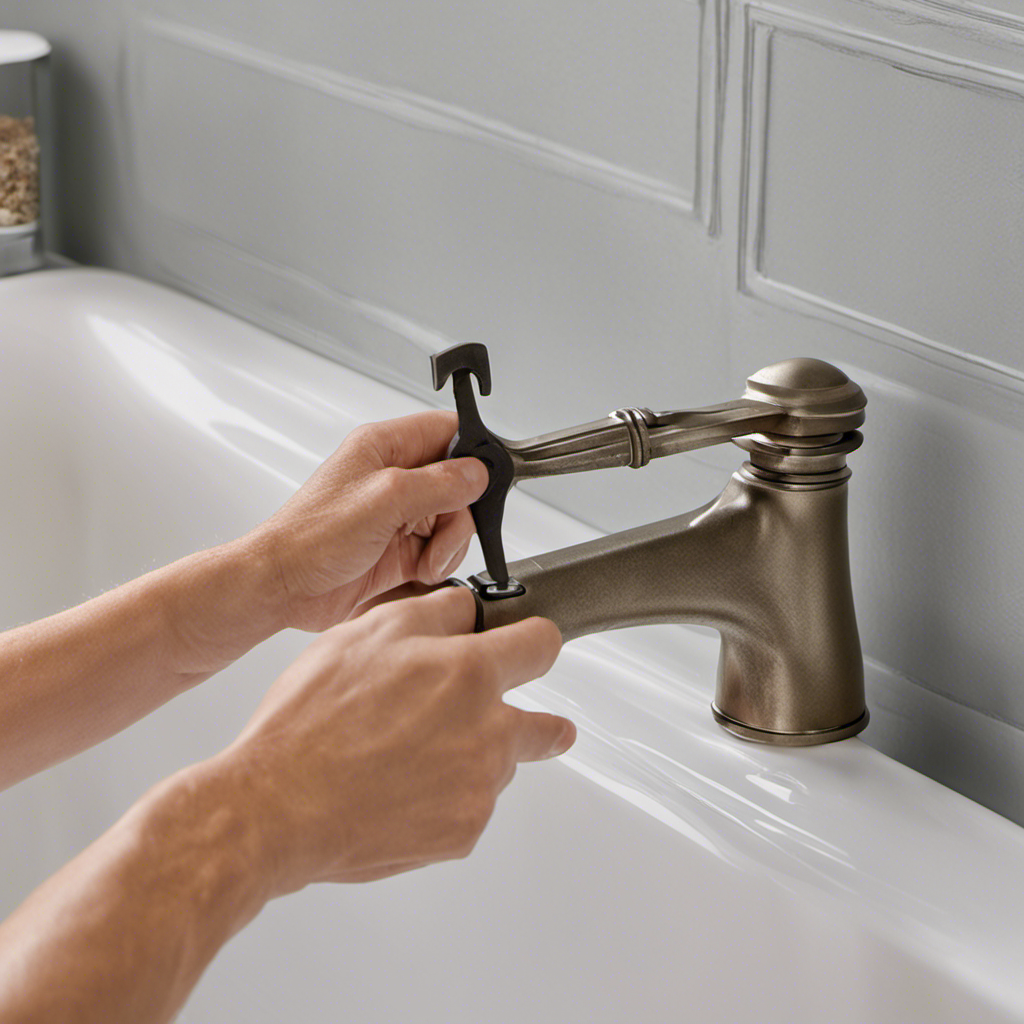
As a seasoned DIY enthusiast, I’ve encountered my fair share of household mishaps. One challenge I recently faced was repairing a hole in my bathtub. Let me tell you, it’s not as daunting as it may seem.
With the right tools and materials, along with a bit of patience, you can easily restore your bathtub to its former glory. In this article, I’ll guide you through the step-by-step process of assessing the damage, prepping the surface, applying the patching compound, and more.
So, let’s dive in and get your bathtub looking as good as new!
Key Takeaways
- Assess the size and location of the hole and determine the level of repair required.
- Use a material specifically designed for bathtub repairs, such as a fiberglass repair kit or epoxy-based patching compound.
- Follow safety precautions and ensure proper ventilation when repairing the bathtub.
- Allow ample drying and curing time for the patching compound to ensure a long-lasting and sturdy repair.
Assessing the Damage
Now, you’ll need to take a closer look at the damage to determine the best way to repair the hole in your bathtub.
Assessing the damage is crucial to ensure that you choose the appropriate repair techniques and explore alternative solutions if needed.
Start by examining the size and location of the hole. Is it a small chip or a larger puncture? Is it situated in a visible area or hidden beneath a fixture? Understanding these details will help you determine the level of repair required.
Additionally, consider the material of your bathtub, be it porcelain, fiberglass, or acrylic, as different materials may require different repair methods.
Gathering the Necessary Tools and Materials
Before you start, make sure you have all the necessary tools and materials to fix the hole in your bathtub.
The first step in repairing a hole in your bathtub is choosing the right patching material. It is important to select a material that is specifically designed for bathtub repairs, such as a fiberglass repair kit or an epoxy-based patching compound. These materials are durable, waterproof, and will provide a long-lasting solution.
When working with these materials, it is crucial to follow safety precautions to protect yourself. Always wear protective gloves and goggles to prevent any contact with hazardous substances. Additionally, make sure the area is well-ventilated to avoid inhaling any fumes.
Preparing the Surface for Repair
Before starting the repair process, it’s crucial to properly prepare the surface.
Firstly, I’d thoroughly clean the area using a mild detergent and a sponge to remove any dirt, grease, or residue.
Secondly, I’d sand the damaged area gently to create a smooth and even surface for the repair material to adhere to.
Lastly, I’d apply a primer coat to ensure better adhesion and durability of the repair material, allowing for a seamless and long-lasting finish.
Cleaning the Surface
To prepare the surface for repair, start by cleaning it thoroughly using a mixture of vinegar and water. Cleaning products specifically designed for bathroom surfaces can also be used. I find that a mixture of equal parts vinegar and water works well for removing dirt, grime, and soap scum. The acidity of vinegar helps break down these substances, making them easier to scrub away.
When scrubbing the surface, it is important to use gentle but firm pressure to avoid causing any further damage. I recommend using a soft sponge or cloth to scrub the area in circular motions. Once the surface is clean and free from any debris, it will be ready for the next step: sanding the area.
Sanding the Area
Now, you’ll want to grab a fine-grit sandpaper and begin sanding the area in smooth, even strokes. Using a sanding sponge can also be effective for this task. The goal here is to create a smooth and even surface that will allow the patching material to adhere properly. When sanding, be sure to use light pressure and work in a circular motion to avoid creating any rough edges or scratches. It is important to follow a proper sanding technique to achieve the best results. Here is a helpful table outlining the steps for sanding the area:
| Step | Sanding Technique |
|---|---|
| 1 | Grab fine-grit sandpaper or sanding sponge |
| 2 | Apply light pressure and sand in smooth, even strokes |
| 3 | Work in a circular motion to avoid rough edges or scratches |
| 4 | Continue sanding until the surface is smooth and even |
| 5 | Clean the area to remove any dust or debris before proceeding to the next step |
Applying Primer Coat
After sanding the area, it’s time to apply a primer coat to ensure proper adhesion of the patching material. Choosing the right primer is crucial for a successful bathtub repair.
It is important to select a primer that is specifically designed for the material of your bathtub, such as acrylic or porcelain. This will ensure that the primer bonds well with the surface and provides a strong foundation for the patching material.
Common mistakes when applying primer include not allowing enough drying time between coats, applying too thick of a layer, or not properly cleaning the surface before application. To avoid these issues, it is essential to carefully follow the manufacturer’s instructions and take the time to properly prepare and apply the primer.
Applying the Patching Compound
When it comes to applying the patching compound, I’ve found that using proper application techniques is crucial for a successful repair.
By following the manufacturer’s instructions and using the recommended tools, such as a putty knife or a trowel, I’ve been able to achieve a smooth and even application.
Additionally, allowing the patching compound to dry for the recommended amount of time is important for ensuring its effectiveness and durability.
Proper Application Techniques
To properly apply the repair patch, you’ll need to follow these techniques.
-
Safety Precautions: Before starting any repair work, make sure to wear protective gloves and goggles to avoid any injuries. It’s also important to ensure proper ventilation in the area.
-
Prepare the Surface: Clean the damaged area thoroughly, removing any dirt, debris, or loose material. Use a mild cleaner or vinegar solution to remove any soap scum or residue.
-
Apply the Patching Compound: Mix the patching compound according to the manufacturer’s instructions. Use a putty knife to spread the compound evenly over the hole, making sure to fill it completely.
-
Smooth and Finish: After applying the compound, smooth it out using the putty knife or a damp sponge. Allow it to dry completely before sanding it down and applying a final layer of compound, if needed.
By following these techniques, you can ensure a proper application and a successful repair.
Common mistakes to avoid include rushing the process, not cleaning the surface properly, and applying too much or too little compound.
Drying Time and Effectiveness
To ensure that the patching compound dries properly and effectively, you’ll want to allow it ample time to fully set and harden. This is crucial for a successful repair of a hole in your bathtub.
Proper drying techniques are essential to achieve a long-lasting and sturdy fix. One effective method is to use a fan or open windows to promote air circulation and hasten the drying process. It is also important to avoid any moisture or water contact during this time.
Additionally, alternative repair methods such as using epoxy or fiberglass patches may require different drying times and techniques. It is important to follow the manufacturer’s instructions for these alternative methods to ensure the best results.
Smoothing and Sanding the Repaired Area
After you’ve applied the putty, start smoothing and sanding the repaired area to ensure a seamless finish. This step is crucial in achieving a professional-looking repair on your bathtub.
Here are four important things to keep in mind during the smoothing and sanding process:
-
Use a fine-grit sandpaper: To avoid damaging the surrounding surface and to achieve a smooth finish, use a fine-grit sandpaper. This will help you remove any excess putty and create a level surface.
-
Sand in circular motions: By sanding in circular motions, you can evenly distribute the pressure and prevent any uneven patches. This technique will help blend the repaired area with the rest of the bathtub surface.
-
Check for bumps and inconsistencies: As you sand, pay close attention to any bumps or inconsistencies in the repaired area. Sand them down until the surface is completely smooth and level.
-
Clean and prep for painting: Once you’ve achieved a seamless finish, it’s important to clean the area thoroughly to remove any dust or debris. This will ensure proper adhesion when it’s time to paint the repaired area.
Priming and Painting the Patched Hole
Now that the repaired area is smooth and sanded, it’s time to move on to priming and painting the patched hole in the bathtub.
Priming is an essential step in ensuring that the paint adheres properly to the surface and provides a long-lasting finish.
When it comes to choosing the right paint color, it’s important to consider the overall aesthetics of the bathroom and the desired look you want to achieve.
Neutral colors such as white or beige are popular choices as they create a clean and timeless appearance.
However, you can also opt for bolder colors to add a pop of personality to your space.
Ultimately, the choice of paint color is a personal preference that should complement your bathroom’s style and your own taste.
Sealing and Finishing the Repair
Once the patched area is smooth and sanded, you’ll need to seal and finish the repair to ensure a durable and polished result. Here are four essential finishing techniques to achieve a flawless finish:
-
Sealing: Apply a high-quality bathtub sealant to prevent water damage and maintain the integrity of the repair.
-
Color Matching: Use a color-matching kit or consult a professional to find the perfect shade for your bathtub. This ensures a seamless blend with the surrounding surface.
-
Applying a Topcoat: Apply a topcoat to protect the repaired area from scratches and stains. Choose a clear, waterproof topcoat for long-lasting results.
-
Buffing and Polishing: Once the topcoat is dry, gently buff and polish the repaired area to achieve a smooth and shiny finish.
Conclusion
After following these steps, I successfully repaired the hole in my bathtub. It was a satisfying and rewarding experience, as I was able to restore the functionality and appearance of my tub.
This process required careful assessment, proper tools and materials, and precise application of the patching compound. The smoothing, sanding, priming, and painting stages ensured a seamless finish.
By sealing and finishing the repair, I can confidently say that my bathtub is as good as new.
Remember, with the right knowledge and techniques, any home repair is within reach.


