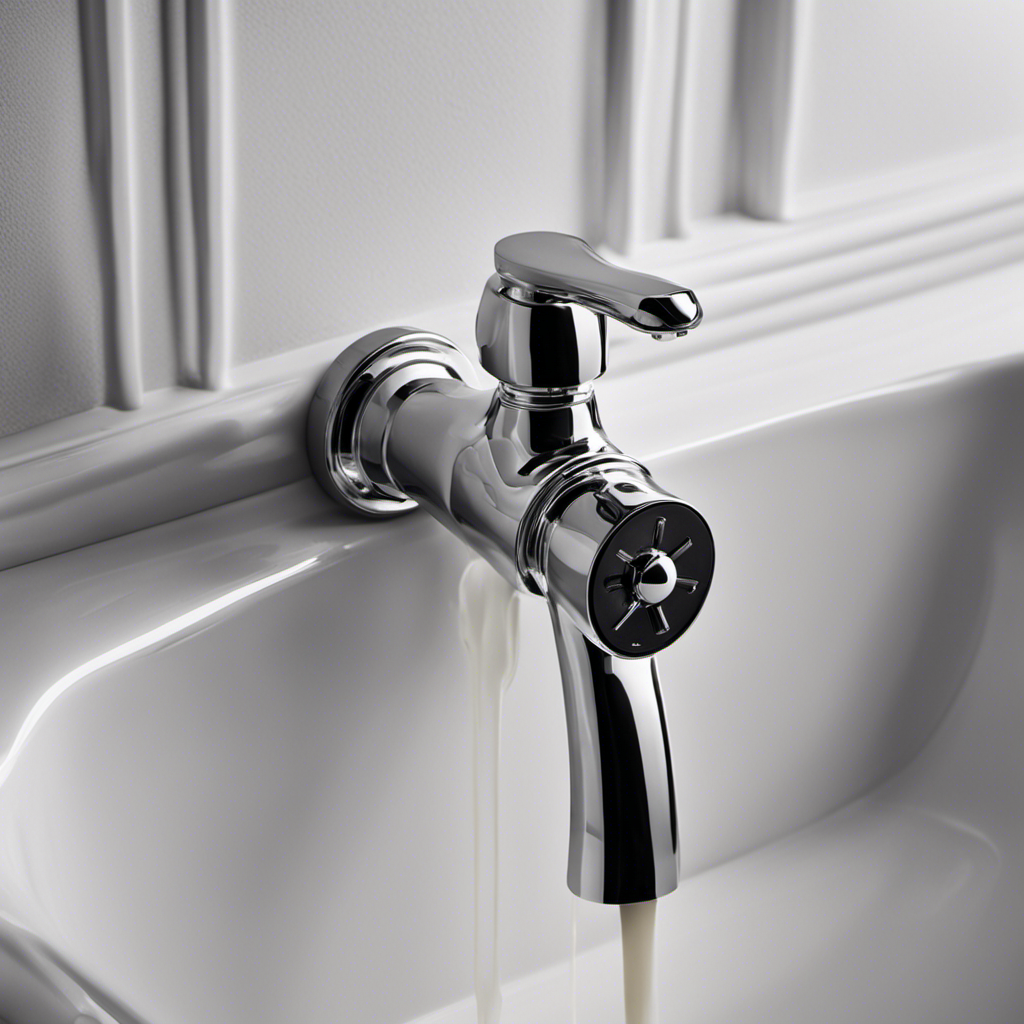
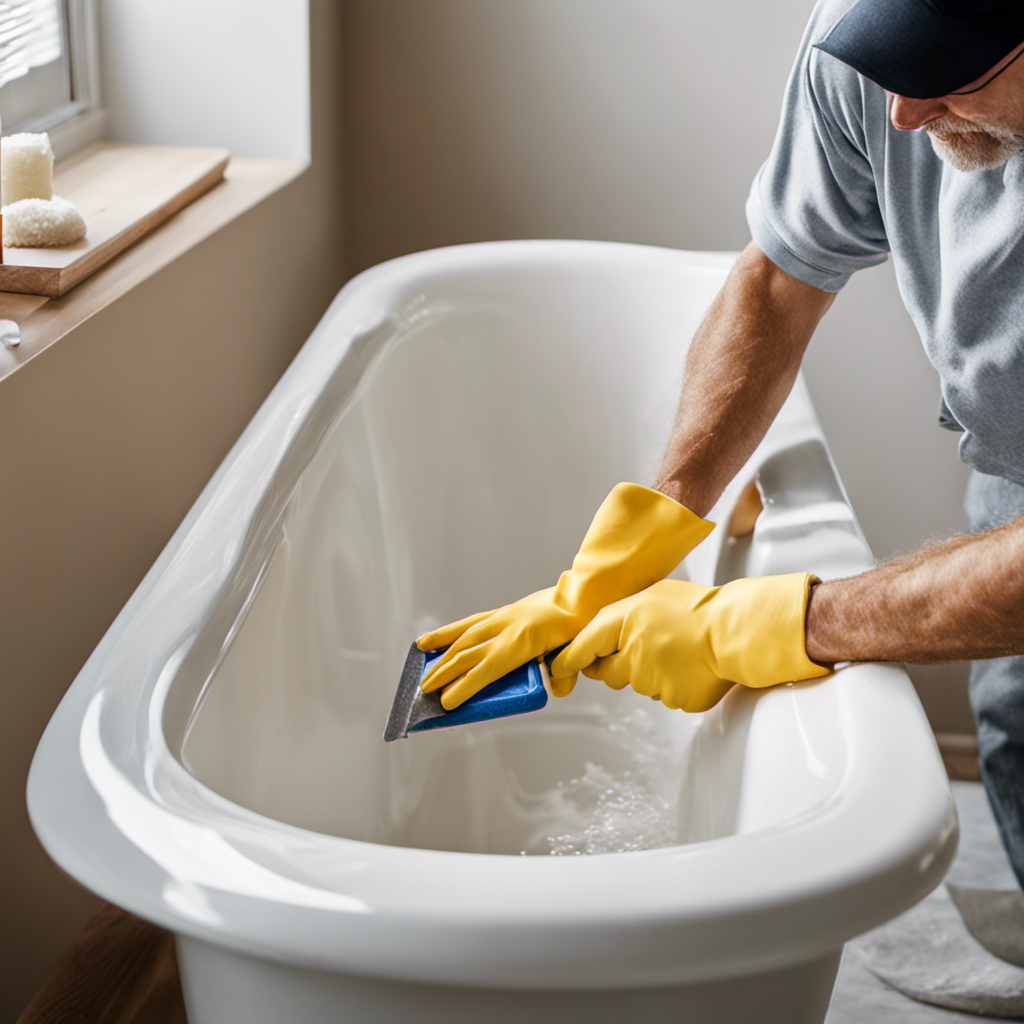
Are you tired of hearing that incessant drip, drip, drip coming from your bathtub faucet? Well, fear not, because in this article, we’re going to show you just how simple it is to repair that pesky leak yourself.
No need to call a plumber and spend a fortune. With a few basic tools and a little know-how, you’ll have that faucet fixed in no time.
So grab your wrench and get ready to banish that leak once and for all!
Key Takeaways
- The first step in repairing a leaking bathtub faucet is to identify the source of the leak by turning off the water supply, removing the handle, and inspecting the washers, O-rings, and cartridges for wear or damage.
- It is important to have the necessary tools and materials on hand, such as an adjustable wrench, screwdriver, and replacement parts like O-rings, washers, and cartridges. Considering the brand and model of the faucet for compatibility is also important, and opting for durable replacement parts can help prevent future leaks.
- Disassembling the leaking faucet involves turning off the water supply valves, removing the handle, and carefully removing the cartridge or valve stem assembly to inspect for wear or damage. This step helps identify the source of the leak and allows for the replacement of faulty components.
- To successfully replace faulty components, it is important to turn off the water supply and remove the old components without damaging surrounding parts. Installing new components in the correct order and following the manufacturer’s instructions, if needed, can help prevent future leaks.
Identifying the Source of the Leak
To start fixing a leaking bathtub faucet, it’s important to first identify where the leak is coming from. There are several common causes for a leaking bathtub faucet, such as worn-out washers, faulty O-rings, or damaged cartridges.
To determine the source of the leak, first, turn off the water supply to the faucet. Next, remove the handle and the decorative cap to access the internal components. Inspect the washers, O-rings, and cartridges for any signs of wear or damage. If you notice any issues, they will need to be replaced.
To prevent future leaks, make sure to regularly check and maintain the washers, O-rings, and cartridges. Additionally, avoid turning the faucet handle too tightly, as this can cause unnecessary strain on the components and lead to leaks.
Tools and Materials Needed for the Repair
You’ll need a few tools and materials for the fix. Here’s what you’ll need:
- Adjustable wrench
- Screwdriver
- Replacement parts (such as O-rings, washers, and cartridges)
Choosing the right replacement parts is crucial for a successful repair. Make sure to take note of the brand and model of your faucet to ensure compatibility. You can usually find this information on the faucet itself or in the owner’s manual. Additionally, it’s important to consider the quality of the replacement parts. Opt for durable materials that will last longer and prevent future leaks.
Now that you have gathered the necessary tools and materials, it’s time to move on to disassembling the leaking faucet. But first, let’s go over some helpful tips for preventing future leaks.
Disassembling the Leaking Faucet
Once you’ve gathered the necessary tools and materials, it’s time to start taking apart the leaky faucet. Troubleshooting common faucet problems is an essential step in the repair process.
Begin by turning off the water supply valves located under the sink. This will prevent any further water leakage during the disassembly. Next, use a screwdriver to remove the handle of the faucet. Depending on the model, this may require unscrewing a set screw or prying off a decorative cap.
Once the handle is removed, you’ll have access to the cartridge or valve stem assembly. Carefully remove these components, paying attention to their orientation and any rubber gaskets or O-rings that may be worn or damaged. By inspecting these parts closely, you can identify the source of the leak and prevent future leaks by replacing faulty components.
Transitioning into the next section on replacing faulty components, you can now proceed with the repair process.
Replacing Faulty Components
Now that you have identified the faulty components, it’s time to replace them and restore the proper functioning of your faucet. Here’s what you need to do:
-
Turn off the water supply: Before you begin any repairs, make sure to turn off the water supply to avoid any accidental flooding or water damage.
-
Remove the old components: Using a wrench or pliers, carefully remove the old, damaged components such as the cartridge, O-rings, or washers. Be mindful not to damage any surrounding parts.
-
Install the new components: Take the new components and carefully install them in the correct order. Refer to the manufacturer’s instructions if needed.
By following these steps, you can successfully replace the faulty components and prevent future leaks.
Once you have completed this process, you can move on to testing and reassembling the faucet to ensure everything is working properly.
Testing and Reassembling the Faucet
After installing the new components, it’s important to test the faucet for any remaining issues before reassembling it. One common issue that can cause a leaky faucet is worn out washers.
To check for proper water flow and ensure that the faucet is functioning correctly, follow these steps:
- Turn on the water supply and let it run for a few minutes to flush out any debris.
- Adjust the faucet handles to the full hot and full cold positions, checking for any leaks or irregular water flow.
- Test the water flow at different pressure levels by turning the handles partially on and off.
By carefully inspecting the faucet for any remaining issues and ensuring that the water flow is consistent and leak-free, you can be confident that the repair is complete.
Now you can proceed with reassembling the faucet and enjoy a properly functioning bathtub faucet once again.
Frequently Asked Questions
How Much Will It Cost to Repair a Leaking Bathtub Faucet?
To repair a leaking bathtub faucet, it’s important to consider the cost estimation. However, if you’re looking for a more affordable option, there are DIY alternatives available. Let’s explore these options further.
Can I Repair a Leaking Bathtub Faucet Without Any Plumbing Knowledge or Experience?
You can repair a leaking bathtub faucet without any plumbing knowledge or experience. There are various repairing techniques available that can help you fix the issue. However, be careful to avoid common mistakes.
Are There Any Safety Precautions I Should Take While Repairing a Leaking Bathtub Faucet?
To ensure your safety while repairing a leaking bathtub faucet, it is important to take certain precautions. Wear protective eyewear and gloves, and make sure to turn off the water supply before beginning any repairs.
How Long Does It Usually Take to Complete the Repair of a Leaking Bathtub Faucet?
On average, the repair of a leaking bathtub faucet can take about 1-2 hours. However, the time may vary depending on the complexity of the issue and any common challenges that may arise during the process.
Is It Necessary to Shut off the Water Supply Before Starting the Repair Process for a Leaking Bathtub Faucet?
Yes, it’s crucial to shut off the water supply before starting the repair process for a leaking bathtub faucet. This ensures a safe working environment and prevents water from flowing while you fix the issue.
Conclusion
In conclusion, repairing a leaking bathtub faucet requires several steps. First, you need to identify the source of the leak. Once you have pinpointed the problem, you can proceed to disassemble the faucet. This involves removing the handle, spout, and any other necessary components. After that, you will need to replace any faulty parts with new ones. Make sure to use the correct tools and materials for this step. Once you have replaced the components, it’s time to test the faucet and make sure it is working properly. Finally, you can reassemble the faucet and enjoy your newly repaired bathtub. With a little effort and the right approach, you can fix your leaking faucet just like a skilled surgeon heals a patient. So don’t hesitate, gather your tools and get to work. Soon enough, your faucet will be good as new, providing a watertight seal and restoring harmony to your bathroom oasis. So take charge and conquer that leak!


