
Did you know that a leaky bathtub faucet can waste up to 3,000 gallons of water per year? That’s enough water to fill 45 bathtubs!
If you’re tired of the constant dripping and want to save both water and money, then you’ve come to the right place. In this article, I will guide you through the step-by-step process of repairing a leaky bathtub faucet.
With a few simple tools and a little bit of know-how, you’ll have your faucet fixed in no time.
Key Takeaways
- Assess the leak by checking for signs of water accumulation or dripping, looking for visible cracks or loose connections, and observing where the leak is coming from.
- Gather the necessary tools including an adjustable wrench, screwdriver, replacement parts (cartridge, O-rings, or washers), plumbing tape, and towels.
- Shut off the water supply by locating the water shut-off valve, turning it clockwise, and prioritizing safety during repairs.
- Disassemble the faucet to check for loose or worn-out parts, clean the faucet, replace the O-ring or valve seat if necessary, and ensure all connections are tight and secure.

NIMFLO 1500W Upflush Macerator Toilet Pump with Heavy-Duty Grinding Blade, 2800GPH Sewage Pump System, 32.8FT Lift, 4 Water Inlets & Dual Outlets for Basement Bathroom, Sink, Shower, Laundry
💪 Powerful 1500W Copper Motor High-performance motor ensures stable, long-lasting operation. The built-in delay start prevents frequent cycling,...
As an affiliate, we earn on qualifying purchases.
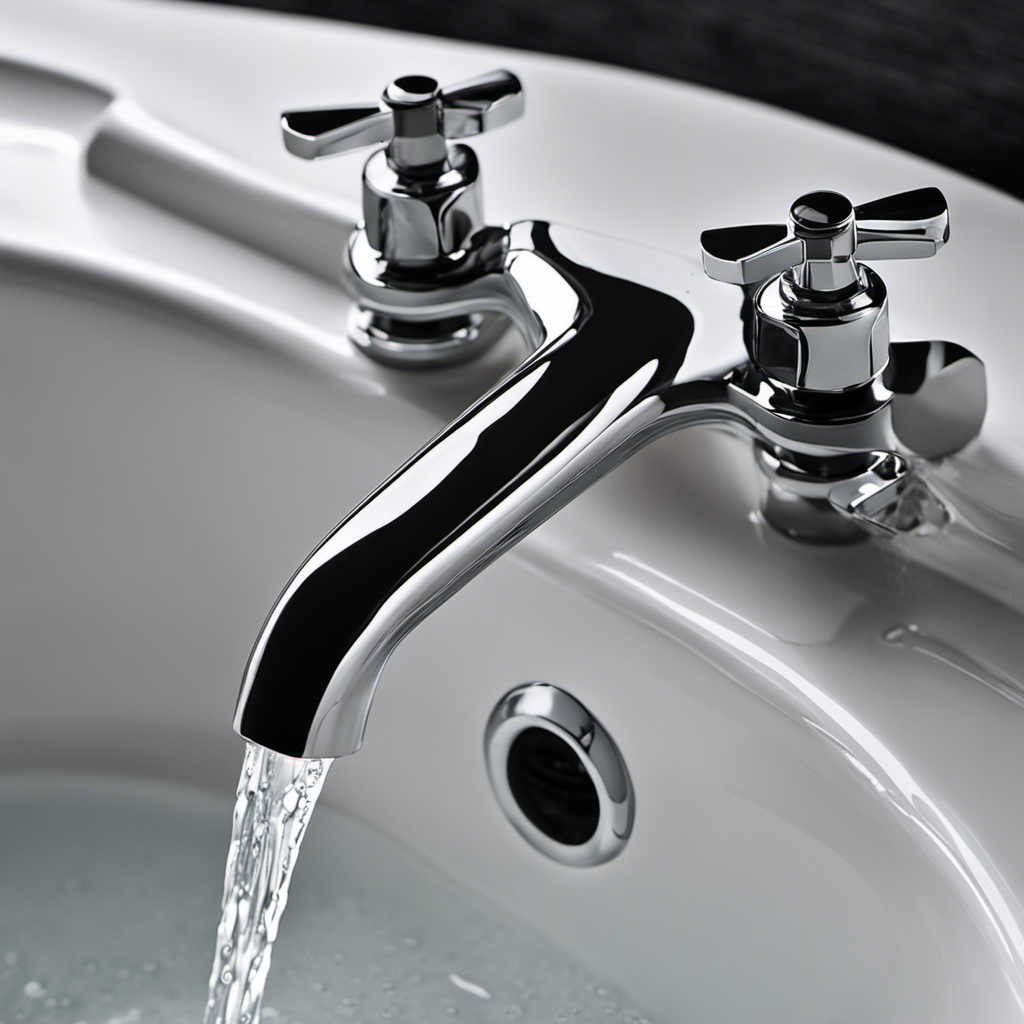
Assess the Leak
First, you’ll want to check if the leak is coming from the faucet or the handles. To identify the source of the leak, start by inspecting the area around the faucet and handles for any signs of water accumulation or dripping. Take note of any visible cracks or loose connections.
Next, turn on the water and observe where the leak is coming from. If the leak is originating from the faucet itself, it could be due to a faulty valve or worn-out washer. On the other hand, if the water is leaking from the handles, it may be caused by a damaged cartridge or O-ring.
Determining the severity of the leak is important to gauge the urgency of the repair. Is it a slow drip or a constant flow? Assessing these factors will help you decide whether to fix the issue yourself or seek professional assistance.

VEVOR 900W Macerator Pump, 48 GPM Flow, 40 ft/12 m Head, Macerator Sewerage Toilet Pump with 4 Water Inlets, Waste Water Disposal Upflush Machine for Toilet, Basement, Shower, Sink, Laundry, Bathtub
PCB Delay Function: The upgraded delay feature reduces the frequency of pump startups, resulting in quieter operation and...
As an affiliate, we earn on qualifying purchases.
Gather the Necessary Tools
Next, you’ll need to gather the tools you’ll need for the job. Here are the essential items you should have on hand:
- Adjustable wrench: This tool will help you loosen and tighten the necessary fittings.
- Screwdriver: You’ll need both a flathead and a Phillips head screwdriver to remove any screws holding the faucet together.
- Replacement parts: Depending on the cause of the leak, you may need to replace the cartridge, O-rings, or washers.
- Plumbing tape: This tape will help create a watertight seal when reassembling the faucet.
- Towels: Keep some towels nearby to clean up any water that may spill during the repair process.
Common causes of bathtub faucet leaks include worn-out O-rings, damaged washers, or a faulty cartridge. To prevent future leaks, make sure to turn the faucet off gently, avoid excessive force when turning the handle, and regularly inspect and maintain the faucet components.
Simple Project Macerating Toilet System with 4-Inlet, Upflush Toilet for Basement, Powerful 1.6GPF Flush & Quiet 500W Macerator Pump System, Durable Pump, Extension Pipe - Easy Install, Space Saving
【1.6GPF Flushing System】This toilets Equipped with an extension pipe and four water inlets, this toilet system caters to...
As an affiliate, we earn on qualifying purchases.
Shut off the Water Supply
To prevent any further water damage, it’s important to shut off the water supply before beginning any repairs. Turning off the water is a basic plumbing task that everyone should know how to do. It’s a simple and effective way to stop the flow of water and avoid any accidents or additional damage. Before starting any repairs on a leaky bathtub faucet, locate the water shut-off valve. This valve is usually located near the bathtub or in the basement. Once you’ve found it, turn it clockwise to shut off the water supply. This will ensure that no water is flowing while you work on fixing the faucet. Remember, safety should always come first when dealing with plumbing issues.
| Keyword: | turning off the water, plumbing basics |
| Related: | water damage, shut-off valve, leaky faucet |
SUPERFLO 750W Macerating Toilet System Powerful Macerator Toilet Pump with 4 Water Inlets for Toilets, Sink & Shower, Upflush Toilet for Basement, Garage & Small Bathrooms - Easy Installation
Powerful 750W Macerator Pump – Up flush toilet equipped with a high-performance 750W motor, this macerating toilet system...
As an affiliate, we earn on qualifying purchases.
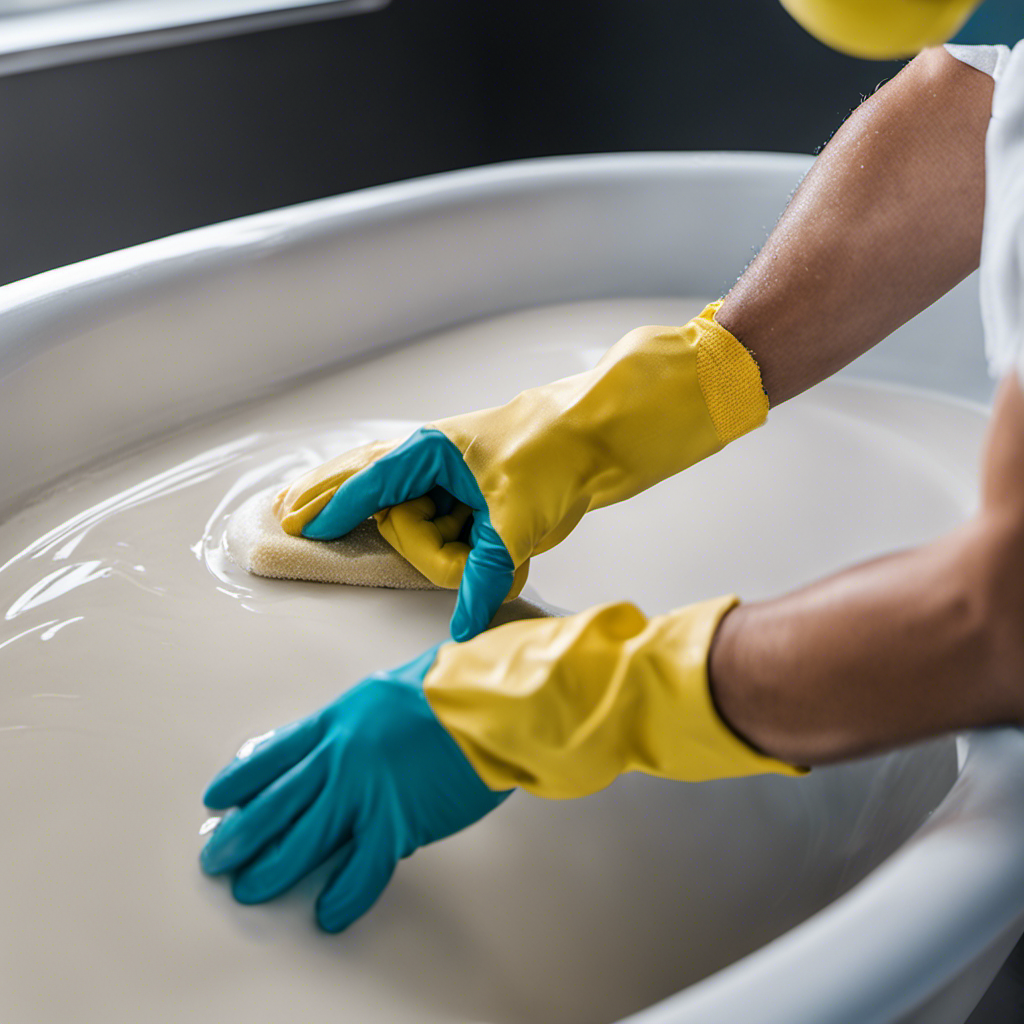
Disassemble the Faucet
Once you’ve shut off the water supply, you can start by disassembling the faucet. This is an important step in troubleshooting a leaky bathtub faucet. Here are some common causes and troubleshooting tips to help you along the way:
-
Loose or worn out parts: Check for any loose or worn out parts, such as the handle or the cartridge. Tighten or replace them if necessary.
-
Sediment buildup: Sediment can accumulate inside the faucet, causing leaks. Clean the faucet thoroughly to remove any sediment.
-
O-ring damage: The O-ring can become worn out or damaged over time. Replace the O-ring if you notice any signs of damage.
-
Faulty valve seat: The valve seat can become worn out or corroded, leading to leaks. Replace the valve seat to fix the issue.
-
Improper installation: If the faucet was not installed properly, it can lead to leaks. Ensure that all connections are tight and secure.
Replace the Faulty Parts
By replacing the faulty parts, you can fix any issues with the faucet.
When troubleshooting common bathtub faucet issues, it’s important to identify which parts need to be replaced. One common issue is a leaky faucet, which is often caused by a worn-out washer or O-ring.
To replace these parts, start by turning off the water supply and removing the handle. Next, use a wrench to unscrew the packing nut and remove the stem. Inspect the washer and O-ring for any signs of damage or wear. If you notice any issues, replace them with new ones of the same size and material.
Additionally, if you’re not confident in your own abilities, it’s always a good idea to hire a professional plumber for faucet repairs. They have the expertise and experience to ensure a proper fix and prevent further damage.
Conclusion
In conclusion, repairing a leaky bathtub faucet is a simple task that can save you from unnecessary water waste and high utility bills. By following the steps outlined in this article, you can easily assess the leak, gather the necessary tools, shut off the water supply, disassemble the faucet, and replace the faulty parts.
Remember, a small leak today can lead to a big problem tomorrow, so don’t delay in fixing it. With a little effort and know-how, you can be the hero of your own home, fixing leaks like a pro.