I’ve had my fair share of mishaps in the bathroom, and one of the most frustrating ones was when my plastic bathtub got damaged. But fear not! I’ve learned how to repair it, and I’m here to share my knowledge with you.
In this article, I’ll guide you through the steps of:
- Assessing the damage
- Gathering the necessary tools and materials
- Preparing the surface
- Applying the repair solution
- Finishing and sealing the repaired area
Let’s get your bathtub looking as good as new in no time!
Key Takeaways
- Assess the bathtub for visible damage and consult a professional for extensive damage or if unsure about the repair process.
- Gather the necessary tools and materials such as sandpaper, epoxy adhesive, and a plastic repair kit.
- Prepare the surface by removing stains, choosing the right repair kit, and ensuring a clean and smooth surface.
- Apply the repair solution by properly mixing and spreading it in thin layers, allowing each layer to dry before applying the next one.

600ml Sausage Pneumatic Caulking Gun Silicone Sealant Gun Air Rubber Gun Caulk Applicator Tool with 10 Transparent Glue Nozzles
It is suitable for most glass adhesives, sheet metal adhesives and structural adhesives. It is widely used in...
As an affiliate, we earn on qualifying purchases.
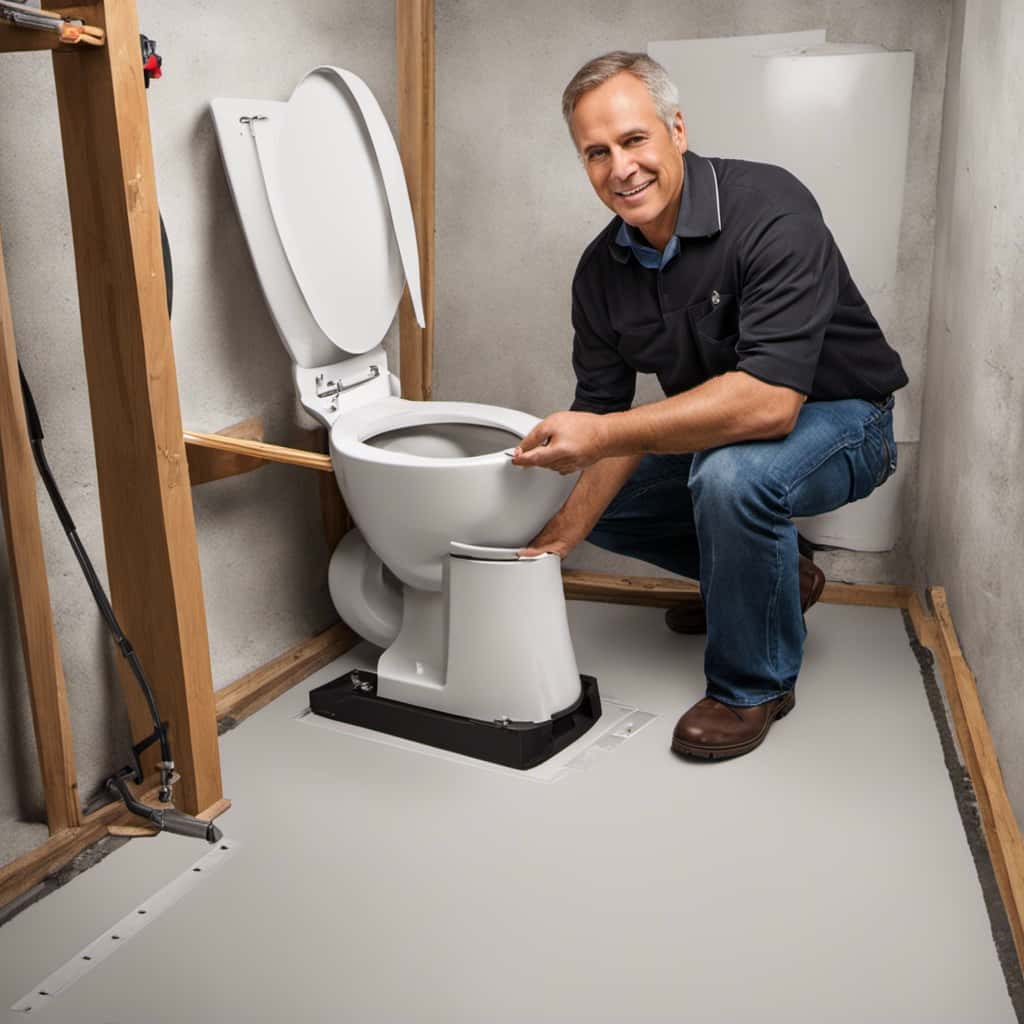
Assessing the Damage
Before you start repairing your plastic bathtub, you’ll need to assess the extent of the damage. Evaluating the options is crucial to determine whether you can fix the issue yourself or if you should seek professional help.
Start by examining the bathtub for any visible cracks, chips, or holes. Run your fingers along the surface to feel for any rough or uneven areas. Check the sealant around the edges and corners for any signs of wear or damage. Additionally, inspect the plumbing connections to ensure there are no leaks.
If the damage is minor, such as a small crack or chip, you can repair it yourself using a bathtub repair kit. However, for extensive damage or if you’re unsure about the repair process, it’s best to consult a professional to ensure a proper and lasting fix.

SILIGUN™ Gen-3 Compact Caulking Gun - No Drip Caulk Gun - Patented Design - Lightweight ABS Frame - Works with All 10 oz Tubes
Compact Convenience – Seal up windows, trim, tile, and more with your innovative no drip caulk gun from...
As an affiliate, we earn on qualifying purchases.
Gathering the Necessary Tools and Materials
Gather all the necessary tools and materials for the job. Here’s what you’ll need:
- Sandpaper (80-grit and 220-grit)
- Epoxy adhesive
- Plastic repair kit
- Heat gun or hairdryer
Now that you have everything ready, it’s time to troubleshoot common repair issues. Assess the damage on your plastic bathtub and identify any cracks, holes, or chips that need fixing.
Once you’ve done that, it’s worth exploring alternative repair methods. For example, if the damage is minor and the bathtub is still structurally sound, you can opt for a DIY patch-up with epoxy adhesive. However, if the damage is extensive or the structure is compromised, it might be best to consider professional help or even replacing the bathtub altogether.
Make sure to choose the repair method that suits your needs and budget.

Saker Caulk Gun Kit, Manual Caulking Gun with 11-in-1 Caulking Tool Set, Silicone Sealant Finishing Tools, Grout Scrapers & Shapers with Masking Tape for Bathroom, Kitchen, Window & Home Repair
Easy, Smooth, Dripless Operation:The Saker Caulking Tool Set features a lightweight, manual dripless caulk gun with a smooth...
As an affiliate, we earn on qualifying purchases.
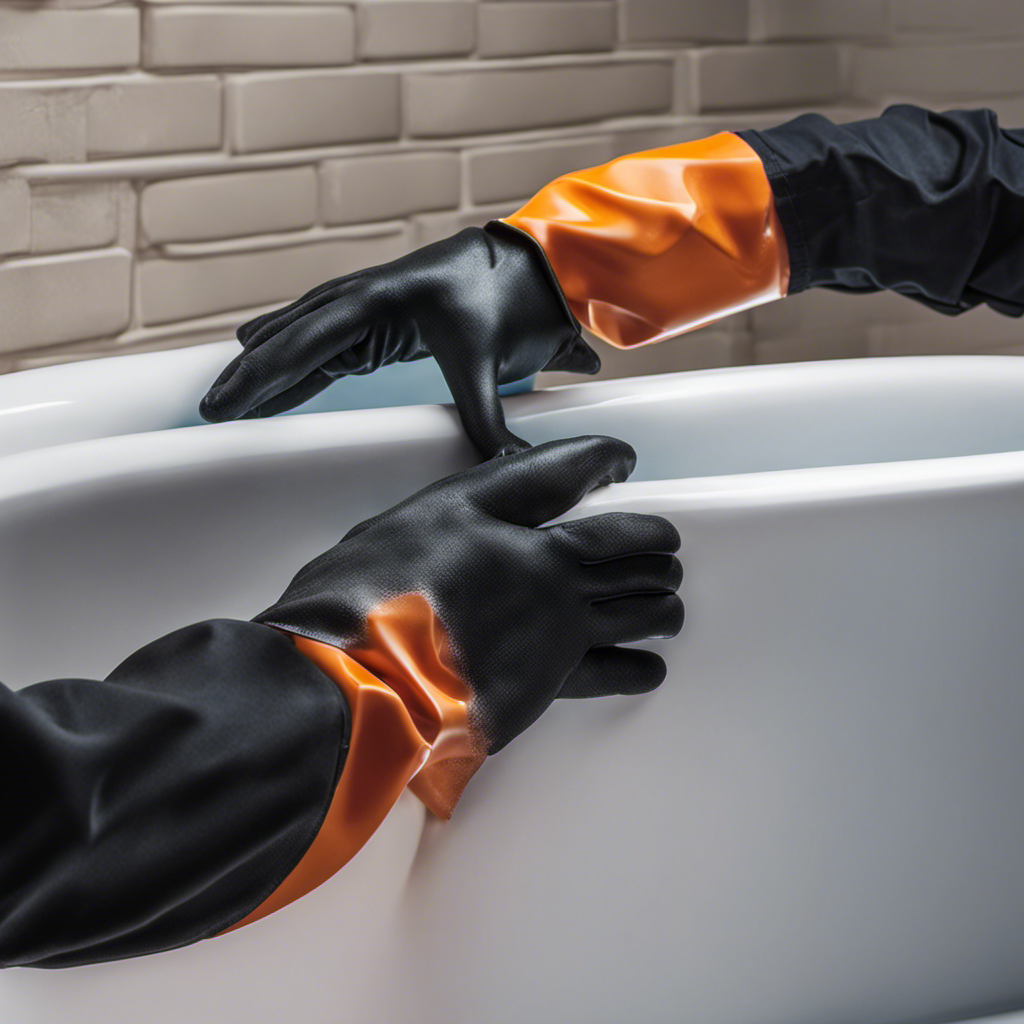
Preparing the Surface
Once you’ve assessed the damage, it’s time to prepare the surface for repair. To start, you’ll want to remove any stains from the plastic bathtub. One tip for removing stains is to create a paste using baking soda and water. Apply the paste to the stained area and let it sit for a few minutes before scrubbing with a soft cloth or sponge. This should help lift the stain without damaging the surface.
After removing the stains, you’ll need to choose the right repair kit for your bathtub. Look for a kit specifically designed for plastic surfaces and follow the instructions carefully.
Transitioning into the next section, applying the repair solution, it’s important to have a clean and smooth surface to ensure the best results.

Caulk Gun Kit Smooths No-drip Silicone Caulking Gun and Caulking Tools, Sealant Tools Grout Scraper For Kitchen Bathroom Sink Joint,With Gift Box Works 10OZ Tubes blue
Leikius caulk gun kit, a premium set designed for professionals and DIY user. Each caulking tool in our...
As an affiliate, we earn on qualifying purchases.
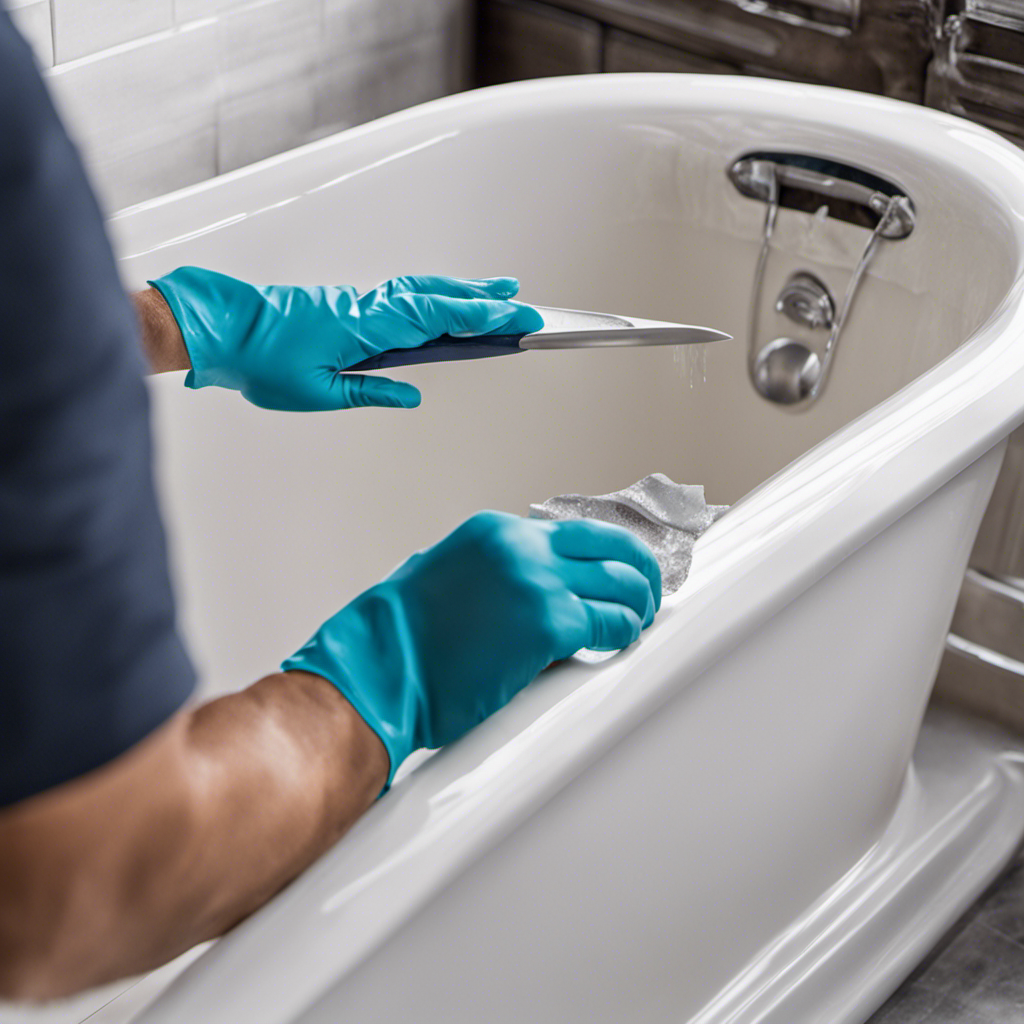
Applying the Repair Solution
Now that you’ve prepared the surface, it’s time to apply the repair solution for the best results. Here’s what you need to do:
-
Properly mix the repair solution: Follow the manufacturer’s instructions to ensure you achieve the right consistency and effectiveness of the solution.
-
Begin with a thin layer: Apply a thin layer of the repair solution over the damaged area using a putty knife or a plastic scraper. Make sure to spread it evenly.
-
Build up multiple layers: For a stronger and more durable repair, apply multiple layers of the repair solution, allowing each layer to dry completely before applying the next one.
-
Smooth out the surface: After applying the final layer, use sandpaper or a fine-grit sanding sponge to smooth out any rough edges or bumps.
By following these steps, you’ll be able to create a seamless repair on your plastic bathtub.
Now, let’s move on to the next step of finishing and sealing the repaired area.
Finishing and Sealing the Repaired Area
To complete the repair process, I smooth out the surface of the repaired area using a fine-grit sanding sponge. This step is crucial to achieving a seamless finish. The sanding sponge helps to remove any rough edges or uneven surfaces, ensuring that the repaired area blends in with the rest of the bathtub.
Once the surface is smooth, I move on to the next important step – waterproofing. Waterproofing techniques are essential to prevent any further damage or water leakage. There are various waterproofing options available, such as using a waterproof sealant or applying a waterproof epoxy coating.
Lastly, it’s crucial to consider color matching options to ensure that the repaired area seamlessly blends in with the rest of the bathtub. Many repair kits come with color-matching solutions that allow you to find the closest match to your bathtub’s original color.
Conclusion
After following these steps, I was able to successfully repair my plastic bathtub.
It was a bit challenging at first, but with the right tools and materials, I was able to restore it to its former glory.
It’s amazing how many people face bathtub damages each year, with statistics showing that over 1 million bathtubs in the United States alone are in need of repair.
It’s a relief knowing that I can now enjoy my bathtub without worrying about any unsightly damages.