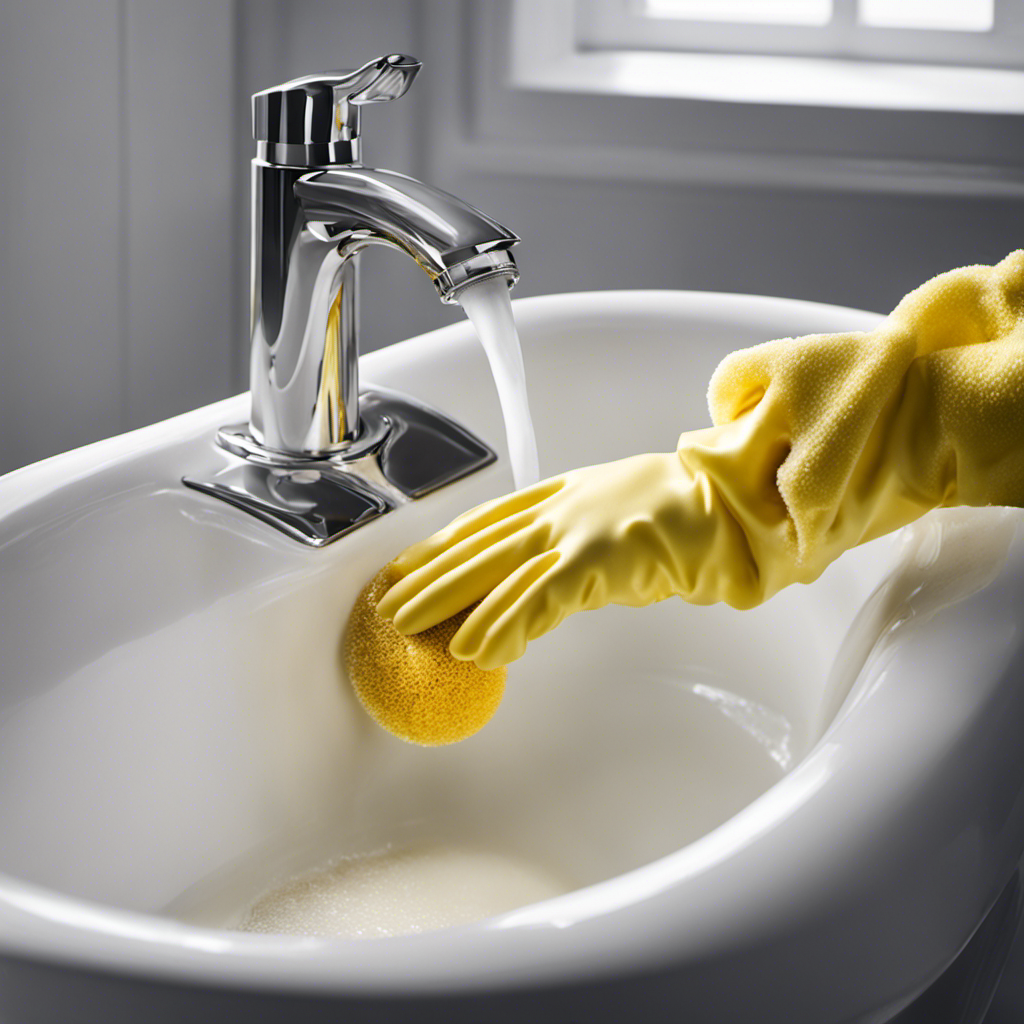
As I step into the serene oasis of my bathroom, I am greeted by the sight of a worn and leaky 3 hole bathtub faucet.
Determined to restore tranquility to my daily routine, I embark on a mission to replace this troublesome fixture.
In this comprehensive guide, I will share with you the step-by-step process of replacing a 3 hole bathtub faucet.
Armed with the right tools and a little know-how, you too can bid farewell to those pesky leaks and enjoy a blissful bathing experience once again.
Key Takeaways
- Determine the number of holes in the existing faucet and ensure the replacement matches the hole configuration
- Take accurate measurements of the existing faucet’s dimensions
- Shut off the water supply by locating the shut-off valves and turning them clockwise
- When removing the old faucet, use penetrating oil if necessary and avoid using excessive force to prevent damage

LOUPUSUO Smart Toilet with Warm Water Sprayer and Dryer, One Piece Bidet Toilet with Auto Dual Flush Foot Sensor Operation,Heated Seat Smart with Built In Fahrenheit LED Display
Powerful Flushing System: Designed with low water consumption (1.26 gallons per flush), this system ensures efficient and thorough...
As an affiliate, we earn on qualifying purchases.
Assessing the Faucet and Gathering Tools
Now that you’ve gathered all the necessary tools, it’s time to assess the condition of the faucet.
Evaluating compatibility and choosing the right replacement are crucial steps in this process.
First, examine the existing faucet to determine the number of holes it has. A 3-hole bathtub faucet typically consists of separate handles for hot and cold water, as well as a spout.
Ensure that the replacement faucet you select matches the hole configuration of your current setup. Additionally, consider the style and finish of the new faucet to ensure it complements your bathroom decor.
Take accurate measurements of the existing faucet’s dimensions to ensure a proper fit.

Smart Toilet with Bidet Built In, Heated Seat, Warm Water Wash & Dryer, Tankless Bidet Toilet with Foot Sensor & Night Light, Auto Open/Close Lid & Flush, Wireless Remote, 1.26GPF Water-Saving Design
🛠️ Easy Installation & Reliable Support: This smart toilet with bidet built in includes all accessories, flange kit,...
As an affiliate, we earn on qualifying purchases.
Shutting Off the Water Supply
First, you’ll need to turn off the water supply before proceeding with the next steps. This is an important step to ensure that you can safely work on replacing the faucet without any water leakage. To shut off the water, locate the shut-off valves underneath the sink or near the bathtub. These valves are usually labeled for hot and cold water.
Here are the steps to turning off the water:
- Locate the shut-off valves.
- Turn the valve clockwise to shut off the water flow.
- Test the water supply by turning on the faucet to ensure it’s off.
- If there are no shut-off valves, turn off the main water supply to the house.
- Use a wrench if necessary to ensure the valves are fully closed.
Once you have successfully shut off the water, you can proceed to the next step of removing the old faucet.
EPLO Smart Toilet Bidet with Tank,Foam Shield,Blackout Flush,Dual Auto Flush,Heated Seat,Air Dryer,Modern Elongated Japanese One Piece Bidet for Bathrooms E18
Powerful Flush Toilet: Built-in tank with a booster pump overcomes low water pressure, delivering strong, consistent flushing in...
As an affiliate, we earn on qualifying purchases.
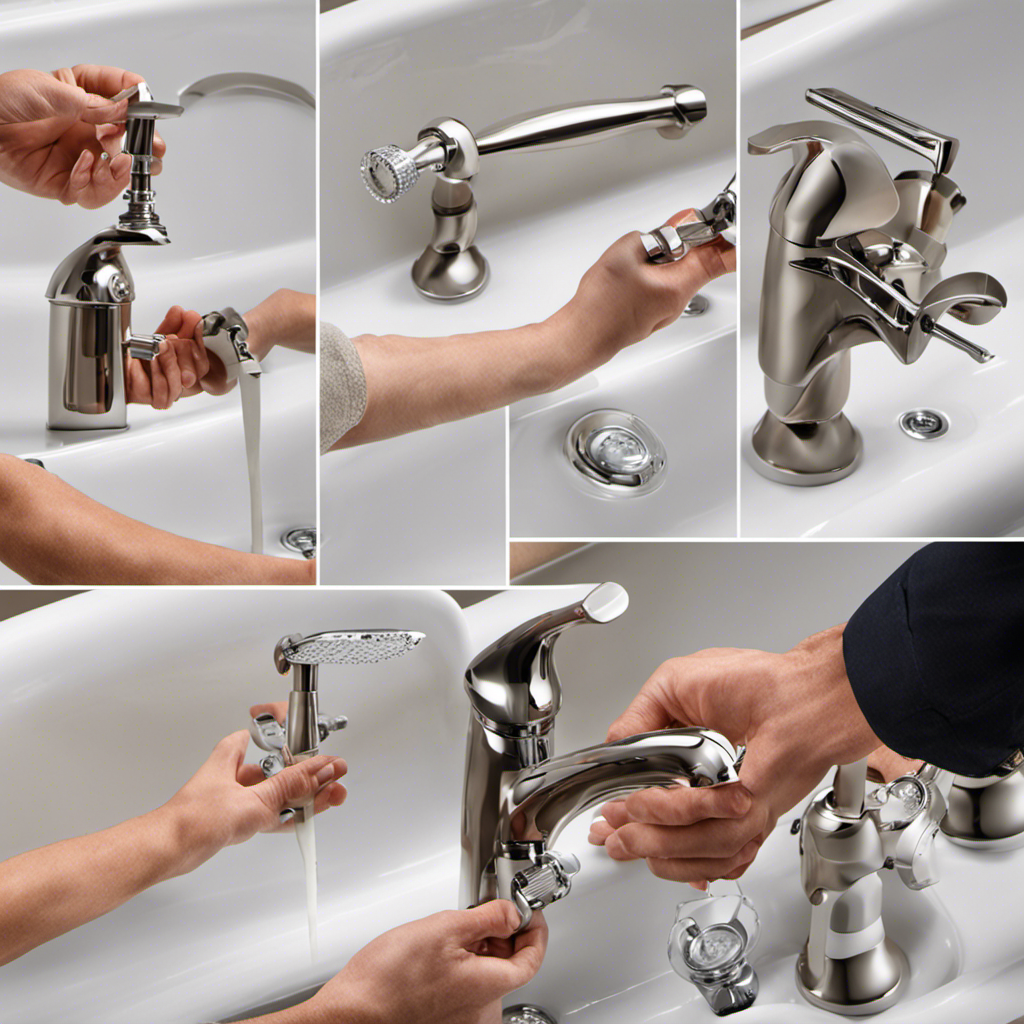
Removing the Old Faucet
Once you’ve shut off the water supply, you can begin removing the old faucet.
When dealing with old faucets, it’s common to encounter a few issues. One of the most common problems is corroded or stuck faucet handles.
To remove these stubborn handles, start by using a wrench or pliers to loosen the nut holding the handle in place. If the nut is too tight, try applying some penetrating oil to help loosen it.
Once the nut is loose, gently wiggle and pull the handle until it comes off. If the handle still won’t budge, you may need to use a handle puller tool to apply more force.
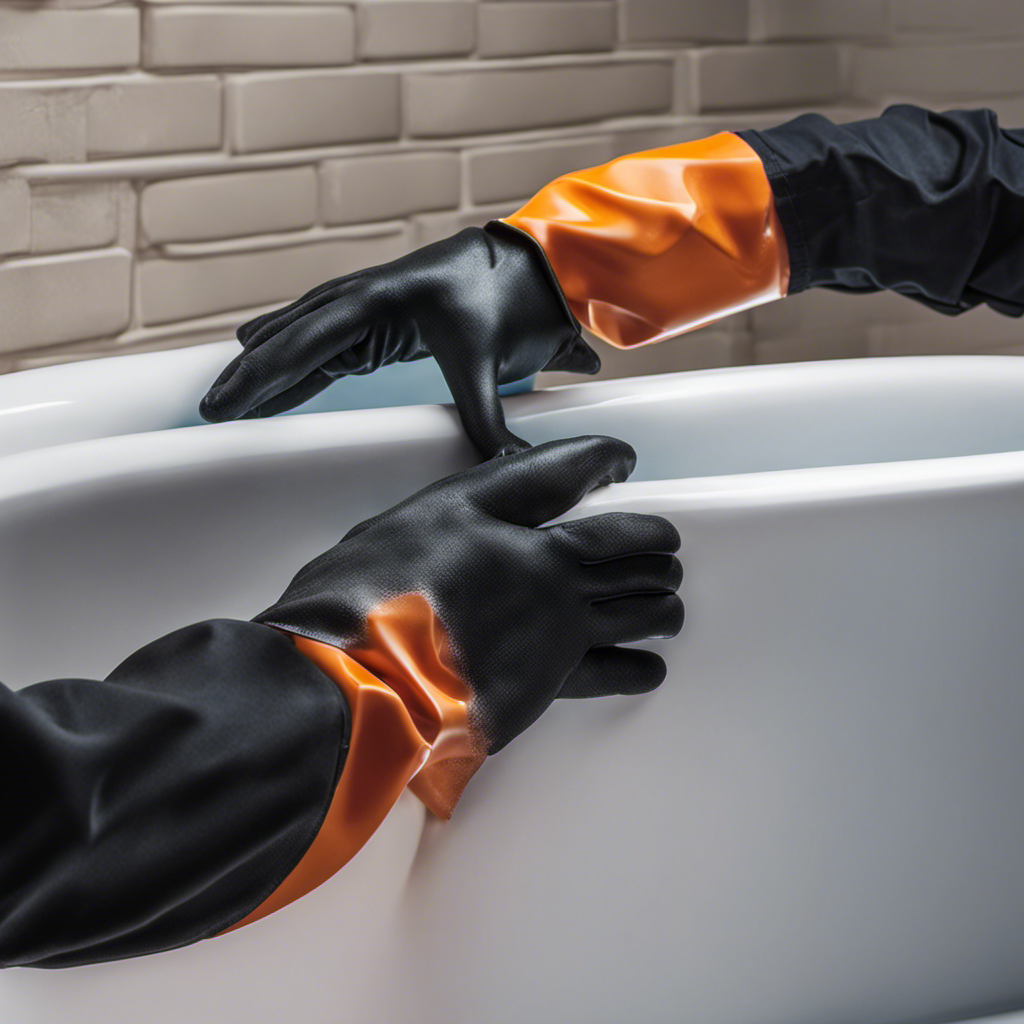
Remember to always be careful and avoid using excessive force to prevent damaging the faucet or plumbing.

Smart Toilet with Bidet Built in, Bidet Toilet with Heated Seat and Night Light, One Piece Toilet for Bathroom, UV-C light, Foam Shield, Dual Flush - Manual Lid/Seat
Manual Lid/Seat UV-C light / Foam Shield / Dual Flush
As an affiliate, we earn on qualifying purchases.
Installing the New Faucet
To start, you’ll need to gather the necessary tools and materials for installing your new faucet. Here are the items you’ll need:
- New faucet
- Wrench
- Screwdriver
- Plumber’s tape
- Silicone sealant
Once you have all the tools and materials ready, you can begin the installation process. Start by removing the old faucet and cleaning the area thoroughly. Next, follow the manufacturer’s instructions to install the new faucet. Make sure to use plumber’s tape on the threads to prevent leaks.
After the faucet is securely in place, apply silicone sealant around the edges to ensure a watertight seal. Finally, turn on the water supply and check for any leaks.
Remember, regular maintenance is key to keeping your faucet in good condition. Clean it regularly with a mild soap and soft cloth, and avoid using harsh chemicals.
Testing and Finishing Up
Make sure you check for any leaks and test the water flow before finishing up the installation. This is a crucial step to ensure the proper functioning of your new bathtub faucet.
To test for leaks, turn on the water supply and carefully inspect all connections for any signs of water leakage. Pay close attention to the base of the faucet and the handles. If you notice any leaks, tighten the connections or replace any faulty parts.
Next, test the water flow by turning on both the hot and cold water handles. Make sure the water flows smoothly and evenly from the faucet. If there are any issues, check for obstructions or adjust the water pressure.
Once you are satisfied with the testing, you can move on to selecting the right finish for your faucet. Consider the style and aesthetic of your bathroom and choose a finish that complements it. Some popular options include chrome, brushed nickel, and oil-rubbed bronze.
Additionally, make sure to follow the manufacturer’s instructions for applying the finish to ensure a long-lasting and beautiful result.
Conclusion
As I finished tightening the last screw on my brand new 3 hole bathtub faucet, I couldn’t help but feel a sense of accomplishment. The process of replacing the old faucet had been a challenge, but with the right tools and a little know-how, I was able to successfully complete the task.
Now, as I turned on the water and watched it flow smoothly from the spout, I couldn’t help but smile. The satisfaction of a job well done was worth every moment of uncertainty and doubt.