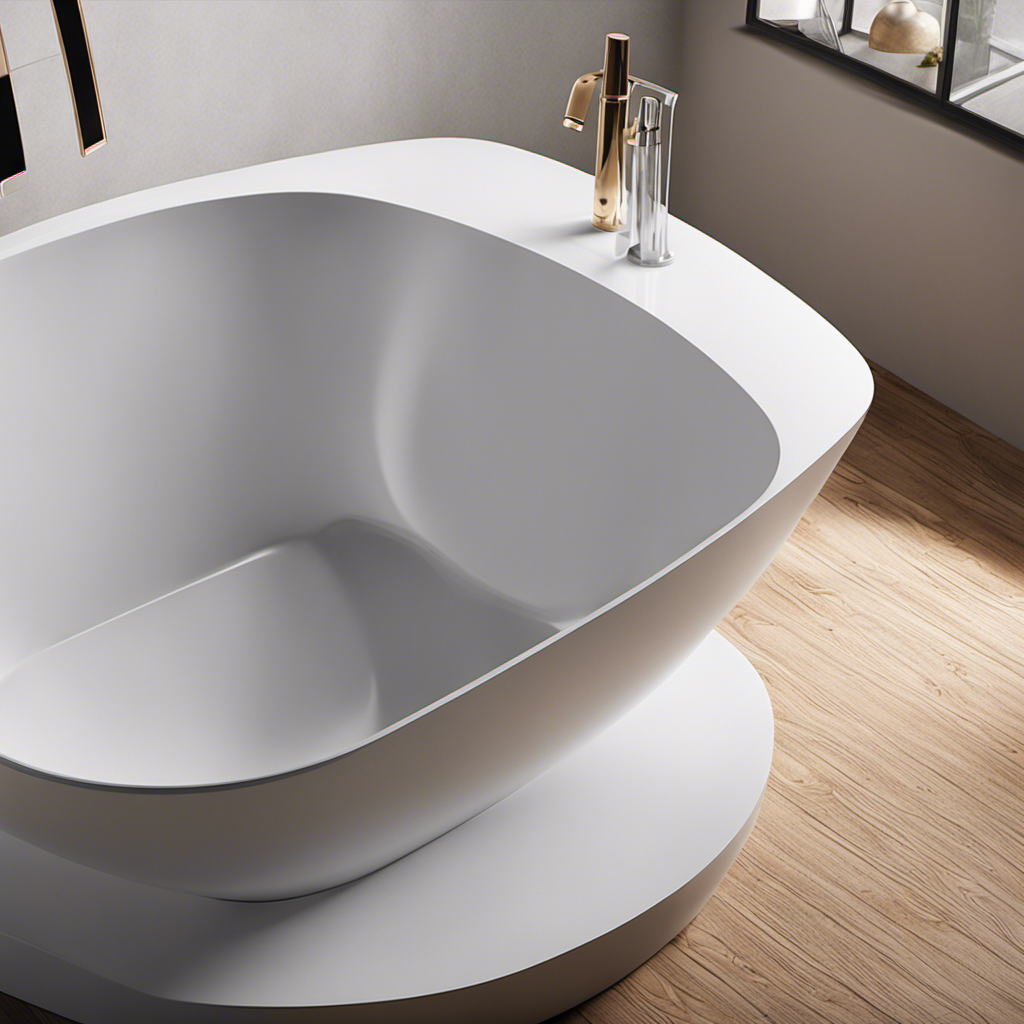

I’ve always enjoyed tackling home improvement projects, but when my bathtub faucet handle started acting up, I knew it was time to roll up my sleeves and replace it.
Don’t worry if you’ve never done it before – I’ll guide you through each step of the process.
In this article, I’ll show you how to remove the old faucet handle, install the new one, and provide troubleshooting tips along the way.
Get ready to transform your bathroom with a brand new faucet handle!
Key Takeaways
- The tools and materials needed to replace a bathtub faucet handle include adjustable pliers or a wrench, a screwdriver, and a compatible replacement handle.
- When removing the old faucet handle, start by unscrewing the decorative cap and removing the screw. Carefully pull off the old handle from the stem.
- Selecting the right replacement handle is important and factors to consider include compatibility, quality, and style.
- When installing the new faucet handle, slide it onto the stem and tighten the screw to secure it in place. Avoid common mistakes such as improper alignment and overtightening.

Shower Faucet Set, 12" Ceiling Mount Rainfall Shower System with 2 Rain Shower Head and Multi-function Handheld Head Push Button Diverter Shower Faucet Trim Kit (12", Matte Black)
COMPREHENSIVE SHOWER SYSTEM- This shower faucet set comes with two shower heads that can be used together or...
As an affiliate, we earn on qualifying purchases.
Tools and Materials Needed
To replace a bathtub faucet handle, you’ll need a few tools and materials. First, make sure you have a pair of adjustable pliers or a wrench to loosen and remove the old handle. It’s also helpful to have a screwdriver to remove any screws holding the handle in place.
When choosing the right replacement handle, consider the type of faucet you have and its specific requirements. Take note of the brand and model of your faucet, as this will help you find a compatible handle. Additionally, check if your faucet has any specific features, such as temperature control or a separate handle for the shower. This will ensure you choose a replacement handle that works seamlessly with your existing setup.

VANFOXLE Shower Faucet Set Matte Black Shower System,Push Button Diverter Shower Faucet with 2 in 1 Handheld,Ceiling Mount 10 Inch Shower Head with 6 Inch Wall Mount Shower Head
Push Button Diverter: Vanfoxle has developed an improved version of water control —— Replacing the traditional square-shaped controller...
As an affiliate, we earn on qualifying purchases.
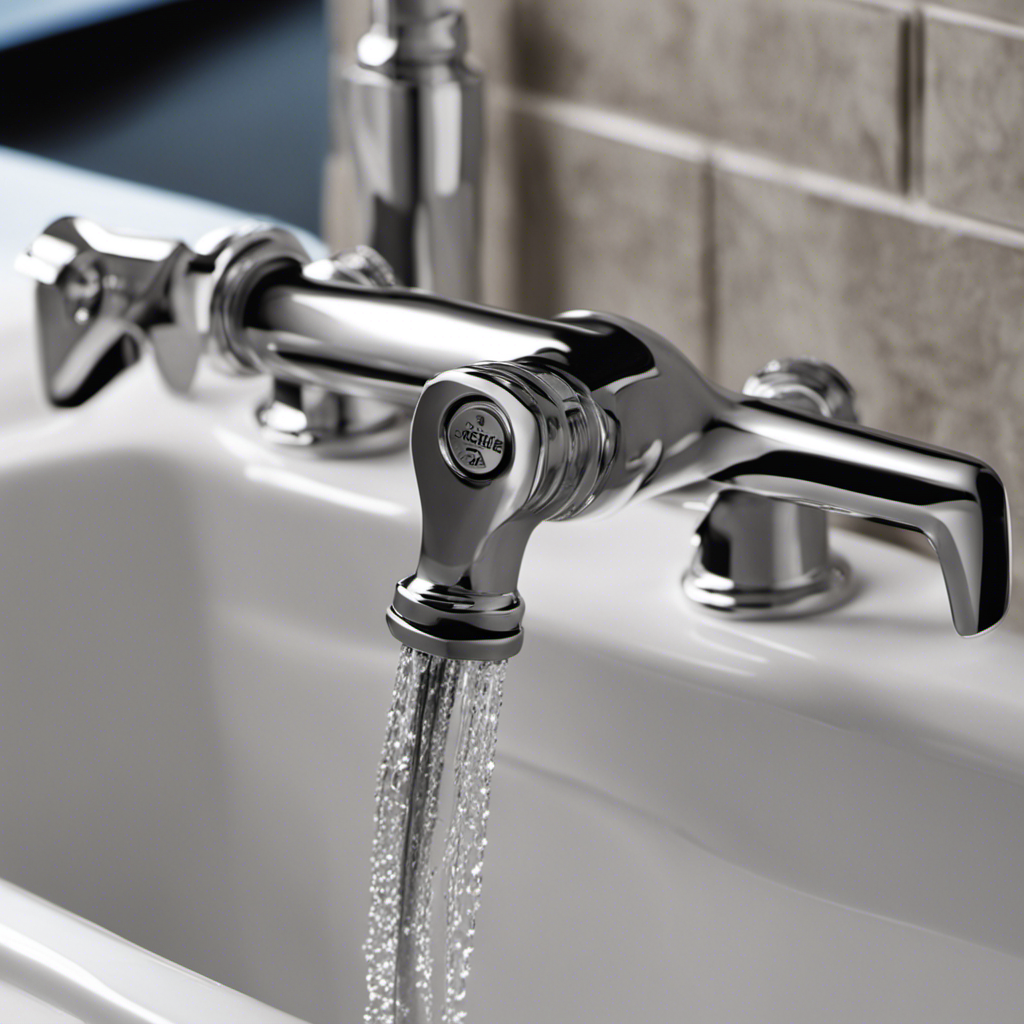
Removing the Old Faucet Handle
First, you’ll need to unscrew the decorative cap on the handle to access the screw underneath. Once the cap is removed, use a screwdriver to loosen and remove the screw. With the screw removed, you can now carefully pull the old faucet handle off the stem.
To fix leaks and ensure a proper replacement, it’s important to choose the right replacement handle. Consider the following factors when selecting a new handle:
- Compatibility: Ensure that the replacement handle is compatible with your bathtub faucet model.
- Quality: Opt for a high-quality handle that is durable and resistant to wear and tear.
- Style: Choose a handle that matches the overall aesthetic of your bathroom.

gotonovo Rainfall Bathroom Shower System Rain Shower Head and Handle Set Wall Mounted Shower Complete Combo Solid Brass Pressure Balancing Shower Mixer Valve 10 Inch Matte Black
1. 10-Inch Rainfall Shower Head – Luxurious Shower Experience: Oversized 10-inch square rainfall shower head delivers wide, even...
As an affiliate, we earn on qualifying purchases.
Installing the New Faucet Handle
Once you have chosen the right replacement, simply slide the new handle onto the stem and tighten the screw to secure it in place.
It’s important to note that during the installation process, there are some common mistakes that people make.
One common mistake is not properly aligning the handle with the stem, which can lead to it being loose or wobbly.
Another mistake is overtightening the screw, which can cause damage to both the handle and the stem.
It’s essential to find the right balance when tightening the screw, ensuring that the handle is secure without putting too much pressure on it.
Additionally, it’s crucial to be aware of the different types of faucet handles available, such as single-handle, double-handle, or lever handles.
Understanding the type of handle you have will help you choose the right replacement and ensure a successful installation.

Gabrylly Shower System, Wall Mounted Shower Faucets Sets Complete for Bathroom with High Pressure 10" Rain Shower head and 3-Setting Handheld Shower Head Set, 2 Way Shower Valve Kit, Brushed Nickel
【Pressure Balance Shower Valve】Constructed of solid brass materials, The Shower Fixtures with a rough-in valve will be no...
As an affiliate, we earn on qualifying purchases.
Troubleshooting Tips
One common issue when troubleshooting is a leaky faucet, which can often be caused by a worn-out washer. To help you address this and other common problems, I have compiled step-by-step instructions below:
- Inspect the faucet: Look for any visible leaks or loose connections.
- Turn off the water supply: Locate the shut-off valves under the sink and turn them clockwise to stop the water flow.
- Disassemble the faucet: Remove the handle, escutcheon plate, and cartridge to access the washer.
By following these steps, you can identify the cause of the leak and determine if a worn-out washer needs to be replaced. Troubleshooting your faucet can save you time and money on unnecessary repairs.
Now, let’s move on to the next section to learn about maintenance and care tips that will help prevent future issues with your bathtub faucet.
Maintenance and Care Tips
To keep your bathtub faucet in good condition, it’s important to regularly clean and inspect the various components. This includes the aerator and spout, to ensure proper functioning. Proper maintenance can prevent faucet handle damage and extend the lifespan of your faucet.
Start by removing any mineral deposits or debris from the aerator using a toothbrush and vinegar solution. Next, clean the spout with warm soapy water and a soft cloth, making sure to remove any soap residue. For stubborn stains, use a mild abrasive cleaner and a non-scratch scrub brush.
After cleaning, dry all components thoroughly and polish the faucet with a non-abrasive metal polish to restore its shine. Regular maintenance and care will keep your bathtub faucet looking and working like new for years to come.
Conclusion
In conclusion, replacing a bathtub faucet handle can be a simple yet transformative task. By following the steps outlined in this article, you can easily update the look and functionality of your bathtub.
Remember to use the appropriate tools and materials, and take your time to ensure a proper installation. Don’t be afraid to troubleshoot any issues that may arise, and always prioritize the maintenance and care of your new faucet handle.
With a little effort, you can achieve a refreshing change in your bathroom oasis.