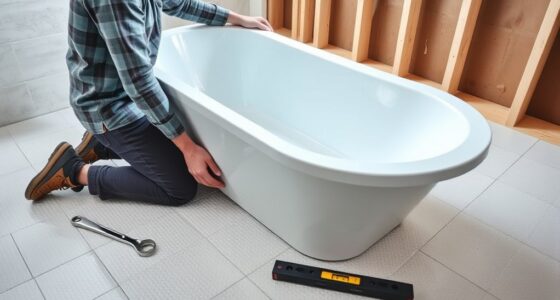
So, you’ve found yourself in a bit of a predicament with your bathtub faucet valve. Don’t worry, I’ve got you covered. In this article, I’ll walk you through the step-by-step process of replacing that pesky valve.
I’ll make sure to keep things clear and concise, using simple language that even a novice can understand. By the time you’re done reading, you’ll feel like a plumbing expert yourself.
Let’s dive in and get that faucet valve replaced in no time!
Key Takeaways
- Assess the functionality of the faucet valve and look for signs of leaks, corrosion, or damage.
- Gather the necessary tools and materials such as an adjustable wrench, screwdriver, and replacement valve.
- Turn off the water supply by locating the main water shut-off valve and turning it clockwise.
- Remove the old faucet valve by loosening the retaining nut, locating it underneath the faucet handle, and gently pulling off the handle to expose the valve stem.

VANFOXLE Shower Faucet Set Matte Black Shower System,Push Button Diverter Shower Faucet with 2 in 1 Handheld,Ceiling Mount 10 Inch Shower Head with 6 Inch Wall Mount Shower Head
Push Button Diverter: Vanfoxle has developed an improved version of water control —— Replacing the traditional square-shaped controller...
As an affiliate, we earn on qualifying purchases.
Assessing the Faucet Valve
Now, you’ll want to take a close look at the faucet valve to assess its condition. Start by turning off the water supply to the bathtub.
Then, remove the faucet handle and any decorative caps or trim pieces. Once you have access to the valve, carefully analyze its functionality. Look for any signs of leaks, corrosion, or damage. If the valve is leaking or not functioning properly, it may need to be replaced.
Troubleshoot common issues such as loose connections or worn-out parts. Make sure to inspect the valve thoroughly to determine the extent of the problem.
Once you have assessed the condition of the faucet valve, you can proceed to gather the necessary tools and materials for the replacement process.

Shower Faucet Set, 12" Ceiling Mount Rainfall Shower System with 2 Rain Shower Head and Multi-function Handheld Head Push Button Diverter Shower Faucet Trim Kit (12", Matte Black)
COMPREHENSIVE SHOWER SYSTEM- This shower faucet set comes with two shower heads that can be used together or...
As an affiliate, we earn on qualifying purchases.
Gathering the Necessary Tools and Materials
First, you’ll need to gather all the necessary tools and materials for the task at hand. Here is a step-by-step guide for removing the old valve and choosing the right replacement valve:
| Tools | Materials |
|---|---|
| Adjustable wrench | Replacement valve |
| Screwdriver | Plumber’s tape |
| Pipe wrench | Cleaning solution |
| Pliers | Rags or towels |
To begin, turn off the water supply by closing the main water valve. Next, remove the handle and trim from the faucet. Use a wrench to disconnect the water supply lines. Locate the valve assembly and unscrew it using a pipe wrench. Clean the area thoroughly with a cleaning solution. Finally, wrap plumber’s tape around the threads of the replacement valve and screw it into place.

gotonovo Rainfall Bathroom Shower System Rain Shower Head and Handle Set Wall Mounted Shower Complete Combo Solid Brass Pressure Balancing Shower Mixer Valve 10 Inch Matte Black
1. 10-Inch Rainfall Shower Head – Luxurious Shower Experience: Oversized 10-inch square rainfall shower head delivers wide, even...
As an affiliate, we earn on qualifying purchases.
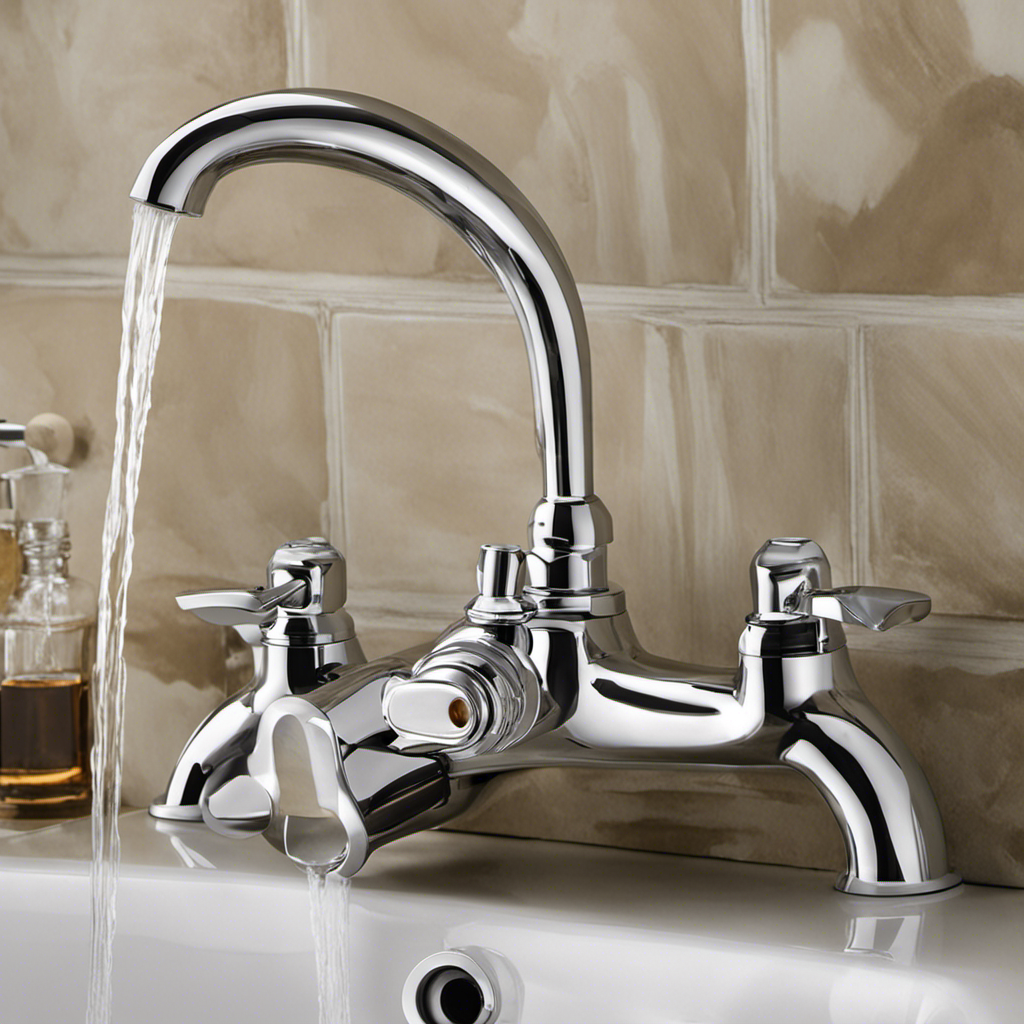
Turning off the Water Supply
To ensure a safe and successful process, you’ll need to start by shutting off the water supply. This is an important step to prevent any leaks or water damage during the replacement of a bathtub faucet valve. Here’s a simple guide to help you:
- Locate the main water shut-off valve.
- Turn the valve clockwise to shut off the water flow.
- Open the bathtub faucet to release any remaining water pressure.
- Check for any drips or leaks before proceeding.
Once you’re certain the water is shut off, you can continue with the replacement process.

Gabrylly Shower System, Wall Mounted Shower Faucets Sets Complete for Bathroom with High Pressure 10" Rain Shower head and 3-Setting Handheld Shower Head Set, 2 Way Shower Valve Kit, Brushed Nickel
【Pressure Balance Shower Valve】Constructed of solid brass materials, The Shower Fixtures with a rough-in valve will be no...
As an affiliate, we earn on qualifying purchases.
Removing the Old Faucet Valve
To remove the old faucet valve, you’ll need a wrench to loosen the retaining nut. Start by turning off the water supply and draining any remaining water from the pipes. Locate the retaining nut underneath the faucet handle and use the wrench to loosen it counterclockwise. Once the nut is loose, carefully remove it and set it aside.
Gently pull the faucet handle off to expose the valve stem. Next, use a pair of pliers to grip the valve stem and twist it counterclockwise until it comes free. Be careful not to damage any surrounding pipes or fittings.
With the old valve removed, you can now proceed to installing the new faucet valve.
Moving on to installing the new faucet valve…
Installing the New Faucet Valve
Now that you’ve successfully removed the old faucet valve, it’s time to install the new one. Here are some tips for a smooth installation process:
- Begin by cleaning the valve seat thoroughly to ensure a proper seal.
- Apply plumber’s tape to the threads of the new valve to prevent leaks.
- Insert the new valve into the faucet body and tighten it securely using a wrench.
- Connect the water supply lines to the valve, ensuring they are tight but not over-tightened.
- Finally, turn on the water supply and check for any leaks.
Common installation mistakes to avoid include not cleaning the valve seat properly, forgetting to use plumber’s tape, and over-tightening the connections.
Following these simple steps will help you successfully install your new faucet valve and avoid any issues down the line.
Conclusion
So there you have it, replacing a bathtub faucet valve is a simple and straightforward process.
With the right tools and materials, you can easily tackle this task on your own.
Just remember to turn off the water supply and follow the step-by-step instructions provided.
By the end, you’ll feel like a plumbing expert yourself!
Don’t worry, you’ve got this.