
I’ve been there. Standing in a worn-out bathtub, the water leaking through the cracks, feeling frustrated and in dire need of an upgrade.
But fear not, my fellow mobile homeowners! I’ve got you covered. In this article, I’ll guide you through the process of replacing your bathtub in a mobile home. With my detailed instructions and firsthand experience, you’ll be enjoying a brand new, leak-free bathing oasis in no time.
So let’s roll up our sleeves and get to work!
Key Takeaways
- Thoroughly inspect the current bathtub for wear, cracks, or leaks and assess if it is severely damaged or outdated.
- Gather the necessary tools and materials, including measuring the dimensions of the bathroom and considering the layout and design of the mobile home.
- Safely remove the old bathtub by turning off the water supply, disconnecting the plumbing, and disposing of the old bathtub responsibly.
- Install the new bathtub in the mobile home by measuring the space, ensuring a secure fit, and connecting the drain pipe securely.

Danco Mobile Home RV Tub Shower Center-Set Faucet, 8 inch, 2-Handle, Chrome with Clear Acrylic Handles (33156X)
- Suitable for Mobile Homes and RVs: Designed for mobile home and RV showers
- 8-Inch Center-Set Design: Features separate acrylic handles for hot and cold
- Compact Dimensions: Faucet base is 10-3/8 inches wide
As an affiliate, we earn on qualifying purchases.
As an affiliate, we earn on qualifying purchases.
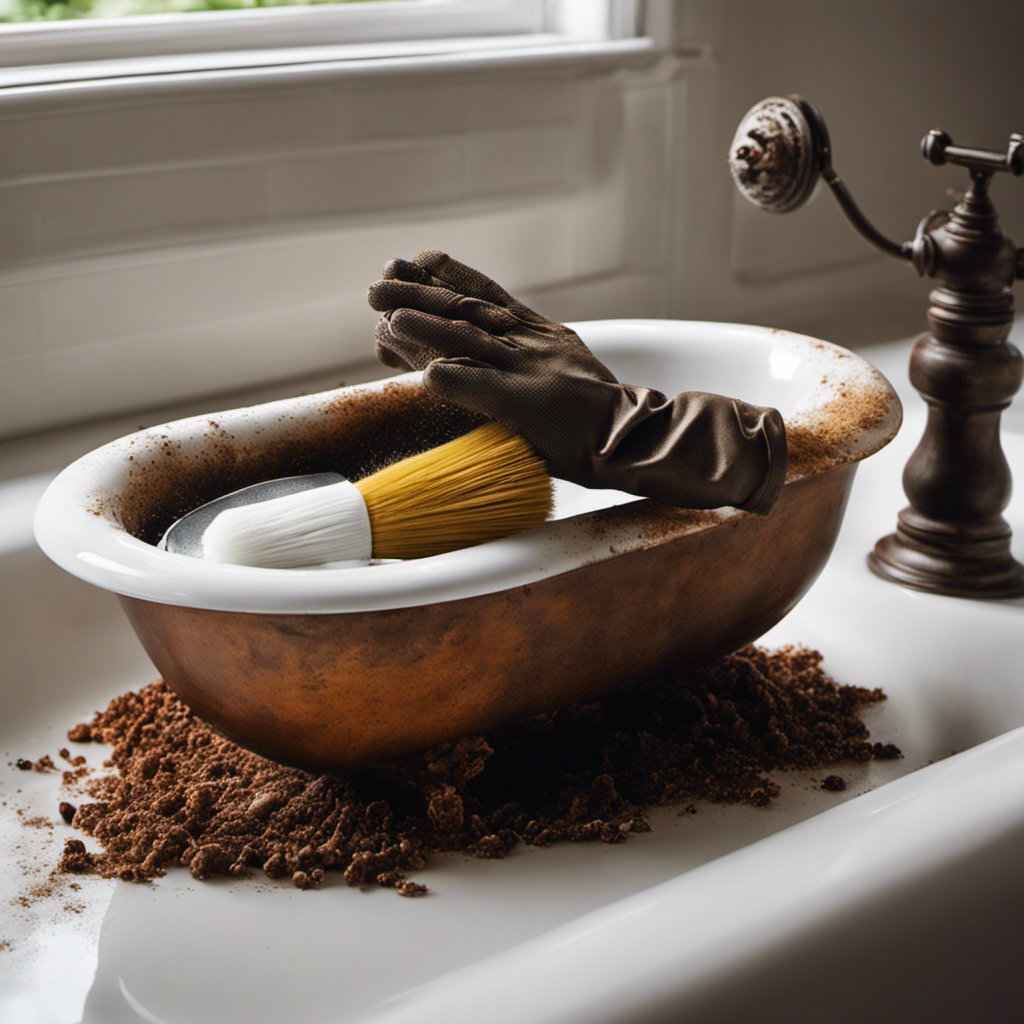
Assessing the Condition of the Current Bathtub
Before you start, make sure to assess the condition of the current bathtub. Evaluating the damage is crucial to determine the extent of the replacement required.
As an experienced professional, I suggest thoroughly inspecting the bathtub for any signs of wear, cracks, or leaks. Check the surrounding walls and flooring for water damage or mold growth, as these may indicate underlying issues.
Additionally, consider alternative options such as refinishing or reglazing the bathtub if the damage is minimal. This can save you time and money compared to a full replacement.
However, if the bathtub is severely damaged or outdated, replacing it completely might be the best solution. By carefully evaluating the condition and exploring alternative options, you can make an informed decision on how to proceed with replacing the bathtub in your mobile home.
Gathering the Necessary Tools and Materials
First, you’ll need to gather all the necessary tools and materials for the job. When preparing the bathroom space for a new bathtub in your mobile home, it’s crucial to have the right equipment on hand.
Start by measuring the dimensions of your bathroom to ensure the new bathtub will fit properly. Consider the layout and design of your mobile home to choose a bathtub that complements the overall aesthetic.
In addition to the bathtub, you’ll need a level, a wrench, a screwdriver, plumbers tape, a putty knife, and silicone caulk. These tools will aid in the installation process and ensure a secure and watertight fit.
With everything gathered, you can now move on to removing the old bathtub safely.
Removing the Old Bathtub Safely
To safely remove the old tub, you’ll need to disconnect the plumbing and remove any surrounding fixtures. Here’s a step-by-step guide on how to remove your old bathtub:
- Turn off the water supply and disconnect the plumbing using a wrench.
- Remove any screws or nails securing the tub to the wall or floor.
- Carefully lift the tub, making sure to have someone assist you to avoid injury.
Dispose of the old bathtub responsibly by contacting your local waste management facility or recycling center.
- Clean the area thoroughly, removing any debris or adhesive left behind.
The bathtub removal process requires caution and attention to detail. By following these steps, you can safely remove your old tub and prepare for the installation of a new one.
Remember to always dispose of your old tub responsibly to minimize environmental impact.
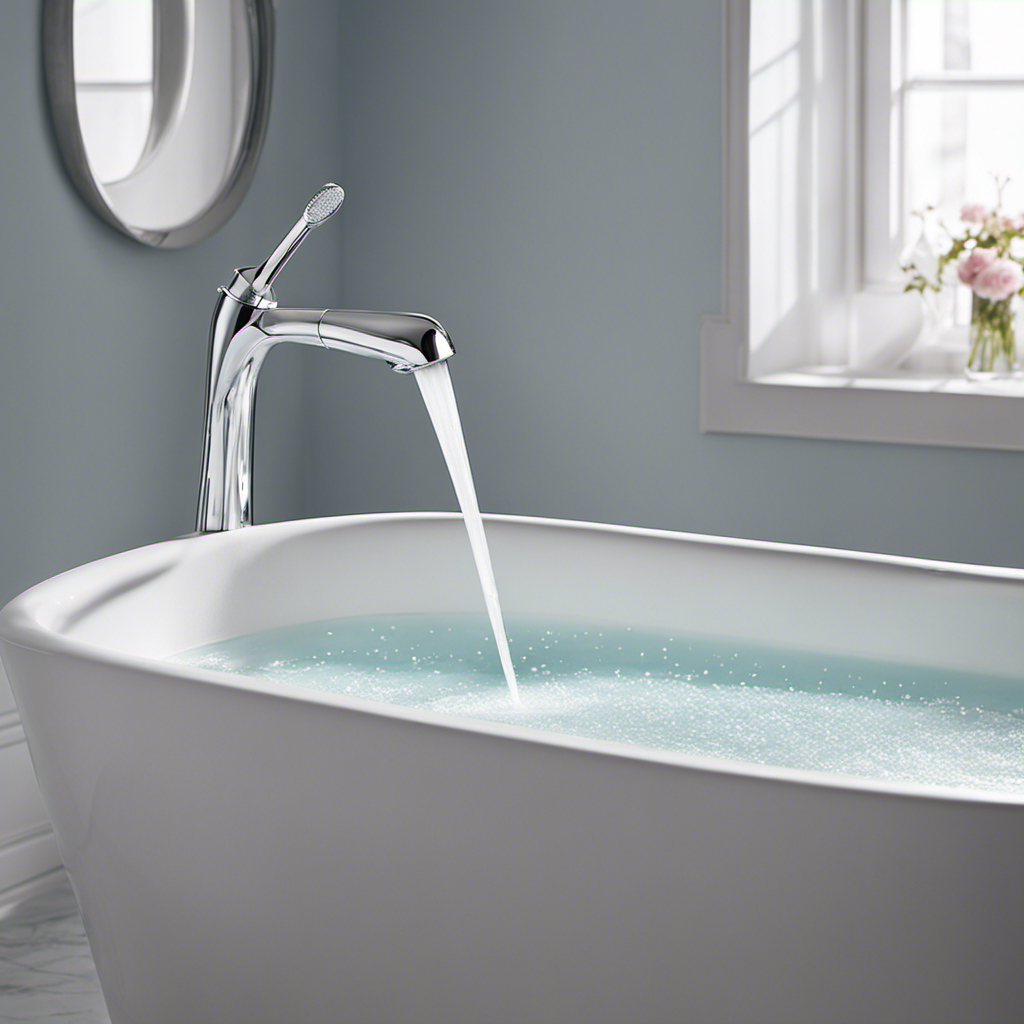
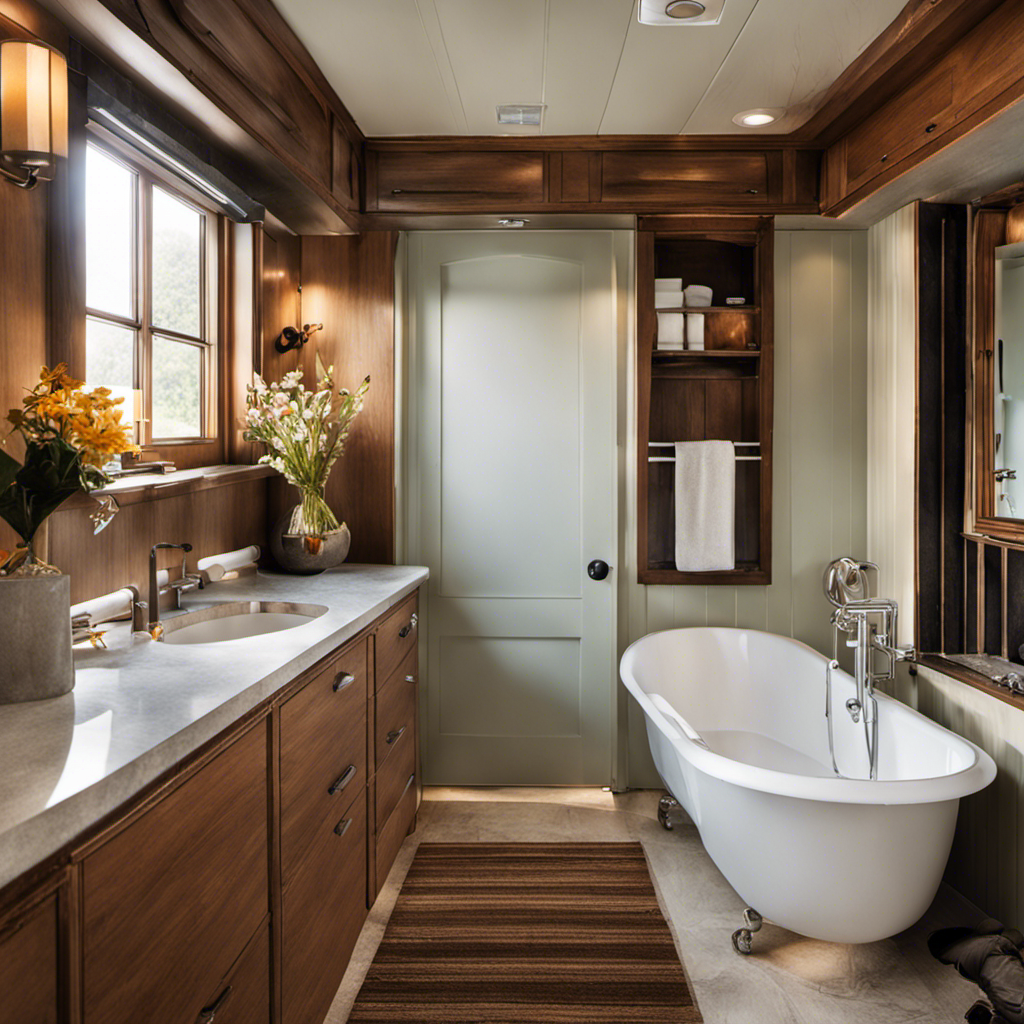
Installing the New Bathtub in the Mobile Home
Once you’ve safely removed the old tub, it’s time to start installing the new one in your mobile home. Properly aligning the new bathtub is crucial to ensure a secure fit.
Begin by measuring the space and ensuring that the new tub will fit properly. Use a level to make sure the tub is sitting evenly and adjust as needed.
Next, it’s essential to ensure proper drainage in the mobile home. Connect the drain pipe to the new tub, making sure it is secure and watertight. Check for any leaks and fix them immediately.
Once the tub is aligned and the drainage is set, you can move on to the finishing touches and clean-up, which will give your new bathtub installation a polished and professional look.
Finishing Touches and Clean-up
Now that the new tub is in place, it’s time to add the finishing touches and give your installation a polished look. Here are some tips to help you achieve that:
-
Install decorative accents such as trim or molding around the edges of the tub to enhance its appearance.
-
Use a caulk gun to seal the edges of the tub with silicone caulk. This will prevent water from seeping in and causing damage.
-
Clean the tub thoroughly with a non-abrasive cleaner to remove any dirt or residue from the installation process.
-
Polish the tub surface using a high-quality acrylic polish to restore its shine and protect it from stains.
-
Finally, step back and admire your handiwork. You’ve successfully replaced your bathtub and added those little touches that make all the difference.
Conclusion
After successfully replacing a bathtub in my mobile home, I can conclude that it’s a manageable task with the right tools and knowledge.
By carefully assessing the condition of the old bathtub and gathering the necessary materials, I was able to remove it safely and install the new one seamlessly.
The transformation was remarkable, and the final result exceeded my expectations.
It’s a rewarding experience that adds value to both the functionality and aesthetics of the mobile home.
Don’t hesitate to embark on this project; it’s well worth the effort.