Hey there!
Ever wondered how to replace a bathtub spigot? Well, I’ve got you covered.
In this article, I’m going to walk you through the step-by-step process of replacing that old spigot with a shiny new one.
We’ll start by gathering the necessary tools, then shut off the water supply, remove the old spigot, install the new one, and finally, test it out.
So grab your toolbox and let’s get started on this bathtub upgrade!
Key Takeaways
- Choose a spigot compatible with existing plumbing system and aesthetic preferences
- Prioritize safety precautions: turn off water supply, use protective eyewear and gloves, have bucket or towel ready
- Remove the old spigot carefully and prepare for installing the new spigot
- Test the new spigot for smooth water flow, desired pressure, and address any issues or leaks immediately.

Shower Faucet Set, 12" Ceiling Mount Rainfall Shower System with 2 Rain Shower Head and Multi-function Handheld Head Push Button Diverter Shower Faucet Trim Kit (12", Matte Black)
COMPREHENSIVE SHOWER SYSTEM- This shower faucet set comes with two shower heads that can be used together or...
As an affiliate, we earn on qualifying purchases.
Gathering the Necessary Tools
First, you’ll need to gather the tools you’ll need for replacing the bathtub spigot.
Choosing the right spigot is crucial to ensure a proper fit and functionality. Look for spigots that are compatible with your existing plumbing system and meet your aesthetic preferences.
It’s important to prioritize safety precautions while working on this project. Make sure to turn off the water supply to the bathtub before starting any work. Use protective eyewear and gloves to prevent any injuries. Additionally, have a bucket or towel ready to catch any water that may leak during the process.
Having a pipe wrench, pliers, and Teflon tape on hand will make the installation process smoother.

VANFOXLE Shower Faucet Set Matte Black Shower System,Push Button Diverter Shower Faucet with 2 in 1 Handheld,Ceiling Mount 10 Inch Shower Head with 6 Inch Wall Mount Shower Head
Push Button Diverter: Vanfoxle has developed an improved version of water control —— Replacing the traditional square-shaped controller...
As an affiliate, we earn on qualifying purchases.
Shutting off the Water Supply
Before you can begin the process, make sure that you shut off the water supply to the bathtub. This is an essential step to prevent any water leakage or damage while replacing the spigot.
To turn off the water mains, locate the main water valve, usually located in the basement or utility room. Turn the valve clockwise until it is fully closed. This will shut off the water supply to the entire house.
If you prefer to only shut off the water supply to the bathtub, you can locate and close the individual shut off valves. These valves are typically located near the bathtub, either underneath or behind the wall. Turn the valve clockwise until it is fully closed, ensuring that water flow to the bathtub is completely stopped.

Gabrylly Shower System, Wall Mounted Shower Faucets Sets Complete for Bathroom with High Pressure 10" Rain Shower head and 3-Setting Handheld Shower Head Set, 2 Way Shower Valve Kit, Brushed Nickel
【Pressure Balance Shower Valve】Constructed of solid brass materials, The Shower Fixtures with a rough-in valve will be no...
As an affiliate, we earn on qualifying purchases.
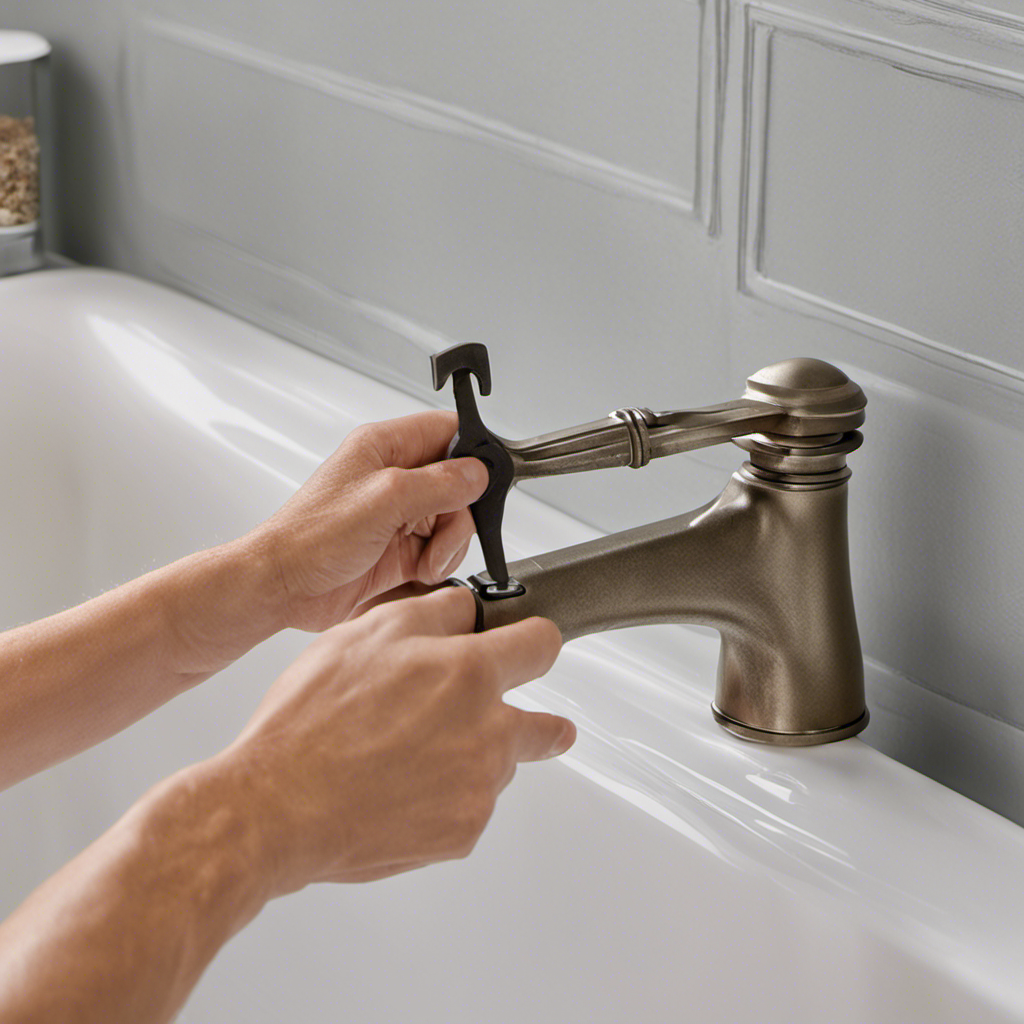
Removing the Old Spigot
To start, you’ll need to locate the screws holding the old spigot in place. Before replacing the spigot, it’s important to identify the type of spigot you have. Common problems with bathtub spigots include leaks, low water pressure, and difficulty in turning the handle. There are several different types of bathtub spigots available in the market, including compression, ball, cartridge, and disk spigots. Each type has its own unique mechanism and requires specific steps for removal.
Compression spigots, for example, have a valve stem that is tightened to stop the water flow. To remove the old spigot, you’ll need to turn off the water supply and use a screwdriver to unscrew the screws holding it in place. Once the old spigot is removed, you can proceed with installing the new spigot.

gotonovo Rainfall Bathroom Shower System Rain Shower Head and Handle Set Wall Mounted Shower Complete Combo Solid Brass Pressure Balancing Shower Mixer Valve 10 Inch Matte Black
1. 10-Inch Rainfall Shower Head – Luxurious Shower Experience: Oversized 10-inch square rainfall shower head delivers wide, even...
As an affiliate, we earn on qualifying purchases.
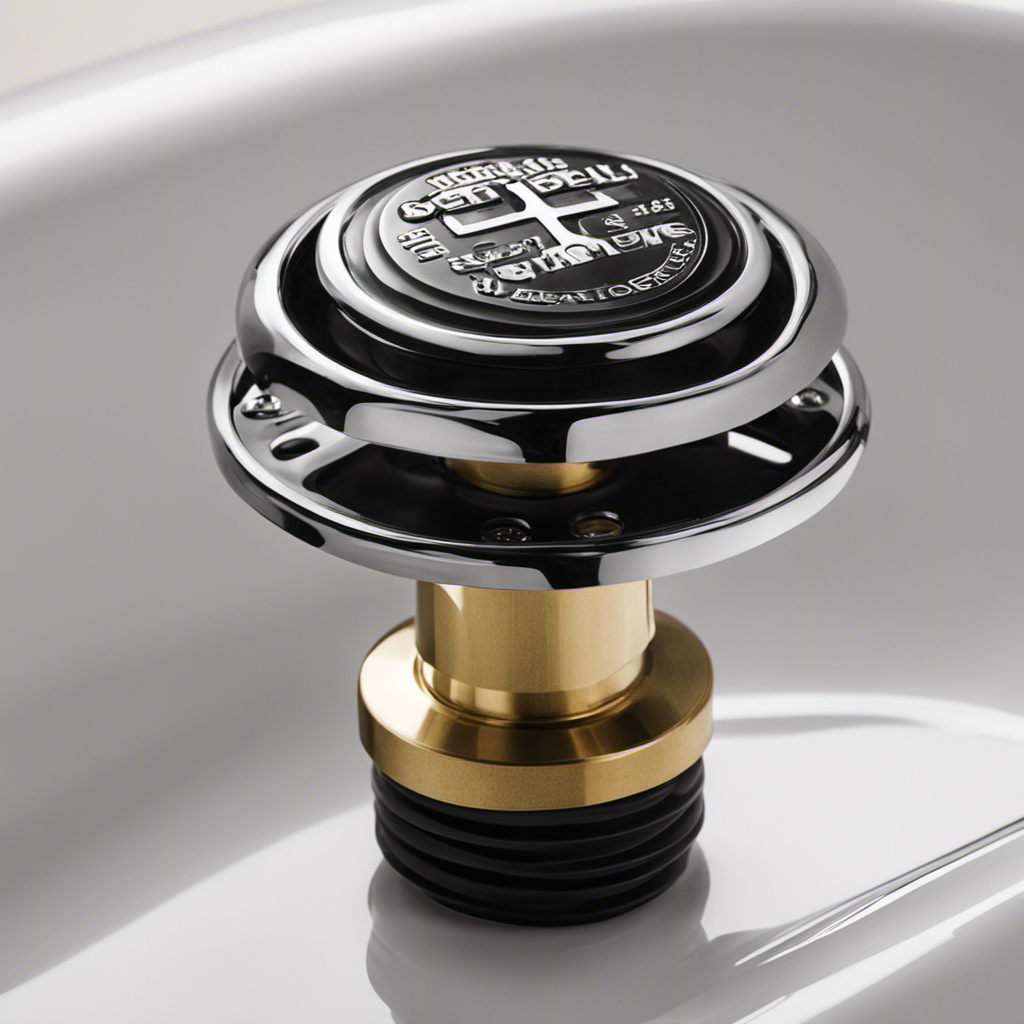
Installing the New Spigot
Once you’ve located the screws holding the old spigot in place, it’s time to install the new one. Proper maintenance of bathtub spigots is essential for the longevity and functionality of your bathroom fixtures. When choosing the right spigot for your bathroom decor, consider the style, finish, and functionality that best suits your needs. Here is a helpful table to guide you in selecting the perfect spigot:
| Style | Finish | Functionality |
|---|---|---|
| Traditional | Chrome | Single handle |
| Modern | Brushed nickel | Dual handle |
| Vintage | Oil-rubbed bronze | Pull-out sprayer |
| Contemporary | Polished brass | Wall-mounted |
| Industrial | Matte black | Waterfall feature |
Testing the New Spigot
After installing the new spigot, it’s important to test it to ensure proper functionality and check for any leaks.
Testing the new spigot is a crucial step in the installation process. To start, turn on the water supply and observe the water flow. Make sure the water comes out smoothly and at the desired pressure. If there are any issues, such as low water pressure or irregular flow, it may indicate a problem with the installation or the spigot itself.
Additionally, check for any leaks around the spigot or at the connection points. Leaks can lead to water damage and should be addressed immediately.
Conclusion
In conclusion, replacing a bathtub spigot may seem daunting, but it can be easily accomplished with the right tools and know-how. ‘Practice makes perfect’ applies to any DIY project. By following the steps outlined in this article, you can confidently shut off the water supply, remove the old spigot, install the new one, and test it for functionality.
So go ahead, tackle that spigot replacement like a pro and enjoy the satisfaction of a job well done.