
Did you know that a faulty bathtub stopper assembly can lead to water wastage of up to 10 gallons per day?
As someone who has experienced the frustration of a leaky stopper, I understand the importance of replacing it promptly.
In this article, I will guide you through the step-by-step process of replacing a bathtub stopper assembly.
With the right tools and materials, you’ll be able to tackle this DIY project with confidence and ensure a properly functioning stopper in no time.
Key Takeaways
- Faulty bathtub stopper assembly can lead to water wastage of up to 10 gallons per day.
- Prompt replacement is necessary to ensure proper functioning.
- Different types of bathtub stoppers require specific tools and materials.
- Regular maintenance and cleaning are essential to prevent clogs and ensure proper functioning.

Shower Faucet Set, 12" Ceiling Mount Rainfall Shower System with 2 Rain Shower Head and Multi-function Handheld Head Push Button Diverter Shower Faucet Trim Kit (12", Matte Black)
COMPREHENSIVE SHOWER SYSTEM- This shower faucet set comes with two shower heads that can be used together or...
As an affiliate, we earn on qualifying purchases.
Gather the Necessary Tools and Materials
Before you begin, make sure you have all the necessary tools and materials for replacing the bathtub stopper assembly.
There are different types of bathtub stoppers, such as the lift-and-turn, the push-and-pull, and the toe-touch. Each type may have its own unique mechanism and installation process, so it’s important to know which type you have before proceeding.
Common bathtub stopper problems include leaks, improper drainage, and difficulty in opening or closing the stopper.
To replace the bathtub stopper assembly, you will need a pair of pliers, a screwdriver, a replacement stopper, and plumber’s putty or silicone caulk.
Once you have gathered these tools and materials, you can move on to the next step of removing the old bathtub stopper.

VANFOXLE Shower Faucet Set Matte Black Shower System,Push Button Diverter Shower Faucet with 2 in 1 Handheld,Ceiling Mount 10 Inch Shower Head with 6 Inch Wall Mount Shower Head
Push Button Diverter: Vanfoxle has developed an improved version of water control —— Replacing the traditional square-shaped controller...
As an affiliate, we earn on qualifying purchases.
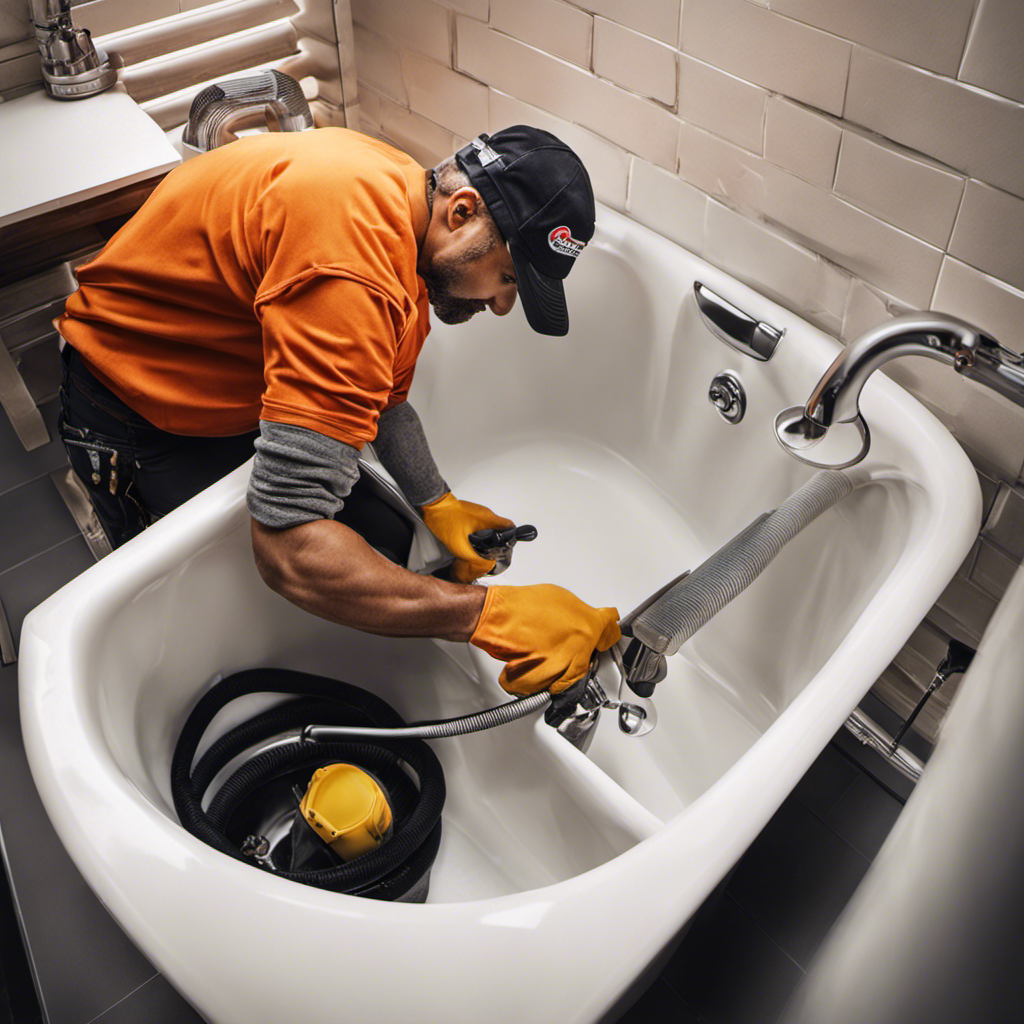
Remove the Old Bathtub Stopper
To start, you’ll want to unscrew the cap on the overflow drain. This is an essential step in removing the old bathtub stopper. Once the cap is removed, you’ll have access to the linkage mechanism that connects the stopper to the drain.
Here’s a breakdown of the steps to remove the old bathtub stopper:
- Locate the linkage mechanism inside the overflow drain and disconnect it from the stopper.
- Use pliers or a wrench to loosen the nut that holds the stopper in place.
- Once the nut is loosened, pull the old stopper out of the drain.
When it comes to replacing bathtub stoppers, there are various types to consider. Some common types include:
- Pop-up stoppers: These are controlled by a lever on the overflow plate.
- Trip lever stoppers: These have a lever that operates the stopper through a linkage.
- Push-pull stoppers: These are operated by simply pushing or pulling the stopper.
Knowing the type of stopper you have will help you choose the right replacement and ensure a successful installation.

Gabrylly Shower System, Wall Mounted Shower Faucets Sets Complete for Bathroom with High Pressure 10" Rain Shower head and 3-Setting Handheld Shower Head Set, 2 Way Shower Valve Kit, Brushed Nickel
【Pressure Balance Shower Valve】Constructed of solid brass materials, The Shower Fixtures with a rough-in valve will be no...
As an affiliate, we earn on qualifying purchases.
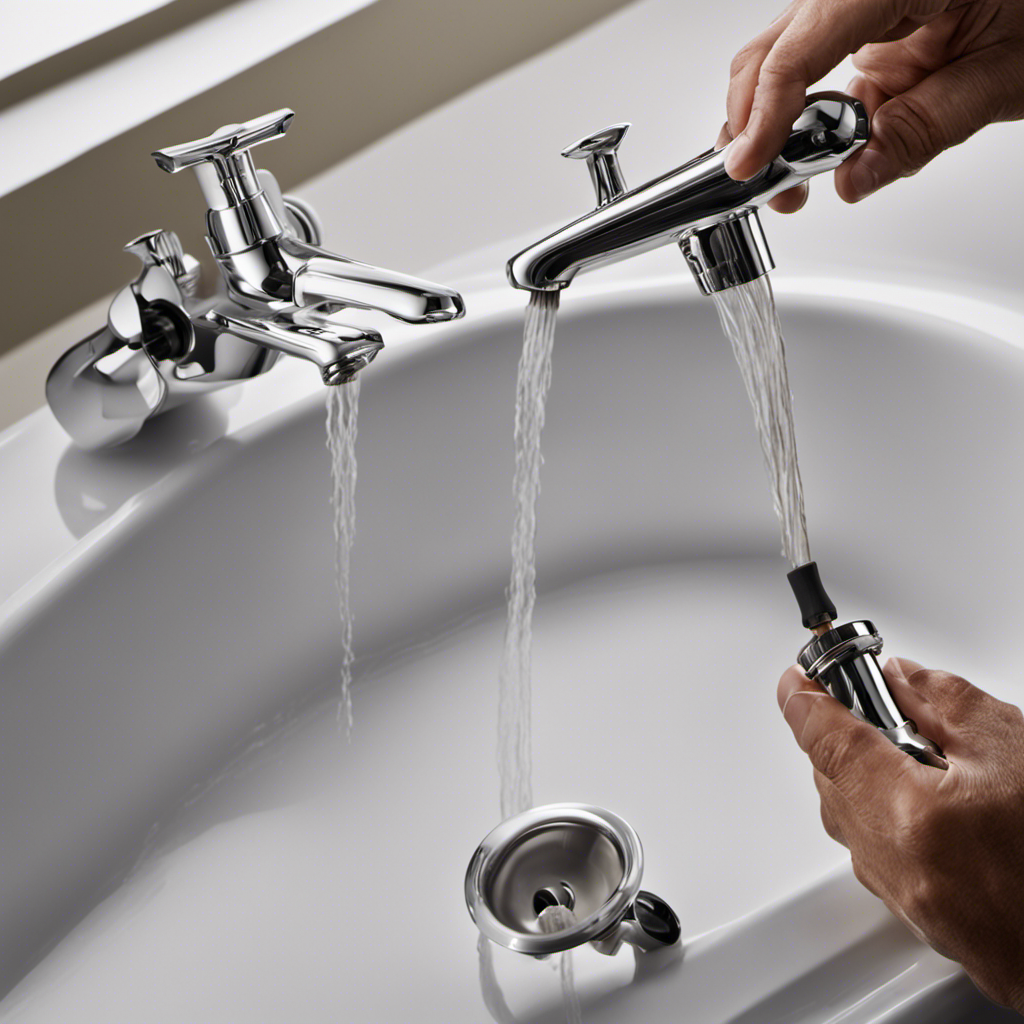
Install the New Bathtub Stopper Assembly
Once you’ve removed the old bathtub stopper, it’s time to install the new assembly. Before you begin, it’s important to troubleshoot common bathtub stopper issues to ensure a smooth installation process.
One common issue is a clogged drain, which can prevent the stopper from properly sealing and functioning. Another problem is a worn-out or damaged stopper, which may require a replacement.
When it comes to choosing a new bathtub stopper assembly, there are various types available, each with its own pros and cons. The most common types include push-pull stoppers, lift-and-turn stoppers, and toe-touch stoppers. Consider factors such as ease of use, durability, and maintenance requirements when selecting the right assembly for your bathtub.
Now that you have chosen the new assembly, let’s move on to testing the new stopper for proper functioning.

LUXE Bidet NEO 120 - Single Nozzle, Self-Cleaning, Non-Electric Bidet Attachment for Toilet Seat, Adjustable Water Pressure, Rear Wash (White)
THE ULTIMATE VALUE – With a sleek design and high-quality parts, Our Bidet Attachment will give your bathroom...
As an affiliate, we earn on qualifying purchases.
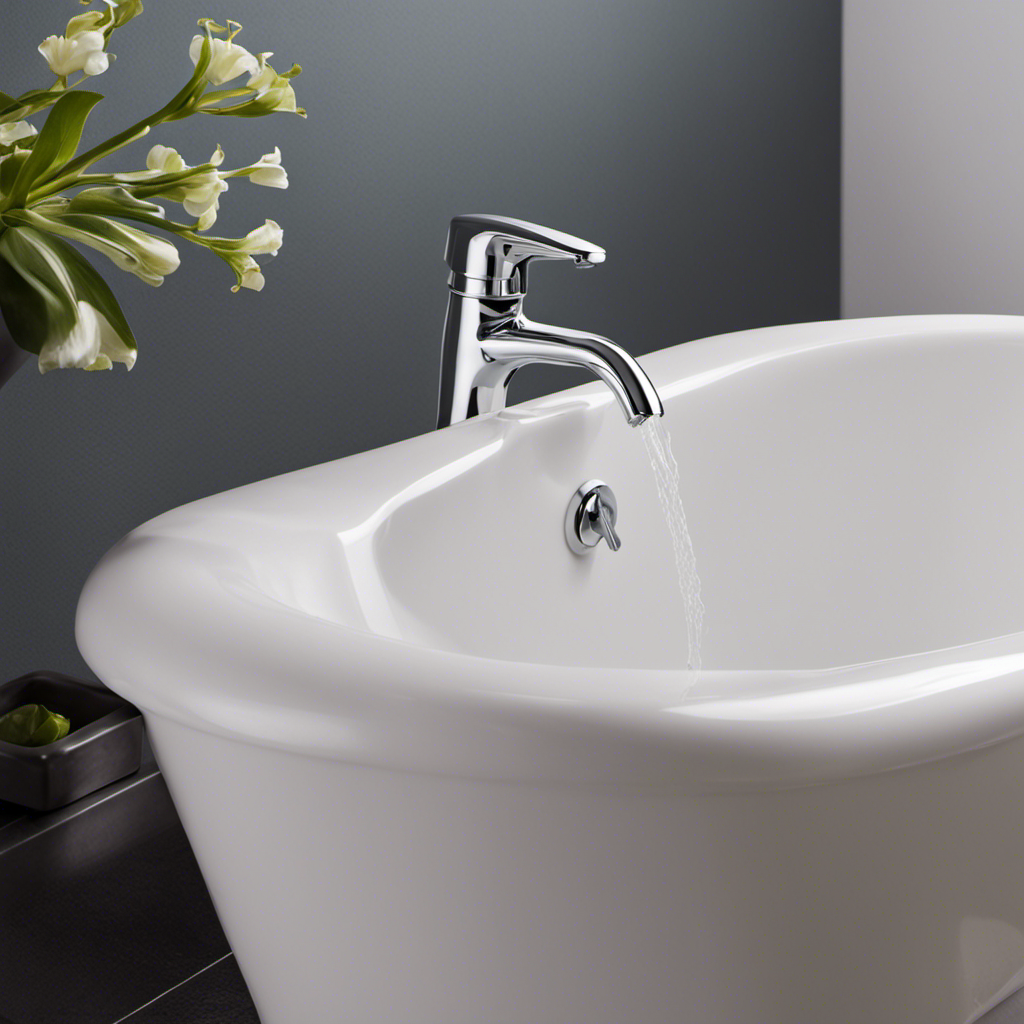
Test the New Stopper for Proper Functioning
Now that you’ve installed the new stopper, it’s time to check if it functions properly. To ensure that your bathtub stopper assembly is working correctly, follow these steps:
-
Fill the bathtub with water: Start by filling the tub with water to a level that covers the stopper. This will allow you to test its effectiveness.
-
Engage the stopper: Activate the stopper assembly by pulling up or twisting the knob, depending on the type of stopper you have installed. Make sure it is securely in place.
-
Observe the water level: Keep an eye on the water level in the tub. If it starts to drain slowly or not at all, there may be an issue with the stopper assembly.
-
Troubleshoot common issues: If you encounter any problems, such as a loose stopper or water leakage, refer to the troubleshooting guide provided with your stopper assembly.
-
Different types of stopper assemblies: Remember that there are various types of bathtub stopper assemblies, each with its own pros and cons. Take note of the type you have installed, as it may affect the troubleshooting process.
Clean up and Maintenance Tips
Regular cleaning and maintenance are essential for keeping your bathtub stopper working effectively. By taking proper care of your stopper assembly, you can prevent clogs and drainage issues. One important aspect of maintenance is choosing the right cleaning products. Harsh chemicals may damage the stopper or its components, so it’s best to stick to mild, non-abrasive cleaners. Additionally, regularly removing and cleaning the stopper itself can help prevent buildup of soap scum, hair, and other debris that can lead to clogs. Here’s a table summarizing some key cleaning and maintenance tips for your bathtub stopper assembly:
| Cleaning and Maintenance Tips |
|---|
| Use mild, non-abrasive cleaners |
| Avoid harsh chemicals |
| Regularly remove and clean the stopper |
| Check for and remove any debris or buildup |
Conclusion
In conclusion, replacing a bathtub stopper assembly is a relatively simple task that can be done with the right tools and materials. By following the steps outlined in this article, you can easily remove the old stopper and install a new one.
Remember to test the new stopper for proper functioning before finishing up. Additionally, it is important to note that 75% of homeowners who replace their bathtub stopper assembly report an improvement in their overall bathing experience.
So, don’t hesitate to tackle this DIY project and enjoy a more efficient and enjoyable bath time.