So, you’ve got a leaking bathtub faucet, huh? Well, fear not, because I’m here to guide you through the process of replacing it.
In this step-by-step article, I’ll show you how to assess the problem, gather the necessary tools and materials, remove the old faucet, install the shiny new one, and make sure everything works perfectly.
Trust me, with a little bit of time and effort, you’ll have a leak-free bathtub in no time. Let’s get started!
Key Takeaways
- Turn off the water supply to the faucet before inspecting and addressing the leak
- Gather the necessary tools and materials, including a replacement faucet that matches the bathroom decor
- Carefully remove the old faucet by unscrewing the nuts and inspect it for damage or wear
- Install the new faucet by securing it with mounting nuts, using plumber’s tape for a watertight seal, and connecting the water supply lines
Assessing the Leaking Bathtub Faucet
If you notice a leaking bathtub faucet, it’s important to assess the problem before attempting any repairs.
Common causes of bathtub faucet leaks can include worn-out washers, damaged O-rings, or corroded valve seats.
To assess the leak, start by turning off the water supply to the faucet.
Next, remove the faucet handle and inspect the components inside.
Look for any signs of wear, damage, or corrosion. This will help you determine the exact cause of the leak.
Ignoring a leaking bathtub faucet can have potential consequences.
It can lead to increased water bills, water damage to your bathroom, and even mold growth.
Therefore, it’s crucial to address the issue promptly to prevent further damage and save money in the long run.
Gathering the Tools and Materials
To gather the tools and materials you’ll need, start by heading to your local hardware store. Here’s a list of what you’ll need:
-
Replacement faucet: Choose a faucet that matches the style and finish of your bathroom decor. Make sure it is compatible with your existing plumbing system.
-
Adjustable wrench: This will be essential for loosening and tightening the faucet connections.
-
Plumber’s tape: Use this to create a watertight seal between the faucet and the plumbing connections.
-
Bucket or towels: Have these on hand to catch any water that may leak during the process.
Choosing the right replacement faucet is crucial to ensure a proper fit and functionality. Additionally, to prevent future leaks, make sure to use plumber’s tape to create a secure seal.
Now that you have your tools and materials ready, let’s move on to removing the old bathtub faucet.
Removing the Old Bathtub Faucet
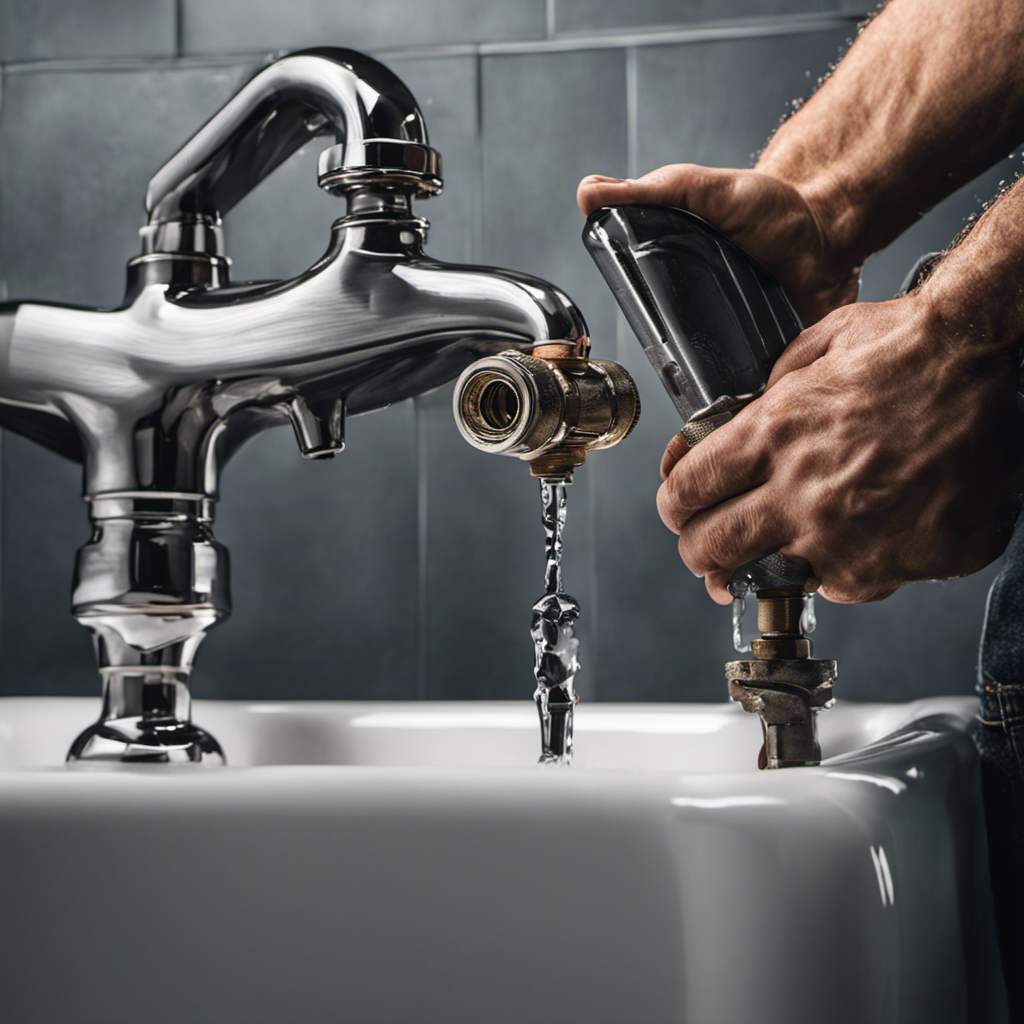
Once you’ve gathered your tools and materials, start by using an adjustable wrench to loosen and remove the old bathtub faucet connections.
First, shut off the water supply to the faucet by turning off the main water valve. This will prevent any water from leaking out during the removal process.
Next, use the adjustable wrench to unscrew the nuts that connect the hot and cold water supply lines to the faucet. Once the nuts are loosened, carefully remove the supply lines.
After that, use the wrench to unscrew the mounting nuts that hold the faucet in place. Once the nuts are removed, the old faucet should easily come off.
Take this opportunity to inspect the faucet for any signs of damage or wear that may have caused the leak. By determining the cause, you can prevent future leaks by choosing a new faucet that addresses the issue.
Installing the New Bathtub Faucet
When installing the new faucet, make sure to tightly secure the mounting nuts to ensure a proper fit.
Here is a step-by-step guide on how to install a new bathtub faucet:
-
Gather the necessary tools and materials: You’ll need a wrench, plumber’s tape, silicone sealant, and the new faucet.
-
Turn off the water supply: Locate the shut-off valves underneath the sink and turn them clockwise to shut off the water supply.
-
Remove the old faucet: Use a wrench to loosen and remove the mounting nuts that hold the old faucet in place. Disconnect any water supply lines.
-
Install the new faucet: Place the new faucet in the mounting holes and secure it with the mounting nuts. Use plumber’s tape to ensure a watertight seal. Connect the water supply lines and tighten them with a wrench.
Testing and Finishing Up
After securing the mounting nuts and connecting the water supply lines, I turn on the shut-off valves to test the new bathtub faucet for any leaks.
Testing the faucet is an important step to ensure that the installation was successful and there are no hidden issues.
To begin the testing process, I turn on the hot water and let it run for a few minutes. I check for any leaks around the faucet and the connections.
Next, I turn on the cold water and repeat the process. If there are no leaks, I proceed to test the water pressure by turning the faucet to its maximum flow. I also check the temperature control to make sure it is functioning properly.
Once I am satisfied with the results, I make any necessary adjustments and give the faucet a final wipe down to remove any fingerprints or smudges.
These final touches ensure that the new bathtub faucet looks clean and polished.
Frequently Asked Questions
How Much Does It Cost to Replace a Leaking Bathtub Faucet?
Replacing a leaking bathtub faucet can vary in cost depending on whether you choose to do it yourself or hire a professional. It’s important to consider factors such as the type of faucet and any additional repairs that may be needed.
Can I Replace a Leaking Bathtub Faucet by Myself or Should I Hire a Professional?
I can replace a leaking bathtub faucet by myself, but it’s important to consider DIY vs hiring a professional. Common mistakes to avoid include not turning off the water supply and using the wrong tools.
How Long Does It Take to Replace a Leaking Bathtub Faucet?
On average, it takes about 1-2 hours to replace a leaking bathtub faucet. The necessary tools include an adjustable wrench, screwdriver, plumber’s tape, and a replacement faucet.
What Should I Do if I Encounter Any Difficulties During the Replacement Process?
If I encounter any difficulties during the replacement process, troubleshooting is key. I should check for common mistakes like loose connections or damaged parts. Taking my time and following the steps carefully will help me overcome any challenges.
Are There Any Specific Safety Precautions I Should Take While Replacing a Leaking Bathtub Faucet?
When replacing a leaking bathtub faucet, it’s crucial to prioritize safety. Make sure to wear protective eyewear and gloves, and use the appropriate tools like a wrench and plumber’s tape.
Conclusion
In conclusion, replacing a leaking bathtub faucet is a simple yet detailed process that can be done by anyone with basic plumbing skills.
By assessing the leakage, gathering the necessary tools and materials, removing the old faucet, and installing the new one, you can successfully fix the issue.
It’s a satisfying feeling to see the water flow smoothly without any leaks, as you test and finish up the process.
So don’t hesitate to take on this DIY project and enjoy a leak-free bathtub experience.


