I’ve been there – standing in the bathroom, listening to the incessant dripping of a leaky bathtub faucet. It’s not only annoying, but it’s also wasting water and money.
But fear not, because I’m here to guide you through the process of replacing that troublesome faucet. In this step-by-step guide, I’ll show you how to:
- Assess the leak
- Gather the necessary tools and materials
- Shut off the water supply
- Remove the old faucet
- Install the new one
Let’s get started and bid farewell to that pesky drip!
Key Takeaways
- Assess the leak by turning off the water supply and inspecting the area for signs of water dripping or pooling.
- Gather the necessary tools and materials such as an adjustable wrench, screwdriver, pliers, bucket, towel, replacement faucet, plumber’s tape, and silicone sealant.
- Shut off the water supply by locating the shut-off valve for the bathtub and turning it clockwise until fully closed.
- Remove the old faucet by locating and removing the screws or nuts securing the faucet handle, lifting off the handle, and inspecting it for damage or wear.
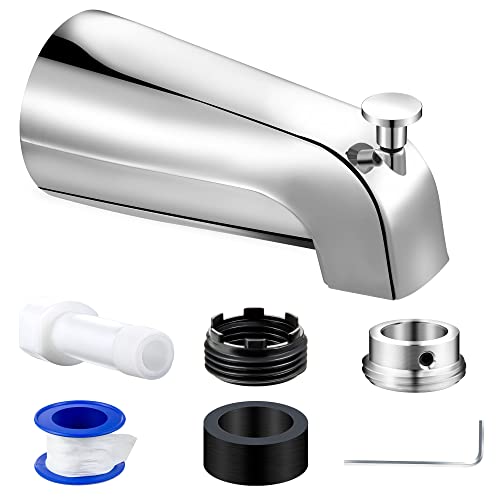
Dreyoo Tub Spout (Universal Fits 1/2" Copper Pipe, 1/2" IPS and 3/4" IPS), Bathroom Bathtub Faucet with Adapters and Hex Wrench (Chrome,Simple)
Universal Diverter Tub Spout: this Dreyoo tub spout with diverter is compatible with 1/2" copper pipe connection, 1/2"…
As an affiliate, we earn on qualifying purchases.
As an affiliate, we earn on qualifying purchases.
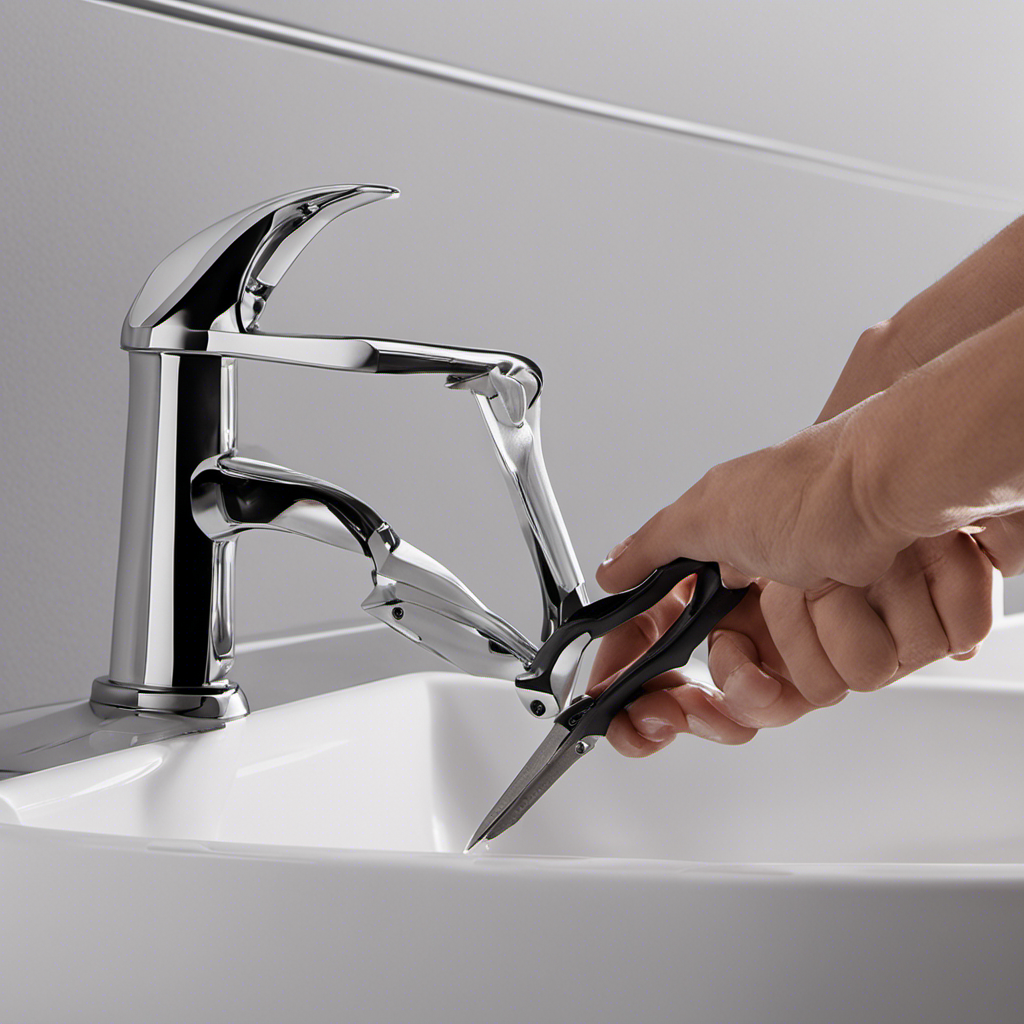
Assessing the Leak
First, you’ll want to check if the leak is coming from the faucet or the handles. To do this, turn off the water supply to the bathtub.
Next, remove the faucet handle by unscrewing it counterclockwise. Once the handle is off, use a flashlight to inspect the area. Look for any signs of water dripping or pooling around the faucet or handles. This will help you detect the source of the leak.
If the leak is coming from the faucet itself, it may be due to a worn-out washer or valve. On the other hand, if the leak is coming from the handles, it could be a problem with the cartridge or stem.
Evaluating the severity of the leak will help you determine the necessary steps to fix it.

WORKPRO 2-Piece Adjustable Wrench Set, 6-Inch & 10-Inch Wide Jaw Black Oxide Wrench, Cr-V Steel, Metric & SAE Scales, Max Jaw Opening 15/16" & 1-5/16", for Home Repairs, Plumbing, Garage Work
DUAL-SIZE SET FOR VERSATILE USE: This 2-piece set includes 6-inch and 10-inch adjustable wrenches, designed for everyday household…
As an affiliate, we earn on qualifying purchases.
As an affiliate, we earn on qualifying purchases.
Gathering the Necessary Tools and Materials
To get started, you’ll need a few tools and materials for this task. Here is a list of what you will need:
| Tools | Materials |
|---|---|
| Adjustable wrench | Replacement faucet |
| Screwdriver | Plumber’s tape |
| Pliers | Silicone sealant |
| Bucket | |
| Towel |
Before you begin, make sure you choose the right replacement faucet. Measure the distance between the holes in your bathtub to ensure a proper fit. Additionally, consider the style and finish that will best match your bathroom decor.
Once you have gathered your tools and materials, you can start the process of replacing the leaky bathtub faucet. But before you do, here are a few tips for preventing future leaks:
- Regularly check your faucets for any signs of leaks or drips.
- Avoid using excessive force when turning the handles to prevent damage.
- Use plumber’s tape when installing the new faucet to create a watertight seal.
- Apply a thin layer of silicone sealant around the base of the faucet to further prevent leaks.

D-NYX 1, 4 or 5 Rolls 1/2 Inch(W) X 520 Inches(L) Teflon Plumbers Tape, Duct Sealant Tape for Shower Head, Plumbing Thread Tap, Water Pipe Sealing Plumbers PTFE Thread Seal (1 Pack)
SIZE: Teflon tape roll has a width of 1/2 inch and a length of 520 inches, which can…
As an affiliate, we earn on qualifying purchases.
As an affiliate, we earn on qualifying purchases.
Shutting Off the Water Supply
Before starting the process, make sure you shut off the water supply to the bathtub. This is an important step to prevent any water damage and ensure a smooth replacement of the leaky bathtub faucet.
Regular maintenance is crucial to keep your bathroom in good condition and prevent costly repairs. Here’s a step-by-step guide on how to shut off the water supply.
First, locate the shut-off valve for your bathtub. It is usually located near the bathtub or in the basement. Turn the valve clockwise until it is fully closed.
Once the water supply is shut off, you are ready to proceed with replacing the faucet. Remember, regular maintenance and timely repairs can save you from potential water damage and expensive repairs in the future.

GE Advanced Silicone Caulk for Kitchen & Bathroom, Clear, 2.8 fl oz Tube, 1 Pack – 100% Waterproof Silicone Sealant, 5X Stronger Adhesion, Shrink & Crack Proof
100% Silicone Caulk Protection: This silicone caulk clear provides ultimate waterproof protection, ensuring a reliable seal against water…
As an affiliate, we earn on qualifying purchases.
As an affiliate, we earn on qualifying purchases.
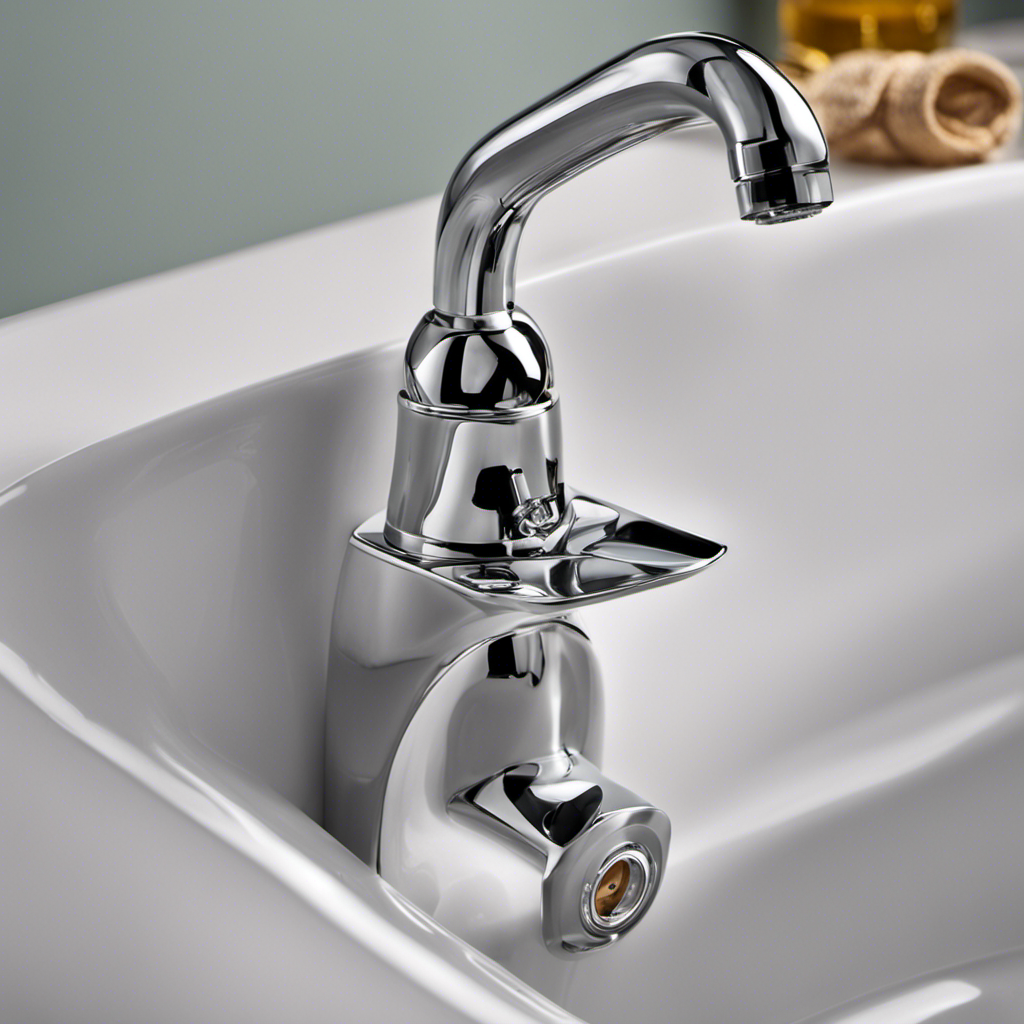
Removing the Old Faucet
Now that the water supply has been shut off, you can start removing the old faucet. To begin, locate the screws or nuts that are securing the faucet handle in place. These can usually be found underneath a decorative cap or cover.
Using a screwdriver or an adjustable wrench, carefully loosen and remove these screws or nuts. Once they are removed, you should be able to easily lift off the faucet handle.
If you’re repairing the faucet handle, now is a good time to inspect it for any damage or wear. If the handle is loose, you may need to tighten the screws or nuts that hold it in place. However, if the handle is broken or worn out, you will need to replace it with a new one.
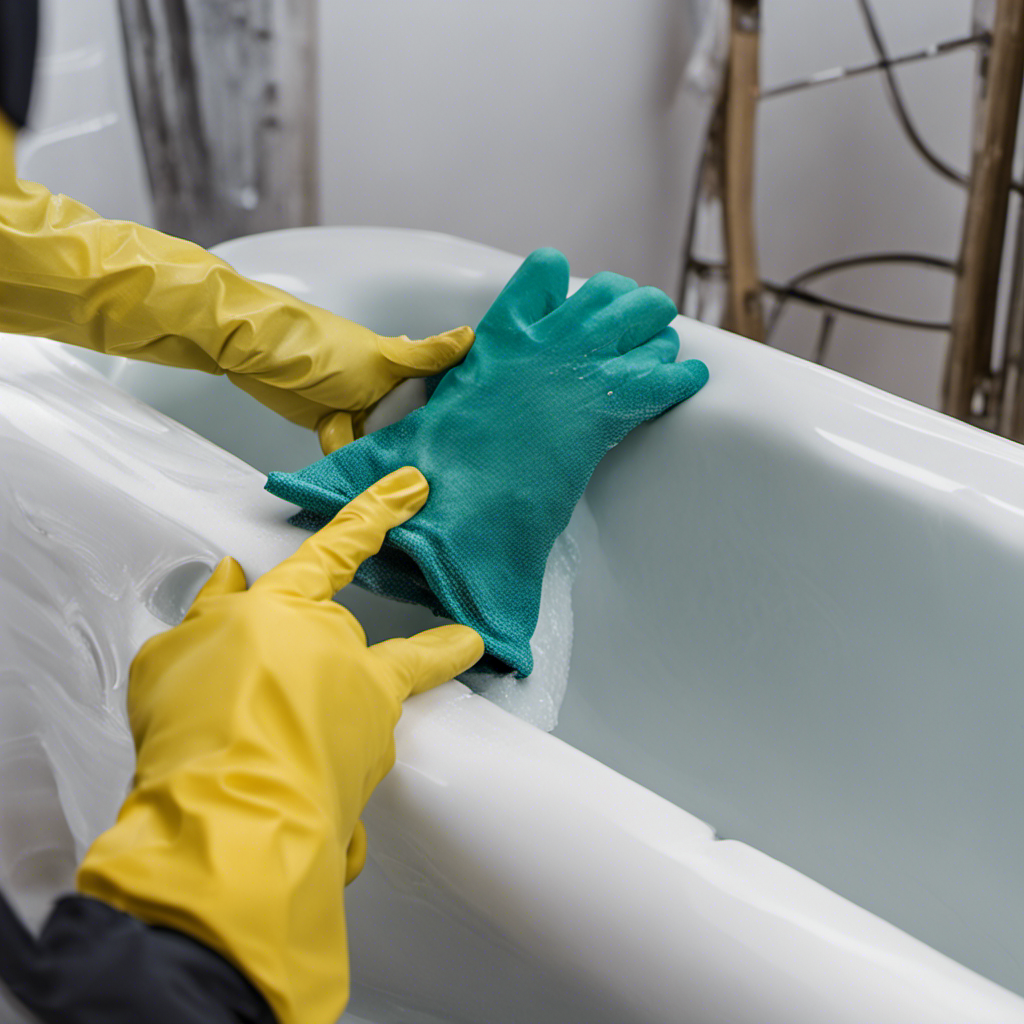
Installing the New Faucet
Once you’ve successfully removed the old faucet, it’s time to install the new one. Proper maintenance is essential to keep your bathtub faucet functioning properly. When choosing the right faucet, consider the style, finish, and functionality that suits your needs. Here’s a step-by-step guide on how to install a new bathtub faucet.
-
Begin by cleaning the surface where the old faucet was installed to ensure a smooth installation.
-
Take the new faucet and carefully align it with the mounting holes on the bathtub wall.
-
Insert the faucet into the mounting holes and secure it using the provided screws or nuts. Tighten them using a wrench or pliers, ensuring a snug fit.
-
Connect the water supply lines to the corresponding inlets on the faucet. Use a wrench to tighten the connections, but be careful not to overtighten.
-
Turn on the water supply and check for any leaks. If you notice any, tighten the connections further or use plumber’s tape to create a watertight seal.
-
Finally, test the faucet by turning it on and off to ensure proper functionality.
Frequently Asked Questions
How Can I Prevent Future Leaks in My Bathtub Faucet?
To prevent future leaks in my bathtub faucet, I need to address the common causes of leaks. Regularly check and tighten any loose connections, replace worn-out washers and O-rings, and avoid excessive force when turning the handle.
Can I Replace a Leaky Bathtub Faucet Myself, or Should I Hire a Professional Plumber?
I can replace a leaky bathtub faucet myself, but hiring a professional plumber might be a better choice. It depends on my DIY skills and the complexity of the job. Additionally, considering the cost comparison is essential.
Are There Any Specific Safety Precautions I Should Take Before Starting the Replacement Process?
Before starting the replacement process, it’s important to take safety precautions. Make sure to turn off the water supply and wear protective goggles. Also, gather the necessary tools like a wrench and plumber’s tape.
How Long Does It Typically Take to Replace a Leaky Bathtub Faucet?
On average, replacing a leaky bathtub faucet can take around 1-2 hours. The time may vary depending on the complexity of the problem and the tools available. Common causes of leaks include worn-out washers and damaged valve seats.
Are There Any Special Considerations I Should Keep in Mind if My Bathtub Faucet Is a Particular Brand or Model?
When replacing a leaky bathtub faucet, it’s important to consider any special considerations that may arise with different brands or models. These can include specific tools or instructions needed for a successful replacement.
Conclusion
In conclusion, replacing a leaky bathtub faucet is a straightforward process that can be done by anyone with basic DIY skills. By following the steps outlined in this article, you can successfully fix the leak and enjoy a properly functioning faucet once again.
So why put up with a constant drip and wasted water when you can easily take matters into your own hands? Don’t wait any longer, get started today and say goodbye to that annoying leak for good.