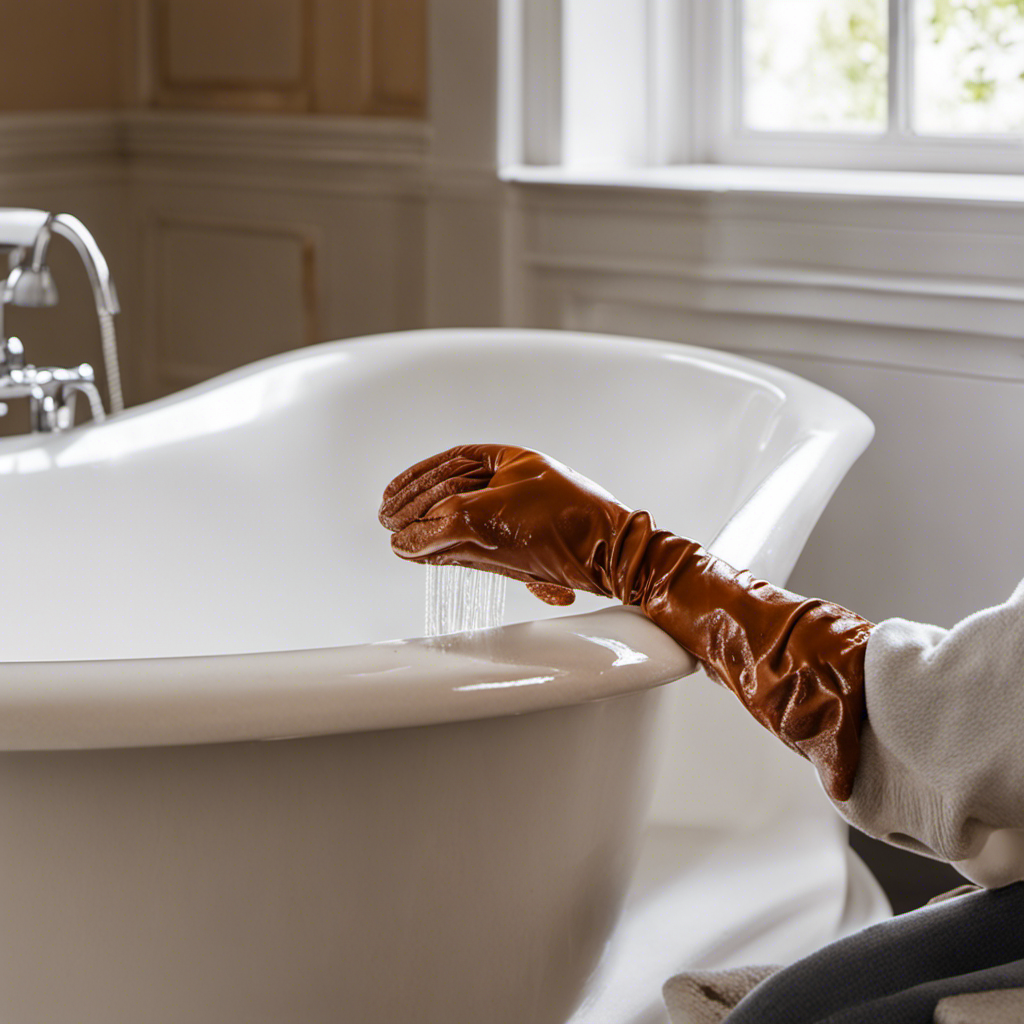

Ever found yourself knee-deep in water, desperately wishing your bathtub drain would work like a well-oiled machine? Well, fret no more!
In this guide, I’ll walk you through the step-by-step process of replacing your bathtub drain pipes. Armed with the right tools and materials, you’ll be able to tackle this task with confidence.
Say goodbye to the days of clogged drains and hello to a smoothly flowing bathtub experience. Let’s get started!
Key Takeaways
- Assess the damage and seek professional help if needed
- Gather the necessary tools and materials for the replacement
- Remove the old drain pipes carefully and properly support them
- Install the new drain pipes accurately and ensure secure connections

DANCO Touch-Toe Tub and Bath Drain Kit, Chrome, 1-Pack (51930)
- Durable 1-1/2 inch plastic tubing: Reliable performance
- Fits most standard tubs up to 15 inches: Universal compatibility
- Complete installation kit included: Easy to replace or add
As an affiliate, we earn on qualifying purchases.
As an affiliate, we earn on qualifying purchases.
Assessing the Damage: Identifying the Problem
Now, you’ll need to take a close look at the drain pipes to see if there are any cracks or leaks. Evaluating the cost of repairing or replacing the drain pipes is an important step in budgeting for the repairs.
If there are only minor cracks or leaks, you might be able to find alternative solutions such as using sealants or epoxy to fix the problem. However, if the damage is extensive or if you are unsure about how to proceed, it is best to seek professional help.
Knowing when to call a plumber or hire a contractor is crucial to ensure the job is done correctly and efficiently. They have the expertise and experience to assess the damage accurately and provide the most appropriate solution for your bathtub drain pipes.
Gathering the Tools and Materials: What You’ll Need
First, you’ll want to gather all the necessary tools and materials for the task at hand. This will ensure a smooth and efficient replacement process. Here are the items you’ll need:
- Pipe wrench
- Hacksaw
- Plunger
- Replacement drain pipes
Choosing the right drain pipes is crucial for a successful replacement. Consider factors such as material, size, and compatibility with your current plumbing system. PVC pipes are commonly used due to their durability and affordability. Additionally, make sure to measure the old pipes accurately to ensure a proper fit.
Now, let’s talk about some tips for preventing future damage. Regularly clean your drains to prevent clogs and buildup. Avoid pouring grease or oil down the drain, as they can solidify and cause blockages. Using drain filters can also help trap debris and prevent it from entering the pipes.
Lastly, consider scheduling professional inspections and maintenance to catch any potential issues before they become major problems. Taking these precautions will help extend the lifespan of your drain pipes and prevent costly repairs in the future.
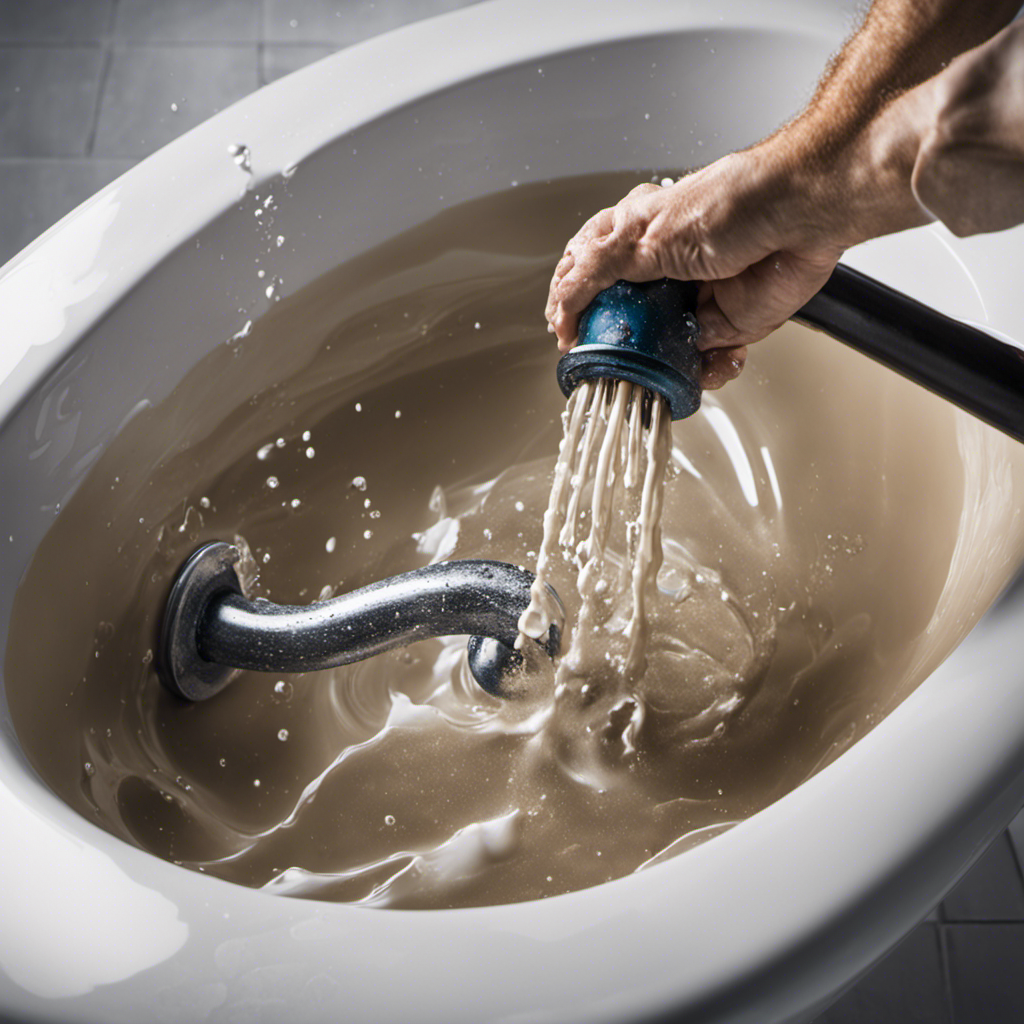
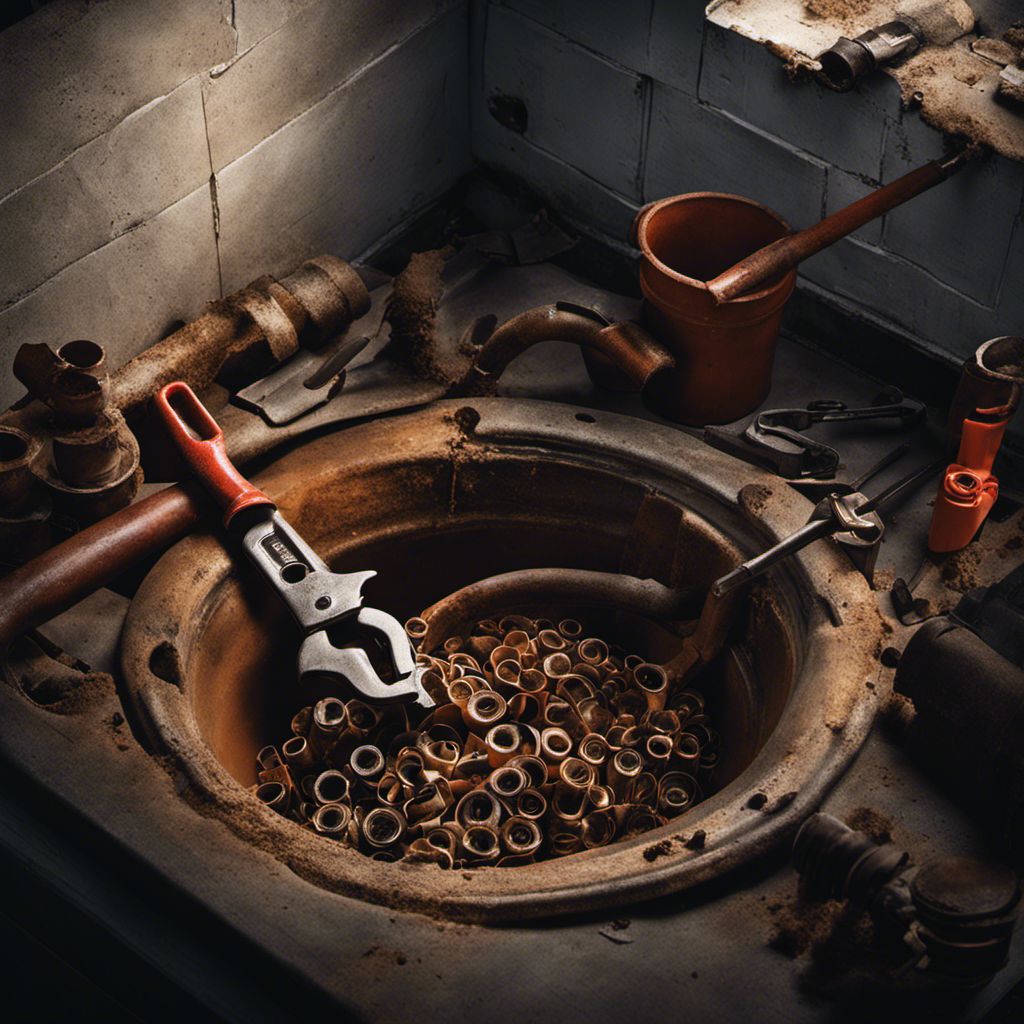
Removing the Old Drain Pipes: Step-by-Step Guide
To start, you’ll need to gather the necessary tools and materials for removing the old drain pipes. Once you have everything ready, it’s time to tackle the task of removing those rusted pipes.
First, make sure to turn off the water supply to avoid any unwanted leaks. Then, using a pipe wrench or adjustable pliers, loosen the nuts connecting the pipes. Be cautious not to apply too much force as it may cause damage. If the pipes are heavily rusted, applying a penetrating oil can help loosen them.
It’s important to be patient and take your time during this process. Common mistakes while removing pipes include using excessive force, which can lead to broken or damaged pipes, or not properly supporting the pipes while removing them, which can cause additional damage to the surrounding area.
Installing the New Drain Pipes: Ensuring a Proper Fit
Once you’ve gathered all the necessary materials, it’s important to ensure that the new drain pipes fit properly before proceeding with the installation process. To achieve a proper fit, follow these steps:
-
Measure correctly: Take accurate measurements of the old drain pipes to determine the length and diameter needed for the new ones.
-
Use sealing techniques: Apply plumber’s tape or pipe joint compound to create a tight seal and prevent leaks.
-
Align the pipes: Make sure the new drain pipes align correctly with the existing plumbing system to ensure smooth water flow.
-
Double-check the fittings: Ensure that all the fittings and connections are secure and properly tightened to avoid any potential leaks.
By measuring correctly and using proper sealing techniques, you can ensure a successful installation of the new drain pipes.
Once this step is complete, it’s time to move on to testing and finishing up: making sure everything works seamlessly.
Testing and Finishing Up: Making Sure Everything Works
Before moving on to testing and finishing up, it’s crucial to ensure that all the fittings and connections are secure and properly tightened to prevent any potential leaks.
Once the new drain pipes have been installed, it’s time to check for any troubleshooting issues and make sure everything works smoothly.
To begin, I would recommend filling the bathtub with water and observing for any leaks around the fittings and connections. Pay close attention to the area where the new drain pipes meet the existing plumbing system. If you notice any signs of water leakage, it’s important to address them immediately by tightening the fittings or replacing any faulty components.
Additionally, it’s essential to test the bathtub’s drainage by letting the water flow and ensuring it drains properly without any backups or slow draining.
Conclusion
In conclusion, replacing bathtub drain pipes can be a daunting task, but with the right tools and materials, it’s definitely doable. By following the step-by-step guide and ensuring a proper fit of the new drain pipes, you can successfully complete the project.
Just like a skilled plumber effortlessly fixing a leak, you too can master the art of replacing drain pipes and enjoy a fully functioning bathtub.
So go ahead, grab your tools and get ready to tackle this project like a pro!