
I’ve had my fair share of plumbing issues, and one problem that always seems to pop up is a faulty bathtub faucet and drain. Luckily, I’ve learned how to tackle this task head-on, and I’m here to share my knowledge with you.
In this article, I’ll guide you through the step-by-step process of replacing your bathtub faucet and drain. By following these instructions and using the right tools, you’ll have a functioning and leak-free fixture in no time.
Let’s get started!
Key Takeaways
- Familiarize yourself with common mistakes to avoid
- Properly measure the dimensions of your bathtub
- Select a faucet and drain compatible with your existing plumbing system
- Follow the manufacturer’s instructions and use the proper tools
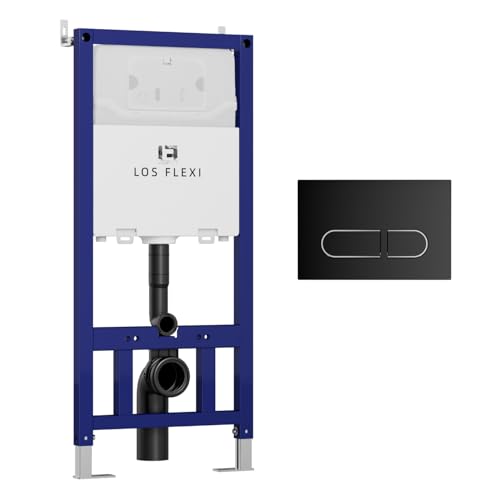
Los Flexi Concealed In-Wall Toilet Tank Carrier for Wall Hung Toilets, 0.8/1.6 GPF Dual Flush, Adjustable Height Tank Carrier, Includes Flush Actuator Plate for Wall Mount Toilet Setup
Durable Steel Construction: This in-wall toilet tank system supports most wall hung toilets with a sturdy steel frame,...
As an affiliate, we earn on qualifying purchases.
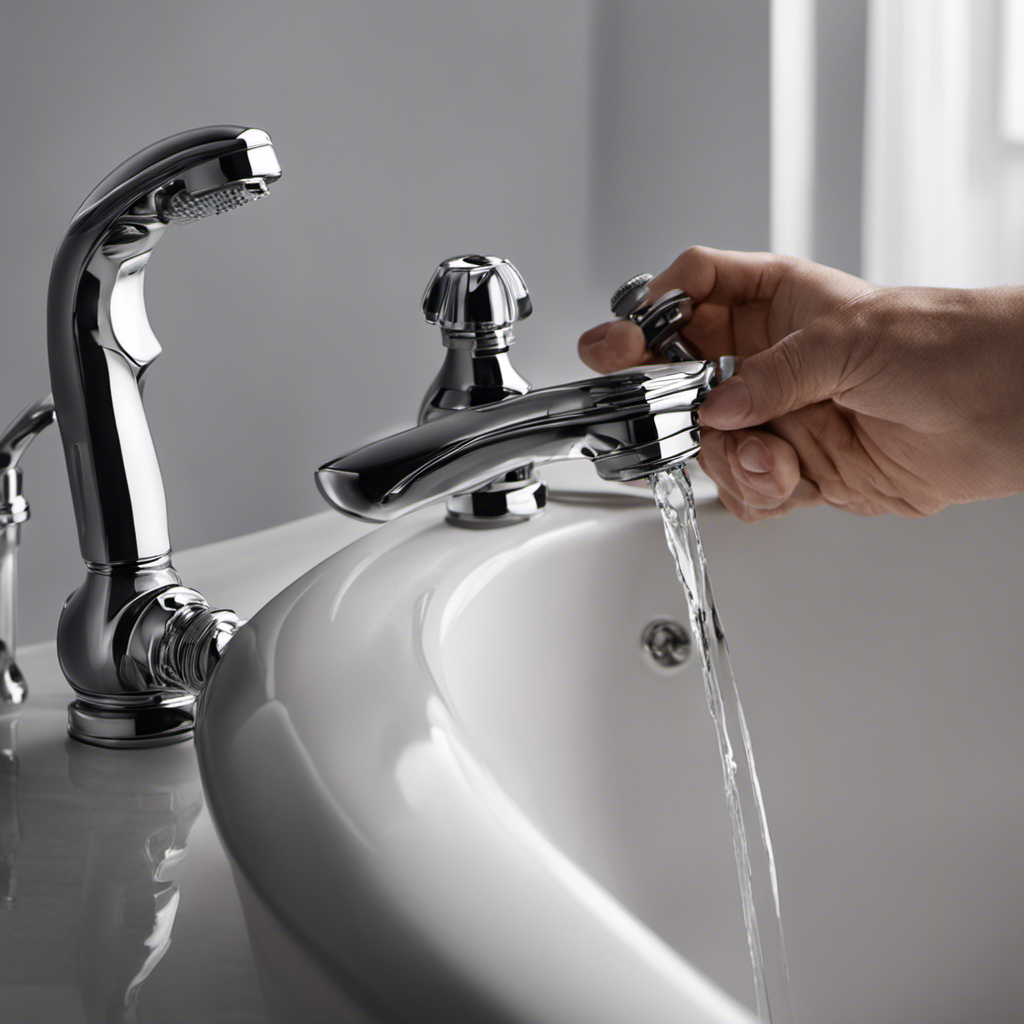
Gather the Necessary Tools for the Job
You’ll need a few tools to get started on replacing your bathtub faucet and drain. Before you begin, it’s important to familiarize yourself with the common mistakes to avoid when tackling this task.
One mistake is not turning off the water supply before starting the replacement process. This can lead to water damage and unnecessary mess.
Another mistake is not properly measuring the dimensions of your bathtub to ensure that you choose the right faucet and drain.
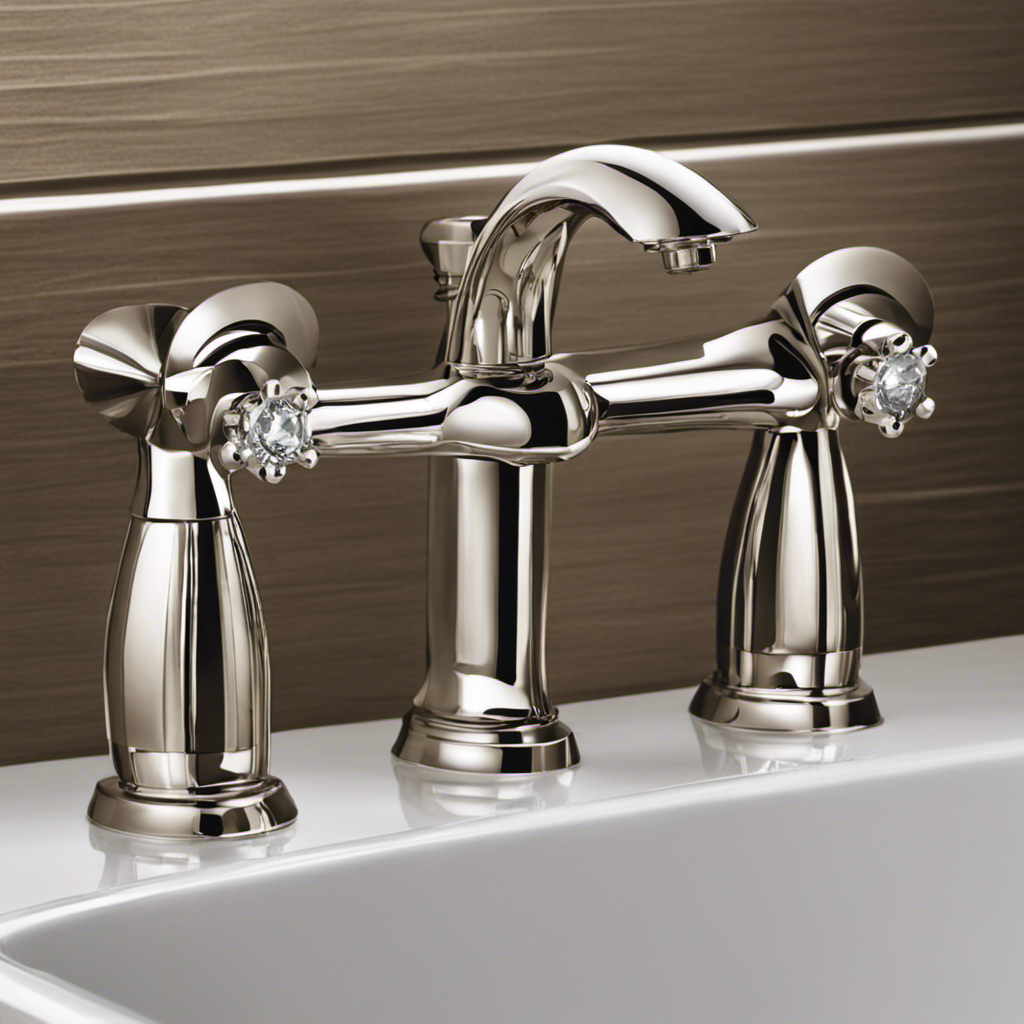
Now, let’s discuss some tips for choosing the right faucet and drain for your bathtub. Consider the style and finish that best complements your bathroom decor. Additionally, make sure to select a faucet and drain that are compatible with your existing plumbing system.
Taking these factors into account will help you successfully replace your bathtub faucet and drain.

Casta Diva in Wall Toilet Tank Carrier, Concealed Wall Hung Toilet Tank System with Black Dual-Flush Actuator Plate (2x4 / 2x6 Studs)
Toilet tank brace wall, fit for most wall mount toilet bowls, a black tank actuator plate included in...
As an affiliate, we earn on qualifying purchases.
Turn off the Water Supply to the Bathtub
To begin, ensure that the water supply to your tub is turned off. Shutting off the water supply is crucial to prevent any accidents during the replacement process. Here are the steps to follow:
-
Locate the shut off valve: The shut off valve is typically located near the bathtub or in the basement. It may be labeled or identified by a lever or knob.
-
Turn off the valve: Once you’ve located the shut off valve, turn it clockwise to shut off the water supply. Make sure the valve is fully closed to prevent any water from flowing into the bathtub.
-
Test the water supply: After turning off the valve, run the faucet to check if the water supply has been successfully shut off. If water still comes out, try closing the valve further or consult a professional.
-
Understanding the shut off valve: Take note of the shut off valve’s location and function for future reference. Knowing how to turn off the water supply is essential for any future repairs or maintenance.

Eridanus Wall Hung Toilet with Tank, 2x4 In-Wall Toilet Tank Carrier, Wall Mounted Toilet Combo Set, Dual-Flush Plate Included, Floating Bowl With Soft-Close Seat, Glossy White, 2 Separate Packages
【Please Note】Toilet and tank are shipped in two separate packages and may not arrive at the same time.
As an affiliate, we earn on qualifying purchases.
Remove the Old Faucet and Drain
Now, it’s time to remove the old faucet and drain from your bathtub. This step is crucial before installing a new one. Proper disposal of the old faucet and drain is important to ensure environmental responsibility. Be sure to check your local regulations for disposal options.
When removing the old faucet and drain, there are common mistakes that should be avoided. One of the most common mistakes is not turning off the water supply before starting the removal process. This can lead to water leakage and potential damage. Another mistake is using the wrong tools or improper techniques, which can cause damage to the bathtub or the plumbing system. It’s important to use the correct tools and follow the manufacturer’s instructions.
To help you understand the process better, here is a table outlining the steps to remove the old faucet and drain:
| Step | Description |
|---|---|
| 1 | Turn off the water supply to the bathtub. |
| 2 | Remove the faucet handle and trim plate. |
| 3 | Disconnect the water supply lines. |
| 4 | Unscrew and remove the drain assembly. |

SmartSylva In-Wall Toilet Tank Carrier with Dual-Flush Actuator Plate in Chrome Silver Color (Compitable with our #SS01-M1G Wall-Hung Smart Toilet to work as An Intelligent Toilet Combo)
[ Work with SmartSylva Wall Hung Smart Toilet ] : This Water Tank is Compatible with our #SS01-M1G...
As an affiliate, we earn on qualifying purchases.
Install the New Faucet and Drain
When installing the new faucet and drain, make sure to follow the manufacturer’s instructions and use the proper tools for a successful installation. Here are some key points to consider:
-
Proper maintenance: Regularly clean your bathtub faucets and drains to prevent clogs and ensure longevity. This includes removing any mineral deposits and debris.
-
Choosing the right style and finish: Select a faucet and drain that complements the overall aesthetic of your bathroom. Consider factors such as the style, finish, and functionality that best suit your needs.
-
Proper installation: Ensure that all connections are tight and secure to prevent leaks. Use plumber’s tape or sealant to create a watertight seal.
-
Testing for leaks: After installation, turn on the water and check for any leaks. If you notice any, make the necessary adjustments or seek professional help.
Following these guidelines will help you maintain a well-functioning and visually appealing bathtub faucet and drain.
Test and Check for Leaks Before Finishing up
Before you finish up, don’t forget to test and check for any leaks in your newly installed faucet and drain.
It is crucial to ensure that everything is functioning properly before considering the project complete.
Start by turning on the water supply and checking for proper water flow. If the water is not flowing smoothly, there may be a blockage or a misalignment in the installation.
Next, make sure the faucet handle is aligned correctly. If it is not, it can cause leaks and difficulty in turning the water on and off.
Carefully inspect all the connections and joints to ensure there are no noticeable leaks. If you do find any leaks, tighten the connections or replace any faulty parts.
Taking the time to thoroughly test and check for leaks will help prevent any future water damage and ensure a successful faucet and drain replacement.
Conclusion
In conclusion, replacing a bathtub faucet and drain may seem like a daunting task, but it’s actually quite manageable. By following the steps outlined in this guide and using the necessary tools, you can successfully complete the job.
Remember to turn off the water supply before starting and test for leaks afterwards.
So go ahead, tackle this project with confidence and soon you’ll be enjoying a brand new faucet and drain that will make your bathtub experience a true delight!