
I’ve got a faucet in my mobile home that’s seen better days. It’s leaking, it’s old, and it’s time for a replacement. Lucky for me, I’ve done my research and I’ve got the know-how to tackle this project.
In this article, I’ll guide you through the step-by-step process of replacing a bathtub faucet in a mobile home. From assessing the current setup to installing the new faucet, I’ll provide all the detailed instructions you need to get the job done right.
Let’s get started!
Key Takeaways
- Evaluate water pressure and check for leaks before replacing the faucet
- Choose a faucet designed for mobile home installations and gather necessary tools and supplies
- Prioritize safety and seek professional plumbing services for complex issues
- Properly shut off the water supply, remove the old faucet, and install the new faucet, ensuring proper alignment and tight connections
mobile home bathtub faucet replacement
As an affiliate, we earn on qualifying purchases.
As an affiliate, we earn on qualifying purchases.
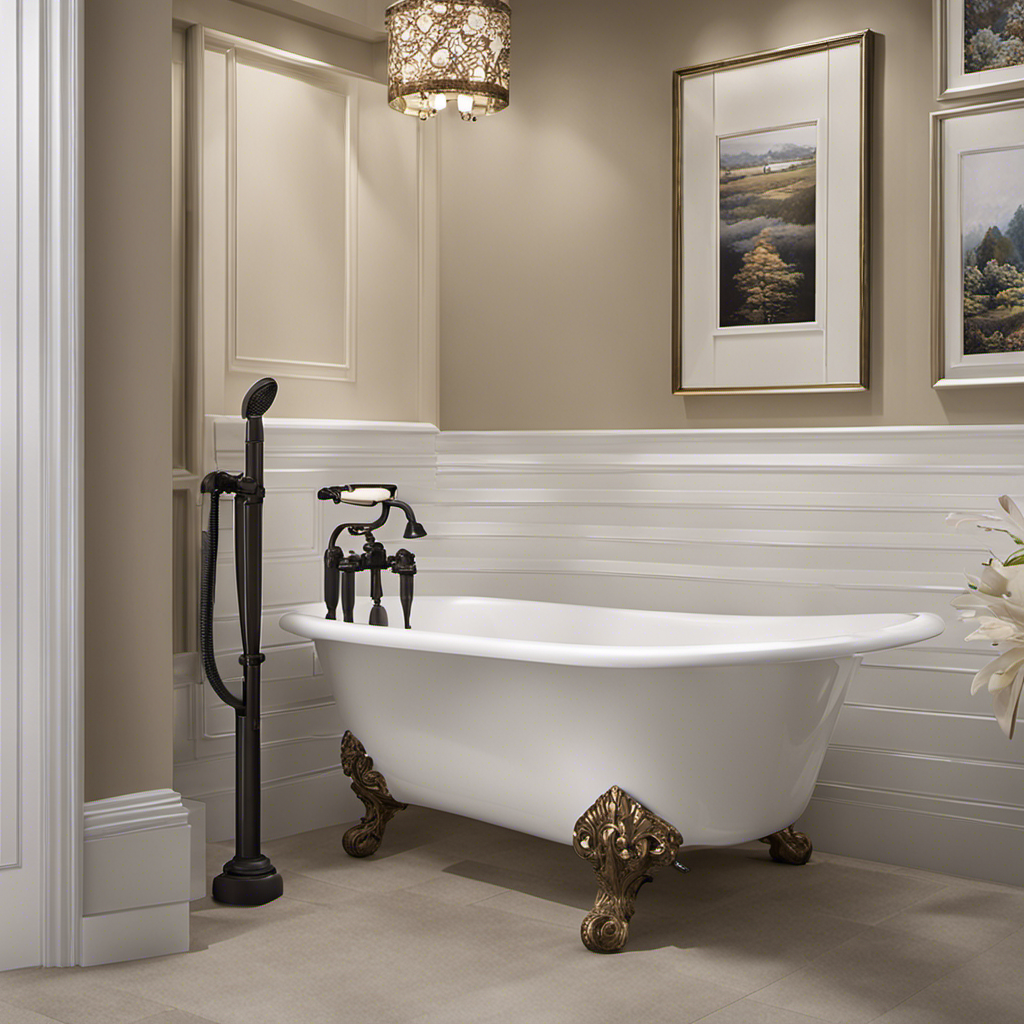
Assessing the Current Faucet and Plumbing Setup
Before you start replacing the bathtub faucet in your mobile home, it’s important to assess the current faucet and plumbing setup.
Evaluating water pressure is crucial to ensure that the new faucet will function properly. Start by turning on the water in both hot and cold positions to determine if there are any pressure issues. Low water pressure could indicate a clogged pipe or a faulty valve.
Additionally, check for existing leaks in the plumbing system. Inspect the area around the faucet for any signs of water damage or dripping. Leaks can lead to further damage and should be addressed before installing a new faucet.
Taking the time to evaluate water pressure and check for leaks will help you identify any underlying issues that may affect the replacement process.

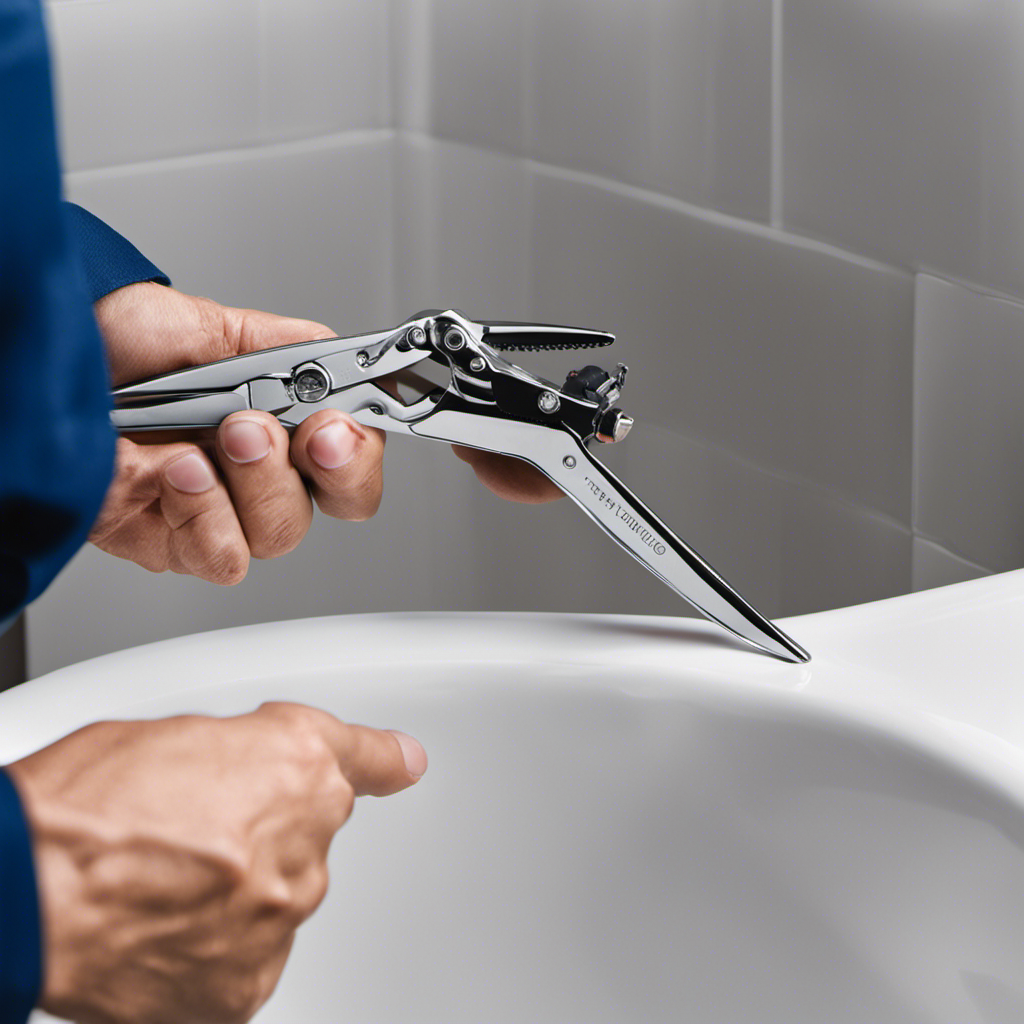
Amazon Basics Plumbing Adjustable Wrench with Soft Grip, Wide Mouth, 6.34 x 2.83 x 0.59 inches (LxWxH)
6 inch (150mm) wide jaw adjustable plumbing wrench with inch/metric measurement scale
As an affiliate, we earn on qualifying purchases.
As an affiliate, we earn on qualifying purchases.
Gathering the Necessary Tools and Supplies
First, you’ll need to gather all the tools and supplies necessary for this task. Look for a faucet that is specifically designed for mobile home installations. It is important to consider the specific challenges you may face when finding the right replacement faucet for your mobile home. Mobile homes often have unique plumbing setups, so it’s crucial to choose a faucet that is compatible with your existing system. Additionally, make sure you have the necessary tools on hand, such as an adjustable wrench, pliers, and a pipe cutter. These tools will help you remove the old faucet and install the new one properly.
Once you have everything you need, you can move on to shutting off the water supply and draining the system.
mobile home faucet repair kit
As an affiliate, we earn on qualifying purchases.
As an affiliate, we earn on qualifying purchases.
Shutting off the Water Supply and Draining the System
Once you’ve gathered all the necessary tools and supplies, it’s important to shut off the water supply and drain the system.
In mobile homes, it is crucial to prioritize safety and take the necessary precautions when dealing with plumbing issues.
While some problems with bathtub faucets can be easily fixed, it is recommended to seek professional plumbing services for mobile homes. They have the expertise and experience to handle any complex issues that may arise.
Common problems with bathtub faucets in mobile homes include leaks, low water pressure, and faulty valves.
To troubleshoot these issues, start by checking for any visible leaks and ensuring the faucet is properly tightened. If the problem persists, it’s best to contact a professional plumber who can accurately diagnose and fix the problem, ensuring the longevity and functionality of your mobile home’s plumbing system.
water pressure gauge for plumbing
As an affiliate, we earn on qualifying purchases.
As an affiliate, we earn on qualifying purchases.
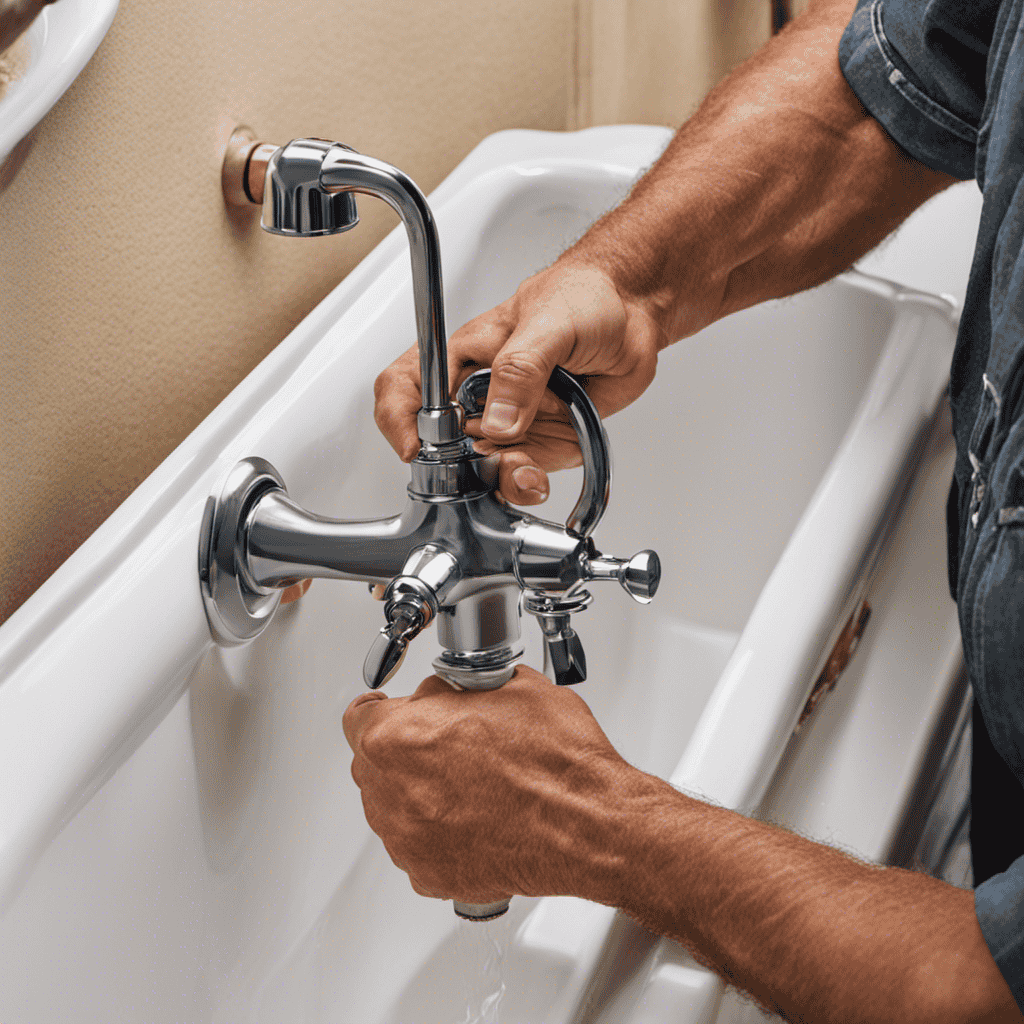
Removing the Old Faucet and Preparing for Installation
To remove the old fixture, you’ll need to gather a few tools and make sure the water supply is shut off.
Firstly, evaluate the water pressure by turning on the faucet to check if it’s functioning properly. If the pressure is low, you may need to address any underlying issues before proceeding.
Once the water is shut off, use an adjustable wrench to disconnect the supply lines from the faucet.
Next, remove the decorative caps covering the mounting screws and unscrew them using a screwdriver.
Gently wiggle and lift the old faucet to detach it from the bathtub.
Before installing the new faucet, ensure proper alignment by placing a level across the mounting holes and adjusting as necessary.
Taking these steps will help ensure a successful removal and prepare you for the installation process.
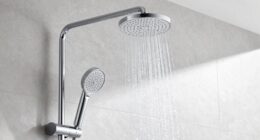
Installing the New Faucet and Testing for Leaks
Now that you have removed the old fixture, it’s time to install the new faucet and check for any leaks. Here are the steps to follow:
- Attach the new faucet to the mounting holes on the bathtub using the provided screws.
- Tighten the screws securely to ensure a proper seal.
- Connect the water supply lines to the corresponding hot and cold water valves.
- Use an adjustable wrench to tighten the connections, being careful not to overtighten and damage the threads.
Once the faucet is installed, it’s important to test for leaks and check the water pressure. Turn on the water supply and let it run for a few minutes. Look for any signs of leaks around the connections and the faucet itself.
To test the water pressure, fill the bathtub with water and let it drain while observing the flow. If the water pressure is low, you may need to adjust the valves or consult a professional plumber.
Conclusion
As I tightened the last screw on my new bathtub faucet in my mobile home, a sense of satisfaction washed over me, much like the warm water that now flowed freely from the spout.
It was as if I had breathed new life into my bathroom, transforming it from a worn-out, leaky mess to a sparkling oasis.
The process itself was not without its challenges, but armed with the right tools and a little know-how, I was able to conquer the task at hand.
Now, every time I step into my tub, I am reminded of the triumph of perseverance, and the power of a well-installed faucet.