I’ve discovered the key to a leak-free bathtub faucet: replacing the worn-out washers. Trust me, it’s a straightforward process that will save you from costly repairs down the line.
In this guide, I’ll walk you through the steps, armed with just a few tools and materials. We’ll start by shutting off the water supply and then dive into removing the old, faulty washer.
With precision and attention to detail, we’ll install a brand new washer and put it to the test.
Let’s get started!
Key Takeaways
- Choose the right type and size of faucet washer for your specific bathtub faucet.
- Shut off the water supply and ensure the water flow has completely stopped before starting the repair.
- Use pliers, a screwdriver, and a cloth to remove the old faucet washer by lifting off the handle and unscrewing the packing nut.
- Install the new faucet washer by cleaning the seating surface, aligning the new washer properly, and avoiding common mistakes to ensure a successful replacement.

XBVV 106 PCS Faucet Washer Assortment Kit with Assorted Flat and Beveled Rubber Washers for Outdoor Garden Faucet Stem Leak Worn Replacement Repair
Multiple sizes: 106 Pcs faucet washer kit with assorted different flat beveled common sizes: 3/8, 1/4L, 1/4, 1/4M…
As an affiliate, we earn on qualifying purchases.
As an affiliate, we earn on qualifying purchases.
Tools and Materials Needed
You’ll need a few tools and materials to replace the bathtub faucet washers. First and foremost, it’s crucial to choose the right type of faucet washer for your specific faucet. There are various sizes and materials available, such as rubber or silicone washers. Make sure to check the size and type of your existing washer to ensure a proper fit.
In addition to the washer, you’ll need a few basic tools. A screwdriver, both flathead and Phillips, will be necessary to remove the screws and handle of the faucet. You may also need an adjustable wrench to loosen and remove the valve stem.
If you don’t have access to the exact washer needed, there are alternative options for fixing a leaky bathtub faucet. One option is to use a repair kit specifically designed for faucet repairs. These kits usually include a variety of washers and other necessary components. Another option is to consider replacing the entire faucet assembly if the existing one is old or damaged beyond repair.

Rubber & Silicone Gasket Washers Kit – 155 PCS, 20 Sizes, Garden Hose Washer with Screen Filter for Seals Repair & Shower Hose/Faucet/Shower Head
【STOPPING LEAKS】: If you are trying to fix leaky in faucet, shower head, hose and washing machine, this…
As an affiliate, we earn on qualifying purchases.
As an affiliate, we earn on qualifying purchases.
Shutting Off the Water Supply
To prevent any water leakage, make sure to shut off the water supply before proceeding with the repair. This is an important step that will ensure a safe and hassle-free replacement of the bathtub faucet washers.
Here’s how to properly shut off the water supply:
-
Locate the water shut-off valve: Typically, the shut-off valve is found near the bathtub, either on the wall behind the faucet or underneath the sink.
-
Turn off the main water supply: If you can’t find a dedicated shut-off valve for the bathtub, you may need to turn off the main water supply to your house.
-
Test the water supply: After shutting off the water, turn on the faucet to check if the water flow has stopped completely.

DURATECH 11" Basin Wrench, Sink Wrench, Adjustable Tap Nut Spanner Basin Spanner, Capacity of 3/8" to 1-1/4" for Fixing Back and Union Nuts Under Sink
ADJUSTABLE JAWS: The 11 " basin wrench for tight spaces has spring-loaded jaws, which can adapt to different…
As an affiliate, we earn on qualifying purchases.
As an affiliate, we earn on qualifying purchases.
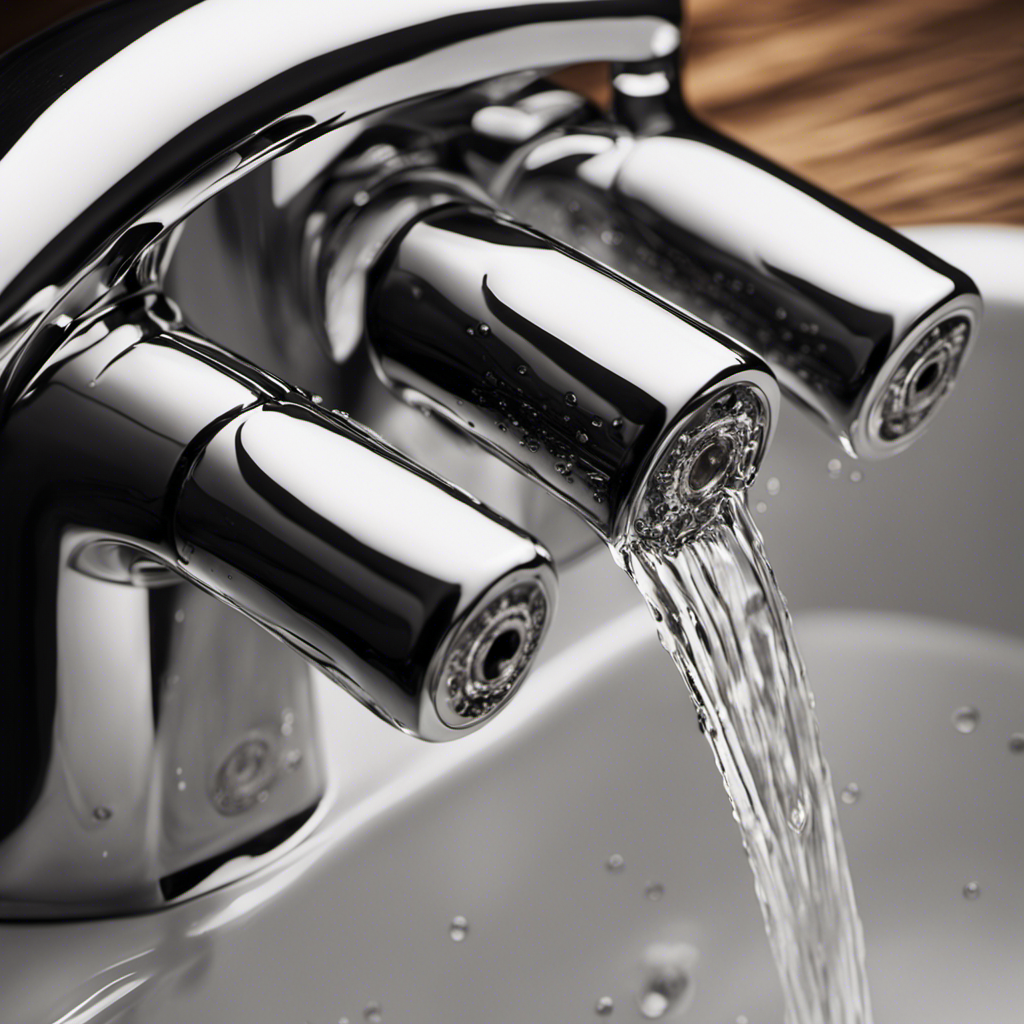
Removing the Old Faucet Washer
After shutting off the water supply, it’s time to remove the old washer from the faucet. To do this, I will need a few tools: pliers, a screwdriver, and a cloth.
First, I will locate the screw that holds the handle in place and use the screwdriver to remove it. Once the screw is out, I can easily lift off the handle.
Next, I will use the pliers to unscrew the packing nut, which is located just below the handle. Once the packing nut is removed, I can simply pull out the old washer.
It is important to note that when replacing rubber washers, it is crucial to choose the right size washer to ensure a proper fit.
Now, with the old washer removed, I can move on to installing the new faucet washer.

TIANMENSHAN 8 in 1 Faucet Wrench Tool, Water Pipe Wrench with Comfortable Grip, Tap Spanner for Tight Space, Multi-Functional Tap Spanner Set for Sink, Bathroom and Kitchen Plumbing Repair
【Durable Material】Made of durable ABS engineering plastic, ensuring sturdiness and durability for long-term use
As an affiliate, we earn on qualifying purchases.
As an affiliate, we earn on qualifying purchases.
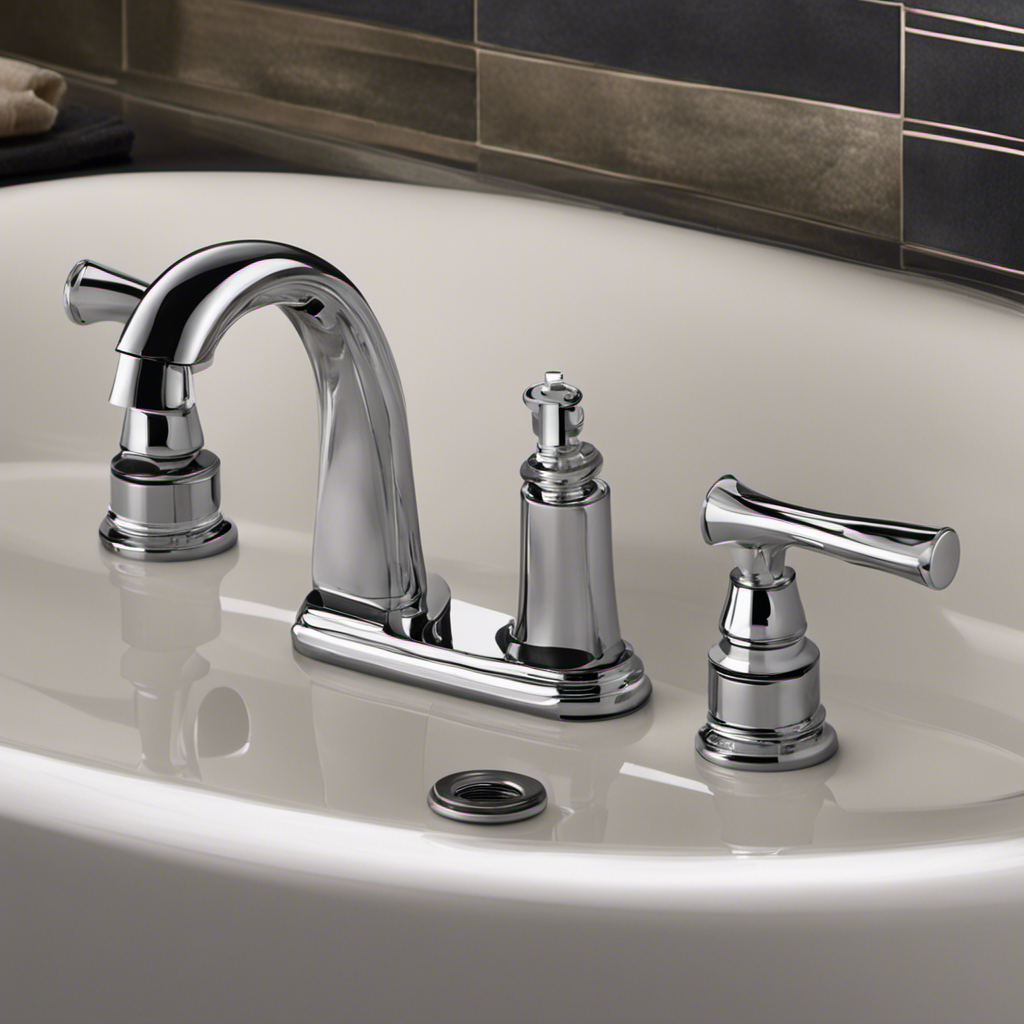
Installing the New Faucet Washer
Now that you’ve removed the old washer, it’s time to carefully place the new washer into the faucet. When installing a new faucet washer, there are a few common mistakes to avoid to ensure a successful replacement.
Here are some tips to guide you through the process:
-
Make sure to choose the right type of faucet washer for your bathtub. There are various types available, such as rubber, silicone, and nylon. Consider factors like durability, compatibility, and water pressure when selecting the appropriate washer.
-
Before placing the new washer, clean the seating surface thoroughly to ensure a proper seal. Use a soft cloth or a wire brush to remove any debris or mineral deposits.
-
When inserting the washer, ensure it is centered and aligned properly. A misaligned washer may cause leaks or restrict water flow.
By following these guidelines, you can avoid common mistakes and ensure a successful installation.
Now, let’s move on to testing and finishing up the process.
Testing and Finishing Up
Once you’ve aligned and centered the new washer in the faucet, it’s time to test it and finish up the installation process.
To ensure that the washer is properly installed and functioning correctly, there are a few testing methods you can use.
First, turn on the water supply and check for any leaks around the faucet. If there are no leaks, you can proceed to test the water flow and temperature by operating the faucet handles. Make sure the water flows smoothly and that the hot and cold water mix properly.
If you encounter any issues during the testing process, here are a few troubleshooting tips: check for any loose connections, make sure the washer is tightly secured, and ensure that the water supply valves are fully open.
Once you’ve completed the testing and everything is working as expected, you can finish up the installation process by cleaning up any excess debris and tightening any loose fittings.
Conclusion
In conclusion, replacing bathtub faucet washers is a simple and essential maintenance task that can prevent leaks and water damage. By following the steps outlined in this article, you can successfully complete the job with minimal effort.
Remember to shut off the water supply, carefully remove the old washer, and install the new one securely. Once you’ve completed the installation, don’t forget to test for any leaks and ensure everything is working properly.
So, why wait? Isn’t it time to take control of your faucet and say goodbye to those annoying drips?