I’ve discovered a simple and effective way to replace a bathtub handle, and I’m excited to share it with you!
In this step-by-step guide, I’ll walk you through the process of:
- Assessing the problem
- Gathering the necessary tools
- Removing the old handle
- Selecting the right replacement
- Installing it correctly
By following these instructions, you’ll have a new bathtub handle in no time.
So let’s get started and make your bathroom remodeling project a success!
Key Takeaways
- Assess the condition of the bathtub handle and gather the necessary tools for the replacement.
- Remove the old bathtub handle carefully to avoid causing any damage.
- Consider the material, style, and compatibility when choosing a replacement handle.
- Install the new handle properly, ensuring alignment and secure attachment, and test for functionality and stability.
Assessing the Problem
Now, you’ll want to take a close look at the bathtub handle to see what the issue might be. Start by evaluating the handle condition. Is it loose? Does it turn smoothly? Are there any visible cracks or damage?
Troubleshooting the handle issue requires careful observation. Check for any loose screws or bolts that may need tightening. If the handle is stiff or difficult to turn, it may be due to mineral deposits or rust buildup. In this case, you may need to clean or lubricate the handle mechanism.
By carefully assessing the problem, you will have a better understanding of what needs to be done next.
Now, let’s move on to gathering the required tools.
Gathering the Required Tools
When it comes to replacing a bathtub handle, having the right tools is essential for a smooth and successful repair. In this discussion, we will explore the essential tools you will need for the replacement job, as well as some commonly overlooked tools that can make the process even easier.
Essential Tools for Replacement
To replace the bathtub handle, you’ll need a few essential tools:
- Screwdriver (Phillips or flathead, depending on the type of screws)
- Adjustable wrench (to remove the nut securing the handle)
- Replacement handle (make sure it matches the existing one)
- Plumbers tape (to ensure a secure and leak-free connection)
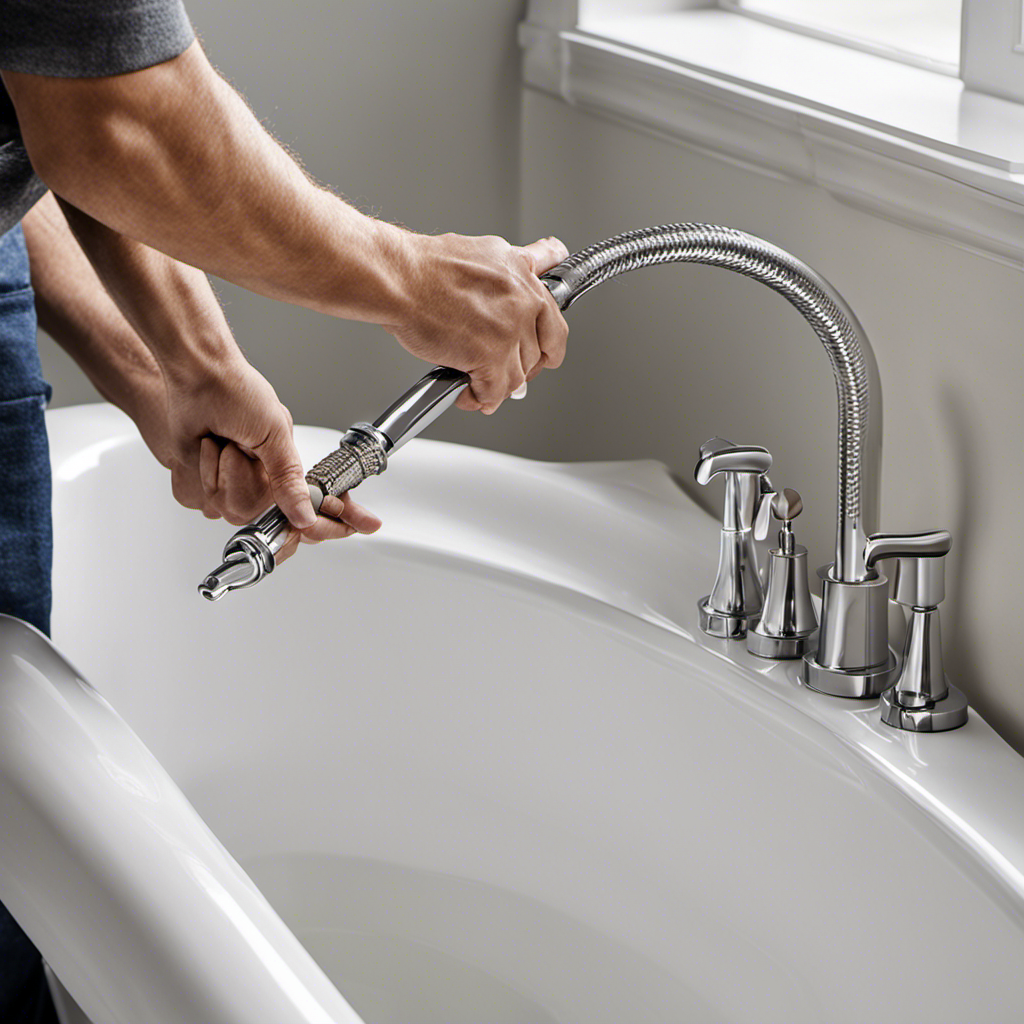
First, turn off the water supply to the bathtub to avoid any accidents. Then, remove the screws or nuts holding the handle in place using the screwdriver or wrench. Take note of the handle’s orientation and carefully detach it from the valve stem.
Next, attach the replacement handle by aligning it with the valve stem and securing it with the screws or nut. Finally, turn on the water supply, test the new handle, and troubleshoot any issues if necessary.
Now that you have the essential tools, let’s move on to the commonly overlooked tools needed for this project.
Commonly Overlooked Tools
Don’t forget about some commonly overlooked tools you may need for this project.
When replacing a bathtub handle, it’s important to consider the handle grip. A secure and comfortable grip is essential for easy and safe operation of the handle.
One commonly overlooked tool is a pair of pliers with a padded grip. These pliers provide a firm hold while preventing damage to the handle during installation.
Another tool that is often forgotten is a small Allen wrench. This wrench is used to tighten the set screws that hold the handle in place. Without it, you may struggle to properly secure the handle, leading to loose or wobbly operation.
Removing the Old Bathtub Handle
Start by unscrewing the old bathtub handle using a screwdriver.
Assessing handle compatibility is an important step before removing the handle screws. Here’s a step-by-step guide to help you through the process:
- Turn off the water supply to the bathtub.
- Locate the handle screws, which are usually found on the backside of the handle or underneath a decorative cap.
- Use a screwdriver to carefully unscrew the handle screws counterclockwise.
- Once the screws are removed, gently pull the old handle off the stem.
Remember to be cautious while removing the screws to avoid damaging the handle or the surrounding area.
Assessing handle compatibility ensures that you choose the right replacement handle for your bathtub. This step is crucial for a successful replacement process.
Choosing the Right Replacement Handle
When choosing a replacement, make sure it is compatible with your current setup. There are various replacement handle options available in the market, so it’s important to consider certain factors before making a decision.
Firstly, think about the material of the handle. Common options include metal, plastic, and ceramic. Metal handles are durable and offer a classic look, while plastic handles are affordable and easy to clean. Ceramic handles, on the other hand, provide an elegant and stylish touch.
Additionally, consider the style and design of the handle to ensure it matches your bathroom decor.
Once you have chosen the right replacement handle, you can proceed to the next step of installing it onto your bathtub.
Installing the New Bathtub Handle
When it comes to installing a new bathtub handle, there are a few key points to keep in mind.
First, proper handle alignment is crucial to ensure smooth operation.
Secondly, having the right tools for the installation is essential for a successful and efficient job.
Lastly, securing the handle tightly is important to prevent any wobbling or loosening over time.
Proper Handle Alignment
To properly align the bathtub handle, make sure it’s securely attached and in line with the corresponding grooves. Here are some techniques to ensure proper handle alignment:
-
Check the alignment: Before tightening the handle, ensure that it is properly aligned with the hot and cold water labels on the faucet. This will ensure a neat and organized look.
-
Adjust the handle position: If the handle is not aligned, loosen the screws and adjust its position until it lines up correctly with the grooves. Use a screwdriver to tighten the screws securely.
-
Test the handle: Once the handle is aligned, test its functionality by turning it on and off. Make sure it operates smoothly and without any resistance.
-
Verify stability: Finally, give the handle a gentle tug to ensure it is securely attached. If it wobbles or feels loose, tighten the screws further to ensure stability.
Tools Needed for Installation
Now that we’ve discussed the importance of proper handle alignment, let’s move on to the tools needed for bathtub handle installation. Having the right tools can make the process much easier and ensure a successful installation. Here is a list of essential tools:
| Tools Needed | Description |
|---|---|
| Screwdriver | Used to remove screws and secure the handle. |
| Adjustable wrench | Used to tighten and loosen nuts. |
| Allen wrench | Used for handles with set screws. |
These tools will help you install your bathtub handle correctly and efficiently. However, even with the right tools, you may encounter some common handle installation issues. Some troubleshooting techniques include checking for loose screws, ensuring proper alignment, and verifying that all components are securely tightened. By following these techniques, you can overcome any challenges and enjoy a fully functional bathtub handle.
Securing the Handle Tightly
Securing the handle tightly ensures a stable and reliable installation. To prevent handle slippage and ensure a secure fit, follow these steps:
-
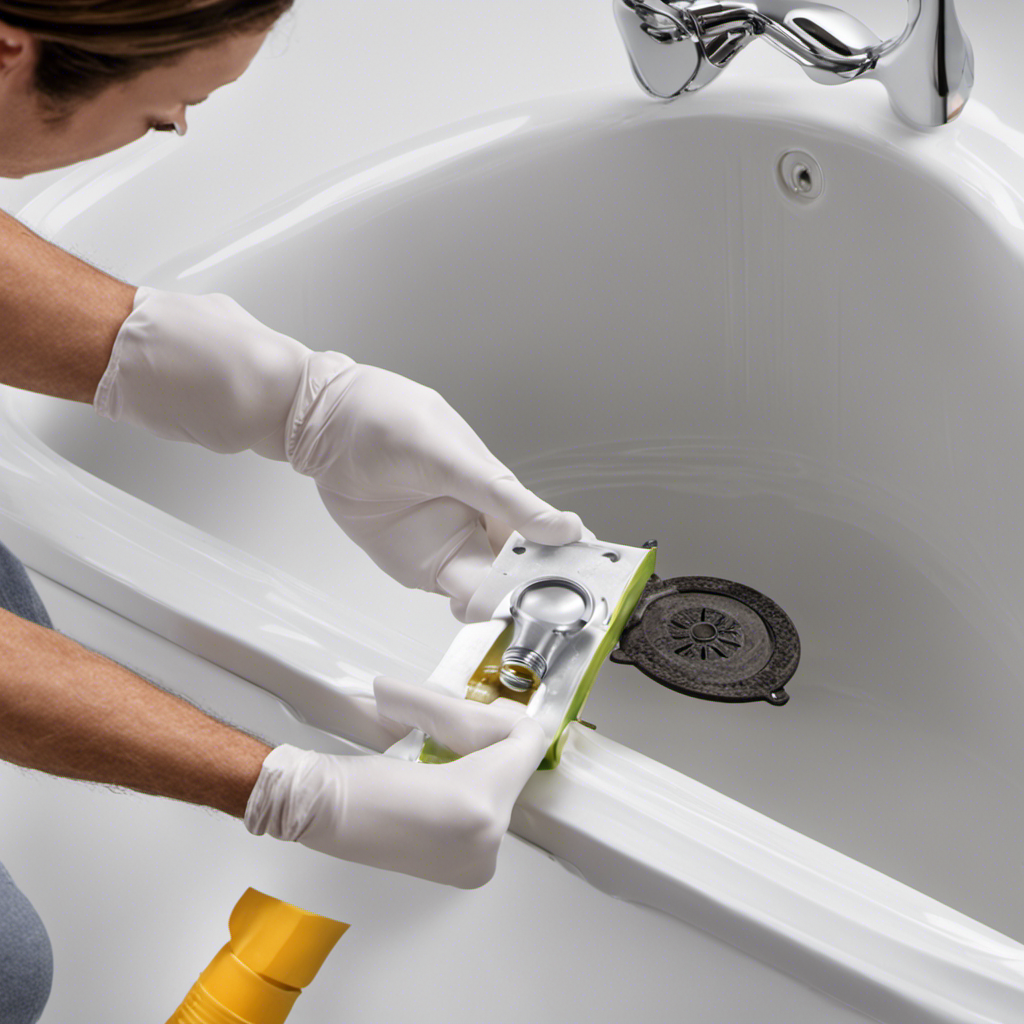
Remove the old handle: Use a screwdriver to unscrew and remove the screws holding the old handle in place. Carefully detach the handle from the valve stem.
-
Clean the valve stem: Wipe down the valve stem with a clean cloth to remove any dirt or debris that may interfere with the new handle’s installation.
-
Attach the new handle: Align the new handle with the valve stem and slide it onto the stem. Make sure it fits snugly.
-
Tighten the screws: Insert the screws through the handle and into the valve stem. Use a screwdriver to tighten them securely, but be careful not to overtighten and damage the handle or stem.
Testing the Functionality
Before you start replacing the bathtub handle, make sure to test its functionality to ensure it is working properly. Functionality testing is crucial to identify any issues or malfunctions before proceeding with the replacement. Here are some troubleshooting techniques you can follow:
-
Turn on the water: Start by turning on the water to check if it flows smoothly. If there are any leaks or irregularities, it could indicate a problem with the handle.
-
Test the hot and cold water: Check if the handle allows you to adjust the temperature by turning it from hot to cold. Ensure that both options work correctly.
-
Check for any loose parts: Gently wiggle the handle to see if it is securely fastened. Loose parts may affect the handle’s functionality and should be addressed before proceeding.
Maintaining the Replacement Handle
To keep the replacement handle in good condition, remember to regularly clean and inspect it for any signs of wear or damage. Maintaining handle hygiene is crucial to prevent handle corrosion and ensure its longevity.
Here’s a step-by-step guide on how to maintain the replacement handle:
-
Clean the handle regularly using mild soap and water. Avoid using abrasive cleaners, as they can damage the handle’s surface.
-
Use a soft cloth or sponge to gently wipe away any dirt or grime that may have accumulated on the handle.
-
Inspect the handle for any signs of wear or damage, such as cracks or loose screws. If you notice any issues, it’s important to address them promptly.
-
Apply a thin layer of protective wax or polish to the handle to help prevent corrosion and keep it looking shiny and new.
Conclusion
Well, congratulations! You’ve successfully replaced your bathtub handle. Now, you can enjoy the satisfaction of a job well done every time you reach for that shiny new handle.
Who needs a professional when you can tackle home repairs yourself, right? Just remember, next time you’re faced with a plumbing issue, you might want to think twice before diving in. After all, some things are best left to the experts.
Happy fixing!


