Are you tired of struggling with a stubborn bathtub handle that just won’t turn? Well, fear not! In this article, we’ll guide you through the process of replacing your bathtub handle stem, so you can enjoy a smooth and effortless bathing experience once again.
With just a few simple tools and a little bit of know-how, you’ll have your handle working like new in no time.
So, let’s dive in and get your bathroom back in tip-top shape!
Key Takeaways
- Assess the condition of the bathtub handle stem to determine if repair or replacement is needed.
- Gather the necessary tools and materials, including an adjustable wrench, screwdriver, plumber’s tape, and a replacement stem.
- Remove the old bathtub handle stem by turning off the water supply, removing the handle, unscrewing the nut or screw, and pulling out the stem.
- Install the new bathtub handle stem, ensuring a proper fit and using plumber’s tape for a watertight seal. Test the functionality of the replacement by checking for smooth control of flow and temperature, inspecting for leaks or drips, and testing the handle’s operation in both directions.
Assessing the Bathtub Handle Stem
To assess the bathtub handle stem, you’ll want to check for any signs of corrosion or damage. Start by examining the stem for any visible rust or discoloration. Corrosion can weaken the metal and cause the handle to malfunction.
Look for any cracks or breaks in the stem as well. These can occur over time due to wear and tear or excessive force. If you notice any of these signs, it is important to evaluate the extent of the damage. Determine if the stem can be repaired or if it needs to be replaced entirely.
In some cases, minor damage can be fixed by using epoxy or other repair products. However, if the stem is severely damaged, it is best to replace it to ensure proper functioning and prevent further problems.
Gathering the Necessary Tools and Materials
You’ll need a few tools and materials to get started on this project. Regular maintenance is important to keep your bathtub in good working condition, and replacing the handle stem is a crucial part of that maintenance.
There are different types of bathtub handle stems, including compression stems, cartridge stems, and ceramic disc stems. To replace the handle stem, you’ll need an adjustable wrench, a screwdriver, plumber’s tape, and a replacement stem that matches the type of stem you’re removing.
Now that you understand the importance of regular maintenance and the different types of bathtub handle stems, let’s move on to the next step: removing the old bathtub handle stem.
Removing the Old Bathtub Handle Stem
Once you’ve gathered the necessary tools and materials, it’s time to remove the old handle stem. This is an essential step in repairing your bathtub handle. Follow these steps to ensure a smooth process:
-
Disconnect the water supply: Begin by turning off the water supply to avoid any unwanted leaks during the repair.
-
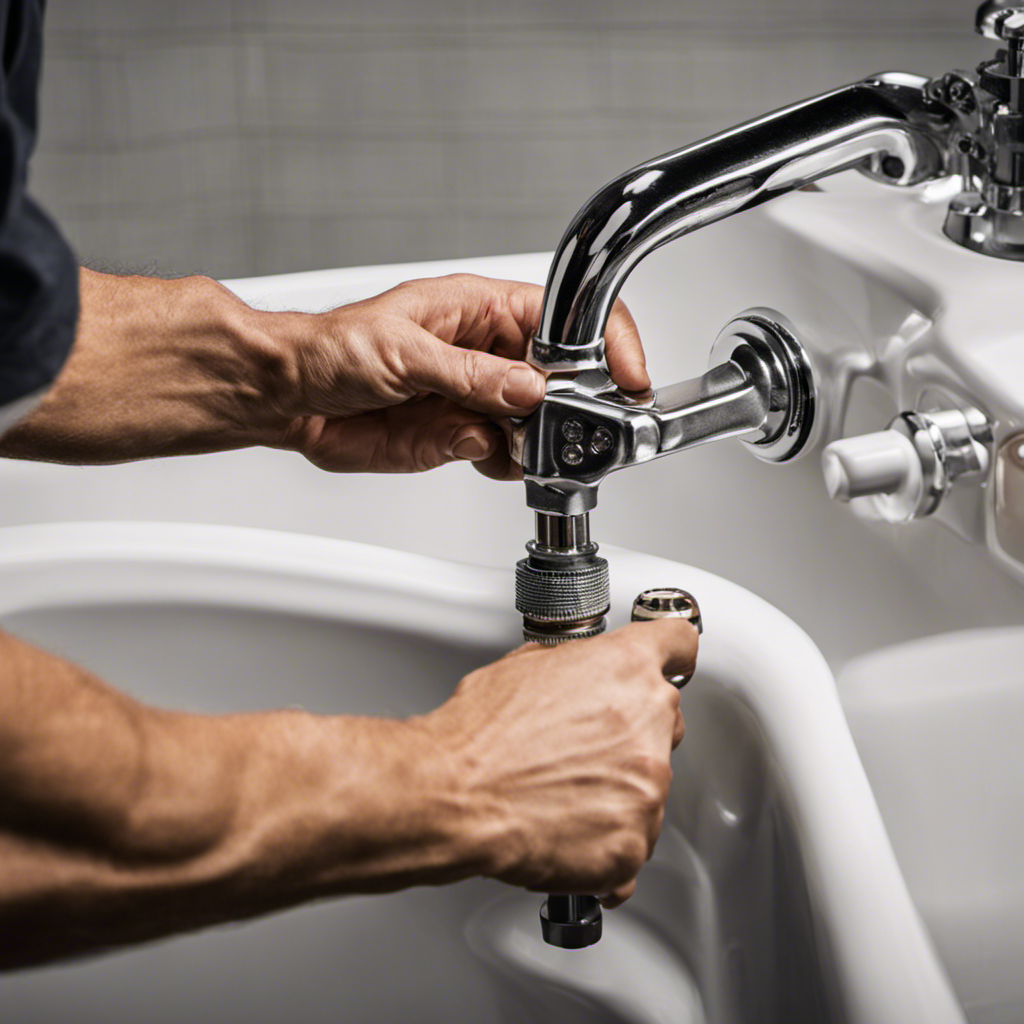
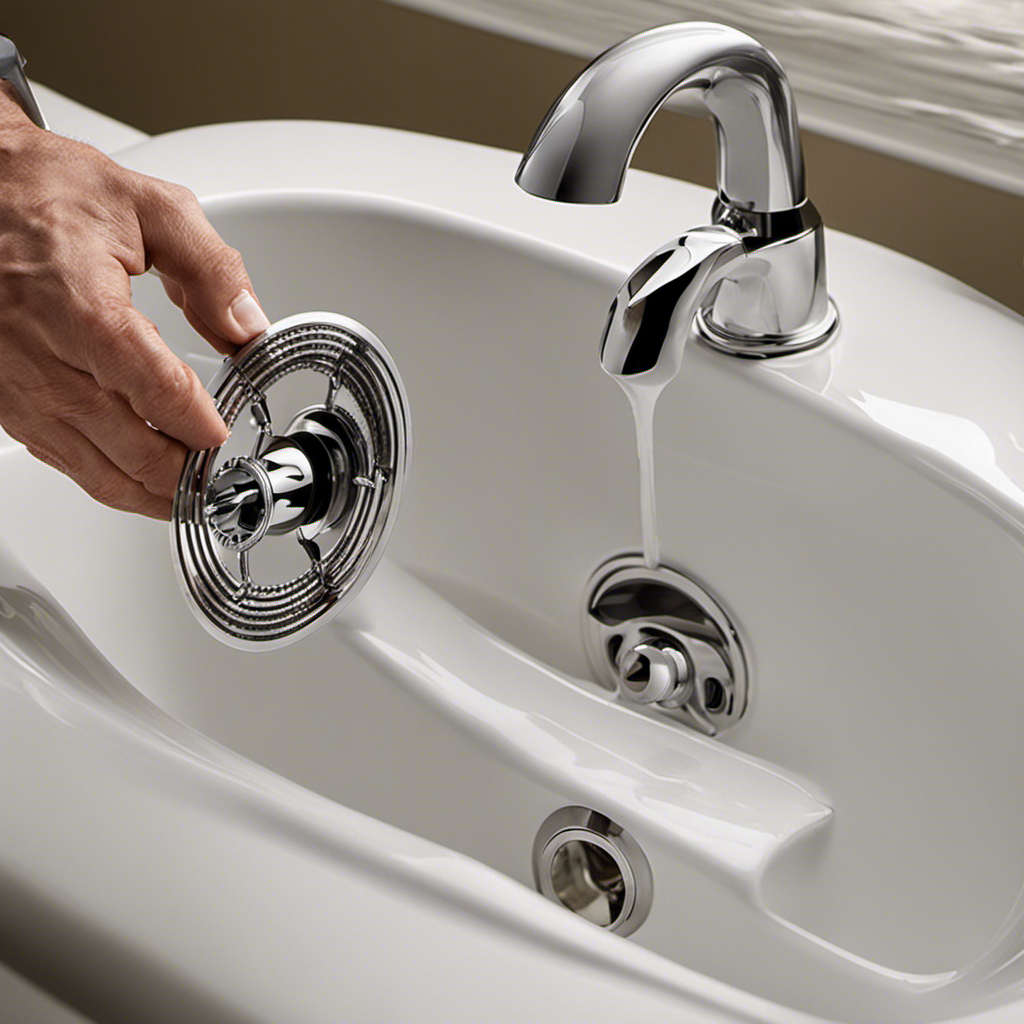
Remove the handle: Use a screwdriver to remove the screw holding the handle in place. Once the screw is removed, gently pull the handle outwards to detach it from the stem.
-
Unscrew the stem: Locate the nut or screw holding the stem in place and unscrew it. This will loosen the stem and make it easier to remove.
-
Pull out the old stem: Using pliers, carefully grip the stem and pull it out from the faucet body. Be gentle to avoid damaging the surrounding components.
-
Inspect and clean: Take a moment to inspect the stem and surrounding area for any signs of damage or debris. Clean the area thoroughly to ensure a smooth installation of the replacement parts.
Now that you have successfully removed the old handle stem, it’s time to move on to the next step of finding replacement parts.
Installing the New Bathtub Handle Stem
Now that you’ve successfully removed the old stem, it’s time to install the new one.
When it comes to installing a new bathtub handle stem, there are a few common mistakes to avoid.
First, make sure to choose the right replacement stem. Take note of the brand and model of your bathtub handle and find a stem that matches. Additionally, check the length and threading of the stem to ensure a proper fit.
Another mistake to avoid is overtightening the stem during installation. This can lead to damage and leaks. Instead, tighten it until it is snug, but be careful not to overdo it.
Finally, remember to use plumber’s tape on the stem threads to create a watertight seal.
With these tips in mind, you can proceed to the next step of testing the functionality of the replacement.
Testing the Functionality of the Replacement
Now that you’ve successfully installed the new bathtub handle stem, it’s important to test its functionality to ensure proper operation.
Start by turning on the water supply and checking if the handle smoothly controls the flow and temperature.
Additionally, make sure to inspect the stem for any leaks or drips. This could indicate a faulty installation or a damaged component.
Testing the New Stem
After installing the new stem, it’s important to test the bathtub handle to ensure it is functioning properly. Here are some key points to keep in mind when evaluating the durability and troubleshooting techniques:
-
Check for any leaks or drips from the handle. This could indicate a problem with the stem installation or a faulty seal.
-
Turn the handle in both directions to test the smoothness of the operation. It should move effortlessly without any resistance.
-
Pay attention to any unusual noises, such as squeaking or grinding. This could be a sign of internal damage or misalignment.
-
Test the hot and cold water settings to ensure they are functioning correctly. Make sure the handle can easily adjust the water temperature.
-
Finally, run the water for a few minutes to see if the handle can handle the pressure and maintain a consistent flow.
By thoroughly testing the new stem, you can troubleshoot any issues and ensure proper functionality of your bathtub handle.
Now, let’s move on to the next section about ensuring the proper installation of the trim plate.
Ensuring Proper Functionality
To make sure everything is working correctly, you should test the smoothness of the operation and listen for any unusual noises.
Maintenance tips for bathtub handle stems are essential to keep your bathroom in top shape. Over time, handle stems can experience wear and tear, leading to common problems.
One common issue is a leaky faucet. If you notice water dripping from the handle stem, it may be due to a worn-out washer or O-ring. To fix this, turn off the water supply, remove the handle, and replace the faulty washer or O-ring.
Another problem is a stiff or difficult-to-turn handle. This can be caused by mineral buildup or a damaged stem. Regular cleaning and lubrication can help prevent this issue. If the handle still doesn’t turn smoothly, you may need to replace the entire stem.
Following these maintenance tips will ensure the smooth operation of your bathtub handle stems and prevent any further problems.
Checking for Leaks
If you notice water dripping, it might be due to a worn-out washer or O-ring. When it comes to bathtub handle leaks, there are a few common causes that you should be aware of.
By understanding these causes and following the correct steps, you can easily fix a leaking bathtub handle stem. Here are some key points to consider:
- Worn-out washer: Over time, the washer inside the handle can deteriorate, causing leaks.
- Faulty O-ring: The O-ring, which creates a watertight seal, can become damaged or worn out, leading to leaks.
- Loose handle: If the handle is not securely tightened, water can seep through the gaps and cause leaks.
- Corroded valve seat: A corroded valve seat can prevent the handle from properly shutting off the water flow, resulting in leaks.
- Cracked cartridge: A cracked cartridge can cause water to leak from the handle.
Troubleshooting Potential Issues
One common issue you may encounter with your bathtub handle stem is a loose or worn out stem. This can cause difficulties in turning the handle or even lead to leaks.
To troubleshoot this problem, start by inspecting the handle for any visible damage or signs of wear. If the handle is loose, you can try tightening the set screw located underneath the handle with a screwdriver.
If the stem itself is worn out, you will need to replace it. Regular maintenance is crucial for preventing such issues.
To maintain your bathtub handle stems and avoid problems in the future, make sure to clean them regularly, lubricate them with silicone grease, and periodically check for any signs of wear or damage.
Frequently Asked Questions
Can I Replace the Bathtub Handle Stem Without Professional Help?
Yes, you can replace the bathtub handle stem without professional help. It’s a fairly straightforward process that involves removing the old stem, installing the new one, and troubleshooting any issues that may arise.
What Are the Signs That Indicate a Faulty Bathtub Handle Stem?
Signs of a faulty bathtub handle stem include difficulty turning the handle, leaks, and inconsistent water temperature. To troubleshoot, check for loose connections, worn out parts, or mineral buildup.
How Long Does It Typically Take to Replace a Bathtub Handle Stem?
To replace a bathtub handle stem, it typically takes about 30 minutes to an hour. First, you need to remove the old handle stem by following step-by-step instructions. Then, you can install the new one.
Are There Any Specific Safety Precautions to Follow During the Replacement Process?
When replacing a bathtub handle stem, there are specific safety precautions you should follow. Make sure to turn off the water supply and wear protective gloves. Tools needed include pliers, a screwdriver, and a replacement stem.
Can I Use Any Type of Bathtub Handle Stem as a Replacement, or Do I Need to Find an Exact Match?
You don’t wanna mess with mismatched bathtub handle stems, trust me. To find the right replacement, it’s crucial to get one that’s compatible with your specific bathtub model. Don’t settle for anything less!
Conclusion
In conclusion, replacing a bathtub handle stem is a manageable task that can be done with the right tools and materials. By following the steps outlined in this article, you can successfully remove the old stem and install a new one, restoring the functionality of your bathtub handle.
Remember the old saying, ‘A stitch in time saves nine,’ which emphasizes the importance of addressing issues promptly to prevent bigger problems down the line. With a little effort and attention to detail, you can tackle this project and enjoy a fully functioning bathtub once again.


