I’ve been there – standing in the shower, desperately trying to twist the worn-out bathtub spigot, only to be met with a feeble trickle of water. It’s frustrating, to say the least. But fear not, because I’m here to guide you through the process of replacing that old spigot with a brand new one.
In this article, I’ll share step-by-step instructions on how to:
- Gather the necessary tools
- Turn off the water supply
- Remove the old spigot
- Install the new one
- Ensure it’s leak-free.
Say goodbye to weak showers and hello to a refreshing water flow.
Key Takeaways
- Gather the necessary tools and materials, such as a screwdriver, adjustable wrench, plumber’s tape, and a new spigot, to ensure a smooth replacement process.
- Turn off the water supply by locating the water supply valve near the bathtub and using a wrench or pliers to turn it clockwise. Check for water flow to confirm successful shut off and double-check for any leaks or drips.
- Remove the old spigot by using an adjustable wrench and screwdriver to locate and remove screws or bolts holding it in place. If the spigot is stuck, use penetrating oil. Carefully pull the old spigot away from the wall, watching out for rusted or stripped screws.
- Install the new spigot by securely and levelly positioning it, attaching it to the wall with provided screws, and connecting the water supply lines. Use an adjustable wrench to tighten the connections. Test for leaks and adjust connections if necessary.
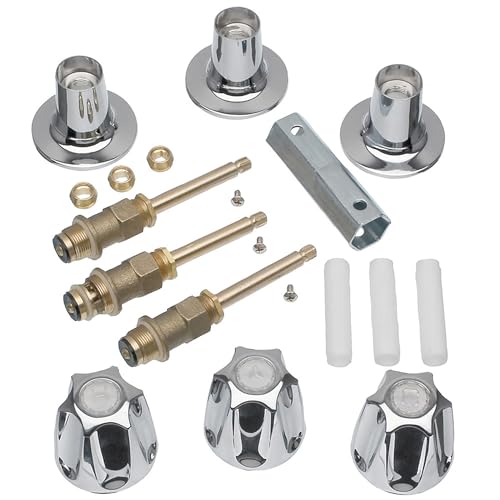
DANCO Bathtub and Shower 3-Handle Remodel/Rebuild Trim Kit for Price Pfister Verve Faucets | Knob Handle Replacement | Chrome (39619)
- Manufactured in China: Made in China
As an affiliate, we earn on qualifying purchases.
As an affiliate, we earn on qualifying purchases.
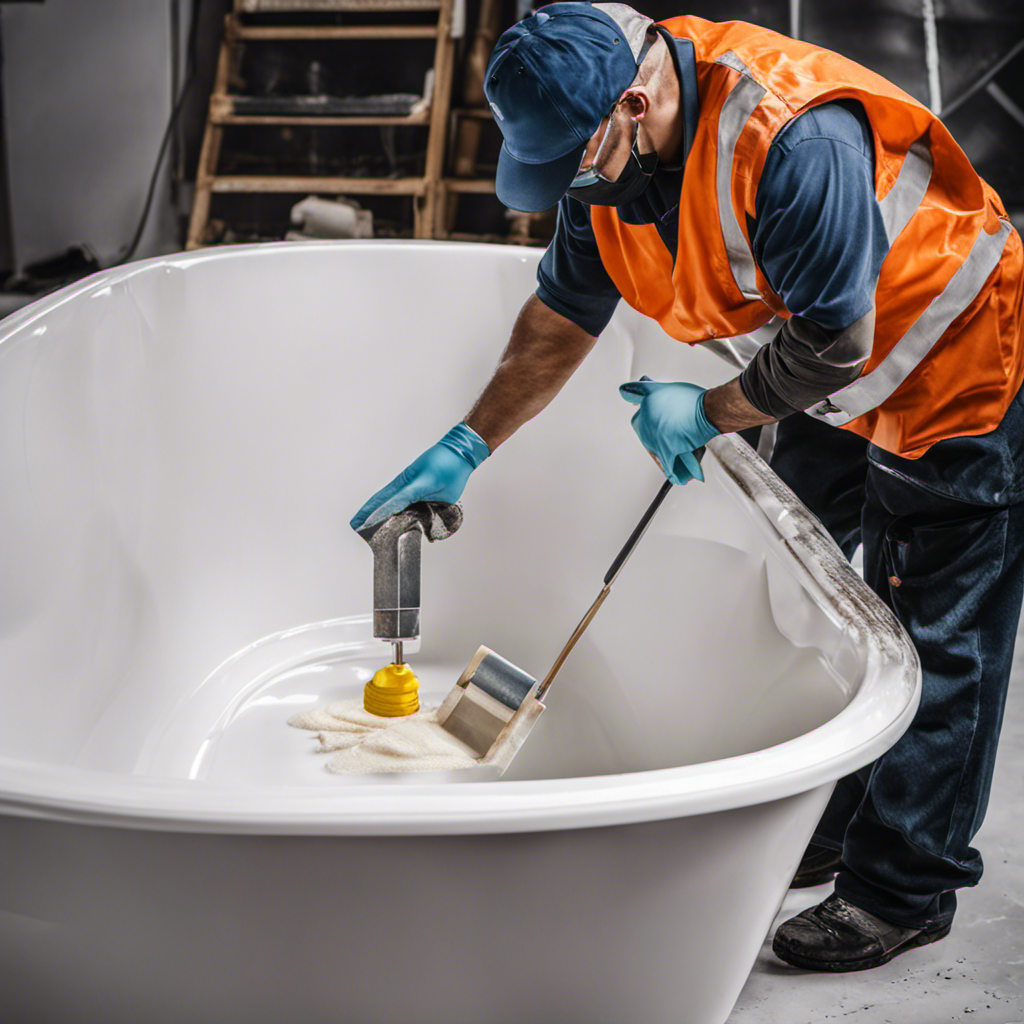
Step 1: Gather Necessary Tools and Materials
Before you can begin replacing the bathtub spigot, you’ll need to gather all the necessary tools and materials. This step is crucial to ensure a smooth and successful replacement process.
Common mistakes when replacing a bathtub spigot include not having the right tools or materials on hand, which can lead to frustration and delays. To avoid this, it is important to know the specific type of spigot you have and gather the appropriate tools accordingly.
There are different types of spigots, such as compression, ball, cartridge, and disc, each with its own pros and cons. Understanding the type of spigot you have will help you select the right replacement and gather the necessary tools, such as a screwdriver, adjustable wrench, plumber’s tape, and a new spigot.
Being well-prepared will make the replacement process much easier and more efficient.
Step 2: Turn off Water Supply to the Bathtub
To start, you’ll want to locate the water supply valve and turn it off in order to proceed with replacing the bathtub spigot. Here’s how to properly shut off the water supply to the bathtub:
-
Look for the water supply valve: It is usually located near the bathtub, either on the wall or under the sink.
-
Turn off the valve: Use a wrench or pliers to turn the valve clockwise until it is tightly closed. This will stop the flow of water to the bathtub.
-
Check for water flow: Turn on the bathtub faucet to ensure that the water supply has been successfully shut off. If no water comes out, then you have successfully turned off the water supply.
-
Double-check: It’s always a good idea to double-check for any water leaks or drips before proceeding to the next step.
With the water supply turned off, we can now move on to step 3: removing the old spigot.
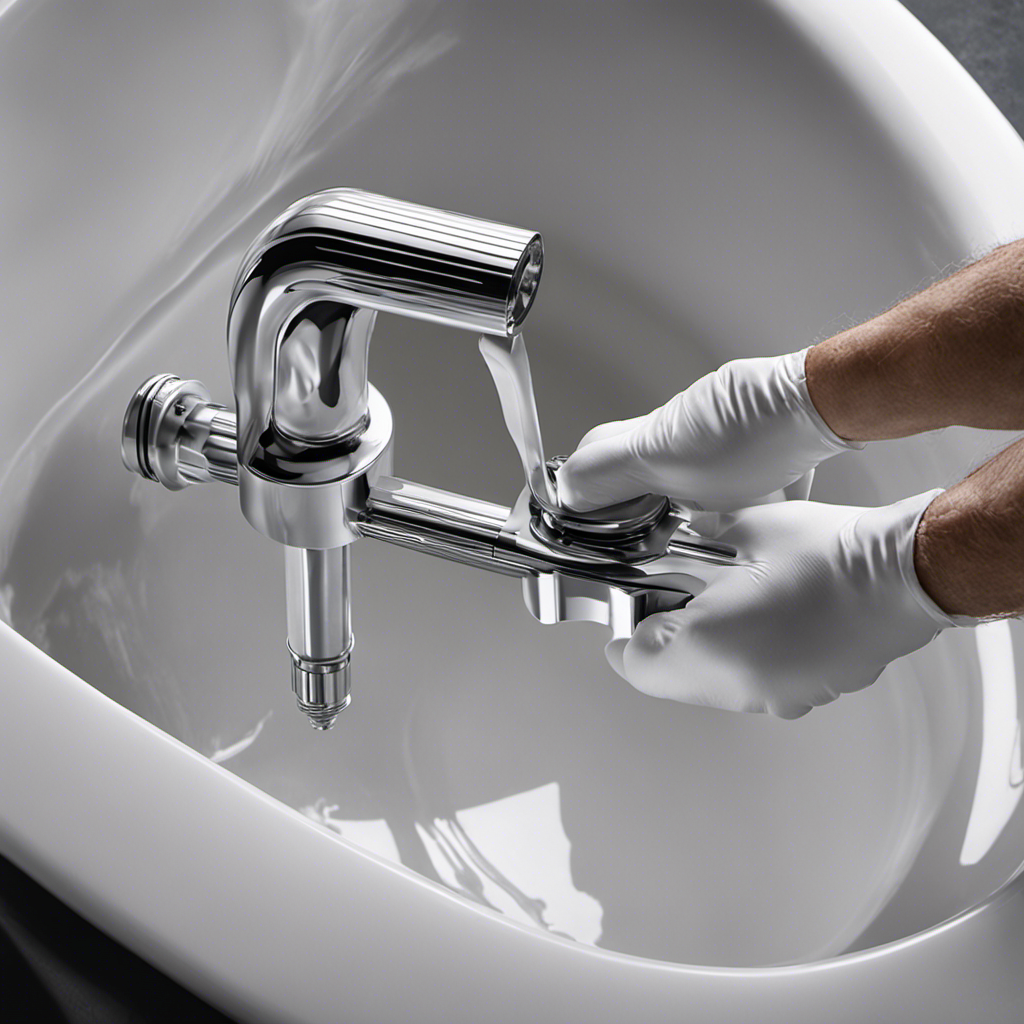
Step 3: Remove the Old Spigot
Once you’ve successfully shut off the water supply to the bathtub, you can now proceed to removing the old spigot.
To remove the spigot safely, you’ll need a few tools: an adjustable wrench, a screwdriver, and possibly a plumber’s tape.
First, locate the screws or bolts that are holding the spigot in place. Use the screwdriver or wrench to loosen and remove them. If the spigot is stuck, you may need to use some penetrating oil to loosen it.
Once the screws or bolts are removed, carefully pull the old spigot away from the wall. Be cautious not to damage the surrounding tiles or plumbing. Common issues when removing a spigot include rusted or stripped screws, which may require additional tools or techniques.
With the old spigot removed, you’re now ready to install the new one.
Next, you can move on to step 4: installing the new spigot.
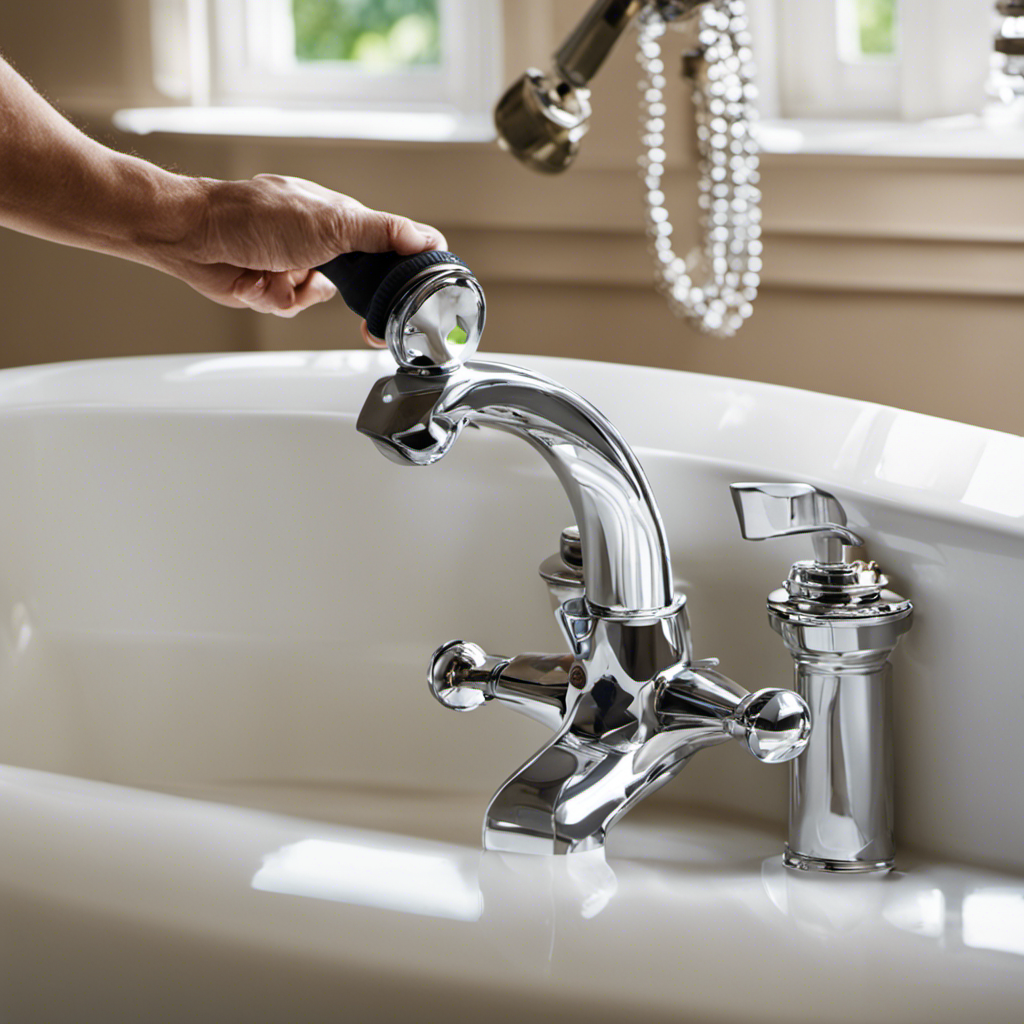
Step 4: Install the New Spigot
Now that you’ve successfully removed the old spigot, you can begin installing the new one. Here are the steps to follow:
-
Position the new spigot: Carefully align the new spigot with the opening on the wall. Ensure that it fits securely and is level.
-
Attach the spigot: Take the provided screws and fasten the spigot to the wall. Use a screwdriver to tighten them, ensuring a snug fit.
-
Connect the water supply: Locate the water supply lines and attach them to the corresponding connections on the new spigot. Use an adjustable wrench to tighten the connections, but be careful not to overtighten.
-
Test for leaks: Turn on the water supply and check for any leaks. If you notice any, tighten the connections further or consider using plumber’s tape for a better seal.
Step 5: Test the New Spigot for Leaks
After attaching the water supply lines to the new spigot, I turn on the water supply to check for any leaks. This is an important step in the bathtub spigot installation process, as it ensures that everything is properly connected and functioning correctly.
Common issues with bathtub spigot installations include leaks, improper water flow, and difficulty in turning the spigot handle. To avoid these problems, it is crucial to choose the right spigot for your bathtub. Consider factors such as the style, material, and compatibility with your existing plumbing system. Additionally, make sure to follow the manufacturer’s instructions for installation and use proper tools.
Conclusion
In conclusion, replacing a bathtub spigot is a simple task that can be done with just a few tools and some basic knowledge. By following the steps outlined in this article, you can easily upgrade your bathtub’s spigot and enjoy a leak-free bathing experience.
Remember to turn off the water supply before removing the old spigot and take your time when installing the new one. With a little patience and the right tools, you’ll have a brand new spigot in no time.
So go ahead, take the plunge and upgrade your bathtub today!