I’ve always been frustrated with my bathtub stopper getting stuck or not sealing properly. It’s such a hassle when I want to take a relaxing bath and end up with water slowly draining out.
That’s why I decided to learn how to replace my bathtub stopper myself. In this article, I’ll guide you through the step-by-step process of removing the old stopper, installing a new one, adjusting the drain mechanism, and even troubleshooting any issues that may arise.
Trust me, with a little know-how, you’ll be enjoying a perfectly functional bathtub stopper in no time.
Key Takeaways
- There are different types of bathtub stoppers, including lift-and-turn, push-pull, and toe-touch.
- To remove the old bathtub stopper, unscrew the overflow plate, remove the screws, and disconnect the linkage assembly before twisting and pulling out the stopper.
- When installing a new bathtub stopper, consider options like push-pull, pop-up, or toe-touch stoppers based on your preferences and needs.
- After installing the new stopper, adjust the drain mechanism, test for leaks and proper drainage, and troubleshoot any issues that may arise.

Geberit G111902005 Duofix Carrier 2x6 Installation for 1.28 GPF Wall Hung Toilets with Concealed Dual Flush Tank
Tank and carrier covered by limited lifetime warranty
As an affiliate, we earn on qualifying purchases.
Tools and Materials Needed
You’ll need a pair of pliers, a screwdriver, and a new bathtub stopper for the bathtub stopper replacement.
When it comes to bathtub stoppers, there are several types to choose from. The most common types are the lift-and-turn stopper, the push-pull stopper, and the toe-touch stopper.
The lift-and-turn stopper requires you to lift and then turn the stopper to open or close the drain. The push-pull stopper, on the other hand, needs to be pushed down to close the drain and pulled up to open it. Lastly, the toe-touch stopper can be opened or closed simply by using your toe to press on it.
Understanding the different types of bathtub stoppers will help you choose the right one for your replacement project.

Comfort & Elongated Wall Hung Toilet System, Los Flexi Wall Mounted Toilet with Adjustable Floating Toilet Bowl, Durable In-Wall Toilet Tank Carrier, Soft-Close Seat & Dual-Flush Push Plate Included
Ergonomic Design for Maximum Comfort: The wall hung toilet with tank features an elongated bowl, offering a comfortable,...
As an affiliate, we earn on qualifying purchases.
Removing the Old Bathtub Stopper
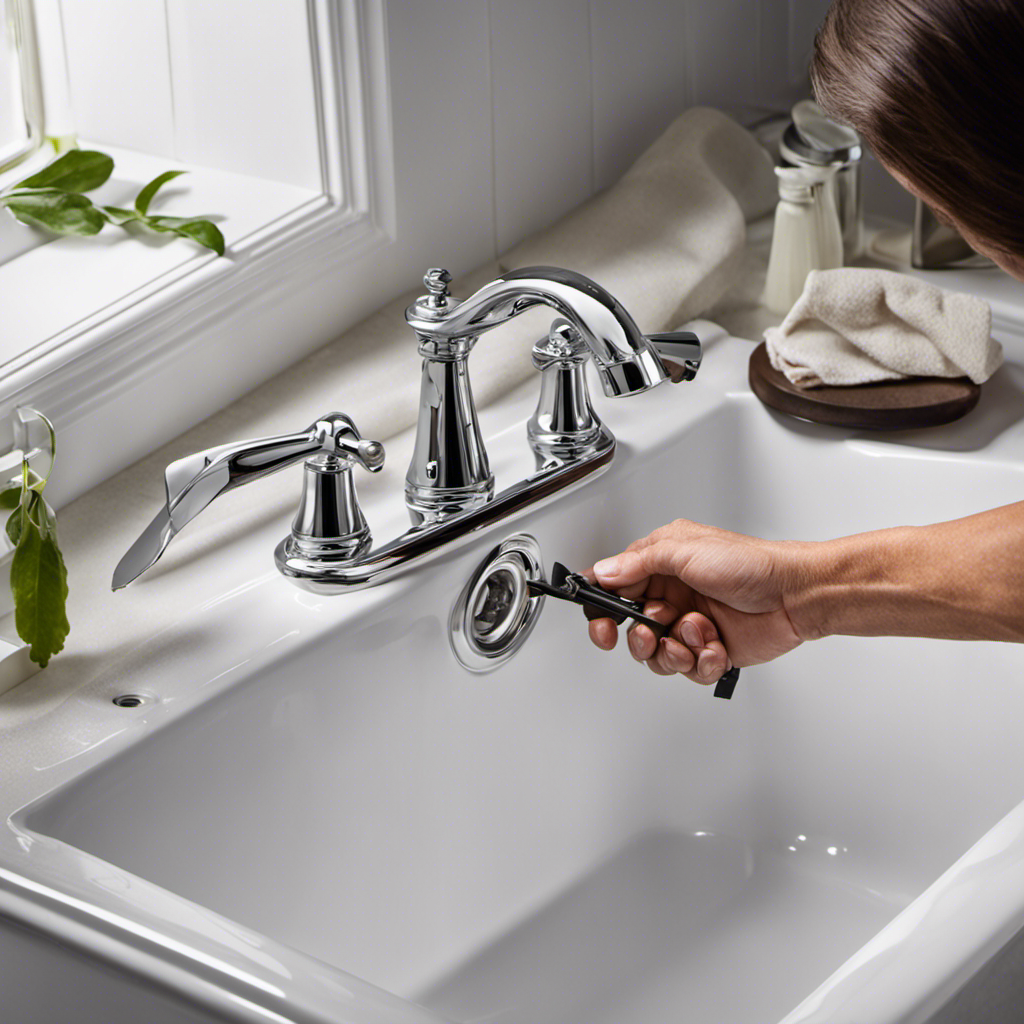
To remove the old stopper, start by unscrewing the overflow plate. This plate is usually located on the side of the bathtub, near the top. Using a screwdriver, carefully loosen and remove the screws holding the plate in place.
Once the screws are removed, gently pull the overflow plate away from the tub. You will now see the linkage assembly connected to the stopper. Disconnect the linkage from the trip lever by unscrewing the nut or clip holding it together.
Next, reach into the overflow opening and grab the old stopper. Give it a twist and pull it out of the drain. With the old stopper removed, you are now ready to move on to installing the new bathtub stopper.

Kohler Leap One-Piece Elongated Smart Toilet with Bidet Built In, Dual-Flush, Quiet-Close
This bidet toilet features a stainless steel wand which offers adjustable spray shape, position, water pressure, temperature, pulsate,...
As an affiliate, we earn on qualifying purchases.
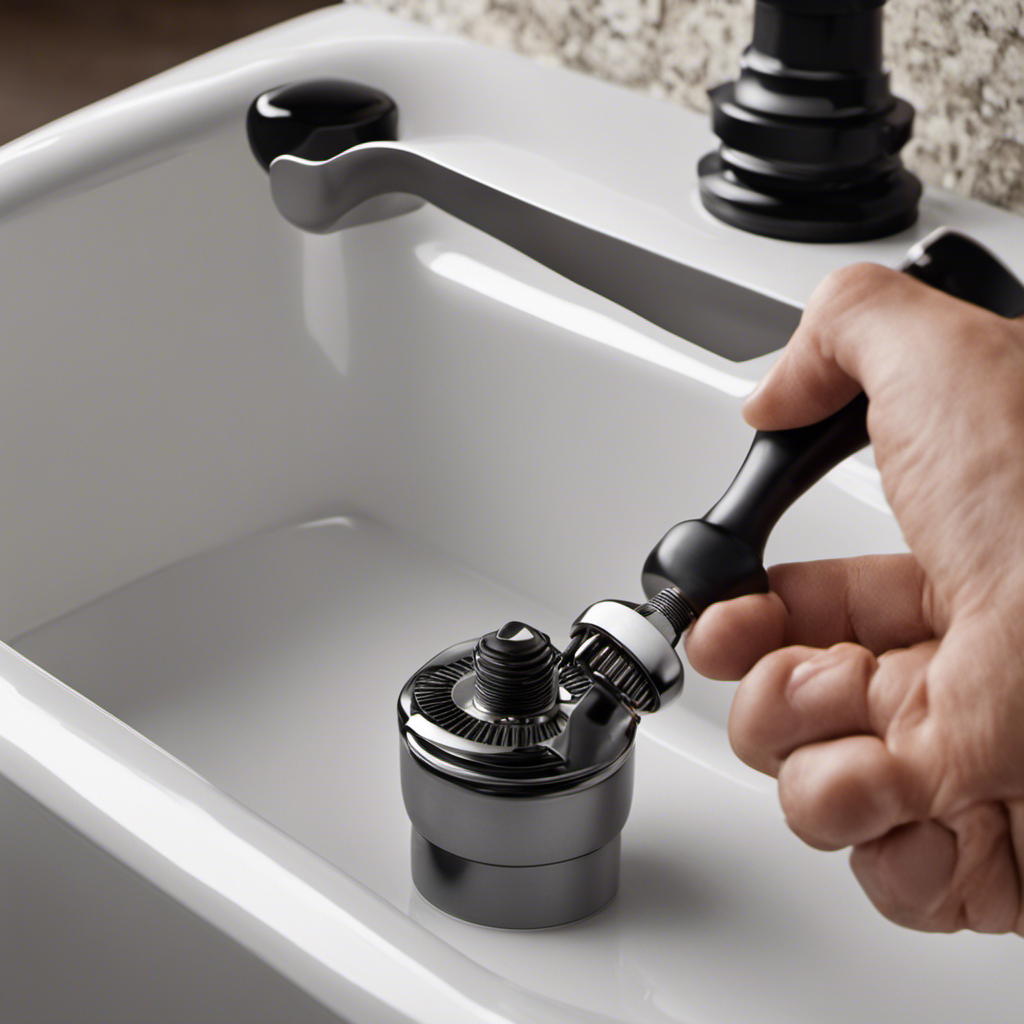
Installing the New Bathtub Stopper
Now that you’ve removed the old stopper, it’s time to install the new one. Proper maintenance of bathtub stoppers is essential to ensure their longevity and functionality. When choosing a new stopper, consider the different types available and their features.
Here are three options to consider:
-
Push-Pull Stoppers: These stoppers are simple to use and operate by pushing or pulling the knob to open or close the drain. They are a popular choice due to their ease of installation and maintenance.
-
Pop-Up Stoppers: These stoppers have a lever mechanism that allows you to easily open and close the drain. They are durable and offer a sleek look to your bathtub.
-
Toe-Touch Stoppers: These stoppers are operated by simply pushing them down with your toe to close the drain and pushing again to open it. They are convenient and perfect for those who prefer a hands-free operation.
Now that you have chosen the right stopper, let’s move on to adjusting the drain mechanism for a perfect fit.

Faucet Floor-Mount Freestanding Tub Filler Rough-In Valve,Compatible with Delta Freestanding Tub Fillers R4700-FL
1.Application:Floor-Mount Freestanding Tub Filler Rough-In Valve is compatible with freestanding tub filler trim kits such as T4579-fl、T4759-FL、T4768-FL、T4774-FL、T4767-FL、T4752-FL、T4797-FL、T4759-FL、T4797‑SSFL‑LHP and...
As an affiliate, we earn on qualifying purchases.
Adjusting the Drain Mechanism
Once you’ve selected the appropriate stopper, it’s time to make the necessary adjustments to the drain mechanism for a proper fit. When it comes to bathtub stoppers, there are different types available, such as the push-pull, toe-touch, and lift-and-turn stoppers. Each type requires a specific adjustment to ensure a tight seal and prevent any leakage.
Before making any adjustments, it’s important to identify common drain problems, such as clogs or slow drainage. These issues can affect the performance of the stopper and should be addressed before proceeding.
To adjust the drain mechanism, start by removing the old stopper and cleaning the area thoroughly. Then, refer to the manufacturer’s instructions for your specific stopper type. This may involve adjusting the linkage or adjusting the height of the stopper. Take your time and follow the instructions carefully to ensure a proper fit.
Once the adjustments are made, test the stopper by filling the bathtub with water. Observe if there are any leaks or issues with the drainage. If everything works smoothly, congratulations, you have successfully adjusted the drain mechanism for your new bathtub stopper.
Testing and Troubleshooting
After making the necessary adjustments, it’s important to test the new drain mechanism for any potential leaks or issues. Here are three key things to keep in mind when testing and troubleshooting your bathtub stopper:
-
Check for leaks: Fill the bathtub with water and let it sit for a few minutes. Observe if any water is leaking from the drain or surrounding areas. If you notice any leaks, you may need to tighten or reposition the stopper.
-
Test the functionality: Open and close the stopper multiple times to ensure it operates smoothly. Make sure it seals the drain completely when closed and allows water to flow freely when open.
-
Address common issues: If you encounter problems like the stopper not sealing properly or getting stuck, consult the manufacturer’s instructions or seek professional assistance. There are various solutions available, such as adjusting the stopper height or replacing worn-out parts.
Conclusion
In conclusion, replacing a bathtub stopper is a simple and rewarding task that anyone can accomplish. With just a few tools and materials, you can transform your old, worn-out stopper into a shiny new one.
As you adjust the drain mechanism and test the water flow, you’ll feel a sense of satisfaction knowing that you’ve successfully completed this DIY project.
So go ahead, take a deep breath, and enjoy the soothing sound of water filling your bathtub, knowing that you’ve mastered the art of stopper replacement.