
Replacing a leaking bathtub faucet might seem like a daunting task, but fear not – I’m here to guide you through it. With a few simple steps and some basic tools, you’ll have that annoying leak fixed in no time.
In this article, I’ll show you exactly how to:
- Assess the leak
- Gather the necessary tools
- Shut off the water supply
- Remove the old faucet
- Choose and install the new faucet
- Test for leaks
- Clean up afterwards.
Let’s get started!
Key Takeaways
- Carefully examine the faucet to determine the source of the leak
- Find replacement parts for the leaking bathtub faucet and ensure they are compatible with your faucet model
- Locate and shut off the main water supply to prevent further water damage
- Remove the old faucet using the necessary tools and prepare for the installation of a new one
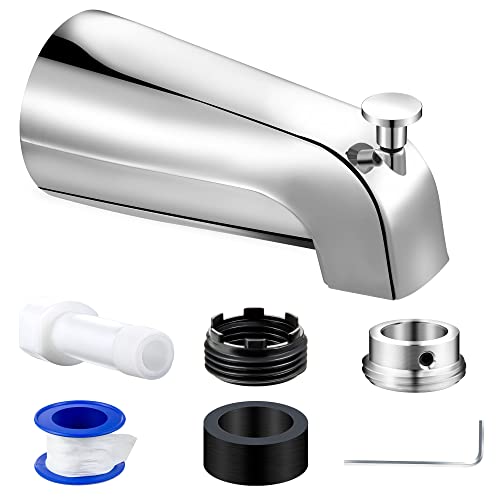
Dreyoo Tub Spout (Universal Fits 1/2" Copper Pipe, 1/2" IPS and 3/4" IPS), Bathroom Bathtub Faucet with Adapters and Hex Wrench (Chrome,Simple)
Universal Diverter Tub Spout: this Dreyoo tub spout with diverter is compatible with 1/2" copper pipe connection, 1/2"…
As an affiliate, we earn on qualifying purchases.
As an affiliate, we earn on qualifying purchases.
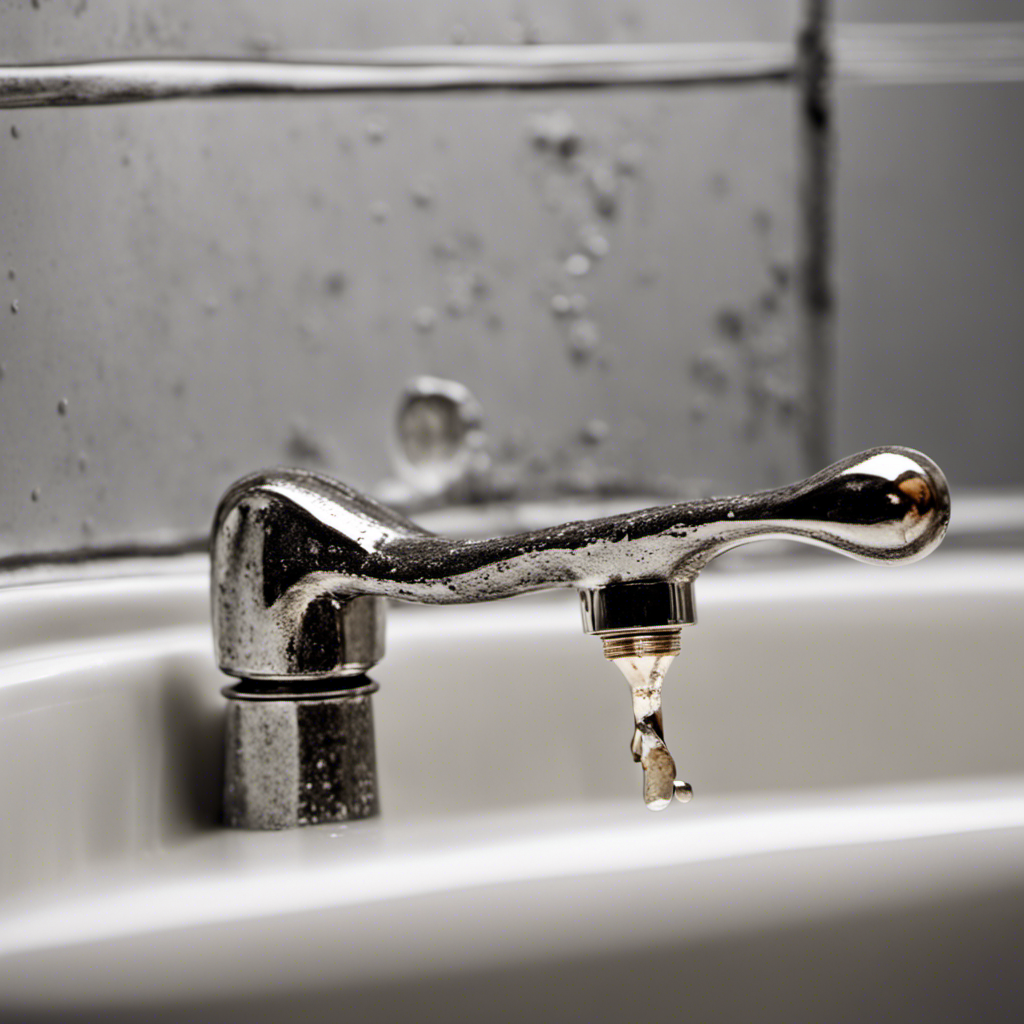
Assessing the Leak
First, you’ll want to carefully examine the faucet to determine where the leak is coming from. Start by turning off the water supply and removing any decorative parts, such as handles or trim.
Inspect the faucet body and connections for any signs of water leakage. Check if the leak is coming from the spout, handle, or base. Evaluating the extent of the leak is crucial in understanding the severity of the problem. Look for water stains or damage on surrounding surfaces.
Once you’ve identified the potential causes, such as worn-out washers or loose connections, you can proceed with the necessary repairs. Remember to consult a professional if the leak persists or if you’re unsure about the repair process.
leaking bathtub faucet repair parts
As an affiliate, we earn on qualifying purchases.
As an affiliate, we earn on qualifying purchases.
Gathering the Necessary Tools
To get started, you’ll need a few tools for the job. First, you’ll need to find replacement parts for the leaking bathtub faucet. This can include a new faucet handle, cartridge, and any other necessary components. It’s important to ensure that the replacement parts are compatible with your specific faucet model.
You can find these parts at your local hardware store or online. If you’re unsure about which parts to purchase, it may be helpful to consult with a professional plumber who can provide guidance.
Once you have the necessary tools and replacement parts, you’ll be ready to move on to the next step of shutting off the water supply, which is crucial for a successful faucet replacement.

TOVEN-RV RP25513 Faucet Stem Assembly Replacement for Delta 2-Handle Kitchen & Bathroom Faucets, Includes RP4993 Seats and Springs with 1/4 Turn Stop, Durable Faucet Repair Kit, 2-Pack
Perfect Compatibility: Precision-engineered RP25513 faucet stem replacement designed for most Delta two-handle kitchen, bathroom, sink, and bathtub faucets….
As an affiliate, we earn on qualifying purchases.
As an affiliate, we earn on qualifying purchases.
Shutting Off the Water Supply
Before starting any repairs or replacements, it’s crucial to turn off the water source to prevent further water damage.
To do this, locate the main water shut-off valve in your home, typically found near the water meter.
Using a wrench or pliers, turn the valve clockwise until it is completely closed, effectively stopping the flow of water throughout your house.
Turning off Water Source
You’ll want to start by locating the shut-off valve for the water source. This valve is usually located underneath the sink or near the water meter. Turn the valve clockwise to shut off the water supply to the faucet.
Once the water is turned off, you can begin replacing the faucet parts that are causing the leak. It’s important to note that while replacing faucet parts may seem like a simple task, it can be complicated and require specific tools and knowledge.
If you’re unsure or uncomfortable with the process, it’s always a good idea to hire a professional plumber who has experience in faucet repair. By hiring a professional, you can ensure the job is done correctly and prevent further water damage.
Preventing Further Water Damage
Once the water supply is shut off, it’s important to address any existing water damage to prevent further issues. Water damage prevention is crucial in order to avoid costly repairs and potential health hazards.
The first step is to identify the source of leakage. Carefully inspect the affected area, looking for any signs of water stains, mold growth, or dampness. This will help pinpoint the exact location of the leak and determine the necessary repairs.
Next, remove any standing water and dry the area thoroughly. Use dehumidifiers or fans to aid in the drying process.
It’s also important to check for hidden water damage, such as behind walls or under flooring, as these areas are prone to mold growth if left untreated.

Minimprover 2 Pack Brass 1/2 Inch FIP x 3/8 Inch OD Compression Quarter Turn Straight Water Angle Stop Valve Shut Off
Material: Brass. Which make it much more healthy for human. Certified to contain less than 0.25% lead.
As an affiliate, we earn on qualifying purchases.
As an affiliate, we earn on qualifying purchases.
Removing the Old Faucet
To start removing the old faucet, first, make sure the water supply to the bathtub is turned off. This is crucial to prevent any water leakage or damage during the repair process.
Once the water supply is shut off, follow these steps to successfully remove the old faucet:
- Gather the necessary tools: adjustable wrench, screwdriver, and plumber’s tape.
- Locate the faucet handles and remove any decorative caps or screws covering them.
- Use the adjustable wrench to loosen and remove the nuts holding the faucet handles in place.
By following these steps, you can easily remove the old faucet and prepare for the installation of a new one.
However, if you are unsure or uncomfortable with this task, it’s always recommended to hire a professional plumber who has the expertise and experience to ensure the faucet is repaired correctly and efficiently.
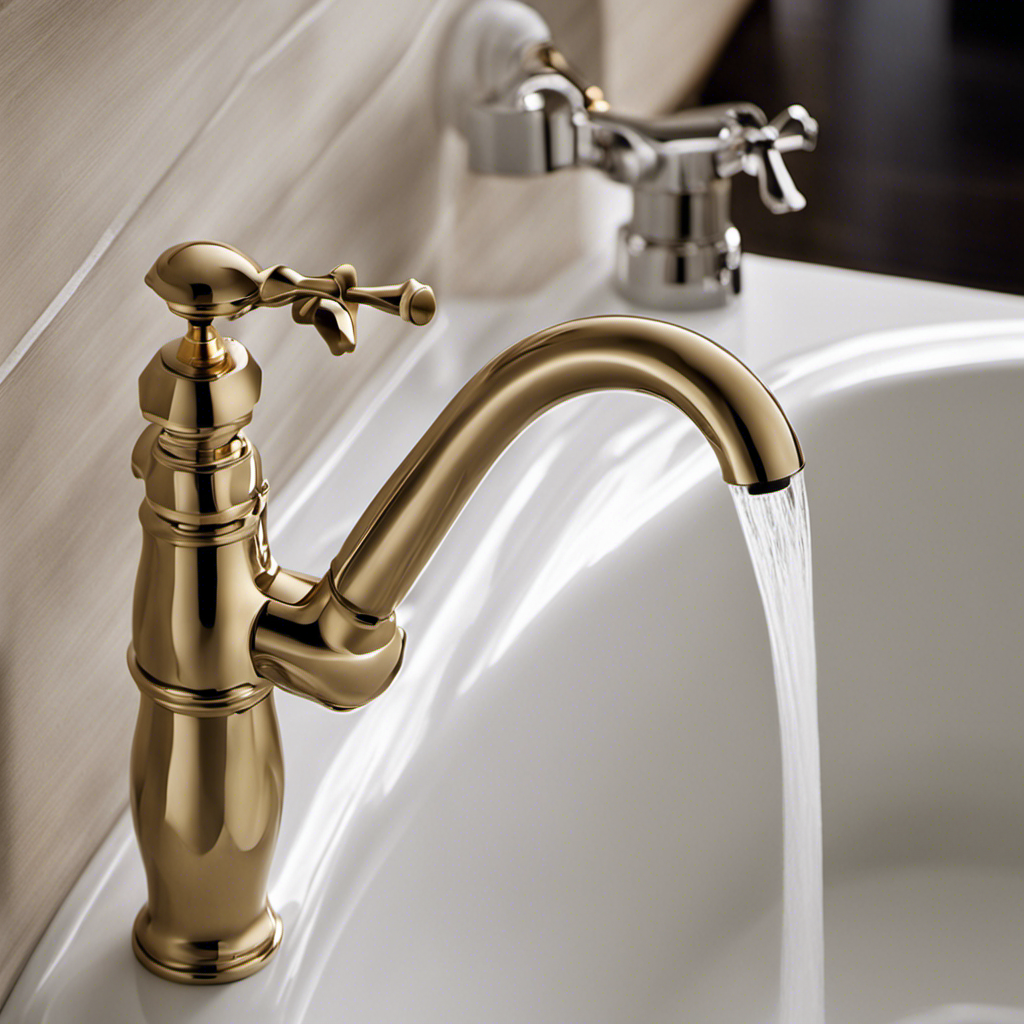
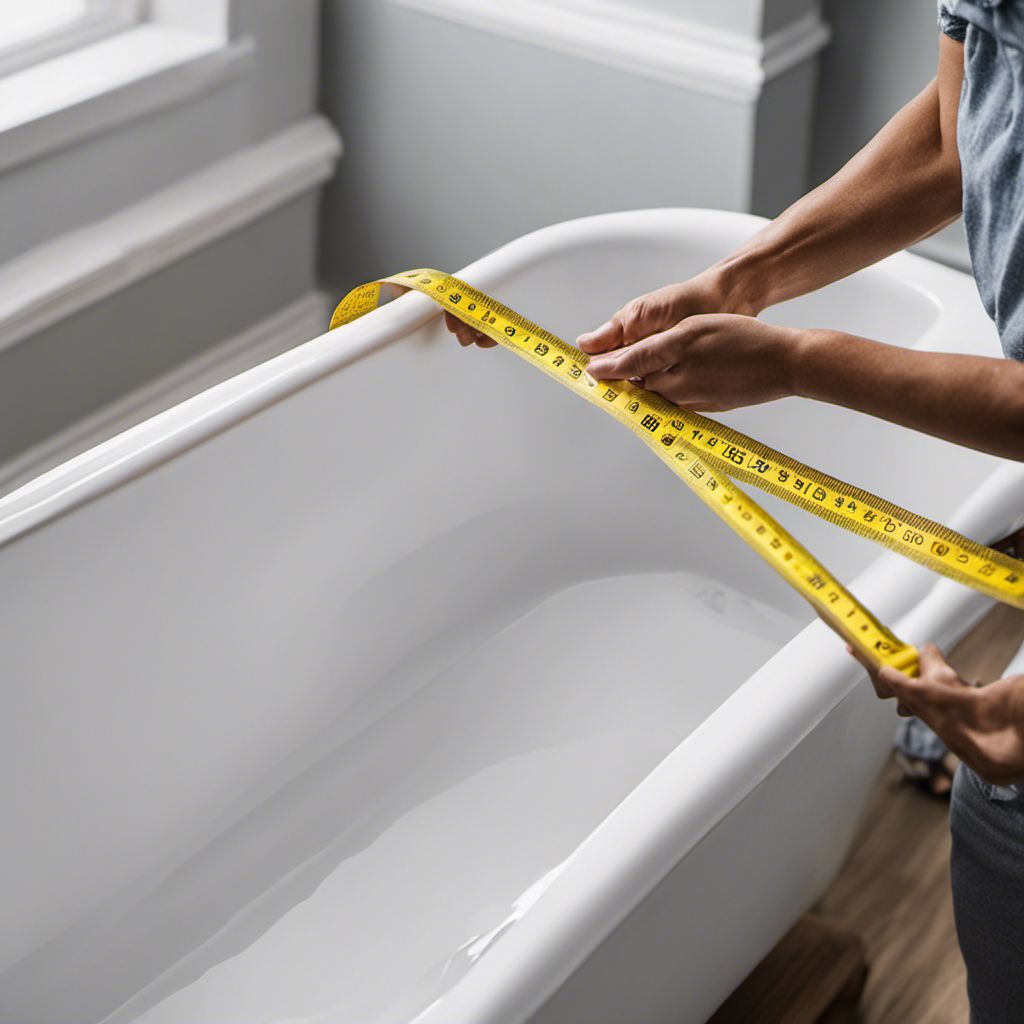
Choosing and Installing the New Faucet
When selecting and installing the new faucet, it’s important to consider the style and functionality that best fits your bathroom decor and needs. To help you make an informed decision, I have created a table comparing different faucet styles and their features:
| Faucet Style | Description |
|---|---|
| Single-handle | Allows for easy temperature and water flow control |
| Double-handle | Provides separate controls for hot and cold water |
| Wall-mount | Saves space and creates a sleek, modern look |
| Widespread | Offers a wider spread between hot and cold water handles |
| Centerset | Combines the spout and handles into one unit for easier installation |
Once you have selected the right style, it’s time to install the faucet. Here are some common troubleshooting installation issues and their solutions:
- Leaking Connections: Ensure all connections are properly tightened using an adjustable wrench.
- Low Water Pressure: Check for any debris or mineral buildup in the aerator and clean or replace it if necessary.
- Uneven Handles: Adjust the valve stem or cartridge to ensure the handles are properly aligned.
- Dripping Spout: Replace the O-rings or seals inside the faucet to stop the dripping.
Testing for Leaks
It’s important to test for leaks after installing a new faucet in order to ensure proper functionality. Here are three testing methods to help identify leaks:
-
Visual Inspection: Carefully examine the area around the faucet for any signs of water drips or puddles. Look for moisture on the connecting pipes, handles, and spout.
-
Pressure Testing: Turn on the water supply and let the faucet run for a few minutes. Observe if there are any leaks coming from the joints or connections. Apply slight pressure to the handles and spout to check for additional leaks.
-
Paper Test: Place a sheet of paper towel or newspaper under the faucet. Run the water and watch for any water droplets or stains on the paper. This method can help identify even small leaks that may not be visible to the naked eye.
Cleaning Up and Final Thoughts
Make sure you thoroughly clean up any water or debris after testing for leaks to keep your countertop or sink area tidy. Cleaning up after testing for leaks is an important step in the maintenance of your bathtub faucet.
To ensure a thorough clean, use a mild detergent or soap to remove any residue left behind by the testing process. Pay special attention to the areas around the faucet, as well as any visible water stains. Use a soft cloth or sponge to gently scrub the surface and rinse with clean water.
Additionally, it is important to regularly clean your faucet to prevent buildup of mineral deposits and maintain its functionality. Use a mixture of equal parts water and vinegar to remove any mineral deposits, and wipe dry with a clean cloth.
Following these cleaning techniques and maintenance tips will help prolong the lifespan of your bathtub faucet and keep it looking its best.
Conclusion
In conclusion, replacing a leaking bathtub faucet is a manageable task that can be done with the right tools and a little know-how. By assessing the leak, gathering the necessary tools, and shutting off the water supply, you can prepare for the repair.
Removing the old faucet and choosing and installing the new faucet are the next steps in fixing the issue. Once the installation is complete, it’s important to test for leaks and ensure everything is working properly.
Finally, don’t forget to clean up after the repair is finished. It’s worth noting that a dripping faucet can waste up to 3,000 gallons of water per year. So, don’t delay in fixing that leak and start saving water today!