Hey there! Ever had a plastic bathtub faucet stem that’s seen better days? Well, fear not! I’ve got you covered with a step-by-step guide on how to replace it.
In this article, I’ll walk you through assessing the condition of the stem, gathering the necessary tools and supplies, removing the old one, and finally, installing the shiny new plastic faucet stem.
So, let’s roll up our sleeves and get ready to give your bathtub a much-needed upgrade!
Key Takeaways
- Properly assess the condition of the faucet stem before replacing it, checking for wear, leaks, and signs of damage.
- Choose the correct replacement parts based on the brand and model of the faucet, ensuring a proper fit.
- Use high-quality materials like brass or stainless steel for the new stem to prevent future damage.
- Follow proper installation techniques, including cleaning the valve body, applying plumber’s tape, and avoiding excessive force.
plastic bathtub faucet stem replacement
As an affiliate, we earn on qualifying purchases.
As an affiliate, we earn on qualifying purchases.
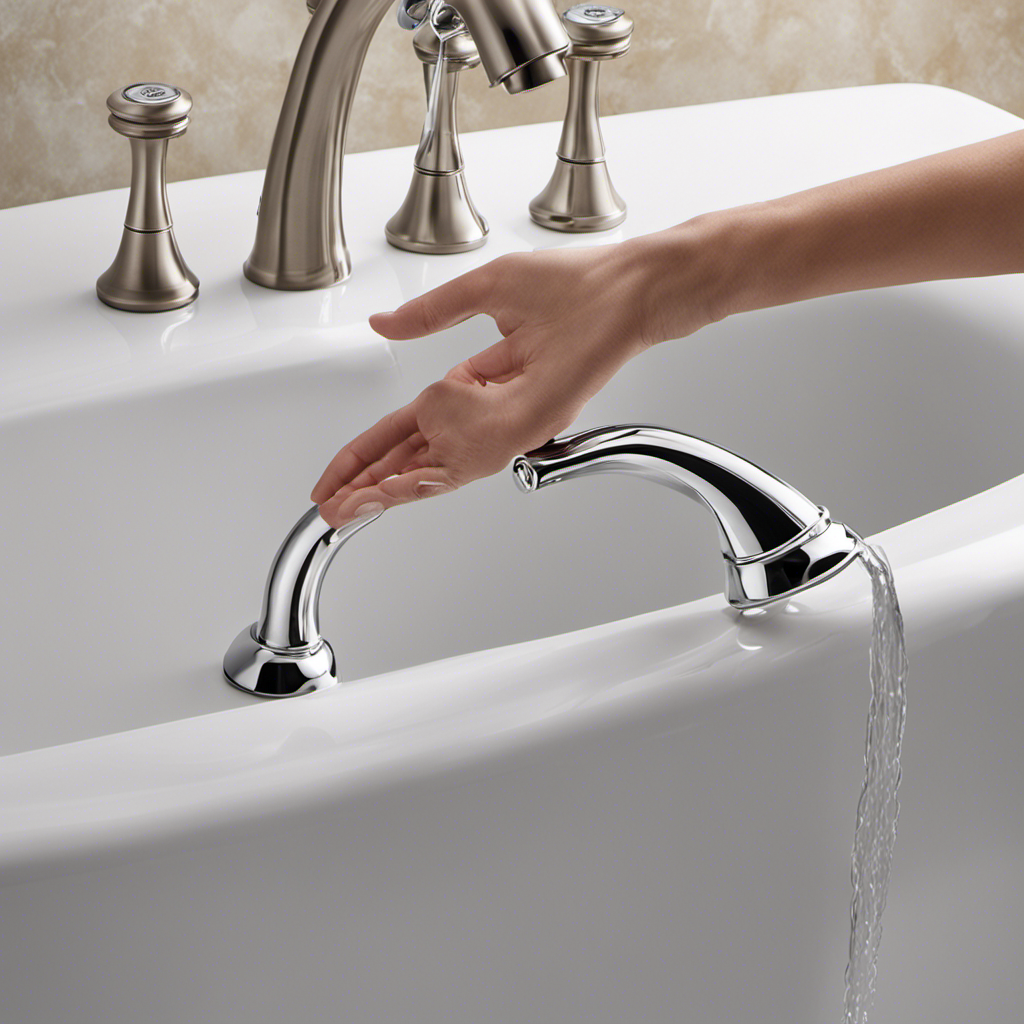
Assessing the Faucet Stem Condition
Before you start replacing the plastic bathtub faucet stem, it’s important to assess its condition.
Evaluating wear and identifying leaks are crucial steps in determining if a replacement is necessary.
Start by inspecting the stem for any signs of wear such as corrosion, rust, or cracks. Pay close attention to the threads as they can wear out over time and cause leaks.
Additionally, check for any visible leaks around the stem while the water is running. Leaks can indicate a faulty stem or other issues with the faucet.
If you notice any significant wear or leaks, it’s a clear indication that the faucet stem needs to be replaced.
Properly assessing the condition will ensure a successful replacement and prevent any further damage.

DANCO Bathtub and Shower 3-Handle Remodel/Rebuild Trim Kit for Gerber Faucets | Knob Handle | 11B-1H, 11B-1C, 11B-4D | Chrome (39617)
EASY UPGRADE – The classic chrome finish will update and complement your existing bathroom decor without any expensive…
As an affiliate, we earn on qualifying purchases.
As an affiliate, we earn on qualifying purchases.
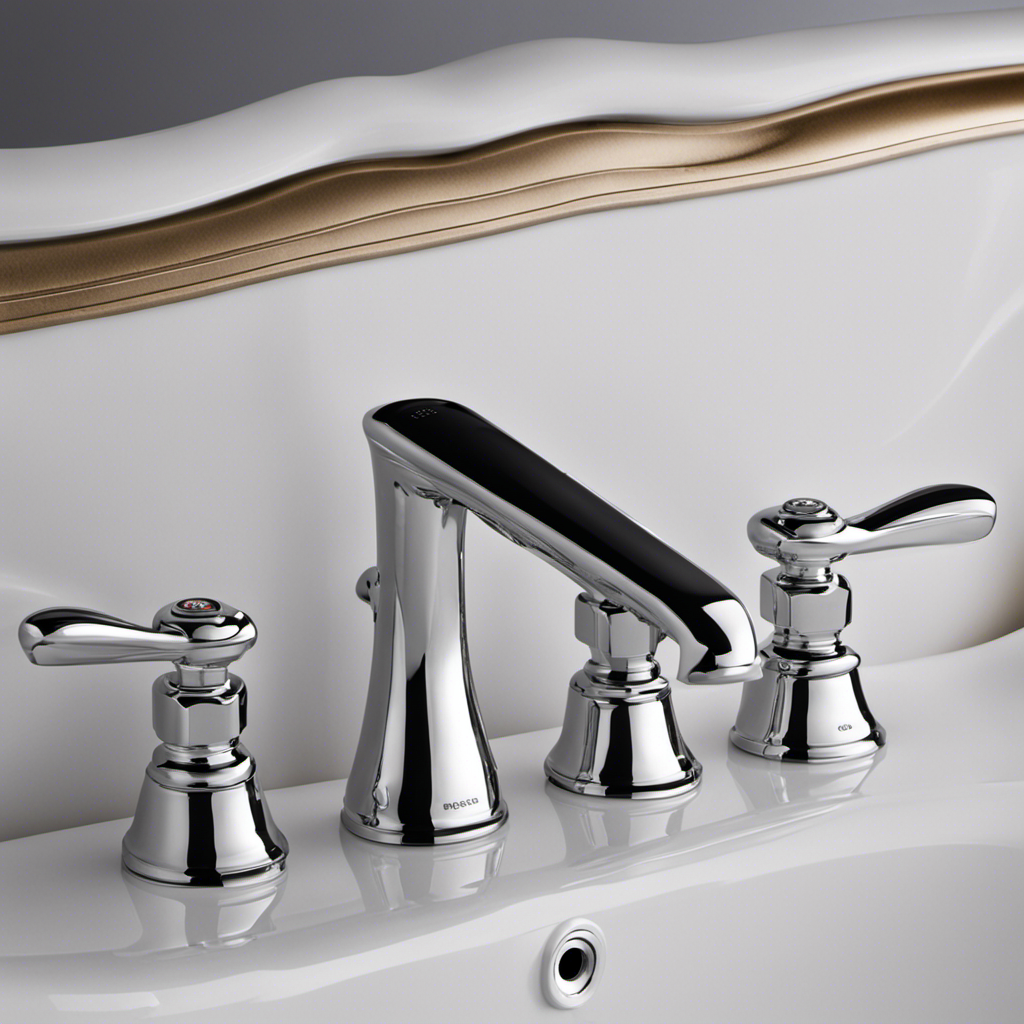
Gathering the Necessary Tools and Supplies
You’ll need a few tools and supplies to get started on this project. First, make sure to choose the right replacement parts for your plastic bathtub faucet stem. Take note of the brand and model of your faucet, as this will help you find the correct parts.
It’s important to match the size and style of the stem to ensure a proper fit. Additionally, consider investing in high-quality materials to prevent future faucet stem damage. Look for durable materials such as brass or stainless steel, which are less prone to cracking or breaking.
Lastly, make sure to follow proper installation techniques and avoid using excessive force when turning the faucet handle. This will help prolong the lifespan of your new faucet stem and prevent any future damage.
faucet stem removal tools
As an affiliate, we earn on qualifying purchases.
As an affiliate, we earn on qualifying purchases.
Removing the Old Plastic Faucet Stem
To remove the old stem, start by shutting off the water supply to the faucet. This is essential to prevent any water leaks during the repair process. Once the water supply is turned off, follow these steps to successfully remove the old plastic faucet stem:
- Locate the stem by removing the handle or cover.
- Use a wrench to loosen the stem nut and remove it from the faucet.
- Gently pull the stem out of the faucet body.
- Inspect the stem for any signs of damage, such as cracks or wear.

Danco 88103 Repair Kit for Delta/Peerless Single-Handle Faucets, Pack of 1, Black, White, Stainless Steel
Designed for repair on single-handle faucets
As an affiliate, we earn on qualifying purchases.
As an affiliate, we earn on qualifying purchases.
Installing the New Plastic Faucet Stem
Once the water supply is shut off and the old stem is removed, it’s time to install the new one. When installing a plastic faucet stem, there are a few common mistakes to avoid to ensure a secure and leak-free installation.
First, make sure to clean the valve body thoroughly to remove any debris or old plumber’s tape. This will help create a tight seal.
Secondly, apply a fresh layer of plumber’s tape to the threads of the stem before inserting it into the valve body. This will prevent any leaks.
Finally, when tightening the stem, be careful not to overtighten, as this can cause damage to the plastic threads. Use a wrench or pliers to snugly tighten the stem, but avoid excessive force.
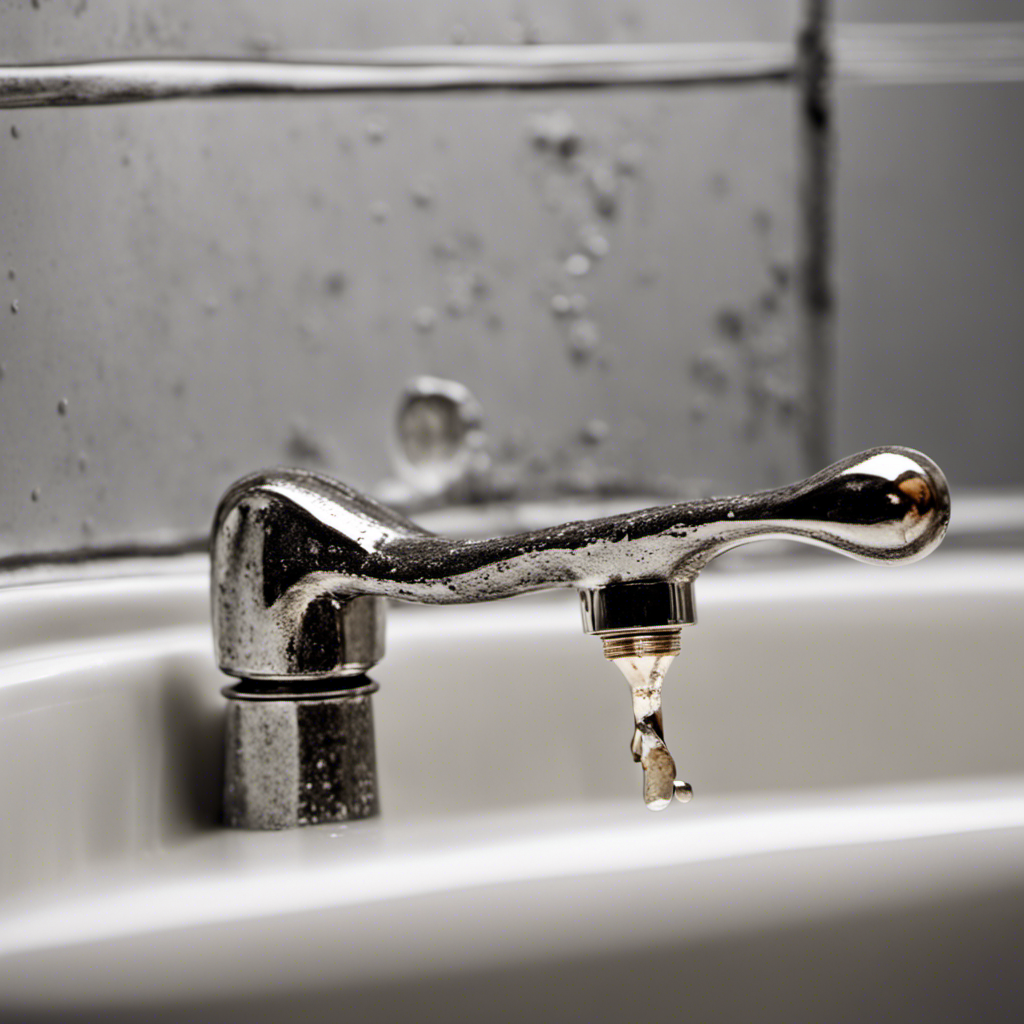
Testing and Finishing Touches
After cleaning the valve body and applying plumber’s tape, it’s important to test the new stem for any leaks before completing the installation. Here are some important steps to follow:
-
Turn on the water supply: Slowly turn on the water supply to check for any leaks. If there are any leaks, tighten the stem or check for any loose connections.
-
Check for proper water flow: Ensure that the water flows smoothly when the faucet is turned on. If the water flow is weak or uneven, it may indicate a problem with the stem or the valve.
-
Troubleshoot leaks: If you notice any leaks, try tightening the stem or replacing the plumber’s tape. If the issue persists, you may need to consult a professional plumber for further assistance.
-
Maintenance tips: To extend the lifespan of the new plastic faucet stem, regularly clean the valve body and remove any debris or sediment. Additionally, avoid using excessive force when turning the faucet on or off to prevent any damage.
Conclusion
So there you have it, folks! We’ve reached the end of our journey on how to replace a plastic bathtub faucet stem. Armed with the right tools and supplies, assessing the condition of the old stem and removing it was a breeze.
And with a steady hand, installing the new plastic faucet stem was a piece of cake.
Now it’s time to put our skills to the test and enjoy a refreshing bath in our newly fixed bathtub.
Happy plumbing, everyone!